
How to Measure the Perfect Amount of Liquid for a Cookie Glaze
Precision Tips for Flawless Sweetness
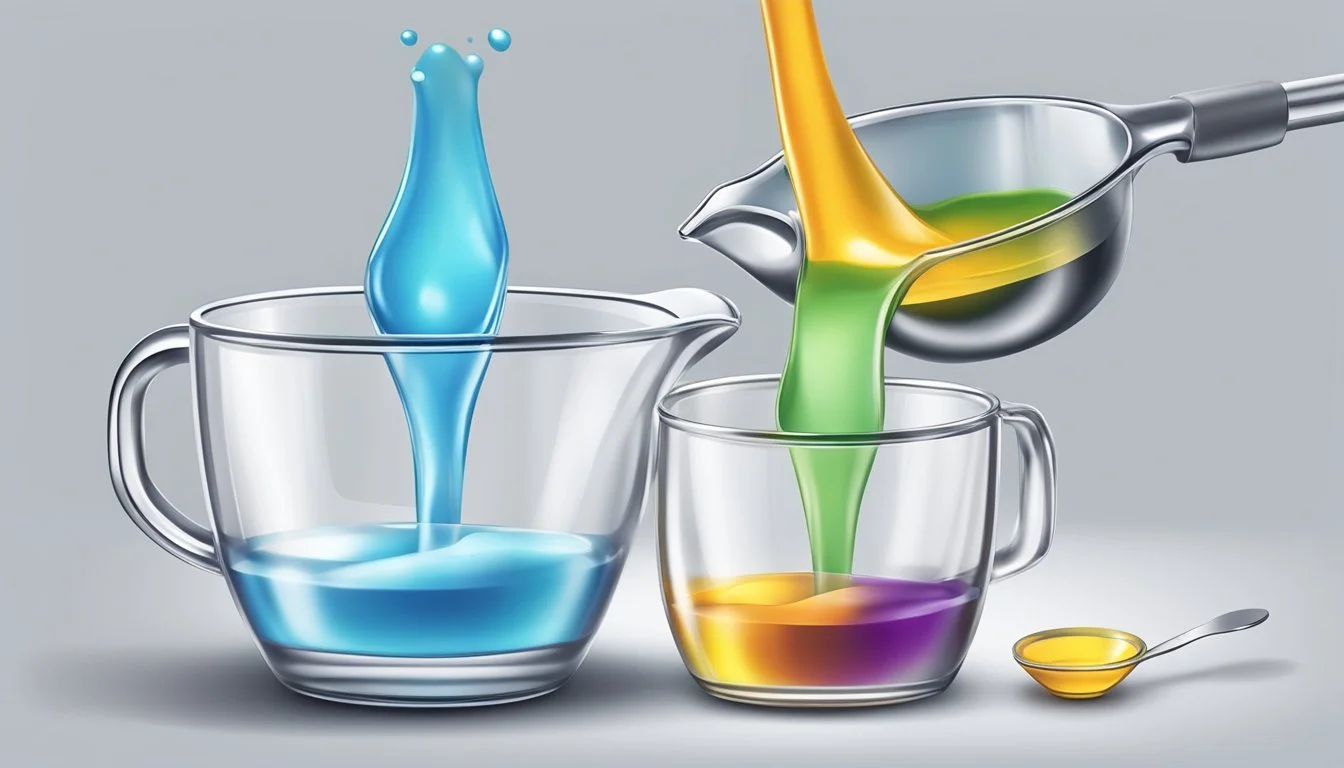
Achieving the perfect consistency for a cookie glaze is both an art and a science, requiring precision in measurement and a keen sense of when the ingredients have combined to that just-right thickness. A glaze can elevate the humblest of cookies to a delectable treat with a glossy, tender coating that both enhances flavor and adds visual allure. The fundamentals of a cookie glaze lie in its simplicity—often just a mixture of confectioners' sugar, milk, and sometimes light corn syrup or flavorings. Yet, the measurement of these liquids is paramount; even a small discrepancy can alter the texture and spreadability of the glaze, and consequently, the eating experience.
Considering nutrition in the scope of a sweet treat like a glazed cookie often involves moderation. While the glaze does add sugars to the cookie, controlling the quantity used can help keep nutritional concerns in check without compromising on taste or aesthetics. Understanding the properties of the ingredients and the role liquid plays in achieving the desired sheen and consistency is critical. Whether one is aiming for a thin, sheer glaze that soaks into the cookie or a thicker, more robust layer that holds designs and decorations, precision measurement is key.
Multiple factors can affect the final outcome of a cookie glaze, such as the type of liquid used, the ambient humidity, and temperature. The glaze should be thick enough to coat the back of a spoon yet fluid enough to settle into a smooth surface on the cookie. Crafters of confections know that the right balance can make the difference between a professional-looking finish and a glaze that is either too runny or so thick it cracks when set. By carefully measuring the liquid components, bakers ensure the glaze's texture enhances the cookie rather than detracting from it.
Understanding Cookie Glaze
In crafting the perfect cookie glaze, one must pay close attention to both the choice of ingredients and the precision of their consistency to ensure a lustrous finish.
Ingredients in Cookie Glaze
The fundamental components of a simple cookie glaze include sugar, typically in the form of powdered sugar, and a liquid such as milk, water, cream, or even light corn syrup. The inclusion of corn syrup adds a glossy sheen to the glaze, while liquids control the spreadability. An optional addition such as meringue powder can be used to give the glaze more body and help it to harden.
The Role of Consistency
Consistency is key for a cookie glaze to spread evenly and set appropriately on the cookie surface. The glaze should be fluid enough to "settle" after being spread, yet thick enough to not run off the edges. Achieving the right consistency might require minute adjustments:
If the glaze is too thick, add the liquid (milk, water, or cream) 1/2 teaspoon at a time.
If too thin, incrementally mix in more powdered sugar.
Types of Cookie Glazes
There are several types of cookie glazes, each tailored to create a unique finish and texture:
Simple Cookie Glaze: Made with powdered sugar and milk or water, perfect for a flat, smooth finish.
Glossy Glaze: Achieved by adding corn syrup, gives a shiny and professional look.
Flavored Glaze: Incorporates extracts or citrus zest for a burst of flavor.
Royal Icing: Contains meringue powder for a firmer set, suitable for intricate designs.
The ideal glaze will depend on the desired outcome, from a mere hint of sweetness to an eye-catching decoration.
Preparation Techniques
The key to the perfect cookie glaze lies in the balance of ingredients and texture, ensuring the glaze is neither too thick nor too thin, and incorporating colors effectively.
Mixing the Perfect Glaze
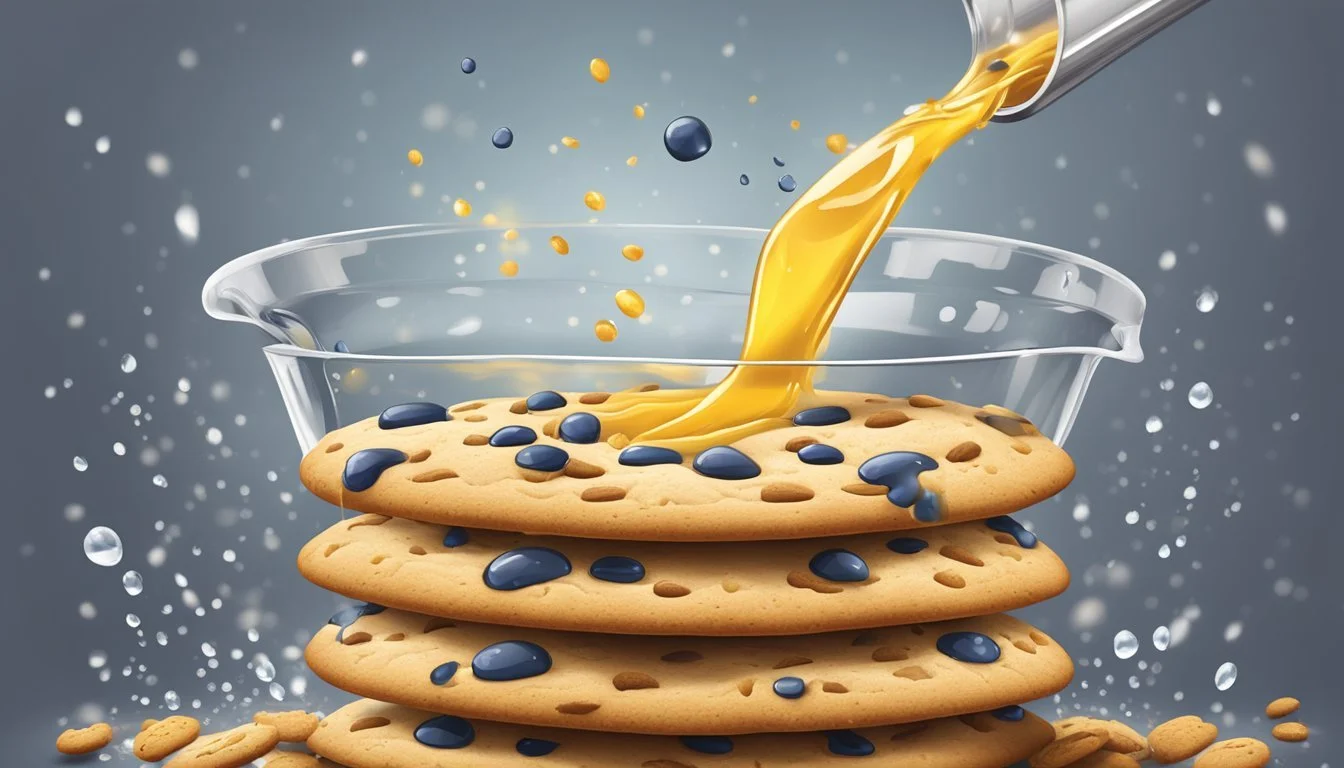
The foundation of a good cookie glaze starts with the ingredients. A basic recipe might include confectioners' sugar, light corn syrup, and a small amount of milk or water. Using a whisk, one should mix the confectioners' sugar with light corn syrup and milk until the mixture is free of lumps and has a smooth consistency. For flavor, vanilla or other extracts may be added.
Achieving the Right Texture
The glaze should be thick enough to coat the cookie without running off the edges but fluid enough to self-level and dry with a smooth finish. To test, dip a spoon into the glaze and lift it {above} the bowl—it should flow back into the bowl in a smooth ribbon. If it is too thick, add milk by 1/2 teaspoon increments; if too thin, gradually add more confectioners' sugar.
Coloring Your Glaze
Adding color to your glaze can be achieved with food coloring, with options including liquid, gel, or natural food coloring. Gel food coloring is recommended because it is more concentrated and won't thin out the glaze as liquid food coloring might. Using a toothpick, one can add a small amount of coloring and then thoroughly whisk it into the glaze until the desired color is reached. Always remember that it is easier to darken the glaze by adding more color than it is to lighten a color that is too dark.
Application Methods

In cookie glazing, precision in application ensures an even spread and a professional finish. The right tools can make the process simpler and more efficient.
Using a Piping Bag Efficiently
A piping bag is a confectioner's staple for controlled glazing. To fill a piping bag, it should be fitted with a nozzle suited to the desired glaze spread and placed into a tall glass to stay upright. Fold the edges over the glass rim before spooning the glaze in. This prevents spillage and keeps hands clean for an efficient workflow. When piping, apply consistent pressure for a uniform layer of glaze across the cookie. Here is a quick guide:
Prepare the Bag: Fit with desired nozzle; cuff over the rim of a glass.
Fill: Spoon glaze into the bag; avoid overfilling.
Seal: Twist the open end to close; this also helps manage pressure.
Pipe: Hold at a 90-degree angle for optimum spread; keep even pressure.
Alternative Glazing Tools
While a piping bag offers precision, other tools can be effective for glazing. A spatula can be utilized for a swift coating, suitable for a more rustic look. For smaller details or thinner spreads, a toothpick or the tines of a fork can maneuver into tight spaces. A squeeze bottle gives control similar to a piping bag and is ideal for dotting or writing. For those lacking specialized tools, a Ziploc bag with a tiny corner cut off can mimic a piping bag. The key is smooth, even pressure to achieve a professional finish. Here's a summary:
Spatula: Good for broad spreads; apply with sweeping motions.
Toothpick/Fork: Perfect for fine details; drag gently along the surface.
Squeeze Bottle: Offer controlled application for intricate designs; apply gentle pressure.
Ziploc Bag: A makeshift piping bag; cut a small corner for thin lines.
Finishing and Presentation

When the time comes to add the final touches to your cookies, it's important that the glaze sets properly, the decorating enhances the cookie, and the final product is stored correctly to maintain its quality.
Setting the Glaze
For a glaze to set with a hard finish, one must allow it sufficient time to dry at room temperature. A wire rack is beneficial for this purpose, as it lets air circulate around the cookie, helping the glaze harden evenly. If a refrigerator is used to expedite this process, be aware that condensation might affect the glaze's appearance. Placing the cookies on parchment paper before glazing can help with cleanup and prevent sticking.
Decorating Techniques
After applying the initial glaze and while it's still wet, one can create designs using sprinkles or sparkling sugar for added texture and visual appeal. A more precise decoration might involve using a toothpick or a small piping bag to add details with different colored glaze. One should always ensure the base layer of glaze is not too wet if they are adding additional layers, to prevent colors from bleeding into one another.
Storing Decorated Cookies
Once the cookies are decorated and the glaze has set, storage becomes the next important step. The ideal way to keep decorated cookies fresh is in an airtight container at room temperature. Separating the layers of cookies with parchment or waxed paper can prevent them from sticking together. If plastic wrap is preferred, it should only be used after the icing has completely hardened to avoid damaging the decorations. Cookies with a set glaze can generally be stored for several days without losing their texture and flavor.
Customizing Your Glaze
The beauty of a cookie glaze lies in its versatility. A basic glaze can be transformed with simple tweaks to flavor, color, and texture to complement the type of cookie it adorns, be it vanilla-rich classics or zesty lemon delights.
Flavor Variations
To infuse your glaze with different flavors, consider these additions:
Vanilla Extract: A staple for many bakers, vanilla extract adds a warm, classic flavor, suitable for gingerbread cookies or any basic sugar cookie.
Lemon Extract: For a fresh, zesty kick, especially delightful on lemon cookies, add a few drops of lemon extract.
Chocolate: To create a rich, chocolatey glaze, mix in melted chocolate or a tablespoon of cocoa powder.
Color Adjustments
Creating vibrant colors in your cookie glaze can be achieved with the following:
Food Coloring: Add a few drops of liquid or gel food coloring. Start with a little and adjust until the desired vibrancy is achieved.
Natural Colorants: For a more natural approach, consider using powdered freeze-dried fruit for color and flavor.
Texture Modifications
The texture of your glaze should be thick enough to coat but thin enough to spread.
For a thicker glaze: Incrementally add more powdered sugar until the desired thickness is reached.
For a thinner glaze: Dribble in milk or water, 1/2 teaspoon at a time, until smooth and pourable.
Troubleshooting Common Issues
In crafting the perfect cookie glaze, attention must be paid to consistency, color, and texture. Here are ways to address common glazing issues to ensure a flawless finish.
Preventing Dry or Cracking Glaze
A glaze that dries and cracks often lacks adequate moisture. To avoid this, one should ensure that the confectioners' sugar to liquid ratio is balanced. Typically, a ratio of one cup of confectioners' sugar to two tablespoons of milk or water provides a good starting point. It's also crucial to apply the glaze while it's fresh; as it sits, it thickens and risks cracking when set.
Fixing Overly Thin or Thick Glaze
For a glaze that's too thin, gradually add confectioners' sugar by the teaspoon until the desired thickness is achieved. Conversely, if the glaze is too thick, add liquid in tiny increments—half a teaspoon at a time is prudent. Remember that achieving the perfect consistency may require patience and small adjustments.
Issue Solution Thin glaze Add confectioners' sugar by the teaspoon. Thick glaze Add liquid (milk, water, or lemon juice) sparingly.
Avoiding Coloring Mishaps
When aiming for a specific hue, add liquid food coloring one drop at a time to prevent oversaturation. For a more controlled approach, a toothpick dipped in food coloring can be swirled into the glaze. To avoid altering the consistency with too much liquid, use clear vanilla extract or gel-based colorants which don't contribute additional moisture.
Coloring Tip Reason Use clear vanilla extract for pure colors Prevents the coloring of the glaze by the extract Add food coloring drop by drop Eases control over final color
Nutritional Information
The nutritional content of a cookie glaze primarily involves sugar content, caloric value, and the way servings and portions affect overall consumption. Understanding these metrics can lead to better dietary decisions when indulging in sugar cookies.
Calculating Sugar Content
The sugar content in a cookie glaze can vary depending on the recipe. For a basic glaze made with powdered sugar, corn syrup, and a liquid such as milk, calculating the total sugar involves adding the sugar present in each ingredient. One should note the following for a standard glaze recipe:
Powdered Sugar: Approximately 1/4 cup (30 grams) has about 120 calories and 30 grams of carbohydrates, all of which are sugars.
Corn Syrup: 1 tablespoon contains around 57 calories and 15.5 grams of sugar.
Milk: A negligible amount of sugar, unless a sweetened variety is used.
To calculate the total sugar content, one must sum the sugar from each component based on the actual quantities used.
Understanding Servings and Portions
Portion control is essential to maintain nutritional balance, especially when it comes to sugar cookies that are often glazed. The caloric impact of the glaze should be accounted for in addition to the cookie itself. Key nutritional metrics per serving might include:
Calories: A typical glaze adds about 20-30 calories per cookie.
Sodium: Minimal in glazes, but should be monitored in the context of the whole cookie.
Calcium: Present in small amounts from the milk, contributing to the daily requirement.
Potassium: Usually not a significant component of a glaze.
A serving size may traditionally be one glazed cookie. However, these numbers can assist in determining how many cookies constitute an appropriate portion in the context of an individual's dietary needs.
Advanced Techniques and Tips

Achieving the perfect liquid consistency for a cookie glaze is essential for both taste and decoration. With the right techniques, one can elevate their cookie decorating to a professional level.
Creating Artistic Designs
When creating artistic designs, the glaze must be at the proper consistency to ensure precision. To achieve intricate patterns, one may consider using squeeze bottles or piping bags with various tip sizes. Squeeze bottles work exceptionally well for fine lines and dots, while piping bags fitted with small round tips are ideal for more detailed work. To test the flow of the glaze, decorators can practice on wax paper before applying to the cookies. Another method for unique designs is the 'bake mode' technique, where thin lines of glaze are applied into the cookie dough before baking, creating a baked-in pattern.
Practice and Patience
Mastering the art of cookie decorating requires both practice and patience. It is recommended that decorators start with a test cookie to fine-tune the glaze's consistency and to get a feel for the application process. When working with the test cookie, they should note how the glaze spreads and sets. Adjustments can be made accordingly by adding more liquid to thin the glaze or more powdered sugar to thicken it. Once the glaze is applied, cookies should be left to dry on a wire rack to ensure an even and smudge-free finish. Practice will gradually lead to a better understanding of how different consistencies affect the final result.
