
Sourdough Pizza Crust
A Step-by-Step Guide to Perfecting Your Homemade Pie
Sourdough pizza (What wine goes well with pizza?) crust brings a delightful twist to traditional pizza with its unique tangy flavor and chewy texture. This culinary treat marries the age-old fermentation process of sourdough with the universally loved pizza. The process of creating sourdough pizza crust involves nurturing a live culture of flour and water, known as sourdough starter, which acts as a natural leavening agent.
Crafting the perfect sourdough pizza crust requires attention to detail and patience. The key lies in managing the fermentation of the dough, which can impart profound depth to the flavor profile. The technique involves a series of stretching and folding to develop the dough's gluten structure, resulting in an airy and light crust. Proper fermentation also ensures a crisp exterior complemented by a soft interior, which serves as the foundation for various creative toppings.
Making this crust at home can be an enjoyable and rewarding experience. The method begins with combining quality ingredients and then moving through stages of resting, shaping, and baking. During the process, aspiring bakers become attuned to the nuances of the dough, understanding its readiness by texture and growth. With practice, home chefs can achieve a restaurant-quality sourdough pizza crust that is both delicious and a testament to the art of baking.
The Sourdough Starter: Foundation of Flavor
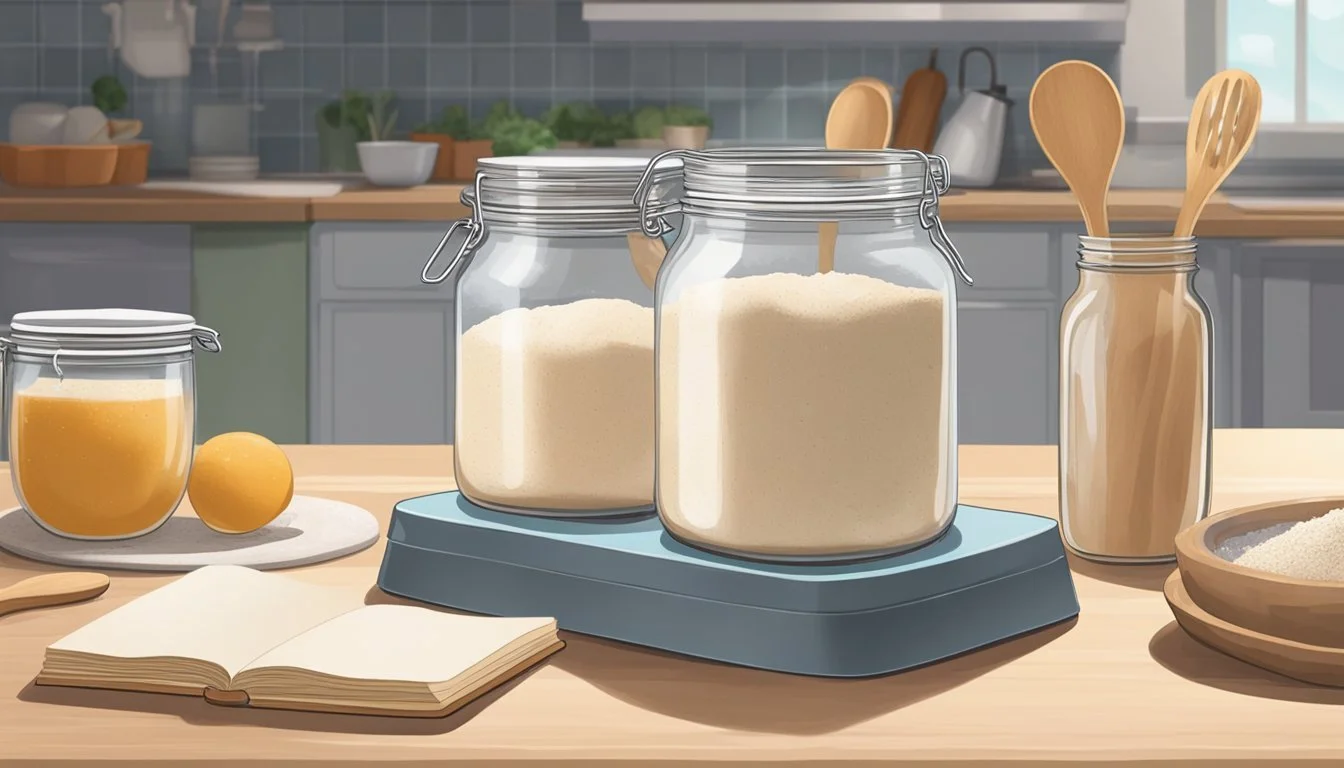
A sourdough starter is a mixed culture of yeasts and bacteria that serves as the leavening agent in sourdough baking. It imparts a characteristic tang and depth of flavor to the pizza crust that is highly prized among aficionados.
Creation and Maintenance: The starter is created by combining flour and water and allowing it to ferment. This environment becomes a breeding ground for wild yeast and lactic acid bacteria. As they feed on the flour, they produce gases, which cause the dough to rise.
Feeding Schedule:
Daily Feeding: for an active sourdough starter
Weekly Feeding: for a starter kept in the fridge for less frequent use
Ingredients:
Flour (usually a 50/50 blend of whole wheat and all-purpose flour)
Water (clean and chlorine-free)
The consistency of the starter affects its activity. A thick, paste-like starter will ferment more slowly than a thinner one. After establishment, sourdough starter requires regular feedings to maintain its health and yeast activity.
The term "discard" refers to the portion of the starter that is removed before feeding. It's not wasted; this discard is ideal for pizza crusts, providing structure and flavor without overly intense sourness.
Fermentation and Flavor: During fermentation, yeasts and bacteria produce organic acids, carbon dioxide, and ethanol, which contribute to the flavor and texture of the dough. A well-maintained starter will have a balance of acidity and yeast activity, resulting in a flavorful dough that rises predictably.
In sourdough pizza crust, the starter plays the dual role of flavor foundation and leavening agent. Aeration and flavor complexity in the crust are direct results of the starter’s fermentation process.
Thus, care of the sourdough starter is crucial. A robust starter will yield a pizza crust with excellent texture, rise, and taste nuances that can't be replicated with commercial yeast.
Creating the Perfect Dough
Creating the perfect sourdough pizza dough involves precise steps that lead to a delectable crust. Starting with the right balance of flour, water, salt, and starter, meticulous kneading and fermentation are key to developing the ultimate texture and flavor.
Mixing and Autolyse
Ingredients:
Flour
Water
Sourdough starter
Salt
To commence, one combines flour and water to initiate the autolyse process. This crucial stage allows the flour to fully hydrate, which aids in gluten development without the interference of salt or starter. Begin by mixing a precise amount, typically a hydration level of 65-70%, of water with flour and let the mixture rest for about 20 to 30 minutes.
Kneading and Developing Gluten
Method:
Add the sourdough starter and salt to the autolysed mixture.
Use hands or a dough mixer to combine the ingredients until they just come together.
Knead the dough by stretching and folding for improved gluten development.
Kneading the dough post-autolyse is where one strengthens the gluten network, giving it the structure and elasticity necessary for a chewy crust. This can be performed through a series of stretches and folds, repeated at intervals, which enhances the dough's extensibility.
Bulk Fermentation Principles
Key Factors:
Temperature: Keep dough at a stable, warm temperature to encourage yeast activity.
Time: Bulk fermentation can take from 4 hours up to 12 hours depending on kitchen temperatures and desired dough maturity.
During bulk fermentation, the dough should be kept at a consistent warm temperature to facilitate yeast and bacterial activity. This leads to both leavening and flavor development. The dough will increase in volume and should display a network of bubbles when ready. The timing of bulk fermentation can vary based on ambient conditions; patience here will yield a more nuanced flavor in the crust.
Shape and Pre-Bake

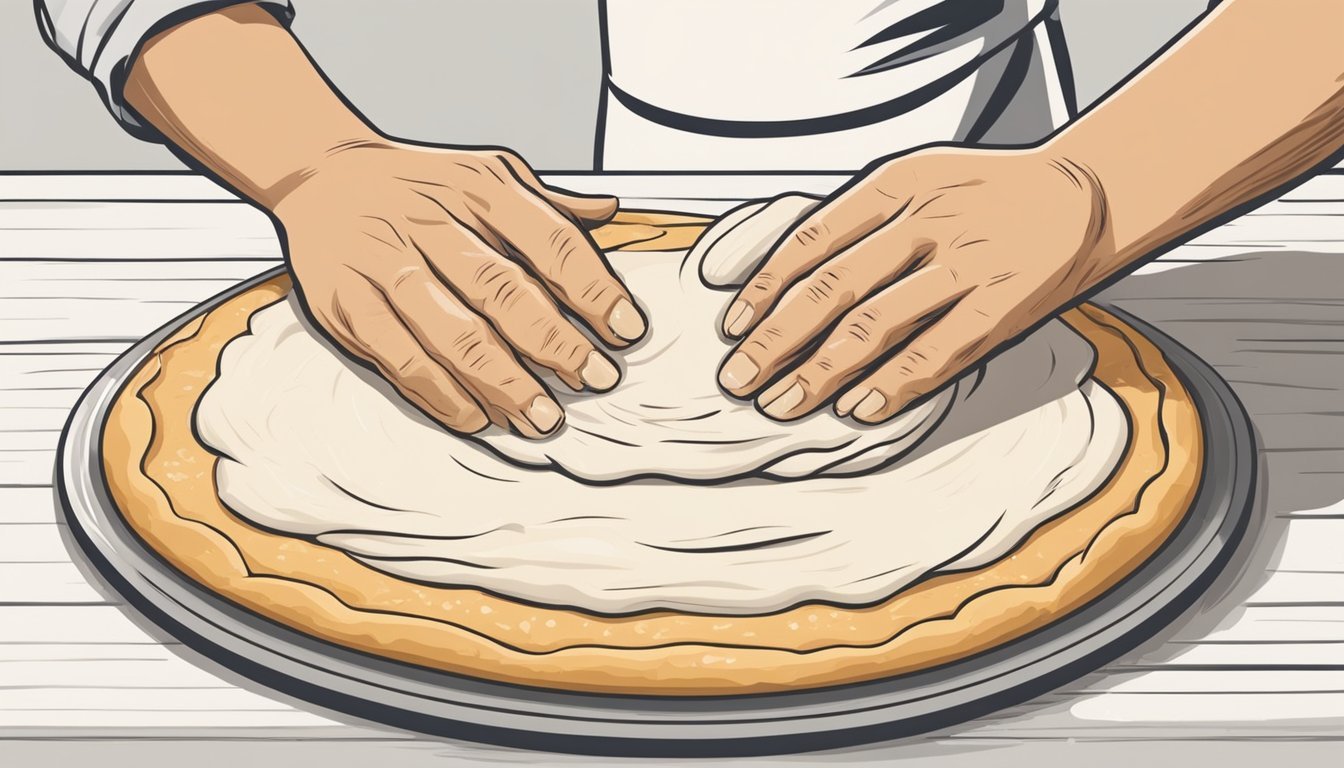
Shaping the dough correctly establishes the foundation for a delicious sourdough pizza, while the pre-bake process can enhance the crust's texture and prevent sogginess.
Dividing and Shaping
After the dough has risen, it should be divided based on the desired size of the pizzas. Each portion of pizza dough should be shaped carefully to maintain an even thickness across the base, leaving the edges slightly thicker to form a crust. For best results, the dough can be shaped by hand or using a rolling pin on a surface lightly dusted with a mixture of all-purpose flour and rice flour to prevent sticking.
The Importance of Stretch and Fold
The stretch and fold method is essential to develop the gluten network within the pizza dough, contributing to the elasticity and strength of the pizza base. By reaching into the bowl, they should pull the dough up and towards the center, rotating the bowl and repeating this action 8 to 10 times. This technique also helps in evenly distributing air bubbles, contributing to a lighter, airy crust with well-defined edges.
Par-Baking Pros and Cons
Par-baking the crust before adding toppings has several advantages. It ensures a crispier bottom, prevents the dough from becoming soggy, and helps maintain the crust's structure. One can par-bake by placing the shaped dough on parchment paper and into the preheated oven for a few minutes until the dough is set but not fully browned. However, overdoing it might result in an overly crisp or tough crust. It's also helpful to note that some toppings, like parmesan, might benefit from being added after this stage to prevent burning.
Toppings and Flavor Pairings
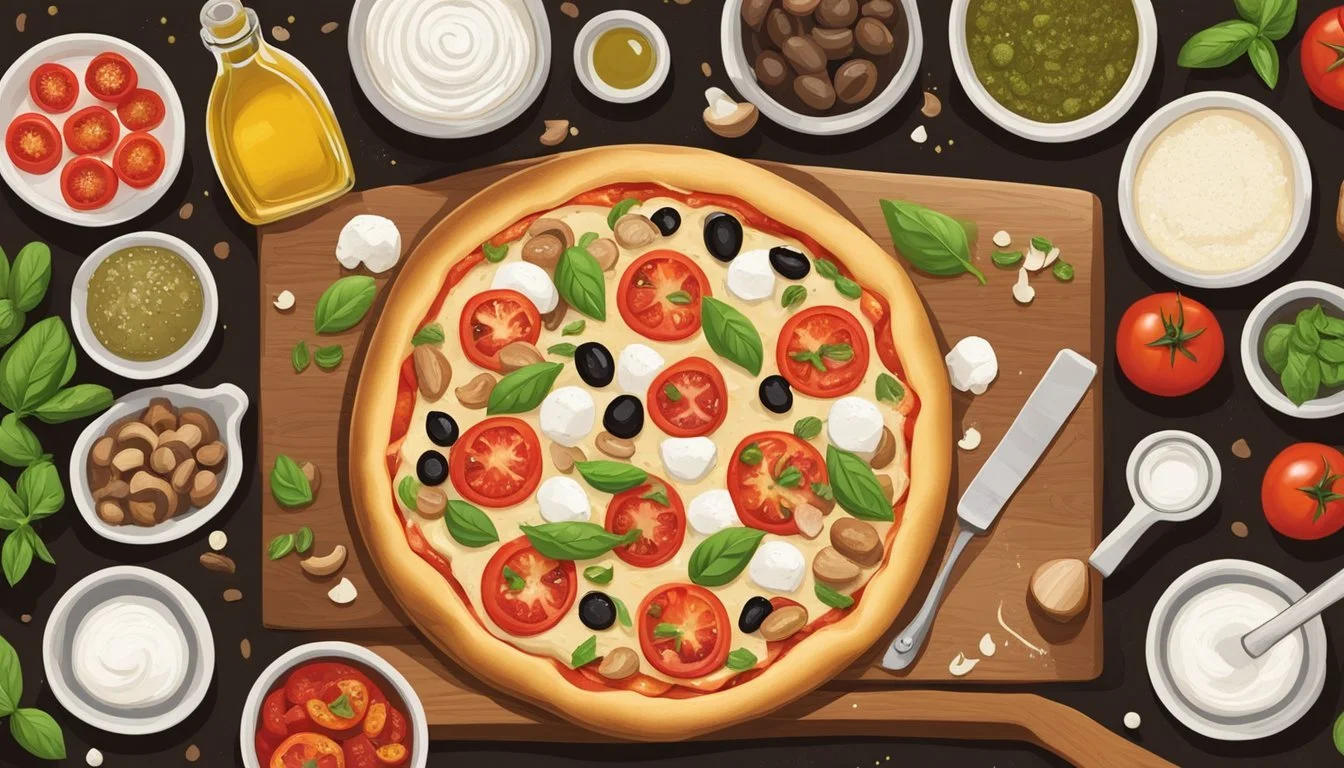
The right combination of toppings and their flavor profiles can elevate the taste of a simple sourdough pizza crust to a gastronomic delight. When choosing toppings, consider both individual flavors and how they blend together.
Choosing Your Toppings
One should select toppings that complement the tangy profile of sourdough. Traditional toppings like pepperoni or sausage offer a savory punch that stands up well to a robust crust. When opting for cheese, fresh mozzarella is a classic choice, known for its creamy and mild flavor, which allows the sourdough's character to shine through. A sprinkle of parmesan adds a nutty depth. Vegetarian options can include a combination of olives, caramelized onions, or bell peppers. For those who enjoy a hint of sweetness, pineapple can be a daring but rewarding topping.
Meat options: pepperoni, sausage, bacon
Cheese choices: fresh mozzarella, parmesan
Vegetarian delights: olives, bell peppers, caramelized onions
Balancing Flavors and Textures
Achieving harmony between flavors and textures on a pizza is an art. A base of tomato sauce brings acidity and moisture, which harmonizes with the crisp crust and the richness of the toppings. Fresh herbs like basil contribute a fresh, aromatic element that can uplift the overall flavor profile. The goal is to create a balance where no single topping overpowers another. Layer delicate toppings like fresh mozzarella sparingly to prevent a soggy crust, and finish with a drizzle of olive oil for a subtle, fruity contrast that dances on the palate.
Sauce: tomato sauce as a bright, tangy foundation
Herbs: fresh basil for a burst of aroma
Balance: layer toppings for optimal flavor and texture without overwhelming the crust
Baking Techniques for the Ideal Crust
Perfecting sourdough pizza crust hinges on the mastery of baking techniques that accentuate its crispy exterior and chewy interior. Proper preheating of the oven and the use of either a pizza stone or steel are crucial for achieving the desired texture and thickness of the crust.
Preheating Your Oven
A key step to baking the ideal sourdough pizza crust is to thoroughly preheat the oven. This ensures a quick and even cooking process, contributing to a crispy and properly browned crust. It is recommended to preheat the oven to a high temperature, typically between 500°F (260°C) and 550°F (288°C), for at least one hour before baking the pizza. This high heat mimics the conditions of a wood-fired pizza oven and is essential for the crust to develop its characteristic texture.
Using a Pizza Stone or Steel
To achieve a pizza with a crisp base and chewy rim, the use of a baking stone or baking steel is advisable.
Pizza Stone: Usually made from ceramic or cordierite, a pizza stone has excellent heat retention and provides a direct, scorching surface to bake the crust.
Preheat: It should be placed in the oven during the preheating stage so it's up to temperature when the dough is ready to bake.
Baking Steel: A steel slab that conducts heat more effectively than stone, creating even crispier crusts.
Heat Conductivity: The steel's superior thermal properties help in creating an evenly baked bottom with a shorter cooking time.
To handle the dough safely and efficiently, one should utilize a pizza peel, preferably lightly dusted with flour, for transferring the pizza to and from the hot stone or steel. A baking sheet can be an alternative, though results may vary in terms of achieving the same degree of crispness and chewiness as with a stone or steel.
Serving and Presentation

When presenting a homemade sourdough pizza, the visual appeal is as significant as the taste. Ideally, the pizza should be served hot, directly after it comes out of the oven. A wooden cutting board can serve as both a rustic serving platter and a cutting surface, enhancing the homemade and artisanal feel of the meal.
Neapolitan-style sourdough pizzas, known for their blistered crust and minimalistic toppings, are best enjoyed by slicing into wedges. Each slice should showcase the airy pockets within the sourdough crust, a testament to the proper fermentation and baking process. Long, smooth cutting motions ensure the toppings remain intact.
For meal prep, pre-cutting the pizza into servings allows for an easy distribution among diners. This can also preserve the crust's integrity, as repeated cutting on the board might crush the delicate structure created by the sourdough's rise.
For a more communal experience, consider serving sourdough focaccia-style pizza. This method involves baking the pizza in a rectangular shape and cutting it into squares or strips, which makes for easy sharing and can accommodate larger groups.
To maintain the pizza's consistency, use a serrated knife or pizza cutter. This ensures the crust and toppings are sliced through cleanly without dragging or tearing.
Lastly, ensure the presentation matches the occasion. Informal gatherings might not require more than a napkin, while a thoughtfully set table with plates and cutlery enhances the experience for formal dining situations. Regardless of the setting, the focus should remain on the quality and flavor of the sourdough pizza, honoring the craftsmanship behind it.
Storage Solutions
Proper storage is essential for maintaining the quality of sourdough pizza crust dough before baking. One can either refrigerate it for short-term use or freeze it for longer preservation.
Refrigeration Tips
When storing the dough in the refrigerator, it should be placed in a container with sufficient space to allow for the dough’s expansion as it continues to slowly ferment. The container must be sealed well to prevent the dough from drying out and to keep unwanted odors at bay. Typically, refrigerated sourdough pizza crust dough will last up to 48 hours.
To use, one should remove the dough from the fridge and allow it to come to room temperature for approximately 1 hour before shaping and baking. This allows the gluten to relax and makes it easier to work with.
Freezing for Longevity
To freeze sourdough pizza crust dough, one must first divide the dough into portions that would be enough for individual pizzas. Each portion should then be wrapped in plastic wrap and placed in an airtight bag to prevent freezer burn.
Steps for freezing sourdough pizza crust dough:
Wrap: Securely wrap the dough in plastic wrap.
Bag: Place the wrapped dough in a freezer bag.
Label: Mark the bag with the date of freezing.
Sourdough pizza crust dough can be stored in the freezer for up to 3 months. When ready to use, thaw it in the refrigerator overnight, then proceed to bring it to room temperature before stretching and baking. Freezing preserves the dough’s integrity while halting yeast activity, but it’s essential to thaw it correctly to ensure a quality crust.
