
How to Convert Your Grill into a Pizza Oven
Unleash Gourmet BBQ Pizza at Home

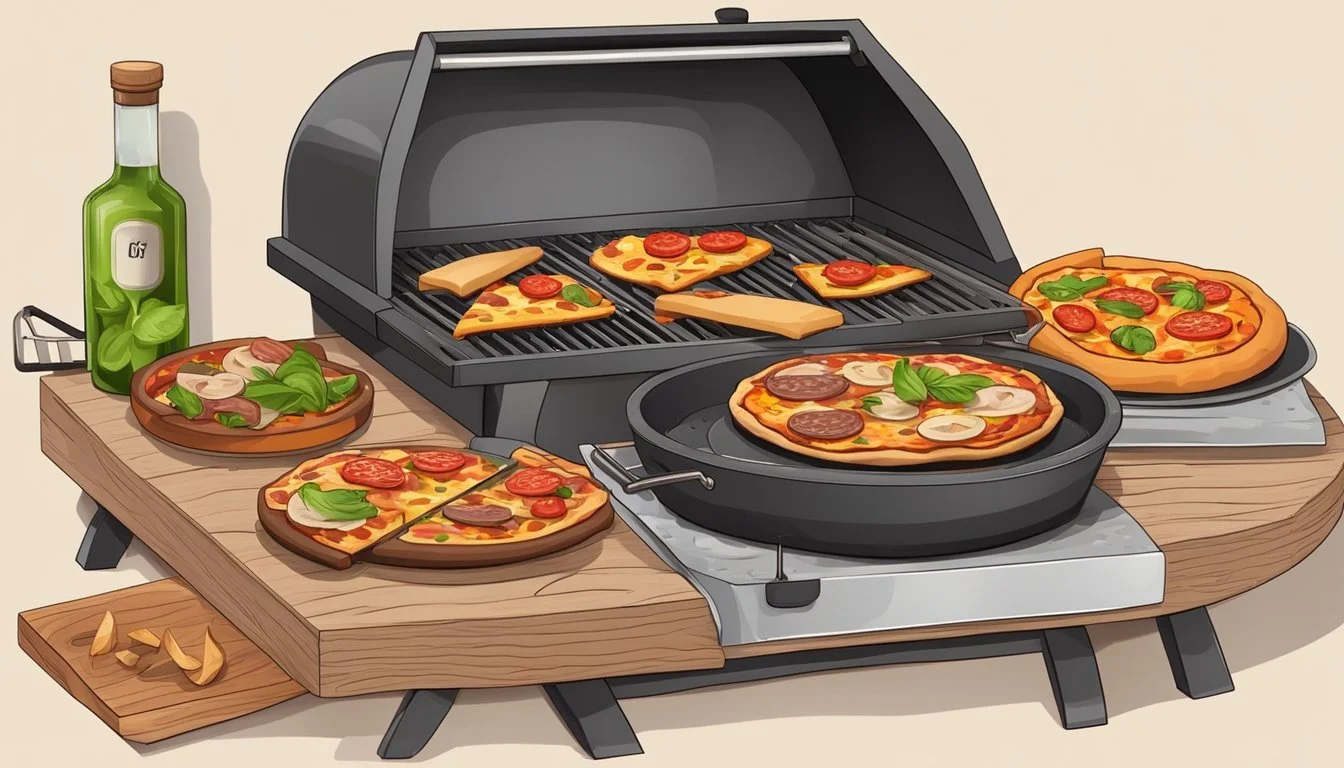
Converting a traditional grill into a pizza (What wine goes well with pizza?) oven can elevate the backyard barbecue experience, providing a creative and cost-effective way for enthusiasts to enjoy homemade pizzas with that authentic, wood-fired flavor. The transformation harnesses the high heat capacity and versatility of a gas grill, which, when modified, mimics the cooking environment of a pizza oven. This process is surprisingly straightforward and does not necessarily require special tools or equipment, making it an accessible option for many grill owners.
The key to successful grill-to-pizza oven conversion lies in the ability to achieve and maintain the high temperatures needed to cook a perfect pizza crust while simultaneously ensuring that toppings are cooked through and cheese is perfectly melted. Specialized accessories such as pizza stones, which absorb and radiate heat evenly, are commonly utilized in this process. They create the crisp base and beautifully charred edges associated with traditional pizza ovens.
This technique may involve simple adjustments to the grill setup, such as manipulating the burners and heat zones to create the ideal cooking conditions. For those who prefer DIY solutions, household items like bricks can be used to support a baking steel or stone, enhancing the grill's heat retention. The conversion not only broadens the culinary potential of a standard gas grill but also brings the unique flavor and satisfaction of hand-crafted pizzas right to one's own outdoor space.
Understanding the Basics of Grill Conversion
Converting a grill into a pizza oven involves recognizing how heat is distributed differently by these appliances. A successful transformation hinges on creating the consistent high temperature and even heat necessary for perfect pizza crust.
Difference Between Grills and Pizza Ovens
Pizza ovens and grills operate on distinct heating principles, essential for understanding how to replicate a pizza oven's environment. Pizza ovens are designed to reach higher temperatures—often above 800°F—crucial for achieving the distinct char and crispness of a traditional pizza crust. They achieve this through all-around heat encompassing the pizza.
In contrast, grills typically cook by direct heat from below, making it challenging to hit the high temperatures at the top of the grill space. This factor can affect the pizza's crust and cooking speed, with potential for an undercooked top and overdone bottom.
Essential Factors in Pizza Oven Design
The design of a pizza oven addresses key factors that need to be replicated on a grill for optimum pizza cooking:
High Temperature: Adequate insulation and heat reflection in pizza ovens reach and maintain the high temperatures necessary for baking pizza quickly and evenly.
Heat Distribution: Pizza ovens are engineered for uniform heat distribution, using a dome shape and reflective materials. Their design avoids cold spots and provides the even cook that is hallmark to good pizza.
Crust: The hot floor of a pizza oven contributes to a crispy crust by conducting high heat directly to the pizza base.
To mimic these conditions on a grill, one must ensure that the grill can reach a sufficient temperature and maintain it throughout the cooking process. Heat must be distributed evenly across the pizza, which usually requires modifications like a pizza stone that mimics the floor of a pizza oven and possibly a means to direct heat over the top of the pizza.
Gathering Your Tools and Materials
Before one begins the transformation process, it's imperative to secure the right tools and high-quality materials. These essentials will make the conversion efficient and yield the best results for that perfect crispy crust and well-cooked toppings.
Choosing the Right Materials
The foundation for converting a grill into a pizza oven involves selecting materials that can withstand high temperatures and retain heat. Fire bricks and stainless steel or cast iron are top choices due to their durability and heat resistance. For the pizza base, a pizza stone or baking steel is vital, as they provide a consistent heat surface necessary for an evenly baked crust.
Fire bricks: To create an even cooking environment by reflecting heat.
Stainless steel or cast iron sheet metal: For constructing a heat shield if necessary.
Pizza stone or baking steel: To place directly on the grill grates and act as the cooking surface.
Specialized Equipment Needed
In addition to fire bricks and a baking surface, a few specialized tools will be essential for managing the pizza and monitoring cooking conditions.
Pizza peel: Utilized to safely place and remove pizzas from the heated grill.
Thermometer: Crucial for keeping track of the grill’s internal temperature, ensuring it is hot enough to bake pizza effectively.
Aluminum foil: Handy for wrapping handles of the cast iron grill or stone to prevent overheating and creating a makeshift lid for temperature control.
- **Pizza Peel:** A long-handled tool for transferring pizza.
- **Thermometer:** For precise heat monitoring.
- **Aluminum foil:** For various heat management tasks.
Gathering all necessary tools and materials will set one on the path to successfully converting their grill into a pizza oven, capable of producing delectable BBQ pizzas that rival those from specialty pizza ovens.
Converting Your Grill Step-by-Step
Transforming your grill into a makeshift pizza oven can lead to optimal results with a few adjustments. Proper heat source and temperature control are essential for even heat distribution and achieving an authentic pizza oven experience.
Creating a Makeshift Pizza Oven
To simulate the environment of a pizza oven, you'll need to create an area of intense, direct heat and an area of indirect heat within your grill. Begin by placing a pizza stone on the grill grates to provide a suitable cooking surface for the pizza. Preheat your grill with all burners on high for at least 15-20 minutes, allowing the pizza stone to reach an adequate temperature. This is a critical step to ensure proper heat distribution and a crisp pizza base.
Ensuring Heat Source and Temperature Control
Maintaining the right temperature is a pivotal factor when using your grill as a pizza oven. To monitor the temperature consistently, use a grill thermometer placed near the pizza stone. The ideal temperature for cooking pizza is between 450-500°F (232-260°C). Once the desired temperature is achieved, reduce the heat of the burners under the pizza stone to maintain a consistent temperature while keeping the other burners on to continue emitting heat.
To maintain even heat distribution, it's imperative to regularly rotate the pizza during the baking process.
Cover the grill to contain the heat but check periodically to prevent overheating or burning the pizza.
Perfecting Your Pizza Dough
When making pizza on a grill, the dough is the foundation of a great homemade pizza. The key to success lies in choosing the right dough recipe and mastering the handling of the dough to achieve the perfect crust.
Dough Recipes for Grilled Pizzas
Traditional pizza dough recipes, tailor-made for grilling, often encompass a blend of strong bread flour for structure and softer flour for a tender bite. A basic dough might combine:
500g of bread flour
1 tsp of fine sea salt
2 tsp of dry yeast
1 tsp of sugar
325ml of warm water
2 tbsp of olive oil
For those seeking a whole wheat alternative:
400g of whole wheat flour
100g of bread flour
1 tsp of fine sea salt
2 tsp of dry yeast
1 tsp of sugar
350ml of warm water
2 tbsp of olive oil
Remember to let the dough rise until it doubles in size for maximum flavor and texture.
Working with the Dough and Crust
Once the dough is ready, liberally dust a surface with flour or cornmeal to prevent sticking. Divide the dough into balls for individual pizzas. Flatten these into discs before gently stretching or rolling them to a thickness where the crust is hearty but not bulky.
For the bottom crust, one should aim for a consistent thickness to ensure even cooking on the grill. Expert grillers might opt to lightly coat the crust with olive oil to encourage a golden hue, but caution is advised as excessive oil can cause the dough to become soggy.
Transfer the prepped crust onto a pizza stone or the grill using a pizza paddle, adding a sprinkle of cornmeal to the stone to facilitate easy removal of the cooked pizza.
Mastering Toppings and Cheese
Crafting the perfect BBQ pizza on your converted grill involves not just the dough and crust, but also a harmonious blend of toppings and cheese. The right selection and combination can elevate homemade pizzas from good to extraordinary, with a golden brown, bubbly cheese topping as the pièce de résistance.
Exploring Various Toppings Options
When selecting toppings for a pizza, one should consider flavor, texture, and how well they will cook on the grill. A variety of vegetables like bell peppers, onions, and mushrooms should be thinly sliced to ensure they cook quickly and evenly. Meats such as pepperoni, sausage, or grilled chicken complement these vegetables well and add rich flavors. Here is a suggested list for topping combinations:
Classic: Pepperoni, sliced mushrooms, and bell peppers
BBQ Chicken: Grilled chicken, red onions, and a drizzle of BBQ sauce
Vegetarian Delight: Sliced tomatoes, spinach, olives, and artichoke hearts
Getting the Cheese Right
Choosing the right cheese for your pizza means looking for meltability and flavor. Mozzarella is the go-to choice for its excellent melting properties and mild taste, which complements other ingredients without overpowering them. For a more intense flavor, one might add portions of cheddar or gouda. To achieve that desirable golden brown appearance, it's crucial to evenly distribute cheese over the sauce and toppings. Apply the following guidelines for cheese:
Mozzarella: Shred it freshly for better melting and coverage.
Provolone or Gouda: Add slices for a smoky flavor.
Parmesan: Use it grated for a salty, savory finish.
Remember, the grill's high heat can turn cheese from molten to burnt quickly, so keeping an eye on the pizza as it cooks is vital.
Cooking the Perfect BBQ Pizza
To turn a backyard grill into a makeshift pizza oven, it's essential to understand preparation routines and the nuances of grilling techniques that ensure a crispy crust and even browning.
Preparation Routines for Pizza Night
A person must begin with preparing the dough and assembling toppings. The dough should be rolled out to the desired thickness and brought to room temperature before grilling. It's also recommended to prepare all the toppings ahead of time to streamline the cooking process. One should preheat their grill to a temperature range of 450-500°F, which is ideal for pizza. This high heat mimics the environment of a traditional pizza oven and contributes to a perfectly crispy crust.
Preheat the Grill: Bring the grill up to temperature.
Assemble Ingredients: Prep toppings and have them ready for quick application.
Dough Ready: Allow the dough to reach room temperature for easy handling.
Grilling for the Perfect Crust and Browning
To achieve the perfect crust and browning, a person must carefully manage direct and indirect heat. Place a pizza stone or heavy baking sheet on the grill grates to distribute heat evenly and provide a surface that can withstand high temperatures.
Direct Heat: Initially, cook the pizza dough over direct heat for 1-2 minutes until it starts to bubble.
Indirect Heat: Move the pizza to indirect heat after adding toppings, and close the lid to create convection-like conditions that cook toppings and melt cheese.
Cooking Time: It typically takes about 5-7 minutes for the pizza to cook, depending on the grill and dough thickness.
The key is to monitor the pizza carefully to ensure the crust is crispy and evenly cooked without burning. For most grills, the cook will rotate the pizza midway through the cooking time to ensure even browning. Once grill marks form and cheese bubbles, the pizza is ready to enjoy. Grilling season is the perfect time to experiment with this method for an authentic wood-fired pizza flavor.
Advanced Techniques and Tips
The reader should note that achieving authentic wood-fired pizza flavor and ensuring safety during the transformation process are key to successfully converting a grill into a pizza-making machine.
Achieving Wood-Fired Flavor
To replicate the smoky flavor characteristic of wood-fired pizza ovens, utilize wood chips or chunks suitable for cooking. They should be placed directly on the charcoal of a kettle grill or within a smoker box if using a gas grill. For a more intense smoky flavor, soak the wood chips in water for about an hour before using them. Another option is to employ a cast iron smoker box, which can be set directly on the grill grates. This container allows wood chips to smolder and produce smoke without catching fire.
Safety and Maintenance Tips
When undertaking modifications to a grill, safety is paramount. Users should:
Regularly inspect gas connections and hoses for leaks on gas grills.
Keep a fire extinguisher within reach in case of emergencies.
Ensure that all modifications do not impede the grill’s ventilation or structural integrity.
For maintenance:
Clean the pizza stone after each use by scraping off any residue and allowing it to cool before washing.
After use, inspect grate condition and brush off any stuck-on food particles.
If a cast iron grate is being used, season it regularly to prevent rust and ensure a non-stick surface.
Adapting to Different Types of Grills
Converting a grill into a pizza oven requires specific adjustments based on the type of grill. Users need to account for fuel sources, heat distribution, and structural differences when making these adaptations.
Modifications for Gas Grills
For gas grills—whether propane or natural gas—heat retention is the primary focus. Users often face the challenge of heat escaping due to the design of their grill's lid, which is typically not optimized for pizza oven-style cooking. To combat this, one can:
Remove grates and burners: Creating space is essential for placing a pizza stone and ensuring optimal heat distribution.
Implement a pizza stone: A high-quality pizza stone absorbs and evenly distributes heat, mimicking the base of a traditional pizza oven.
Tip: Preheat the pizza stone for at least 15-20 minutes to achieve the desired cooking environment.
Adjusting to Charcoal and Kettle Grills
For charcoal and kettle grills, control over the placement and quantity of coal is key. These grills can excel in mimicking the wood-fired pizza oven environment given the right setup.
Create indirect heat zones: Users need to strategically place coals to one side of the grill, providing both intense heat and cooler areas.
Use a pizza stone: Similar to gas grills, a pizza stone is placed directly over the coals to capture and radiate heat.
Equipment: Besides a quality pizza stone, users may opt to utilize bricks or specialized grill inserts to facilitate better airflow and temperature control.
Environment: Since charcoal grills are often more open, environment factors like wind can affect temperature. Adjust the airflow using the grill's vents to stabilize the cooking temperature.
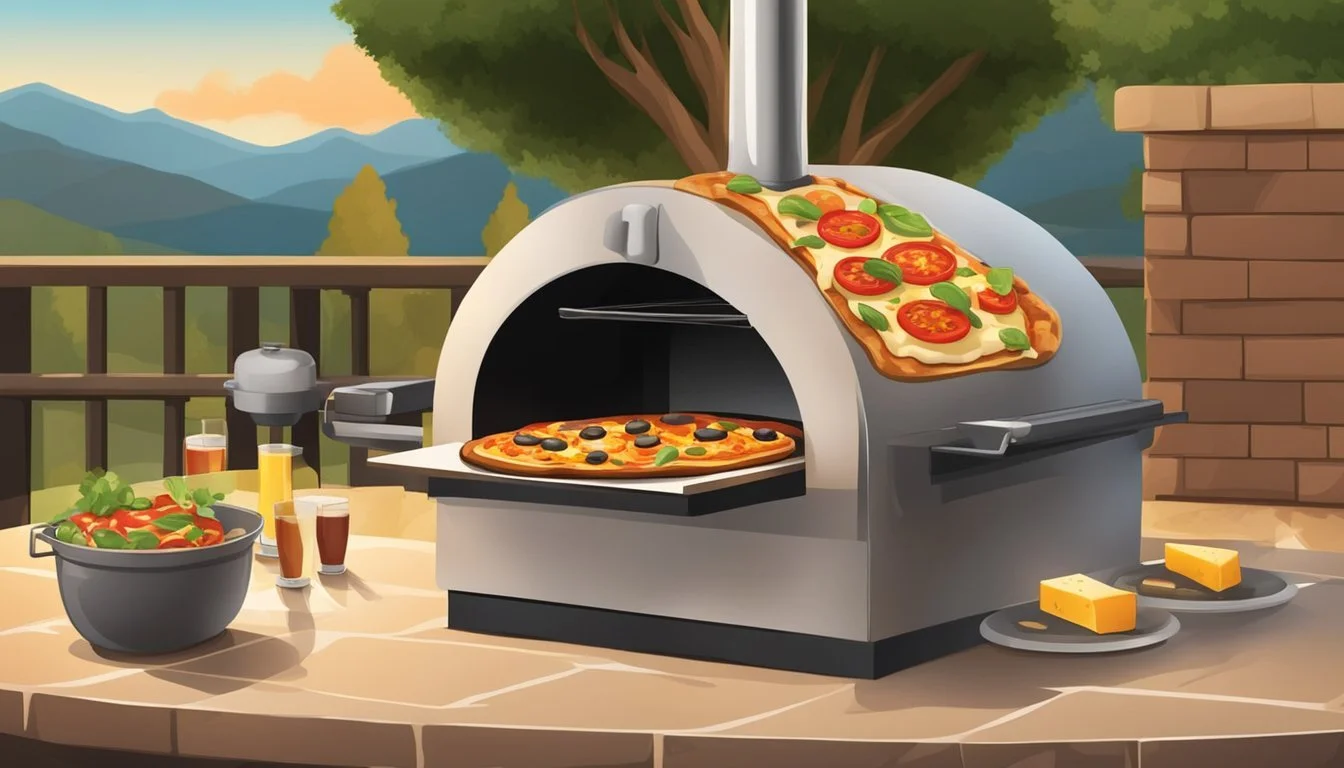
Enhancing the Pizza Oven Experience
To elevate the art of backyard pizza making, one can invest in specific accessories and cultivate a memorable atmosphere for every pizza night, maximizing both the functionality of traditional and brick pizza oven conversions and the overall enjoyment.
Adding Accessories and Decor
Upgrading one's grill to a pizza oven can be complemented by a suite of essential tools and decorative elements. Here is a brief outline of crucial items:
Pizza Peel: A long-handled pizza peel is indispensable for safely placing and removing pizzas from the hot surface.
Pizza Stone: Utilizing a pizza stone ensures even heat distribution, mirroring the effect of traditional brick pizza ovens.
Cutting Tools: A pizza cutter or pizza scissors provide precision in serving consistent and cleanly sliced pieces.
Thermometer: Monitoring the grill's temperature can be made precise with the use of an infrared thermometer or grill-specific thermometer.
Strategic decor enhances the ambiance. Strings of outdoor lights or lanterns can evoke the warmth of a summer evening, while rustic table settings with checkered tablecloths can evoke the charm of an authentic pizzeria.
Creating a Summer Pizza Party Atmosphere
A perfect pizza night is about more than great food—it's about the experience. Here are several approaches:
Invitations: Send out personalized invitations to set the tone for a summer pizza party.
Outdoor Comfort: Encourage relaxation with comfortable outdoor seating and perhaps some background music.
Interactive Food Station: Set up a topping bar where guests can customize their pizzas, fostering a collaborative and festive environment.
Activities and Games: Offering lawn games or other activities can keep guests entertained while pizzas are being baked.
In summary, the right equipment paired with a thoughtfully crafted atmosphere turns a simple pizza grill setup into an immersive experience, perfect for summer gatherings in the backyard.
