
How to Make a Smoker Out of Your Existing Grill
Simple DIY Upgrade Guide
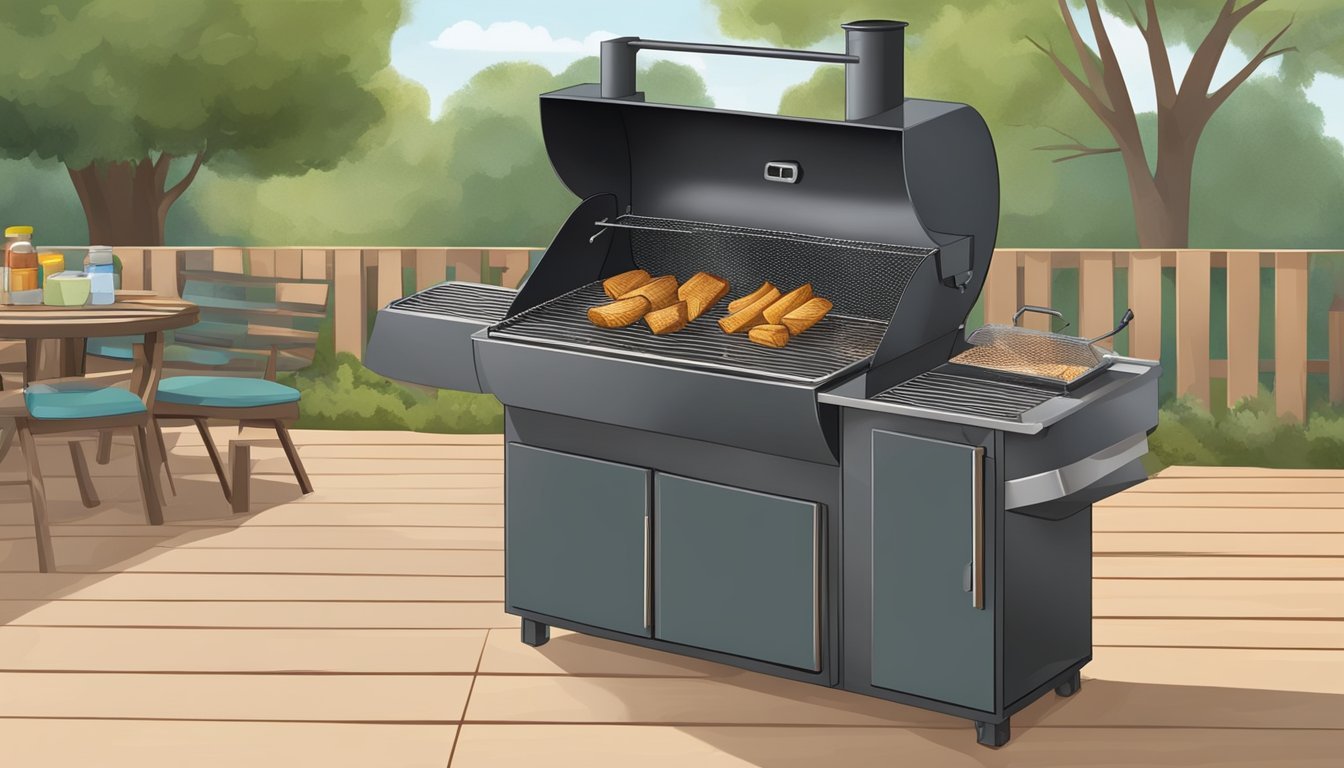
Turning an existing grill into a smoker is a practical project for those looking to expand their outdoor cooking repertoire without the need for purchasing additional equipment. With a few modifications and some basic DIY skills, most grills can be transformed into efficient smokers that allow for the slow cooking and smoke infusion that barbecue enthusiasts crave. This process can provide a dual-purpose solution for backyard chefs, enabling them to switch between grilling and smoking with ease.
The key to a successful transformation lies in understanding how smokers work—maintaining a consistent low heat and sustaining smoke production for flavor. By retrofitting an existing grill, whether it’s gas or charcoal, one can create an environment that mimics that of a traditional smoker.
Simple modifications such as the addition of a separate chamber for wood chips on a gas grill or adjustments for airflow and temperature control on a charcoal grill are often sufficient. This allows for the desired indirect heat and smoke to properly cook and flavor meats. With the right approach, the versatility of the grill can be significantly enhanced, allowing for a range of smoking techniques to be employed.
Understanding the Basics of Smoking
Before one begins to convert a grill into a smoker, they must comprehend the essential components of smoking: the techniques that impart flavor and the various types of equipment used.
Principles of Smoking
The art of smoking meats involves a process where meat is cooked at a lower temperature for a longer period, using smoke from burning materials - typically wood or charcoal - to impart flavor and tenderness. The key to successful smoking is maintaining a consistent temperature and smoke level, which produces tender meat with the desired smoky taste.
Indirect Heat: Meat is not cooked directly over the flame, but by the heat and smoke that circulate within the smoker.
Temperature Control: Typically maintained between 225 and 275 degrees Fahrenheit to ensure the meat cooks slowly.
Smoke Flow: Adequate smoke circulation is crucial for flavoring the meat without overwhelming it with bitterness.
Types of Smokers
There are a variety of smokers each offering distinct features suitable for different BBQ styles and preferences.
Offset Smokers: Separate firebox attached to a cooking chamber; smoke and heat travel from the firebox into the chamber, cooking the meat indirectly.
Vertical Water Smokers: Compact and use a pan of water to create a moist cooking environment. Perfect for small spaces.
Kettle Grills: Can be modified for smoking; by controlling the vents, one can maintain low temperatures required for smoking.
Electric and Gas Smokers: Convenient for maintaining steady temperatures; however, they can lack the traditional smoky flavor imparted by wood and charcoal.
Ceramic Smokers: Known for their heat retention and efficiency, excellent at maintaining constant temperatures for extended periods.
When considering a DIY modification to transform an existing grill into a smoker, understanding these principles and types assists in selecting the appropriate techniques and methods to achieve a successful conversion.
Safety First: Pre-Modifications Checklist
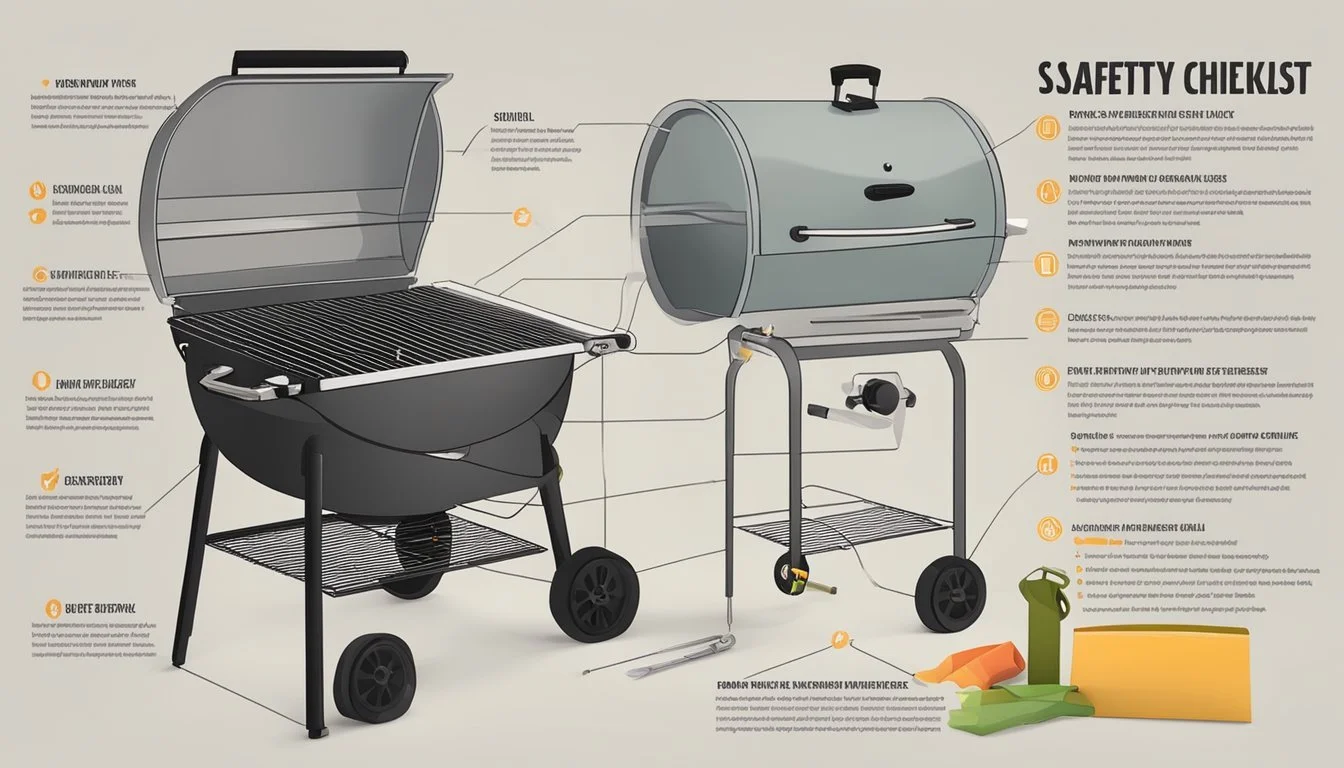
Before embarking on the journey to transform an existing grill into a smoker, it is essential that an individual assesses safety concerns meticulously. The checklist serves as a safeguard against potential hazards, ensuring a successful DIY modification project.
Choosing the Right Materials
When selecting materials for the smoker modification, one must prioritize non-toxic, heat-resistant options. Stainless steel is a favored choice because it can withstand high temperatures and doesn't corrode easily, which makes it durable for long-term use. Materials should be checked for any previous paint or coatings that could emit harmful fumes at high temperatures. It's advisable to source new materials or to sufficiently strip and prepare any used items.
Preferred materials: Stainless steel, untreated steel
Avoid: Paint-coated, galvanized, or plastic components
Avoiding Toxic Fumes
The risk of toxic fumes is significant if inappropriate materials are used or if the grill has remnants of harmful substances. The individual should ensure that all surfaces that will be exposed to heat are free of paint, as it can emit toxic fumes when heated. Similarly, plastics and any galvanized parts must be avoided or completely removed to prevent the release of dangerous gases during the smoking process.
Inspect for toxic materials: Remove any paint, plastics, or galvanized components
Safe cleaning: Use appropriate methods to clean and prepare materials without leaving toxic residue
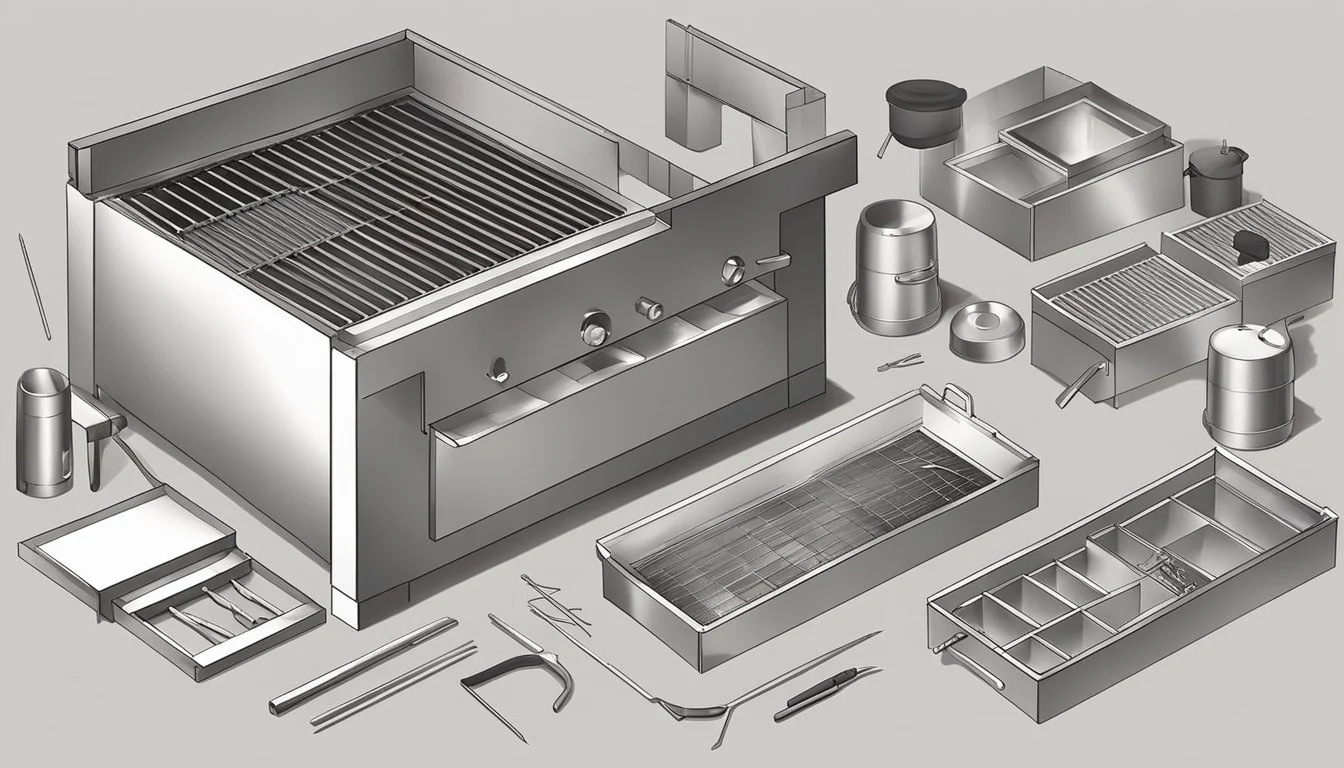
Tools and Materials Needed

To modify an existing grill into a functional smoker, one requires specific tools and materials. It's essential to gather these items before commencing the project to ensure a smooth and efficient process. The following list details what's necessary:
Tools:
Drill: For making precise holes in the grill for ventilation or to attach new components.
Screwdriver: Used to tighten or loosen screws when attaching accessories.
Wrench: Necessary for securing bolts and nuts.
Welding equipment (optional): If one opts to work with a steel drum or attach metal components that require a permanent bond.
Materials:
Steel drum: In case one is building from scratch or needs a larger chamber for smoking.
Nuts and bolts: To fasten elements securely to the grill.
Thermometer: Essential for monitoring the cooking temperature inside the smoker.
Handle: For safe and easy access to the smoking chamber.
Grill grates: To hold the food inside the smoker.
Hinges: If creating a separate smoking chamber door.
A table to summarize the necessary items:
Category Items Tools Drill, Screwdriver, Wrench, Welding equipment (optional) Materials Steel drum, Nuts and bolts, Thermometer, Handle, Grill grates, Hinges
One should ensure all materials are of high quality and designed to withstand high temperatures. Safety is paramount, so it's advisable to have protective gear if one plans to use welding equipment.
Planning Your DIY Smoker
Before embarking on the project of turning an existing grill into a DIY smoker, one must pay close attention to the design specifics and the type of wood and fuel to be used. The success of a DIY smoker relies on thoughtful planning and precise modification of your existing grill setup.
Design Considerations
When designing a DIY smoker, the grill needs a designated space to hold wood chips or pellets, which will generate the smoke and provide the desired flavor to the food. One must cut a rectangular hole in the side of the grill, approximately 4-5 inches wide and tall, to accommodate a conversion kit. The smoker will also protrude by about 12 inches, so it's imperative to ensure there's enough space around the grill.
Key design features to consider:
Airflow: Adequate ventilation is necessary for temperature control.
Temperature Control: A way to monitor the internal temperature, typically between 180°F and 250°F.
Seal: Ensure that the grill lid or door closes snugly to prevent smoke from escaping.
Selecting Wood and Fuel
The choice of wood used as fuel is crucial as it imparts distinctive flavors to the smoked food. Two popular options are:
Oak - Provides a medium smoke flavor, making it suitable for a variety of meats.
Hickory - Known for its strong, bacon-like taste, best suited for pork and ribs.
Wood can be used in the forms of:
Wood Chips - Ideal for quick smoking; soak in water before use to prevent fast burning.
Wood Pellets - Provide a consistent smoke, made from compressed wood particles.
One must select the wood type that complements the meat; for instance, oak is versatile, while hickory pairs exceptionally with pork. The wood should be untreated and designated for smoking to ensure both the safety and quality of the smoked food.
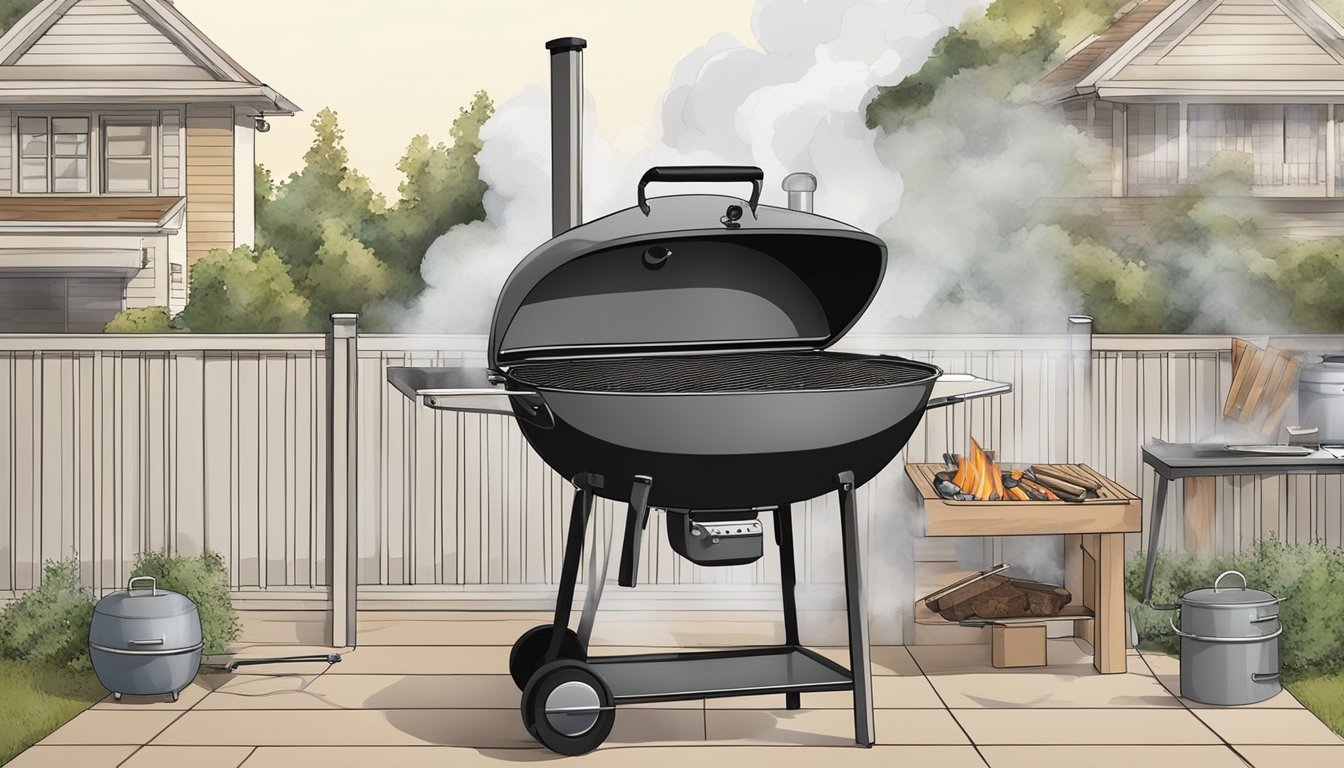
Building the Smoking Chamber
Transforming your existing grill into a smoker involves creating a dedicated chamber where the slow and low-heat smoking process can take place. Precision in construction and proper material choice are paramount to ensure efficient smoke flow and temperature regulation.
Constructing the Body
To construct the body of the smoking chamber, one needs a durable container that can withstand high temperatures while being sizeable enough to accommodate smoked goods. A 55-gallon drum—often used in ugly drum smokers—is ideal for this purpose. A food-grade drum is essential to ensure safety when handling food. Here are the steps to prepare the drum:
Source a Drum: Acquire a 55-gallon food-grade drum, either new or used. A new drum might cost more, while a used one should be thoroughly cleaned before use.
Clean the Drum: Remove any residue or lining from a used drum by burning it clean and scrubbing it down.
Create Vents: Drill holes around the base to serve as intake vents and in the lid for exhaust, which aids in temperature control.
Attach Legs: Weld or securely attach legs to the drum to raise it off the ground and ensure stability.
Adding the Cooking Grate
The cooking grate is where the food will rest during the smoking process. It needs to be robust enough to hold the weight of the meat and sized to fit inside the smoking chamber without restricting airflow. Here's how to add a cooking grate to your drum:
Measure the Drum: Take the interior diameter to determine the maximum size for your cooking grate.
Choose the Grate: Opt for a grate made from stainless steel for longevity and ease of cleaning.
Install the Grate: Position the grate roughly 8 inches from the top of the drum. Secure it in place by drilling holes and using bolts, or by welding supports to rest the grate on.
A chimney on the lid is recommended to ensure proper smoke escape and temperature control. It should have an adjustable vent to regulate the amount of airflow, which directly influences the smoker's heat levels.
Creating a Heat Source
In converting a standard grill into a smoker, one crucial aspect is establishing a reliable and adjustable heat source. The setup must allow for sustained indirect heat and easy temperature management to ensure a consistent smoking environment.
Attaching the Firebox
To create an effective smoker, it's necessary to attach a firebox to your grill if it doesn’t already have one. A firebox is a separate chamber where the fuel, such as charcoal or wood, is burned.
For Charcoal Grills: One can use a section of the grill itself as a firebox by placing charcoal on one side only and utilizing indirect heat for smoking. This is done by:
Step 1: Placing aluminum foil beneath the grill's grate to create a barrier.
Step 2: Arranging an even layer of charcoal on one side above the foil, leaving the other side empty for food placement.
For Gas Grills: Attach an external firebox, or create a makeshift one using a sturdy container that can handle high heat. The firebox should be placed close enough to transfer heat effectively but not directly beneath the food.
Managing Temperature
Maintaining the correct temperature is fundamental to the smoking process. Installing a temperature gauge is recommended to monitor internal temperatures accurately.
Using a Water Pan: Position a water pan above the heat source to help regulate the temperature and add humidity. This pan serves to stabilize the heat and prevent the smoker from getting too hot.
Adjusting the Fuel: Regularly adjust the amount of charcoal or wood in the firebox to manage the temperature. For propane grills, controlling the flame is key.
Ventilation: Control airflow using vents to increase or decrease the temperature as needed. More oxygen stokes the fire for higher temperatures, while less oxygen dampens it for cooler temperatures.
By following these methods, one can achieve a consistent heat source necessary for effective smoking on a transformed grill.
Ensuring Proper Ventilation
Proper ventilation in a DIY smoker is crucial for temperature control and smoke quality. The airflow must be precisely regulated using vents to maintain the ideal cooking environment within the grill.
Installing Vents
To modify an existing grill into a smoker, one must install necessary ventilation components. Chimneys and air intakes are the primary vents that facilitate airflow. A chimney acts as the exhaust, allowing smoke to escape, and should be positioned at the top of the grill. For air intakes, strategically place them near the bottom to supply fresh oxygen to the fire. A ball valve can be incorporated into the design of air intakes to provide more control over the airflow. When installing vents, ensure they are operable to adjust for varying conditions.
Controlling Smoke Flow
Managing the smoke flow within a smoker is essential for flavoring the food and maintaining a stable temperature. Here's how one can control smoke flow:
Open the Vent: Increase the temperature by opening the vent to allow more oxygen in.
Close the Vent: Decrease the temperature by closing the vent to reduce airflow.
Adjusting both the chimney and air intakes is vital for controlling not only the temperature but also the density and circulation of smoke within the grill. A balanced airflow will ensure a clean-burning fire and better smoke infusion into the meat.
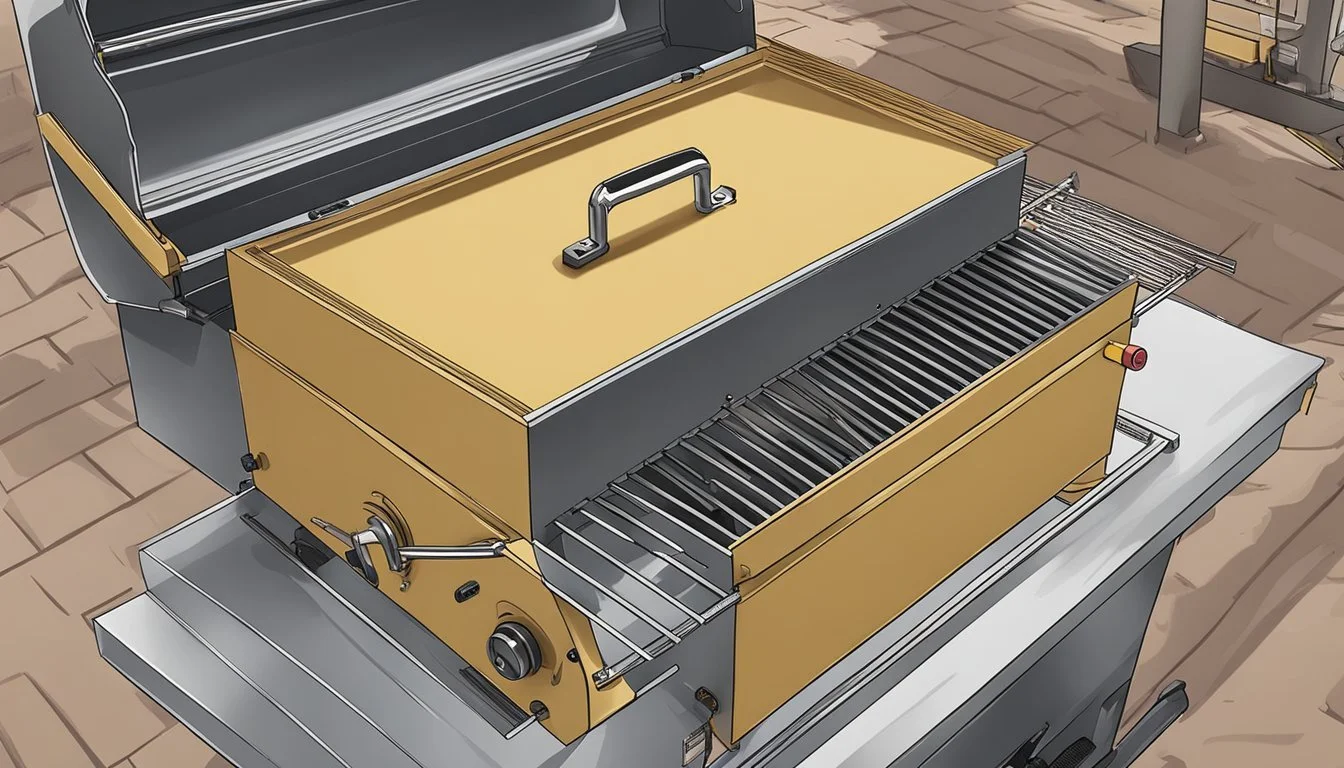
Adding Accessories

When transforming a grill into a smoker, incorporating accessories can significantly boost both functionality and convenience. Suitable handles, thermometers, hinges, and a meat thermometer are essential enhancements. They should focus not only on performance but also on safety and efficiency.
Handles: Installing durable handles to a smoker's side can improve safety when moving the unit. It is recommended to utilize heat-resistant materials like stainless steel.
Thermometer: A reliable built-in thermometer in the grill's lid monitors the cooking chamber's temperature. For accuracy, it should be placed at grate level.
Meat Thermometer: A separate meat thermometer ensures the internal temperature of the meat is appropriately tracked. Digital, probe-style thermometers are usually the top choice for precision.
Hinges: Strengthening the lid with robust hinges allows for smooth opening and closing. Quality hinges prevent wobbling and maintain a tight seal.
Here's an accessory checklist:
Accessory Name Description Importance Handles For ease of transport; must be sturdy and heat-resistant. Safety and mobility Lid Thermometer Provides accurate temperature readings within the smoker. Cooking efficiency Meat Thermometer Ensures precise internal temperature readings of the meat. Food safety and doneness accuracy Hinges Prevents lid misalignment and promotes better heat retention. Maintenance of structural integrity
For those who prefer customizing their smoker, it’s wise to select accessories that are not just practical but also compatible with their grill's design. Installation must adhere strictly to the manufacturer’s guidelines to ensure longevity and safe operation of their newly modified smoker.
Finishing Touches and Customization
Once the smoker is built, the final stage involves personalizing and enhancing the unit for both aesthetic appeal and functionality. These finishing touches make the smoker truly yours and can improve its operation.
Painting and Decorating
When selecting paint for a smoker, individuals should choose high-temperature resistant paint that can withstand the heat generated during smoking. The application of paint not only adds a protective layer to the exterior but also provides an opportunity to customize the look of the smoker. Lighter colors may reflect heat, while darker colors will absorb it.
Recommended Paint Types:
High-temperature enamel paint
Heat-resistant barbecue paint
Decorative Choices:
Colors: Matte black, metallic silver, or bold reds to suit personal taste.
Designs: Stencils or hand-painted motifs can be used for a unique touch.
Installing Additional Features
Extra features can increase a smoker's versatility and efficiency. For instance, individuals can attach handles made from heat-resistant materials for safer and easier manipulation of the smoker. Using wooden pallets, they can create a side shelf or additional workspace—a practical spot to rest tools and ingredients. Incorporating aluminum flashing can help seal gaps and improve heat retention, leading to more consistent smoking temperatures.
Feature Enhancements:
Handles:
Material: Stainless steel or silicone-coated for heat resistance and durability.
Placement: Strategically placed on the lid and body for ease of movement.
Additional Workspace:
Material: Wooden pallets can be fashioned into shelves or counters.
Stability: Ensure the structure is strong and anchored securely to the smoker.
Improved Seal:
Material: Aluminum flashing, cut and molded to fill openings and reduce heat loss.
Installation: Should be placed carefully to maintain the integrity of the smoker's structure.
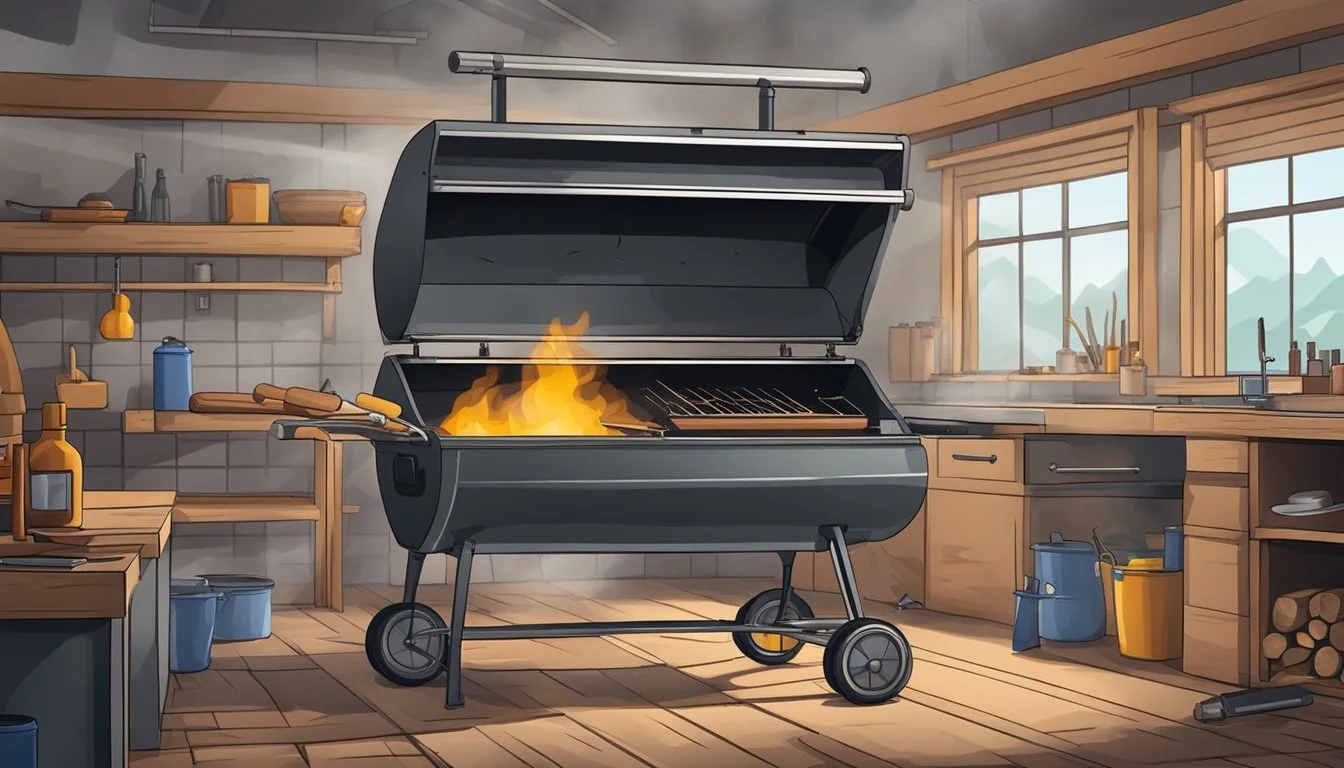
Testing and Using Your New Smoker
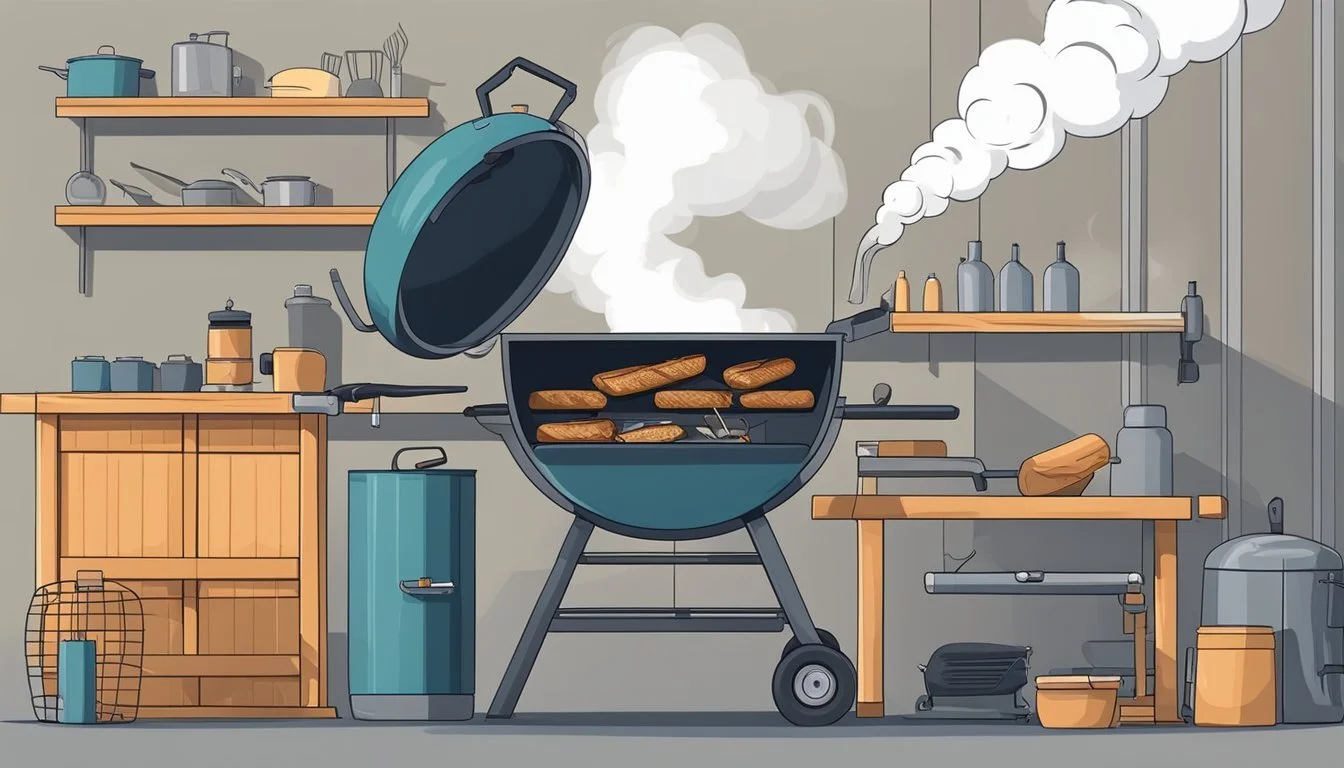
Upon completing any modifications, the individual should perform initial tests to ensure proper functionality and then apply specific cooking techniques for optimal results.
Initial Testing
Before one starts smoking meat, it's paramount to test the modified grill for temperature consistency and smoke control. They should fill the pellet hopper or smoke box, depending on the type of smoker modification, and light it up. The user must then observe the smoke flow and make sure there are no leaks which could lead to loss of smoke or heat. For a thorough test, it is advisable to let the smoker run for a few hours, monitoring and adjusting the temperature to maintain a consistent range suitable for the type of meat, such as 225°F to 250°F for brisket or ribs.
Cooking Techniques and Tips
Once the smoker is tested, one can proceed with the cooking process, focusing on the type of meat and the chosen flavor profile. Utilizing a rub or brine prior to smoking enhances both the taste and texture of meats such as ribs, brisket, chicken, salmon, or other fish varieties. Here's how they should apply:
Brisket & Ribs: Apply a dry rub generously and let the meat absorb the flavors for several hours, or overnight, in a refrigerator.
Chicken: Soaking the chicken in a brine solution before smoking will ensure juiciness and help the skin crisp up.
Fish: Salmon and other fish should be smoked at lower temperatures; a brine can improve texture and add flavor.
Different meats will require varying smoking times:
Brisket: 1 to 1.5 hours per pound
Ribs: 3 to 5 hours
Chicken: 1.5 to 3 hours
Salmon: 1 to 3 hours
Monitoring internal meat temperatures with a meat thermometer is critical, aiming for an internal temperature of 195°F to 205°F for brisket, 165°F for chicken, and 145°F for fish. Resting the meat after smoking ensures the redistribution of juices, contributing to a tender, flavorful result.
Maintenance and Care

Proper maintenance and care are critical for the longevity and performance of your DIY smoker. Regular cleaning is paramount to ensuring your modified grill functions effectively and remains safe to use.
Cleaning: After each use, they should remove ashes and food debris from the grill. An ash vacuum can make quick work of this task, or one can opt for a simple brush and pan. The grates require scrubbing with a grill brush or a ball of aluminum foil to remove stuck-on food. For a thorough clean, soapy water can be used, followed by a rinse and complete drying to prevent rust.
Insulate: To maintain an even temperature, especially in cold weather, they should insulate the grill. High-temperature gaskets can create a tighter seal, while a welder's blanket can serve as an effective wrap for insulation. Choosing the correct insulation materials ensures that heat stays within the smoker, improving efficiency and reducing fuel consumption.
Outdoor Space: The grill should be covered when not in use to protect it from the elements. Investing in a durable grill cover will guard against rain, snow, and the degrading effects of prolonged sunlight. They should also place the grill in a sheltered area, away from direct exposure to harsh weather, if feasible.
Cold Weather: During colder months, they need to monitor the smoker's temperature more closely. Preheating will take longer, and maintaining temperatures may require additional fuel. They should be prepared to make adjustments and check the smoker regularly to ensure optimal smoking conditions.
Maintenance and care are manageable tasks that will enhance the smoker's effectiveness and durability. Routinely attending to these aspects ensures a rewarding DIY smoking experience.
Advanced DIY Smoker Projects
For those looking to take their DIY smoking game to the next level, advanced projects such as building a smokehouse or exploring unique smoker designs offer the opportunity to create a more permanent and customized smoking setup.
Building a Smokehouse
Constructing a smokehouse requires more planning and effort than simpler smoker modifications but results in a dedicated and often larger space for smoking. One begins by selecting an appropriate location for their backyard smoker and then laying a concrete foundation in a rectangular shape. The smokehouse can be framed with wood, incorporating a door for access and proper ventilation. Expert DIY enthusiasts often add custom features such as adjustable shelving and built-in thermometers to monitor the smoking temperature precisely.
Unique DIY Smoker Designs
For those with a penchant for the unconventional, turning a file cabinet into a filing cabinet smoker provides both novelty and functionality. This involves repurposing the cabinet's pre-installed drawers into smoking shelves with the addition of a heat source at the bottom and a space for smoke circulation. Another novel project is the DIY flowerpot smoker, where one uses a large ceramic flowerpot as the smoking chamber. There is no magic to it; careful placement of the grate, charcoal, and wood chips within the pot and a smaller pot or lid to seal it creates an effective smoker. The creativity involved in these projects often makes them a conversation piece as much as a functional smoker.
By embarking on these advanced DIY smoker projects, one can achieve a rewarding sense of accomplishment along with an enhanced smoking capacity for their culinary adventures.
