
How to Build a DIY Smoker
A Comprehensive Guide for Beginners
Discover > Texas Outdoorsman > How to Build a DIY Smoker
Building your own smoker can be an exciting and rewarding project for both amateur and experienced barbecue (What wine goes well with barbecue?) enthusiasts. Not only will it be cheaper than a store-bought new smoker, but it will also enable it to be customized to suit personal preferences and needs. Constructing your own smoker at home allows you to explore the art of smoking meats, fish, and other food items with precision and control, and, ultimately, to enjoy using your homemade smoker with friends and family with delicious results in your ultimate backyard barbecue pit.
To embark on this DIY adventure, it is essential to understand the fundamentals of homemade smoker design and the necessary materials. The choice of smoker type, be it a vertical water smoker, an offset smoker, or a drum smoker, will impact the overall function, ease of use, and size of the end product. Conducting research to identify the smoker style that aligns with individual needs and budget constraints will help ensure success in building the ideal DIY smoker, which will stack up well against a better professional barbecue smoker.
In the following sections, we will outline the basic steps of constructing your own smoker using DIY smoker plans. This will focus on the selection of your own smoker materials, construction techniques, and the integration of essential components such as airflow control, smoke chamber, temperature management, and food placement. Equipped with this knowledge, aspiring DIY smoker enthusiasts can confidently tackle this project and ultimately enjoy satisfying and mouth-watering rewards.
Understanding a Smoker
A smoker is a cooking device designed to cook meat slowly while imparting a rich, smoky flavor to the food. There are various types of smokers available, ranging from small, portable units for individual use to larger, more advanced commercial smokers suitable for professional operations. This section aims to provide an overview of the main types of smokers, their components, and the fundamental principles of smoking meat.
The fundamental components of a smoker include the firebox, cooking or smoking chamber, and ventilation system. The firebox and firebox door is where the heat and smoke are generated, usually by burning wood or charcoal. The smoking chamber is the area where food is placed on racks, and the heat and smoke from the firebox filters up and through the cooking chamber. The ventilation system allows smoke and hot air to circulate and escape while controlling the airflow, thereby regulating the temperature inside the smoker.
Several types of DIY smokers can be constructed with minimal tools and materials. The most popular ones include:
Ugly Drum Smoker (UDS): Made from a 55-gallon steel drum, this is a simple and cost-effective option for a backyard smoker. By using a few simple materials such as a grill grate, thermometer, and air intake vents, you can create functional and efficient hot smokers.
Offset Smoker: Consisting of a large cooking chamber and a smaller, offset firebox, this smoker directs smoke and heat from the firebox into the cooking chamber. By controlling the airflow from the firebox, you can easily regulate the temperature in the smoking chamber.
Pit Barrel Cooker: Similar to a drum smoker, a pit barrel cooker has a vertical design that allows for even cooking and effective smoke circulation. The meat is typically hung vertically, allowing for ample airflow around the food.
Cold Smokers: Cold smoking maintains relatively low temperatures (usually between 70°F - 90°F) and produces smoke without cooking the meat. Cold smoking imparts a smoky flavor to the food while preserving its original texture.
When smoking meat, it's crucial to understand the differences between cold smoke and hot smoke. Cold smoking is used for preserving and enhancing the flavor of the meat without cooking it, whereas hot smoking cooks and flavors the meat simultaneously. The key to successful smoking is maintaining a low, smoky fire that produces a consistent temperature throughout the cooking process.
In conclusion, by understanding the various types of smokers and their components, as well as the principles of smoking meat, you can confidently embark on the journey of constructing your very own DIY smoker.
Designing Your Smoker
Brainstorming the Plan
When designing your DIY smoker, it's important to design a plan that suits your needs and preferences. Before diving into the construction process, take time to brainstorm the design elements and gather inspiration from various smoker plans available online or in dedicated publications. Also assess what you will be cooking in your smoker and the techniques required, which will help you drill down into the best type of smoker for your use.
Size and capacity: Assess the amount of food you intend to smoke at once. This will have a direct influence on the size of your smoker. Bigger smokers require more materials and space, but will provide the capability to smoke larger quantities of food.
Type of smoker: There are different designs of smokers to choose from, such as horizontal or vertical barrel smokers, offset smokers, or cabinet smokers. Research each type and decide which best suits your preferences and available space.
Materials: The materials you use will largely depend on your budget and available resources. A general rule of thumb is to use materials that can withstand high temperatures and are safe to use for cooking. Examples include:
Steel plate, sheets or barrels
Cast iron or stainless-steel grates
Heat-resistant bricks, stone, or cement for insulation
Heat source: Decide between using an electric, propane tank, or charcoal heat source for your smoker. Each has its advantages and disadvantages based on factors like convenience, cost, and flavor created during cooking. Building a versatile smoker that accommodates multiple heat sources can be a valuable option as well.
Heat Source Advantages Disadvantages
Electric: Advantages: Easy temperature control, convenient Disadvantages: Potentially less smoke flavor, dependence on electricity
Gas: Advantages: Quick heating, easy temperature control Disadvantages: Dependence on gas supply, less smoke flavor compared to charcoal
Charcoal Advantages: Authentic smoke flavor, no dependence on utilities Disadvantages: Longer heating time, harder temperature control
The more research and thought put into designing the smoker, the more satisfied you'll be with the final outcome. DIY smoker plans provide a solid starting point and can be adapted to fit your specific requirements. The key is to thoroughly plan and ensure a clear and functional design before even thinking about beginning the construction phase.
Materials and Tools Required
Selection of Materials
To build a DIY smoker, you need to choose the right materials to ensure durability, safety, and excellent smoking performance. Here's a list of materials you may need:
55-gallon drum: This is an ideal base for an ugly drum smoker (UDS) or a grill station. Ensure it's made of stainless steel for added durability.
Soaked Wood chips: Hickory and oak are popular choices for smoking, providing distinct flavors to the meat.
Brick: Useful for constructing a sturdy barbecue smoker or a DIY smokehouse built from pallets.
Metal: Steel box sections and heavy-duty aluminum foil can be used for a door panel and various parts of a smoker.
Sand: Helps in heat retention and distribution when building a $50 concrete kamado smoker.
Handle: Necessary for access points and the firebox door and for maneuvering your smoker.
Charcoal: Provides heat and smokiness to your DIY smoker.
Stainless steel circular grill grate: Acts as the cooking surface for your food and for smoke to circulate.
Flowerpot: Can be used to create a unique DIY flowerpot smoker.
Wine corks: Can be repurposed as handles for your smoker.
Wooden pallets: Provide structure for a DIY smokehouse built from pallets.
Aluminum flashing and aluminum foil: Useful for sealing gaps in your smoker.
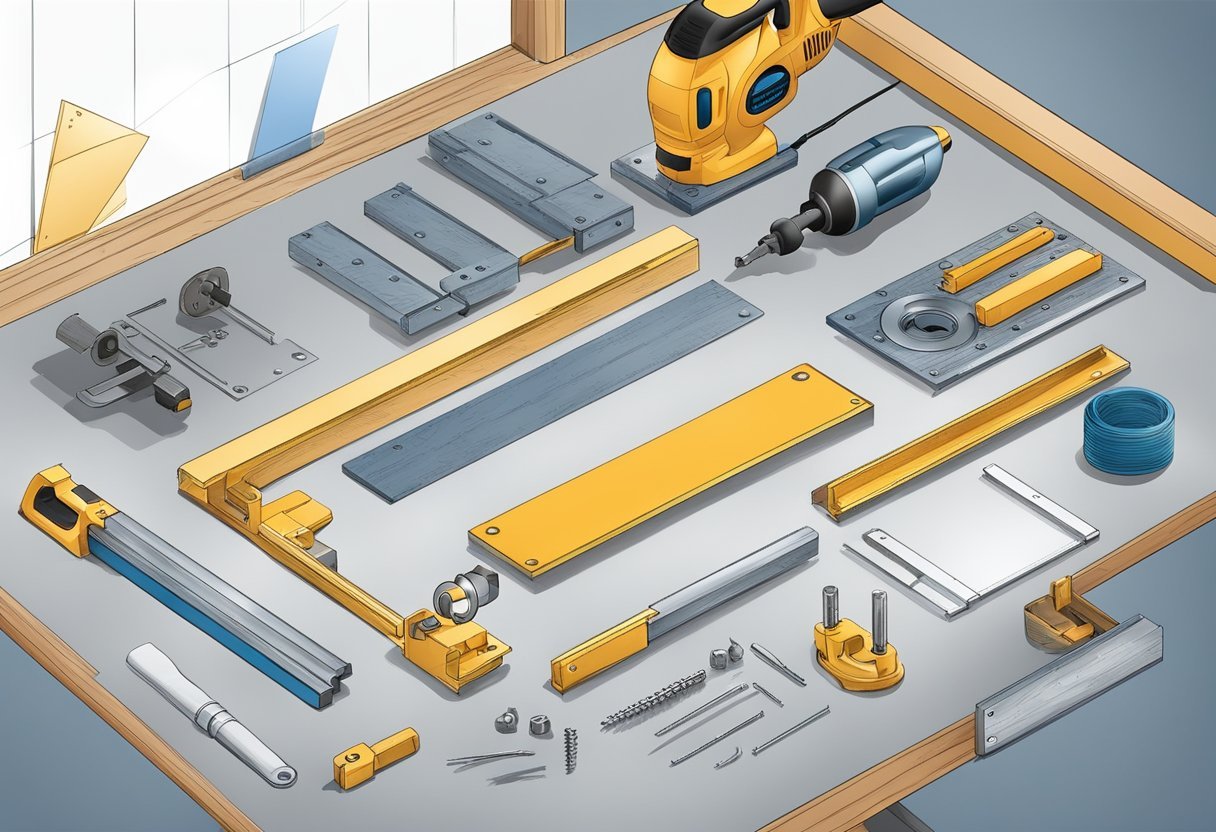
Tools Needed
To construct a functional and efficient DIY smoker, you'll need the right tools for the job. Here's a list of tools you might require:
Metalwork tools: Ensure you have equipment to cut, bend, and weld metal components, such as a hacksaw, angle grinder or welding machine.
Filing cabinet: An unpainted filing cabinet can be repurposed as a filing cabinet smoker.
Thermometer: Vital for monitoring the internal temperature of your food.
Charcoal basket: This holds the charcoal for your smoker.
Depending on your choice of smoker configuration (e.g., sous vide DIY smoker, grill station, barbecue smoker, UDS, DIY flowerpot smoker or trailer mounted smoker), you may also require additional tools or materials, such as a propane tank or specialized shelving. Check with your local hardware store to obtain the necessary items, and remember to prioritize salvaged materials where possible to keep costs low and reduce waste.
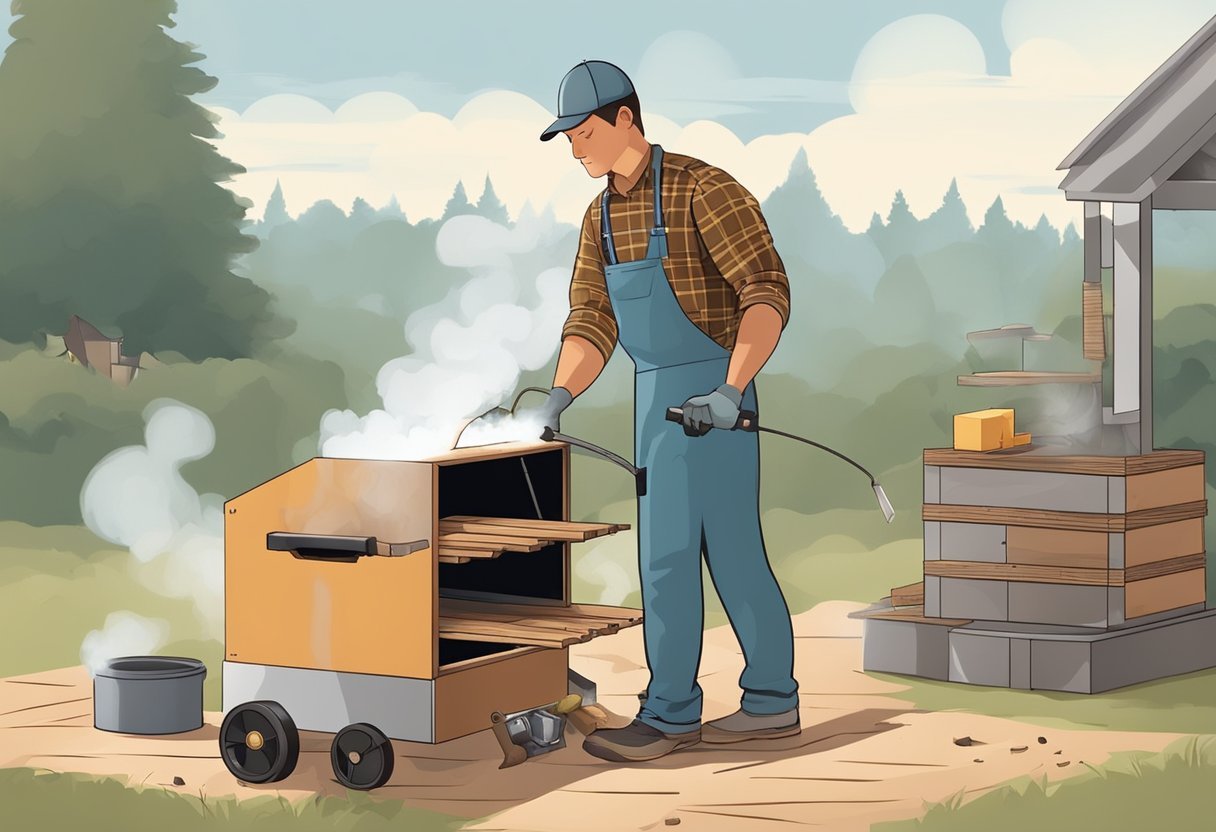
Building a DIY Smoker - A Step by Step Guide
Preparing the Frame
To build a DIY smoker, you can start by converting items such as a 55-gallon drum or constructing a smokehouse using brick or metal materials cut with an angle grinder. To create a backyard smoker, you will first need to prepare a sturdy frame. For example, if you're using a 55-gallon drum, remove any debris and ensure the whole thing is clean and food-safe after welding. Ensure that your base is strong, stable, and provides good airflow.
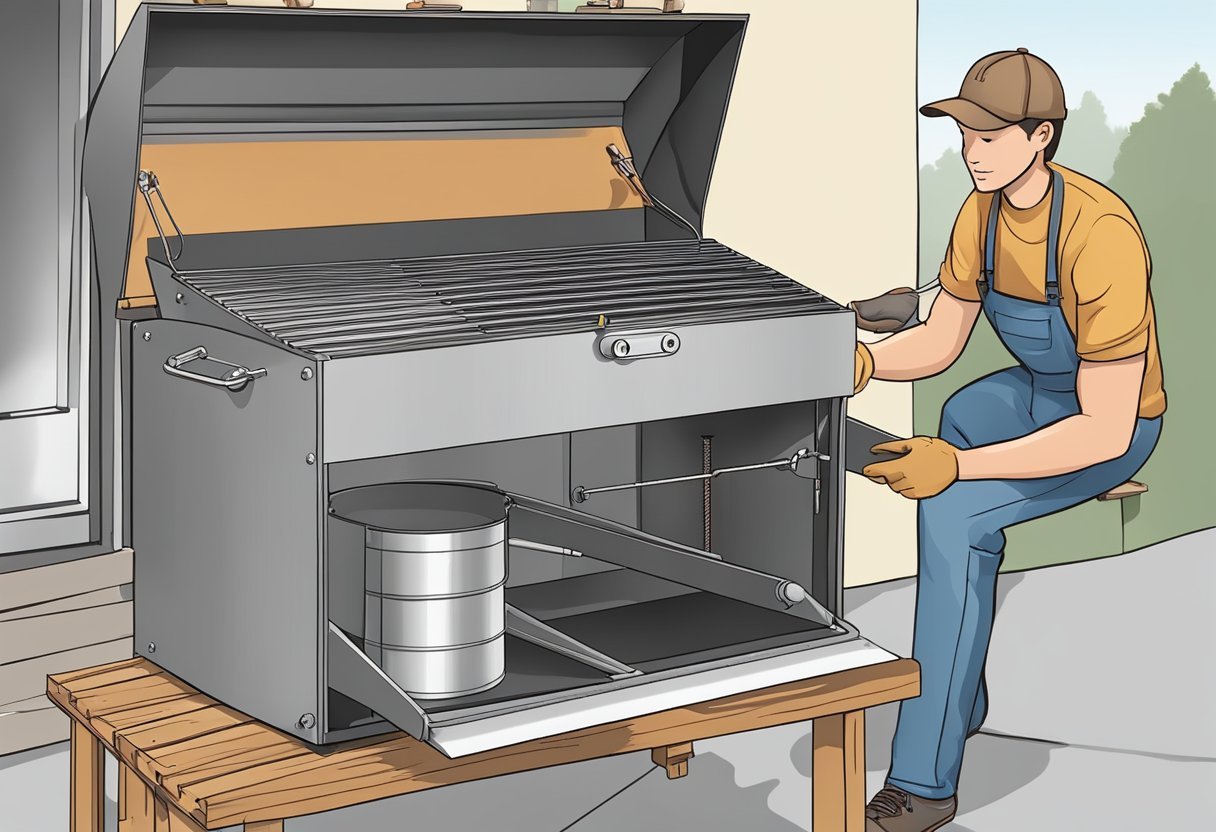
Establishing the Cooking Area
The next step in building your DIY smoker is to create the cooking or smoking chamber, where your ingredients cook and smoke. One popular choice is to utilize grill grates for the cook area. Keep the following in mind when setting up your smoking chamber:
Spacing: Allow enough space between the grate and the heat source for the smoke to circulate.
Support: Ensure that the grill grate is securely supported and can hold the weight of the meats.
Accessibility: Make sure you can easily access the smoking chamber for turning and monitoring meat.
Moreover, place a meat thermometer in the chamber to keep track of your cooking temperature, facilitating low temperature cooking. Keep the cook area organized and clear; you can even set up an outdoor grill station alongside your smoker for convenience.
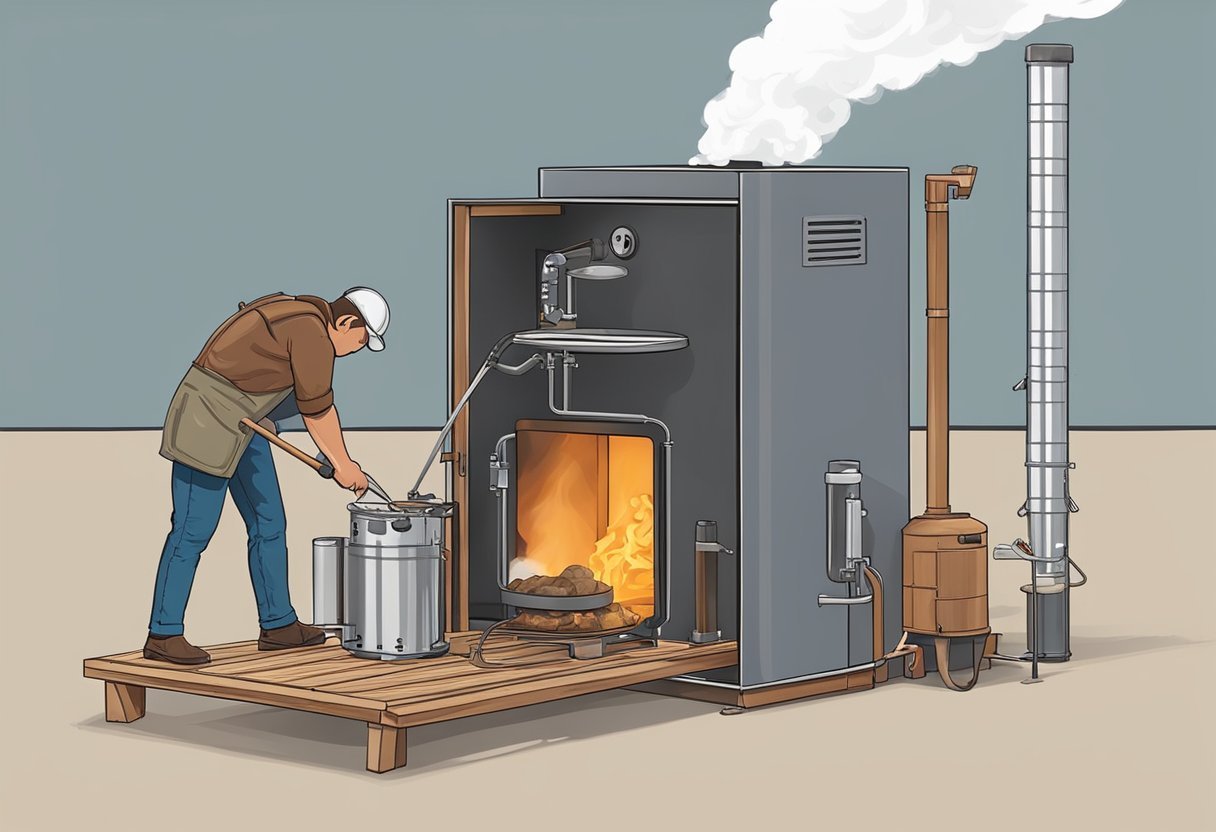
Installing the Heat Source
The heat source is an essential part of your DIY meat smoker. Your chosen heat source can be a firebox, chimney, or simply a fire basket. For low-cost options, consider creating a DIY smoker on a budget by building a charcoal basket.
Before you start smoking meat, ensure that the heat source can maintain a consistent low temperature for an extended period. Pay attention to the airflow within your smoker, as it greatly affects the overall effectiveness of the smoker.
In conclusion, creating your own DIY meat smoker can be achieved using a variety of materials and methods. By properly preparing the frame, establishing the cooking area, and installing an effective heat source, you will quickly be on your way to preparing delicious smoked meats (What wine goes well with smoked meats?) in your very own backyard smoker.
Safe DIY Smoker Practices
Proper Ventilation: When using a DIY smoker, it's crucial to ensure proper ventilation to prevent the accumulation of toxic fumes. Keep the smoker positioned in an outdoor area with open surroundings to facilitate air circulation.
Choosing the Right Materials: Building a DIY smoker on a budget is possible, but it's essential to use food-safe materials. Avoid materials that may release toxic substances when heated, such as galvanized metals or chemically-treated wood. Choose heat-resistant and food-grade materials instead, like stainless steel and untreated natural wood.
Temperature Regulation: Achieving consistently delicious smoked meat, such as beef brisket, sausage, or other cuts, requires precision temperature control. Make sure your DIY smoker has a reliable thermometer and vents for easy adjustments. Keep the temperature in the desired range for smoking meat, typically between 200°F and 250°F.
Use Approved Fuel: For a safe and delightful BBQ experience, using the right fuel is important. Hardwood lump charcoal or all-natural briquettes create the ideal fire for grilling or smoking meat or gas from a propane tank. Avoid using petroleum-based products like lighter fluid, as they can impart unwanted flavors and release harmful fumes.
Cleanliness: Maintain the cleanliness of your grill and smoker for optimal cooking results. Regularly check for grease buildup, ash deposits, and food remnants and clean as necessary to prevent bacterial growth and potential fire hazards.
Meat preparation tips:
Trim excess fat from meats like brisket to enhance smoke penetration.
Consider marinating or using dry rubs to infuse flavors.
Use a cooking rack to ensure even smoke exposure and heat distribution.
By following these safe DIY smoker practices, you can confidently create delicious smoked foods while ensuring the safety and wellbeing of yourself and your loved ones.
Cooking and Maintaining Your DIY Smoker
When using a DIY smoker, the primary goal is to cook meat at low temperatures while infusing it with smoky flavors. Common meats that work well in a smoker include beef brisket, sausage, pork butt, and various types of poultry. To ensure the best results, it is essential to follow proper cooking and maintenance techniques.
While cooking in the smoker, use a little vegetable oil (how long does vegetable oil last?) on the ingredients, to stop sticking and always monitor the internal temperature of the meat and the smoker itself. Utilize a meat thermometer to achieve the ideal level of "doneness" for each type of meat. Here are some suggested temperature ranges to aim for:
To maintain a steady, low, smoky fire, use a combination of charcoal, wood chips, and wood pellets as fuel. A charcoal fire provides a consistent heat source, while wood chips and pellets impart desired flavors to the meat. For different smoky flavors, try various wood chips such as hickory, apple, cherry, or mesquite.
In addition to the fuel, ensure good airflow within the smoker. Proper ventilation allows for efficient combustion of the charcoal and wood chips and prevents the formation of creosote, which can cause bitterness in the smoked meat. Adjust the vents as needed to regulate the smoker's temperature.
It is crucial to clean your DIY smoker whole unit regularly, as grease and debris can build up over time. After each use, clean the grill grate with a wire brush and rinse it with warm, soapy water. Clean out any ashes or residue within the smoker as well, since this may affect the smoke's clean flow.
Overall, cooking and maintaining your DIY smoker is about mastering temperature control, using the right fuel, and ensuring cleanliness. By following these tips, any backyard cook can create a delicious, smoky meal using their own barbecue smoker or outdoor grill station.
