
How Long Does Gluten-Free Chili Last?
Storage Tips and Shelf Life

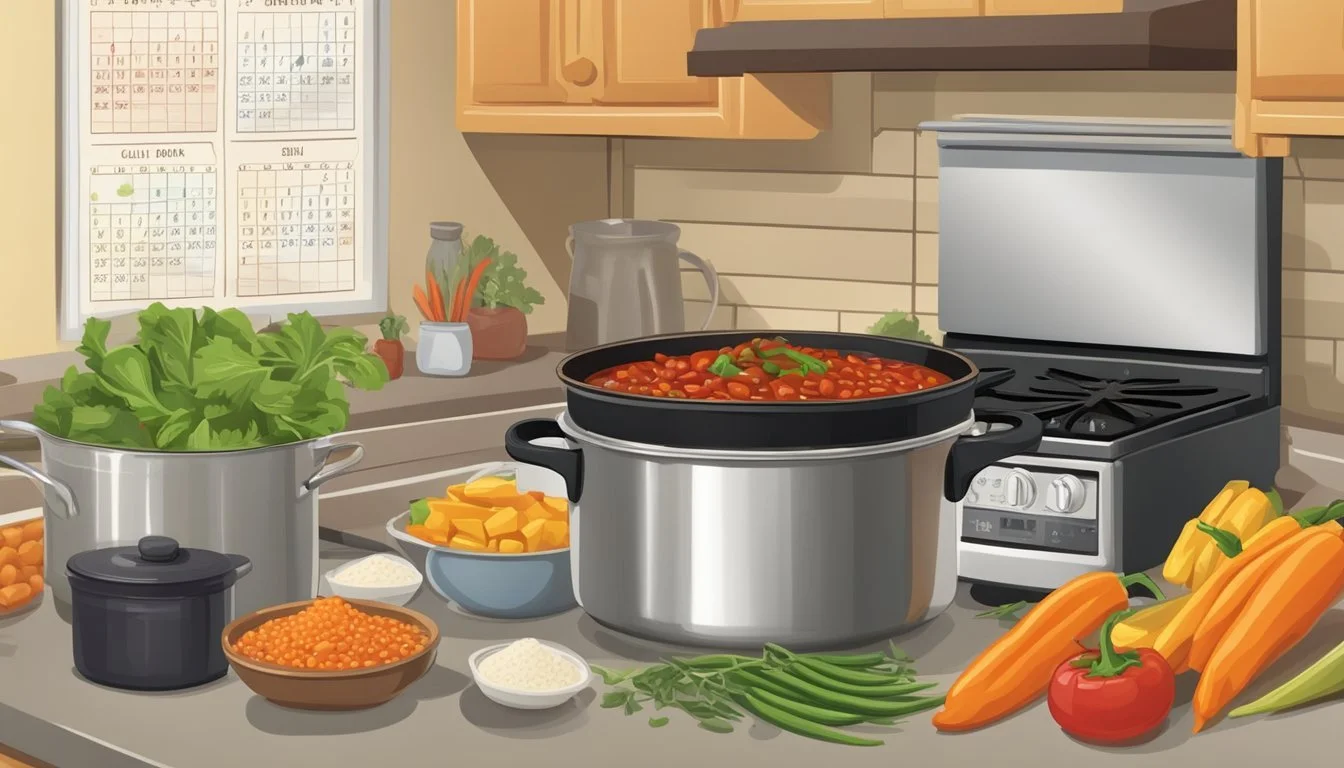
When it comes to enjoying a delicious pot of gluten-free chili, understanding its shelf life is crucial to ensure both flavor and safety. Gluten-free chili can last in the refrigerator for up to three to four days, making it an excellent meal prep option for busy weeks. Proper storage in an airtight container helps maintain its quality during this period.
For those looking to extend the shelf life of their gluten-free chili, freezing is a viable option. When stored in freezer-safe containers or bags, it can last for three to six months while retaining its taste and texture. Freezing gluten-free chili ensures you have a convenient and safe meal ready whenever you need it.
It's essential to monitor both the ingredients and storage conditions to maximize the longevity of gluten-free chili. Factors like temperature, container type, and even the variety of meat or vegetables used can affect how long your chili stays fresh and delicious.
Understanding Gluten-Free Chili
Gluten-free chili relies on specific ingredients to ensure its suitability for those with gluten sensitivities. It can be just as flavorful and hearty as traditional chili, often incorporating a variety of spices, beans, and tomatoes.
Defining Gluten-Free
Gluten-free refers to foods that do not contain gluten, a protein found in wheat, barley, and rye. For individuals with celiac disease or gluten sensitivity, it is essential to avoid gluten as it can cause adverse health effects.
Most chili recipes naturally avoid gluten if using basic, unprocessed ingredients. Caution should be taken with pre-made spice mixes or processed foods, which may contain hidden gluten. Always check labels to confirm the absence of gluten-containing ingredients.
Key Ingredients for Gluten-Free Chili
To ensure chili is gluten-free, using the right ingredients is crucial. Common components include ground beef or other proteins, beans, crushed or diced tomatoes, and an array of spices such as chili powder, cumin, and paprika.
Beans act as a nutritious, gluten-free filler, providing both texture and extra protein. Different varieties like kidney beans, black beans, or pinto beans can be used.
When choosing ingredients, focus on natural, whole foods and avoid pre-packaged items that may have additives or fillers containing gluten. Fresh vegetables like onions, peppers, and garlic deepen the flavor while maintaining the dish's integrity as gluten-free.
Selecting the Best Ingredients

Using the right ingredients ensures that your gluten-free chili is flavorful, healthy, and satisfying. To achieve the best result, focus on quality proteins, fresh vegetables, and gluten-free spices and herbs.
Choosing Quality Proteins
Selecting the right protein is crucial since it forms the base of your chili. Ground beef, chicken, and turkey are excellent options. Make sure to choose meat that is fresh and preferably organic. High-quality proteins will provide a richer taste and better texture.
Ground Beef: It is the traditional choice and adds a robust flavor. Look for lean cuts to reduce excess fat.
Chicken: Opt for ground chicken if you prefer a lighter option. It absorbs spices well.
Turkey: Ground turkey is another healthy alternative, providing a mildly sweet flavor.
Opting for Fresh Vegetables
Fresh vegetables add essential nutrients and enhance the chili's texture and flavor. Prioritize freshness to ensure maximum taste and nutritional value.
Onion: Finely chopped onions add sweetness and depth. Use yellow or white onions for the best results.
Garlic: Fresh garlic, minced or chopped, offers a strong, aromatic foundation.
Peppers: Bell peppers contribute to the chili’s color and crunchiness. Include green, red, or yellow peppers.
Carrots: Add finely diced carrots for a subtle sweetness and additional nutrients.
Gluten-Free Spices and Herbs
Spices and herbs are the backbone of any chili recipe, responsible for its distinctive flavor. Ensure all spices are gluten-free to avoid contamination and maintain the dish's integrity.
Cumin: This spice provides a warm, earthy flavor. It is a staple in chili recipes.
Chili Powder: A blend of dried chilies, it adds heat and depth.
Oregano: Often found in dried form, oregano contributes a slightly bitter, herbal note.
Salt and Pepper: Essential for seasoning, they bring out the flavors of other ingredients.
Bay Leaves: Add during cooking for an aromatic, herbal hint. Remove before serving.
Selecting these high-quality ingredients will help you create a delicious, hearty gluten-free chili that everyone can enjoy.
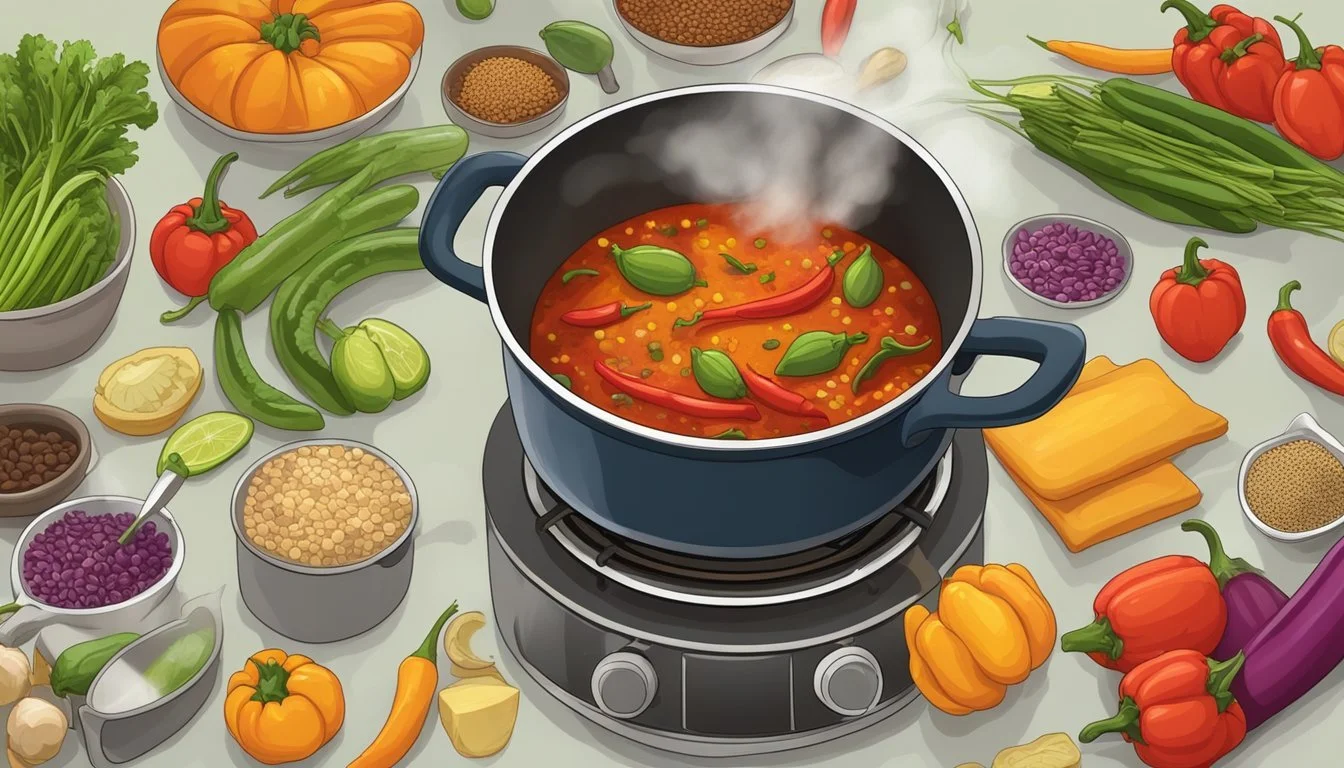
Cooking Techniques

To perfect gluten-free chili, one must focus on the choice of cookware, mastering the technique of simmering, and appropriately adjusting the thickness to create a delicious and satisfying meal.
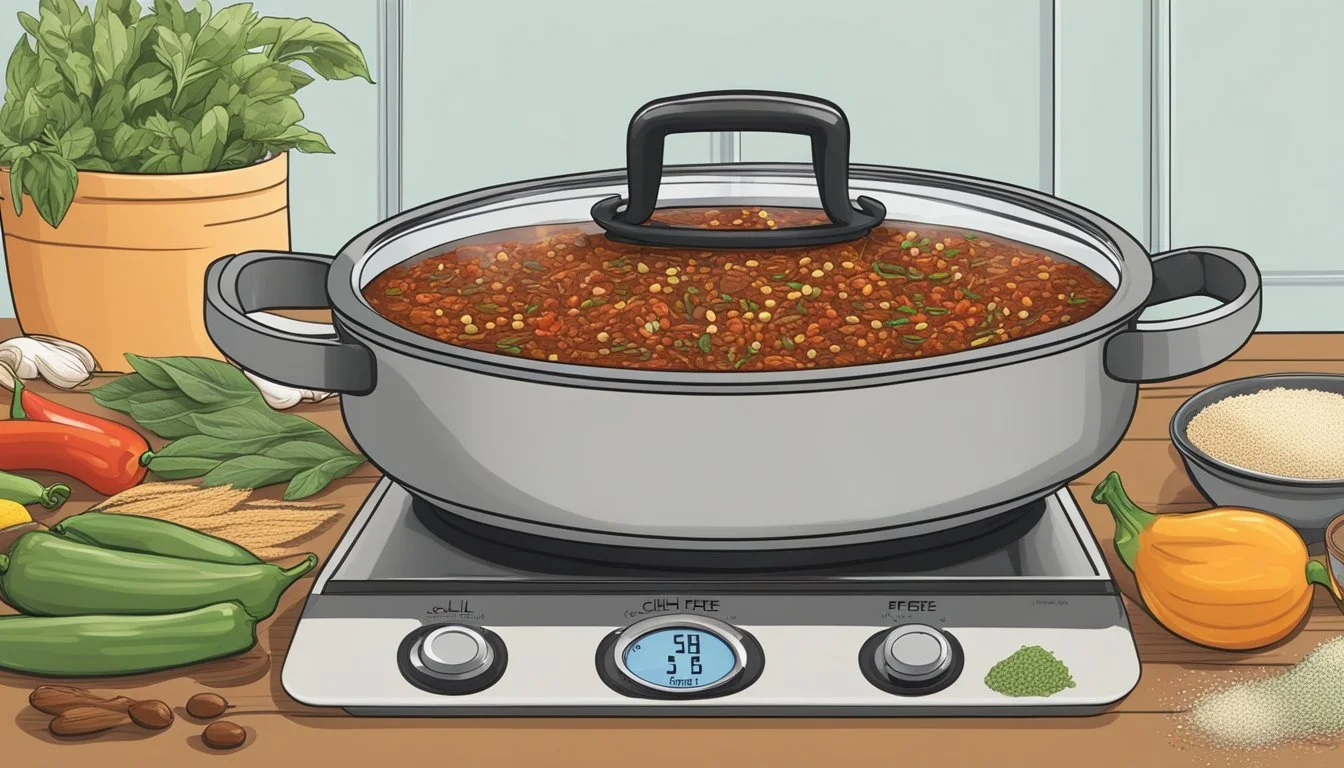
Using the Right Cookware
Choosing appropriate cookware is vital for making gluten-free chili. Dutch ovens and slow cookers are excellent options as they provide even heat distribution and steady temperatures, aiding in the slow cooking process that melds flavors.
For those short on time, an Instant Pot can be invaluable. It speeds up the cooking process without compromising on flavor. Stove top cooking is also effective, offering better control over heat levels. Each method can produce delicious results if the right cookware is used.
The Art of Simmering
Simmering is crucial for deepening the chili’s flavors. Once the chili reaches a boil, reducing it to a simmer allows spices and seasonings to meld and the ingredients to tenderize.
Maintain a consistent, low heat by frequently stirring the chili to prevent it from sticking to the pot. Using a slow cooker can help maintain an even simmer over a longer period, while an Instant Pot on the sauté setting can achieve a similar result in less time.
Adjusting the Thickness
Adjusting the thickness of gluten-free chili is essential for achieving the desired consistency. Thickeners like cornstarch or gluten-free flour can be mixed with water and added to the chili. Quinoa, a naturally gluten-free grain, can also be incorporated to add both texture and nutritional value.
To make chili thicker, let it cook uncovered to allow excess liquid to evaporate. In contrast, to thin it out, simply add more broth or water. Adjusting thickness ensures the chili meets personal preferences and provides a hearty, satisfying meal.
Flavor Enhancements
Perfecting gluten-free chili involves a balanced mix of spices and seasonings along with strategic flavor boosters. Paying attention to these elements ensures a well-rounded and memorable chili experience.
Layering Spices and Seasonings
The foundation of any good chili lies in its spices. Begin with chili powder, which gives the dish its signature warmth. Cumin and oregano add depth and earthiness, while kosher salt enhances the overall taste.
Paprika and smoked paprika contribute a slightly sweet, smoky flavor, ensuring a rich profile. For those who appreciate heat, cayenne pepper and chopped jalapeños provide the necessary kick. Garlic powder can also be included for an aromatic layer.
Combining these spices in stages during cooking allows each to meld perfectly, creating a more complex taste. Regularly tasting and adjusting is key to achieving the ideal balance.
Incorporating Flavor Boosters
Flavor boosters can elevate the intensity of your gluten-free chili. Tomato paste is essential for adding a concentrated tomato flavor and a thicker consistency. A bit of brown sugar counterbalances the acidity of tomatoes and spices, creating a smooth, cohesive flavor.
Adding bay leaves during the simmering process can infuse a subtle, herbaceous note. For an extra layer of complexity, consider a splash of apple cider vinegar or lime juice at the end of cooking.
These enhancers work best when applied thoughtfully, ensuring they complement rather than overpower the spices and seasonings. Experimentation with these boosters can fine-tune the chili to suit individual tastes.
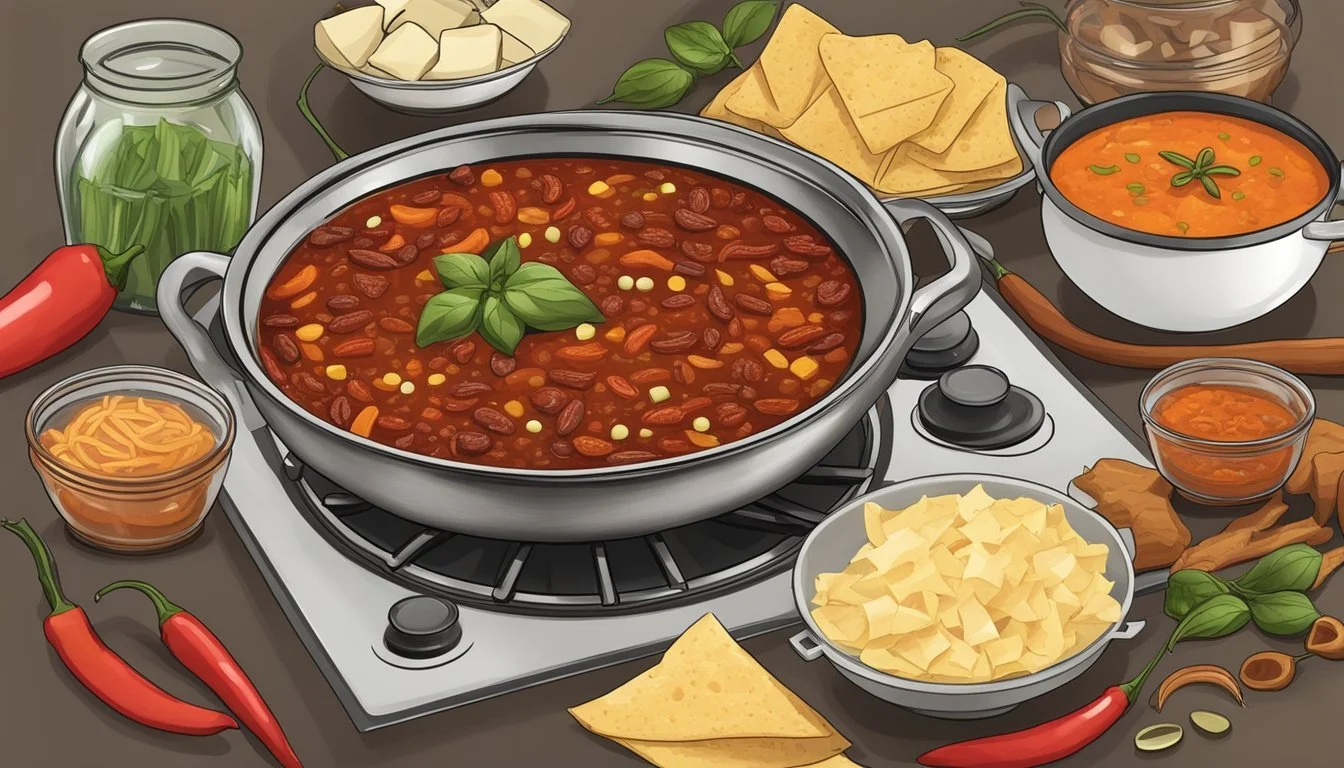
Serving and Toppings
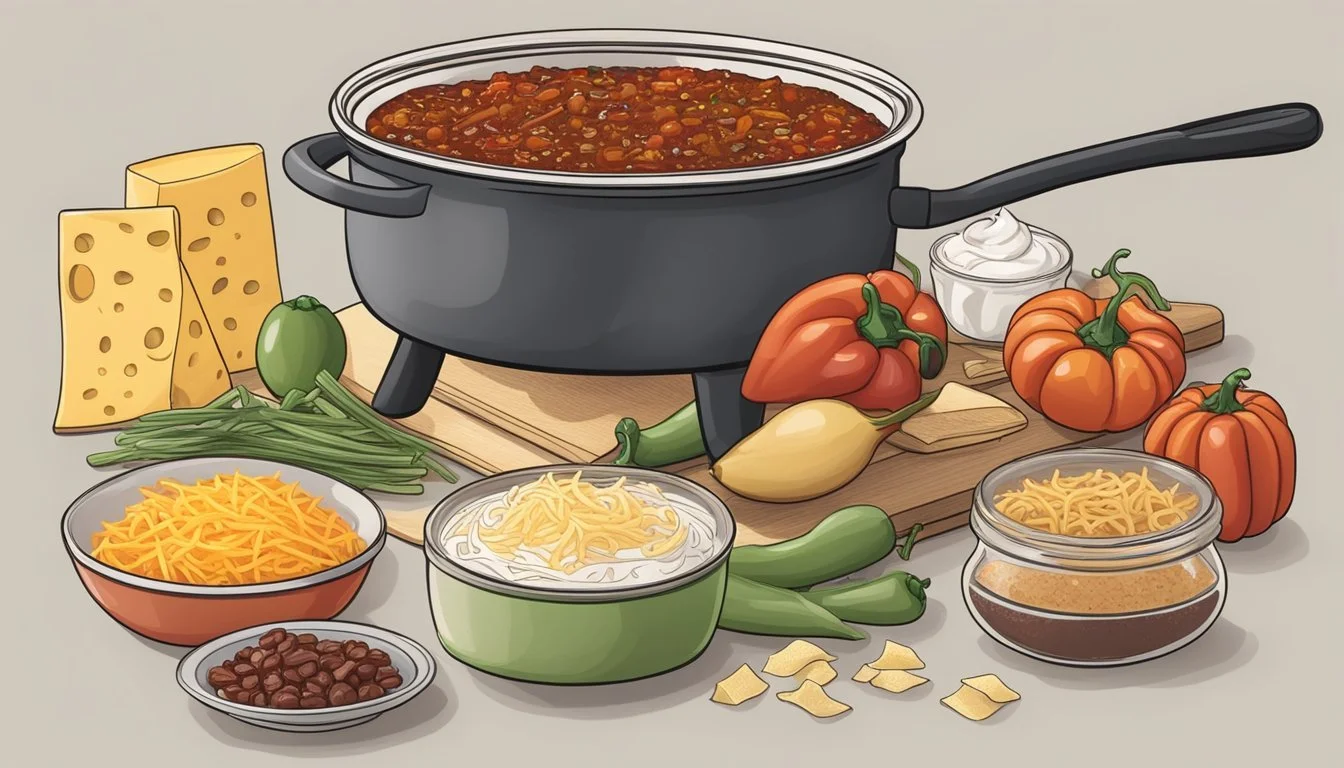
When it comes to gluten-free chili, the way it's served and the toppings used can greatly enhance the flavor and dining experience.
Complementing with Toppings
Adding the right toppings to gluten-free chili can elevate its taste and texture. Common toppings include shredded cheese and sour cream for a creamy finish.
Green onions and chopped jalapenos provide a fresh, spicy kick.
Sliced avocado offers a rich, creamy contrast, while crushed tortilla chips or gluten-free crackers add a satisfying crunch.
For an extra touch, consider adding cilantro or olives. Each topping brings a unique flavor, allowing for personalization according to individual preferences.
Serving Suggestions
Gluten-free chili serves well on its own but can be paired with sides to create a full meal. A classic pairing is gluten-free cornbread, which helps balance the spicy and savory flavors of the chili. Additionally, serving chili with Crunchmaster crackers or other gluten-free options can provide a delightful crunch.
For a fresh twist, consider a side salad with a light vinaigrette.
Spoon the chili into bowls and let guests add their preferred toppings. This not only enhances the flavors but also makes for an interactive and enjoyable dining experience.
Storing Gluten-Free Chili

Proper storage of gluten-free chili can maximize its shelf life and preserve its flavor. Key practices include using airtight containers and choosing between refrigeration and freezing based on how quickly you plan to consume the leftovers.
Refrigeration Best Practices
When refrigerating gluten-free chili, use airtight containers to maintain freshness and prevent contamination. Glass containers are preferable as they do not retain odors or stains. Ensure the chili cools to room temperature before placing it in the refrigerator to avoid raising the fridge’s internal temperature.
In the refrigerator, gluten-free chili can last 3-4 days. Label the container with the date of storage to keep track. Avoid frequent temperature changes by limiting the number of times the container is opened.
Freezing for Long-Term Storage
For extended storage, freezing is an excellent option. Use freezer-safe containers or heavy-duty freezer bags to prevent freezer burn. Portion the chili based on anticipated future servings to make defrosting easier and to avoid repeated thawing and refreezing.
Once properly stored, gluten-free chili can be frozen for up to 3 months. Always label the containers with the date. When ready to use, thaw in the refrigerator overnight and reheat thoroughly on the stove or microwave before consuming.
Nutritional Considerations
When making gluten-free chili, understanding the nutritional profile is essential. Focus on caloric content, macronutrient balance, and the inclusion of vital fiber and vitamins to ensure a wholesome meal.
Caloric Content of Ingredients
Gluten-free chili can vary in calories depending on the ingredients. Ground beef typically adds higher calories compared to turkey. Beef provides about 250 calories per 100 grams, while turkey has around 160 calories per 100 grams. Beans, a staple in chili, offer around 120 calories per 100 grams.
Tomato base, onions, and seasonings contribute minimal calories but essential flavors and nutrients. Using lean meats and more vegetables can help manage the overall caloric intake effectively.
Balancing Macronutrients
Balancing carbohydrates, proteins, and fats is crucial for a nutritious chili. Beans are a great source of carbohydrates and protein, delivering around 15 grams of carbs and 8 grams of protein per 100 grams. Meat, whether beef or turkey, provides a substantial amount of protein, facilitating muscle repair and growth.
Adding vegetables such as bell peppers, tomatoes, and onions not only enhances flavor but also ensures a balance of macros. Aim for a ratio of carbs, protein, and fats that aligns with dietary needs, typically around 45-65% carbs, 10-35% protein, and 20-35% fats.
Incorporating Fiber and Vitamins
Including a variety of beans and vegetables boosts fiber content, improving digestive health. Beans are rich in fiber, with around 7 grams per 100 grams, aiding in maintaining digestive regularity and fullness.
Vegetables add vitamins and minerals. For example, tomatoes provide vitamin C and potassium, while bell peppers offer vitamins A and C. Ensuring a variety of colorful vegetables in the chili helps meet daily recommended intake of essential vitamins and nutrients, contributing to overall health.
Meal Prepping and Batch Cooking
Preparing gluten-free chili in advance is both practical and time-saving. Efficient meal prep techniques make it easier to enjoy healthy, home-cooked meals. Batch cooking ensures that delicious, gluten-free chili is always ready to serve.
Efficient Meal Prep Strategies
Focused meal prep starts with organization. Begin by planning the week's meals and creating a detailed shopping list. Ensure that all ingredients are on hand before starting.
Chop vegetables like onion, carrot, and celery ahead of time. This makes the cooking process smoother. Pre-measured spices can also save time. Store everything in labeled containers for easy access.
Cook large batches on a relaxed evening or weekend. This approach saves time during busy weekdays. Dual-purpose techniques like pre-browning meat and pre-cooking beans streamline the preparation.
Batch Cooking for Weekly Planning
Batch cooking transforms meal preparation into an efficient, enjoyable task. Cook a large pot of gluten-free chili that will last for several meals. Divide the chili into individual portions using airtight containers.
Freeze portions for even longer storage. Label each container with the date and contents to track freshness. Designate certain nights as chili nights to simplify weeknight dinners.
Incorporate leftovers creatively. Gluten-free chili can be used in a variety of dishes such as chili-spiced baked potatoes or a cozy chili soup. This approach ensures no food goes to waste and keeps meals interesting.
Customizing Your Chili
Customizing your chili allows you to tailor flavors and ingredients to meet dietary restrictions and personal preferences. From adding unique spices to making plant-based swaps, there are countless ways to make your chili perfect for your needs.
Adjusting for Dietary Restrictions
Gluten-free ingredients are essential for those with gluten sensitivities. Use gluten-free chili seasoning blends instead of store-bought mixes that may contain gluten. Checking labels on all packaged seasonings and sauces can also help ensure no gluten is present.
For a vegetarian option, substitute meat with ingredients like beans, lentils, or tofu. Using a variety of beans such as black beans, kidney beans, and chickpeas adds texture and nutrition. Cooking the chili with vegetable broth instead of beef or chicken broth ensures the dish remains vegetarian.
Considering spicy preferences is crucial. For those who enjoy spicy chili, add cayenne pepper, jalapeños, or hot sauce. On the other hand, those with a low tolerance for spice can reduce or omit these ingredients and opt for milder seasonings like sweet paprika.
Creative Variations and Substitutions
Experimenting with creative variations can make chili more exciting and tailored to individual tastes. Smoked paprika, chipotle powder, and cinnamon can bring unique flavors. These spices add depth and warmth to the chili, enhancing the overall taste experience.
Incorporating simple ingredients like diced tomatoes and bell peppers can add freshness. Using fresh vegetables not only makes the chili healthier but also more vibrant and flavorful.
Substitutions such as sweet potatoes or butternut squash for regular potatoes create a slightly sweet and hearty base, perfect for a twist on traditional chili. For added richness, a bit of dark chocolate can be stirred in towards the end of cooking, giving the chili a deep, robust flavor.
Offering toppings like shredded cheese, sour cream, avocado, and fresh cilantro allows for further customization. These toppings can cater to various textures and tastes, ensuring each bowl of chili is unique and enjoyable.
Food Safety

Ensuring the safety of gluten-free chili involves careful attention to preventing cross-contamination and proper cooking temperatures. These precautions are essential to maintain both the quality and safety of the chili, especially for those with food allergies or sensitivities.
Preventing Cross-Contamination
Preventing cross-contamination is crucial when preparing gluten-free chili. Always use separate utensils, cutting boards, and cookware that have not been in contact with gluten-containing ingredients.
Cleaning all surfaces and equipment thoroughly before use is essential. It's also important to read ingredient labels carefully. Some spices and processed foods may contain hidden gluten. Purchasing certified gluten-free products can mitigate risks.
Store gluten-free ingredients in dedicated containers and separate them from items containing gluten. A little diligence in maintaining a gluten-free environment ensures the chili remains safe for consumption.
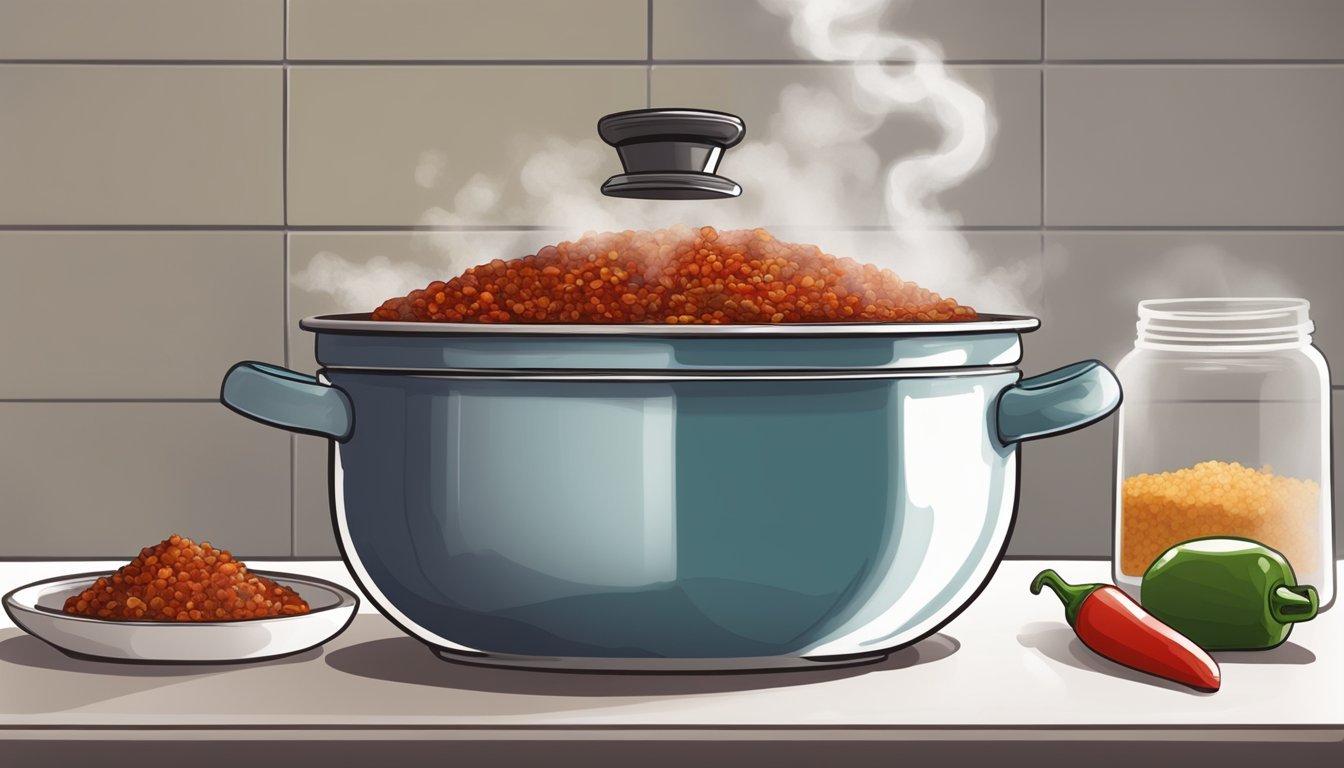
Proper Cooking Temperatures
Cooking gluten-free chili to the correct temperature is vital to ensure safety. Ground beef or poultry should reach an internal temperature of 160°F (71°C) to eliminate harmful bacteria. Using a meat thermometer can help achieve this.
The chili should be simmered on the stove for at least 40-50 minutes. Stirring often not only helps with even cooking but prevents the chili from sticking and burning. Ensuring that all ingredients, especially meats, are cooked properly is key to a delicious and safe dish.
When storing, cool the chili promptly and refrigerate at or below 40°F (4°C). Proper cooking and storage practices extend the chili’s shelf-life and maintain its safety and flavor.
