
How to Use a Rotisserie Attachment on Your Grill for Perfectly Even Cooking

Using a rotisserie attachment on your grill can elevate the flavor and texture of your meats, offering an evenly cooked and often juicier result compared to traditional grilling methods. A rotisserie uses a rotating spit to turn food—typically larger cuts of meat or whole poultry—ensuring consistent and thorough cooking by exposing all sides of the food to the heat source. This method effectively seals in the natural juices and flavors, yielding a tender and moist dish that is difficult to achieve with static cooking.
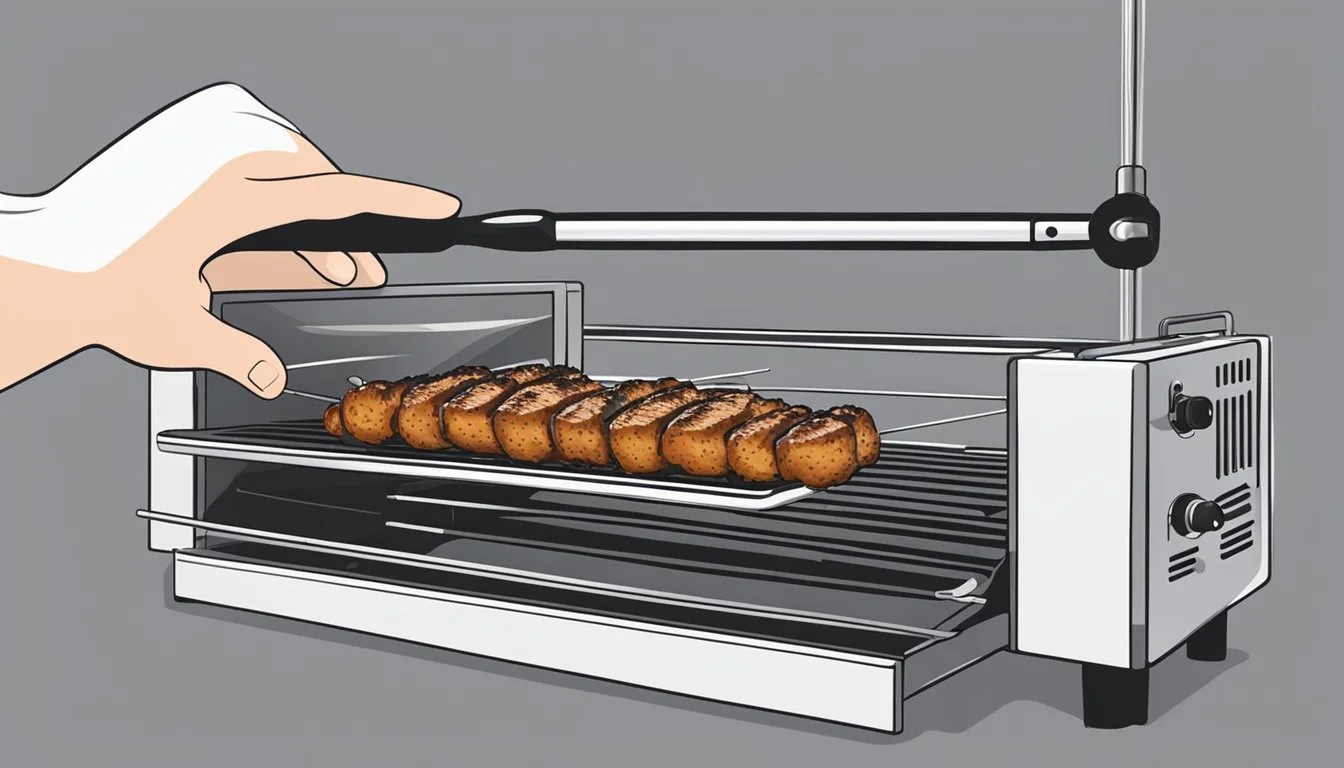
Integrating a rotisserie attachment into your grilling arsenal is a straightforward process. First, the rotisserie's spit rod must be properly assembled and secured to the grill. The meat should be balanced to ensure it rotates smoothly, which prevents the motor from working too hard and ensures that the cooking is uniform. To keep the heat consistent and avoid flare-ups, it's best to use indirect heat—having the burners lit on one side while placing the food on the other.
When preparing to grill with a rotisserie, one should preheat the grill to a high temperature before loading the meat, which helps to sear the exterior quickly, locking in the flavors. It's also advisable to place a drip pan underneath the rotating food. This tray serves dual purposes: catching the drippings, which can be used for basting or making gravy, and preventing fat from igniting, which could cause uneven cooking.
Choosing the Right Rotisserie Attachment
While searching for the perfect rotisserie attachment, one must consider the compatibility with their existing grill and the essential features that ensure functional and efficient use.
Compatibility With Your Grill
The foremost consideration in selecting a rotisserie attachment is ensuring it fits the grill. Most rotisserie kits specify which grills they are compatible with, typically distinguishing between gas and charcoal grills. A proper fit is not only crucial for operational reasons but also for safety during cooking. Some kits come with a rotisserie ring or a universal bracket that's designed to fit a variety of grills, but one should always check the specifications against their grill model.
Essential Features of Rotisserie Kits
When evaluating rotisserie kits, it's vital to look for certain features that contribute to even cooking and durability. Here is a brief rundown of key features:
Motor Strength: A robust electric or battery-operated motor that can turn heavy cuts of meat without faltering.
Sturdy Spit and Forks: Stainless steel construction for longevity and ease of cleaning.
Adjustable Counterbalance: To help reduce weight strain on the motor and ensure even rotation.
Easy Assembly: Clear instructions and user-friendly design for quick setup.
Understanding these core attributes will lead to a more informed decision and ultimately, a better grilling experience.
Preparing the Meat and Vegetables
Proper preparation of meats and vegetables is crucial for successful rotisserie grilling. This entails selecting suitable cuts, marinating for flavor enhancement, and properly preparing vegetables for consistent cooking.
Selecting and Preparing Meats
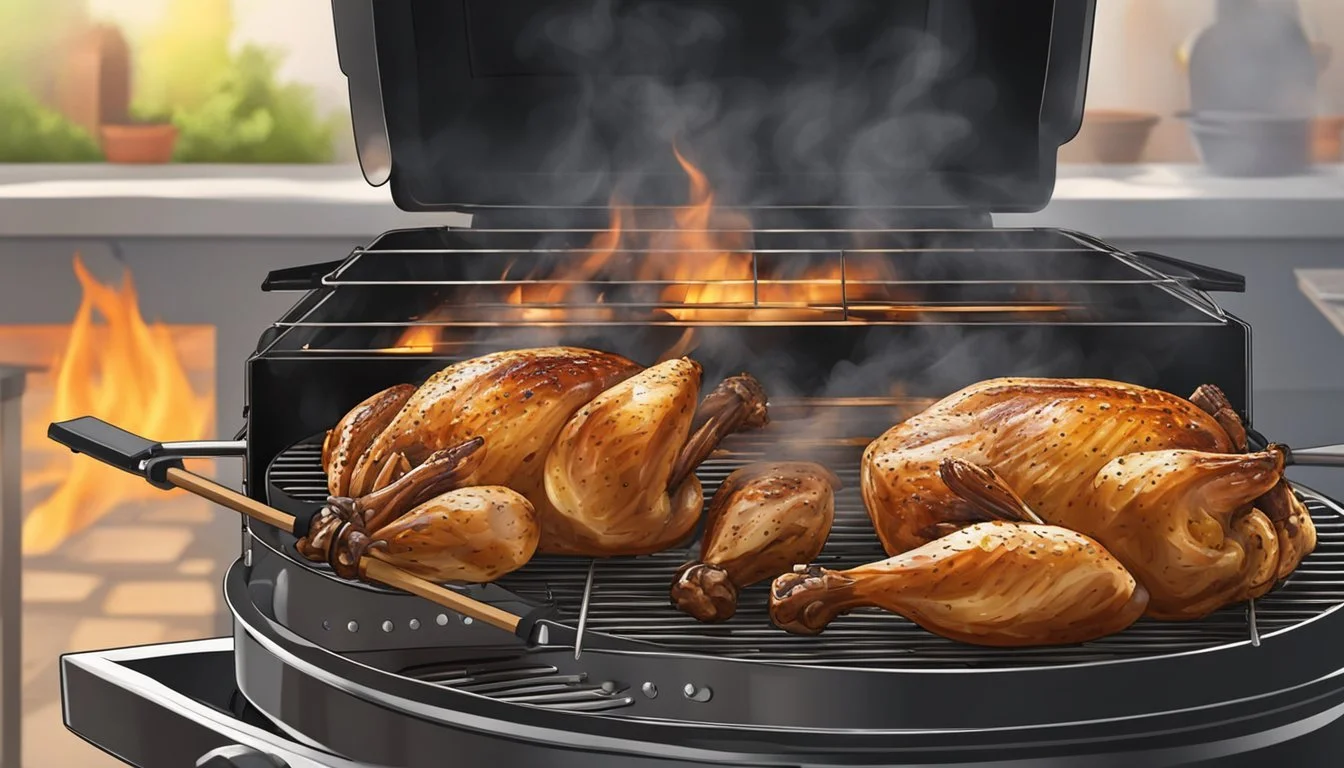
When choosing meats for the rotisserie, it's important to select cuts that benefit from slow cooking. Options such as beef prime rib, pork loins, lamb legs, and whole poultry like chicken are excellent choices.
Beef: Opt for a well-marbled prime rib or a tied roast.
Pork: A bone-in pork loin or ham provides great results.
Lamb: Leg of lamb should be evenly trimmed.
Poultry: A whole chicken can be used with or without brining.
For even cooking, meats should be balanced on the spit. Use butcher’s twine to truss meats like beef or lamb to maintain shape and ensure even cooking.
Marinating and Seasoning
Flavoring meat is best achieved through a combination of marinating and seasoning. Marinate meats like chicken or lamb with a mixture of olive oil, garlic, and herbs such as thyme for several hours or overnight.
Marinade basics:
Acid (vinegar, lemon juice) to tenderize
Oil to moisturize
Herbs and spices for flavor
Prior to cooking, season the meat with a robust blend of herbs and spices. Ensure the outer surface has a generous application for a flavorful crust.
Seasoning table:
Meat Type Herbs & Spices Beef Garlic, pepper, rosemary Pork Fennel (how long does fennel last?), sage, paprika Lamb Mint, oregano, thyme Poultry Sage, garlic, thyme
Preparing Vegetables for Rotisserie
Rotisserie is not only for meats but can be an excellent method for roasting vegetables as well. Firm vegetables like peppers, onions, and zucchini are ideal for skewering and cooking alongside the meat. They should be cut into large enough pieces to not fall through the spit.
Skewer veggies, alternating types for even cooking.
Lightly coat with a glaze of olive oil to prevent sticking and enhance caramelization.
Avoid overloading the spit with vegetables to ensure that they cook evenly and benefit from the rotisserie’s constant rotation.
Setting Up the Grill for Rotisserie Cooking
Proper setup of the grill is essential for effective rotisserie cooking. Ensuring that the equipment is balanced and secure will promote even cooking and enhance safety.
Ensuring Safety and Balance
When preparing for rotisserie grilling, the first concern should be the safety and balance of the setup. The grill must be on a stable, level surface to prevent tipping. The spit rod must be centered and balanced when loaded with food to ensure the motor functions properly and to avoid undue strain or imbalance during cooking. To achieve this, one should:
Check that all grill components are securely in place.
Confirm the weight of the food is within the rotisserie's capacity.
Distribute the weight evenly along the spit rod to prevent wobbling.
Test balance by rotating the spit rod manually before turning on the motor.
Attaching the Spit Rod and Forks
The spit rod and forks are the primary tools for rotisserie cooking, and attaching them correctly is crucial for even cooking. The spit forks serve to firmly hold the food in place while it is being cooked. Follow these steps:
Insert the spit rod through the center of the food.
Secure the food on the rod using the spit forks; they should grip tightly to avoid slipping.
Double-check that the meat is centered and balanced on the spit; adjustments should be made as necessary for even rotation.
Once the food is secure, mount the spit rod onto the grill according to the manufacturer's instructions.
Ensure that there is a drip pan beneath the food to catch drippings, reducing flare-ups and keeping the grill clean.
By meticulously following these steps, one can create a safe and optimized environment for rotisserie grilling, leading to delicious and evenly cooked results.
Mastering Rotisserie Cooking Technique
To achieve the perfect balance of a juicy, tender, and flavorful outcome in rotisserie cooking, one must pay careful attention to heat control, the use of drip pans, and basting techniques. These elements are critical in harnessing the full potential of the rotisserie attachment.
Control of Heat
The secret to successful rotisserie cooking lies in heat management. Indirect heat is essential as it allows the food to cook slowly and evenly, minimizing the chances of burning. Here's how to manage heat based on your grill type:
Gas Grills: Preheat the grill on high, then turn off the burners directly beneath the food.
Charcoal Grills: Arrange the coals around the outer edges of the grill, never directly under the food.
Using Drip Pans Effectively
Drip pans not only prevent flare-ups but also aid in maintaining indirect heat. They should be placed underneath the food to catch drippings, which can be used for basting. This contributes to a more flavorful outcome. The steps are straightforward:
Place a drip pan directly under the rotisserie.
Fill it with water or a marinade to help stabilize the temperature and add moisture.
Basting for Flavorful Results
Basting plays a pivotal role in enhancing the flavor and keeping the meat juicy. To baste effectively:
Use the collected juices from the drip pan or a prepared baste.
Apply the baste periodically, especially during the latter half of cooking.
Regular basting helps to develop a flavorful crust on the meat's surface and maintain internal moisture. Always check the internal temperature of the meat before finishing to ensure it's cooked to perfection.
Cooking Times and Internal Temperatures
Cooking times and internal temperatures are the pillars of perfect rotisserie cooking. Achieving the ideal doneness relies upon maintaining the balance between time spent cooking and the heat penetrating the meat.
Measuring Doneness
Doneness of meat is gauged by the internal temperature reached during cooking, which differs according to the type of meat. For instance, poultry should attain a minimum internal temperature of 165°F, whereas beef, depending on the desired doneness, can range from 125°F for rare to 160°F for well done. Pork should generally be cooked to an internal temperature of 145°F.
Using Meat Thermometers
A meat thermometer is an indispensable tool for ensuring food safety and culinary success. One should precisely insert the thermometer into the thickest part of the meat, avoiding fat and bone, as these areas can give misleading readings. It's advisable to check the temperature roughly 30 minutes before the estimated cooking time concludes to avoid overcooking. For a comprehensive overview, here are the recommended internal temperatures for various meats:
Beef:
Rare: 125°F
Medium Rare: 135°F
Medium: 145°F
Medium Well: 150°F
Well Done: 160°F
Poultry:
Whole Chicken/Turkey: 165°F
Duck: 170°F
Pork:
Chops, Roasts: 145°F
Ground: 160°F
Lamb:
Medium Rare: 145°F
Medium: 160°F
Well Done: 170°F
She should make sure to let the meat rest after removing it from the grill, as the residual heat will cause the temperature to rise slightly, sealing in the juices and flavors.
Enhancing Flavor with Smoke and Moisture

One can elevate the taste of rotisserie grilled meats by incorporating flavored liquids for basting and adding smoke during the cooking process. These methods ensure not only deeply infused flavors but also help in achieving moist and juicy results.
Using Flavored Liquids
Introducing flavored liquids during the rotisserie cooking, they not only keep the meat moist but also add a layer of complexity to its taste profile. The cook can create a basting solution with ingredients such as beer, wine, fruit juice, or vinegar. The meat absorbs these liquids as it cooks, making the final dish succulent and flavorful.
Beer: Adds a malty, slight bitterness that compliments pork and chicken.
Wine: Can impart a fruity or tannic note, excellent for red meats.
Fruit Juice: Offers a sweet and tangy flavor, ideal for glazing.
Vinegar: Provides an acidic zing that can brighten the overall taste.
It is crucial to regularly baste the meat during the cooking process to optimize moisture retention and flavor infusion.
Adding Smoke to Rotisserie Cooking
Incorporating smoke is a time-honored method to impart a rich, savory flavor to rotisserie meats. One can use a variety of wood chips such as hickory, apple, or mesquite to create a smoke environment in the grill.
Hickory: Ideal for robust meats like beef, imparting a strong bacon-like flavor.
Apple: Gives a subtle, fruity sweetness, pairing well with lighter meats like chicken.
Mesquite: Offers a sharp, earthy taste that is perfect for red meats.
To ensure the smoke effectively penetrates the meat, it should be exposed to the smoke for an optimal duration, allowing it to kiss the meat as it rotates, enhancing both flavor and aroma.
Post-Cooking Meat Handling
After roasting meat to perfection using a rotisserie, proper post-cooking handling is essential to ensure the meat retains its succulent and juicy characteristics. To achieve this, one must carefully manage the resting and carving processes before serving.
Resting the Meat
Once the meat has reached the desired internal temperature, it should be removed from the rotisserie spit and transferred to a cutting board to rest. Resting allows the juices to redistribute throughout the meat, especially for larger cuts that have been exposed to prolonged heat. The general rule is to let the meat rest for approximately 5 minutes per pound. For example, a 5-pound chicken would require a 25-minute rest before carving.
Carving and Serving
After a sufficient rest interval, the meat is ready for carving. Using sharp knives, one should slice against the grain of the meat to maximize tenderness. For large cuts of meat, such as roasts or whole poultry, they should be steadied with a carving fork to ensure even slices. Proper carving technique contributes to the overall enjoyment and presentation of the meal. As soon as the meat is carved, it can be plated and served immediately to enjoy its peak flavors and temperature.
Cleaning and Maintenance of Rotisserie Equipment
Caring for rotisserie equipment is essential for even cooking and longevity of the grill attachment. Regular cleaning prevents buildup of grease and food particles, while proper maintenance ensures the motor and moving parts function smoothly.
Proper Cleaning of Spit and Accessories
One should clean the spit, forks, and any additional accessories after each use. Following these steps helps maintain the equipment:
Spit Rod: Wash it with soap and warm water, and use a soft-bristled brush to remove stubborn residue.
Forks: Soak in soapy water before scrubbing and rinsing thoroughly.
It's important to avoid abrasive cleaners or metal scrapers, which can damage surfaces. Instead, for the spit and forks that come in contact with food, a mixture of baking soda and water can aid in gentle cleansing.
Maintaining the Rotisserie Motor
The rotisserie motor is the heart of the assembly, and requires careful attention:
Avoid Moisture: Ensure the motor is never exposed to water as it can cause damage.
Regular Checks: Inspect for any loose parts or abnormal noises during operation.
Storage: When not in use, store the motor in a dry area to prevent corrosion or damage.
Following the manufacturer's guidelines for any specific maintenance routines or schedules is vital for reliable operation. Disconnect power before attempting any maintenance on the motor for safety.
Troubleshooting Common Rotisserie Issues
When using a rotisserie attachment on a grill, cooks may encounter issues like flare-ups or challenges posed by the external environment, like wind and air temperature. Understanding how to manage these factors is crucial for even cooking and achieving the desired results.
Managing Flare-Ups
Flare-ups occur when fat drippings from the meat ignite. They can lead to uneven cooking and charring.
Preventive Measures: To reduce the chance of flare-ups:
Use a drip pan with water beneath the meat to catch fat.
Trim excess fat from the meat before cooking.
Do not overload the rotisserie spit.
Responsive Actions: If flare-ups happen:
Temporarily turn off the burners directly under the meat.
Shift the meat to a cooler section of the grill until the flames subside.
Keep a spray bottle of water handy to quickly douse minor flames.
Adjusting for Wind and Air Temperature
Wind and air temperature can significantly affect the heat distribution and cooking times.
Techniques for Windy Conditions:
Shield the grill from wind with a barrier or position it perpendicularly to the prevailing wind direction.
Increase the heat to compensate for heat loss, monitoring carefully to avoid overcooking.
Air Temperature Adjustments:
On colder days, preheat the grill longer and expect extended cooking times.
In higher temperatures, reduce the burner heat and monitor the rotisserie cycle to prevent the exterior of the meat from cooking too quickly.
Rotisserie Recipes and Creative Ideas
Rotisserie grilling opens up a world of flavorful and evenly cooked meals. It is an art that combines culinary skills with creative ideas, allowing home chefs to experiment with a variety of meats, vegetables, fruits, marinades, and basting techniques.
Recipes for Different Meats
Pork: A classic rotisserie pork recipe might involve a succulent center-cut pork loin. It can be seasoned with a blend of garlic, thyme, and rosemary for a herbaceous crust.
Beef: Beef enthusiasts can opt for a rotisserie prime rib roast, liberally seasoned with salt, pepper, and garlic, then cooked until it reaches the desired internal temperature.
Ham: A holiday favorite, the glazed ham becomes transformative when spun on the rotisserie. Coated with a bourbon and cane syrup glaze, it caramelizes beautifully while spinning.
Lamb: Try rotisserie leg of lamb with a Greek-inspired marinade made from olive oil, lemon juice, garlic, and a mix of oregano and thyme.
Vegetable and Fruit Rotisserie Options
Vegetables: Skewered whole vegetables such as bell peppers, onions, and zucchini can be grilled on a rotisserie spit, creating a charred, smoky side dish.
Fruits: For a sweet twist, one might thread pineapple or peaches onto the spit, brushing them with a cinnamon honey glaze as they cook to a caramelized perfection.
Innovative Basting Mixtures and Marinades
Basting: Homemade basting mixtures are key to adding moisture and flavor. They might include a mixture of melted butter, wine, and herbs brushed onto the meat throughout the cooking process.
Marinades: The foundation of great flavor begins with a marinade. One could combine oil, garlic, and various dried herbs, allowing the meat to absorb the flavors overnight in the refrigerator.
By embracing these recipes and creative ideas, one can utilize their rotisserie attachment with confidence and enjoy a myriad of delectable, perfectly cooked dishes.
Advanced Techniques for the Grill Enthusiast
For the grill enthusiast looking to elevate their backyard barbecue, mastering the use of a rotisserie attachment with advanced cooking techniques can significantly enhance the flavor and quality of their dishes.
Using Infrared Burners
Infrared burners provide intense, direct heat that can be pivotal when using a rotisserie grill. They cook food more quickly than traditional burners and can provide a crisp exterior on meats. When using an infrared burner with a rotisserie attachment, it's important to:
Preheat the grill with the infrared burner to a high temperature before adding the meat to the rotisserie spit.
Monitor the cooking closely, as the intense heat can cause meats to brown rapidly, rotating evenly for a perfectly seared crust.
Exploring Rotisserie for Fire Pits
Expanding culinary skills to include cooking with a rotisserie over a fire pit allows for a robust smoky flavor that's difficult to replicate with traditional grills. To use a rotisserie attachment over fire pits effectively:
Ensure a consistent fire by using quality hardwood that burns evenly.
Position the rotisserie at a height where the meat benefits from the heat without direct contact with flames.
Rotate the meat slowly to cook it thoroughly while imbuing it with the rich, smoky aroma of the firewood.
These advanced rotisserie techniques require close attention and precision but result in an exceptional culinary experience for both the cook and their guests.
Accessorizing Your Rotisserie Grill
Crafting the perfect rotisserie meal on the grill requires more than just the basic setup. One needs the right accessories and tools to ensure optimal cooking performance and added convenience.
Additional Tools for Optimal Cooking
Investing in a selection of additional tools can enhance one's rotisserie grilling experience significantly:
Meat Thermometer: Ensuring meat is cooked to the correct temperature is crucial. A digital meat thermometer provides precise readings.
Butcher's Twine: Used to tie and secure meat, preventing it from losing shape during rotation.
Aluminum Foil: Vital for tenting poultry or joints of meat to prevent them from over-browning.
Customizing with Special Attachments
The rotisserie setup can be modified with special attachments for different types of meat and cooking techniques:
Rotisserie Basket: Ideal for grilling smaller items like vegetables or fish that may fall off a traditional skewer.
Counterweight: Balances the meat load, reducing stress on the rotisserie motor for even rotation.
Additional Spit Forks: Adding extra forks can help secure larger cuts of meat or whole birds firmly in place.
By integrating these accessories into one's rotisserie arsenal, grillers can tackle an extensive range of recipes with enhanced efficiency and precision.
Conclusion
A rotisserie attachment for grilling enhances the outdoor cooking experience by ensuring even, consistent cooking. The key to mastery lies in understanding the balance of heat, rotating the spit correctly, and following safety measures. Users must read the manufacturer’s instructions to comprehend specific requirements and handle the equipment effectively.
One should take careful steps to:
Ensure safety: Always check that the rotisserie is securely fastened to the grill.
Balance the load: Properly center the food on the spit to prevent uneven cooking and potential malfunction.
Manage heat: Place a drip pan to avoid flare-ups, and if using charcoal, arrange coals at the perimeter, not directly under the food.
Monitor fuel: For charcoal grills, add coals approximately every 30 minutes to maintain consistent heat.
When done correctly, using a rotisserie attachment yields delectably juicy results with an even, golden-brown exterior. Remember, it's not just about the final product, but the methodical and attentive process of rotisserie grilling that defines a chef's skill level. This culinary technique can be a rewarding addition to any grill enthusiast’s repertoire—whether one is a seasoned cook or a novice on a culinary journey.
