
How to Make Homemade Pop-Tarts
Preservative-Free Recipe Guide
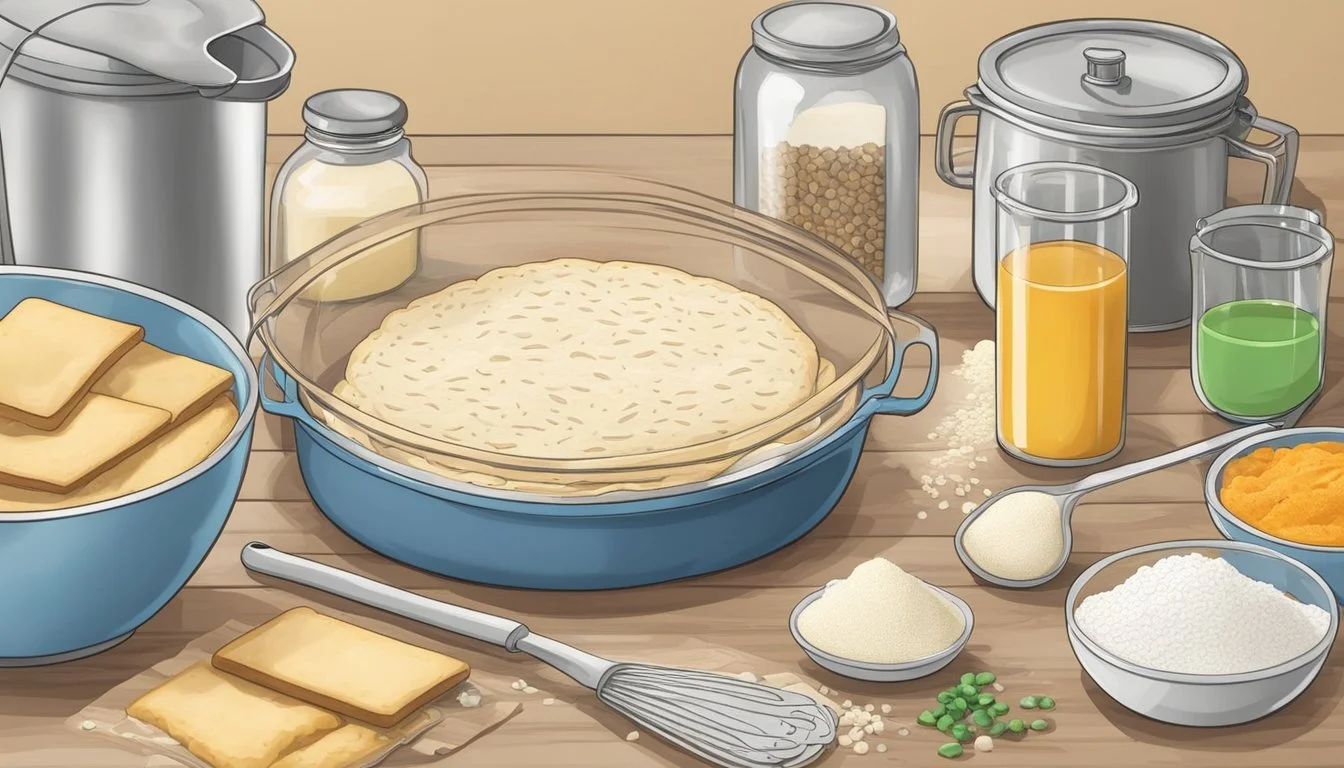
Homemade Pop-Tarts offer a delightful twist on the classic breakfast pastry, allowing for a more natural and preservative-free approach to the morning rush. With the ability to tailor the fillings and flavors to individual tastes, making Pop-Tarts from scratch gives consumers control over the ingredients, ensuring the absence of unnecessary additives. The process involves crafting a dough, typically from common pantry staples like flour, butter, and sugar, which is then chilled, rolled out, and cut into the signature rectangle shapes.
The assembly is straightforward, with each dough rectangle serving as a blank canvas for a variety of fillings—fruit preserves, cinnamon sugar, or even chocolate. To replicate the Pop-Tart's iconic sealed edges, a simple egg wash is used along the border before placing a second layer of dough on top and pressing the edges to seal. After a brief bake in the oven, these homemade treats emerge golden and flaky, providing a fresh, preservative-free alternative to the store-bought versions.
Opting for homemade Pop-Tarts not only eliminates preservatives but also introduces the opportunity to experiment with whole ingredients and natural sweeteners. Bakers can substitute part of the all-purpose flour with whole wheat for added fiber or use organic fruits for the filling. The end result is a batch of warm, comforting Pop-Tarts, perfect for a leisurely breakfast or on-the-go snack, made with the assurance of quality and the absence of commercial preservatives.
Gathering Ingredients

When creating homemade Pop-Tarts, selecting high-quality, preservative-free ingredients ensures a delicious and healthier alternative to store-bought versions. One will need to focus on finding fresh ingredients, understanding what each component contributes to the pastry, and opting for natural substitutes where possible.
Choosing Quality Components
The foundation of Pop-Tarts is a flaky pastry crust, typically made from all-purpose flour. One should source flour that is unbleached and has no additives. Next, unsalted butter is crucial for achieving the perfect texture; its quality can greatly influence the taste, so choosing organic or high-quality butter is recommended. Granulated sugar and brown sugar are essential for sweetness; opting for organic sugars can be a good choice to avoid unnecessary additives.
For the filling, one can choose from a variety of jams or fruit preserves. It's important to select jams that are made with real fruit and have no added high-fructose corn syrup or artificial sweeteners. Homemade jam is an excellent preservative-free alternative.
Preservative-Free Alternatives
Binding the ingredients of the dough requires eggs and milk. One should use fresh, organic eggs and consider using milk from hormone-free cows or plant-based milks like almond or oat for a dairy-free option. The icing typically calls for powdered sugar and vanilla extract—one should seek out powdered sugar without anti-caking agents and pure vanilla extract without synthetic flavors.
For a hint of spice in the pastry or filling, cinnamon is a natural choice. If one chooses to make a cinnamon-flavored Pop-Tart, using true cinnamon, also known as Ceylon cinnamon, can impart a delicate, sweet taste without overpowering the pastry.
In summary, one should gather:
High-quality unsalted butter
Organic granulated sugar
Organic brown sugar
Natural jam or homemade preserves
Fresh, organic eggs
Hormone-free milk or plant-based alternatives
Powdered sugar without anti-caking agents
Pure vanilla extract
True cinnamon (optional)
By carefully selecting each ingredient, one ensures the homemade Pop-Tarts are free of preservatives and full of natural flavor.
Preparing the Dough

To make delicious homemade Pop-Tarts, one starts with a flaky pastry dough. This is the foundation of the treat and, when done right, sets the stage for a tastier alternative to store-bought versions laden with preservatives.
Mixing the Ingredients
One begins the process by combining the dry ingredients, typically flour, a pinch of salt, and a small amount of sugar for a slight sweetness. In a large mixing bowl, they measure the correct proportions of each. Following the incorporation of the dry ingredients, cold, unsalted butter is cut into small cubes and added to the mix. The use of unsalted butter allows for better control over the saltiness of the pastry.
A common technique for combining the butter with the dry ingredients is using a pastry cutter or two forks. It's essential to mix until the butter is evenly distributed with the dry ingredients, aiming for a crumbly texture. For the dough to achieve the right consistency, sometimes a cold liquid—water or milk—is added. One stirs just until the dough begins to clump together.
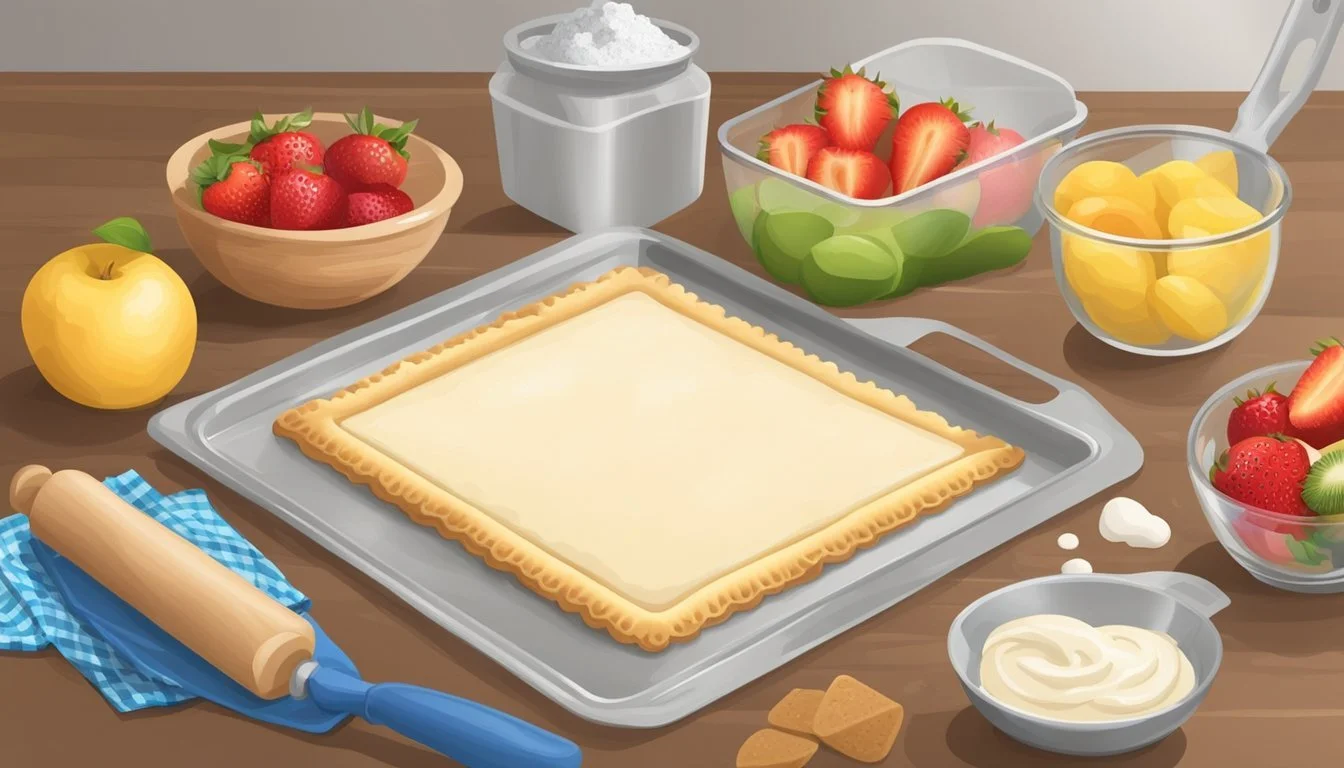
Rolling and Cutting
Once the dough comes together, it's time for rolling and cutting. One transfers this dough onto a lightly floured surface and rolls it out to a thickness of about 1/4-inch. The goal is to create an even rectangle or square shape.
Using a knife or a pastry wheel, they then cut the dough into smaller rectangles, often 3 to 4 inches on the long side for standard Pop-Tart size. These rectangles will become the bottoms and tops of the Pop-Tarts.
One ensures that the pastry maintains its shape and flakiness by not overworking the dough while rolling. They avoid the temptation to roll out the dough too thin, which can result in Pop-Tarts that are too crispy or lack the desired flaky texture of their homemade pastry or homemade pie crust.
Throughout the cutting process, one focuses on maintaining straight edges and equal sizes for uniformity in the finished product. The dough scraps can also be repurposed, suggesting no waste in this homemade process.
Creating the Filling

Homemade Pop-Tarts fillings can vary widely, from simple fruit jams to rich spreads like Nutella. The key here is to use fresh, quality ingredients for the most flavor without preservatives.
Making Fruit Fillings
For fruit fillings, one can opt for a homemade jam or preserve. A strawberry filling, for example, combines fresh strawberries, a touch of sugar, and a squeeze of lemon juice. Here's a simple recipe:
Combine 2 cups of chopped strawberries with 1/4 cup of sugar and 2 teaspoons of lemon juice in a saucepan.
Cook over medium heat, stirring occasionally, until the berries break down and the mixture thickens, about 20 minutes.
Let it cool before using it as a filling.
For a thicker consistency that's similar to store-bought Pop-Tarts, mix a tablespoon of cornstarch with water and add to the strawberry mixture while cooking.
Choosing Alternative Fillings
Aside from fruit, fillings such as brown sugar cinnamon and chocolate are immensely popular. Prepare a brown sugar cinnamon filling by mixing:
1/2 cup of brown sugar
1 1/2 teaspoons of ground cinnamon
1 tablespoon of all-purpose flour
For the dough to hold this filling, it should be spread lightly over the dough, leaving a small border for sealing.
Chocolate lovers may prefer a filling like Nutella spread, which should be applied sparingly over the dough rectangles before sealing. Or create a s'mores variation with chocolate and marshmallow fluff.
Remember, the filling should not be overflowing to prevent it from leaking during the baking process. After assembly, Pop-Tarts can be finished with a vanilla glaze, composed of powdered sugar, milk, and vanilla extract, whisked until smooth and spread over the cooled pastries.
Assembling the Pop-Tarts
Assembling homemade Pop-Tarts requires meticulous sealing to ensure the filling is encased properly, followed by an egg wash for a golden finish.
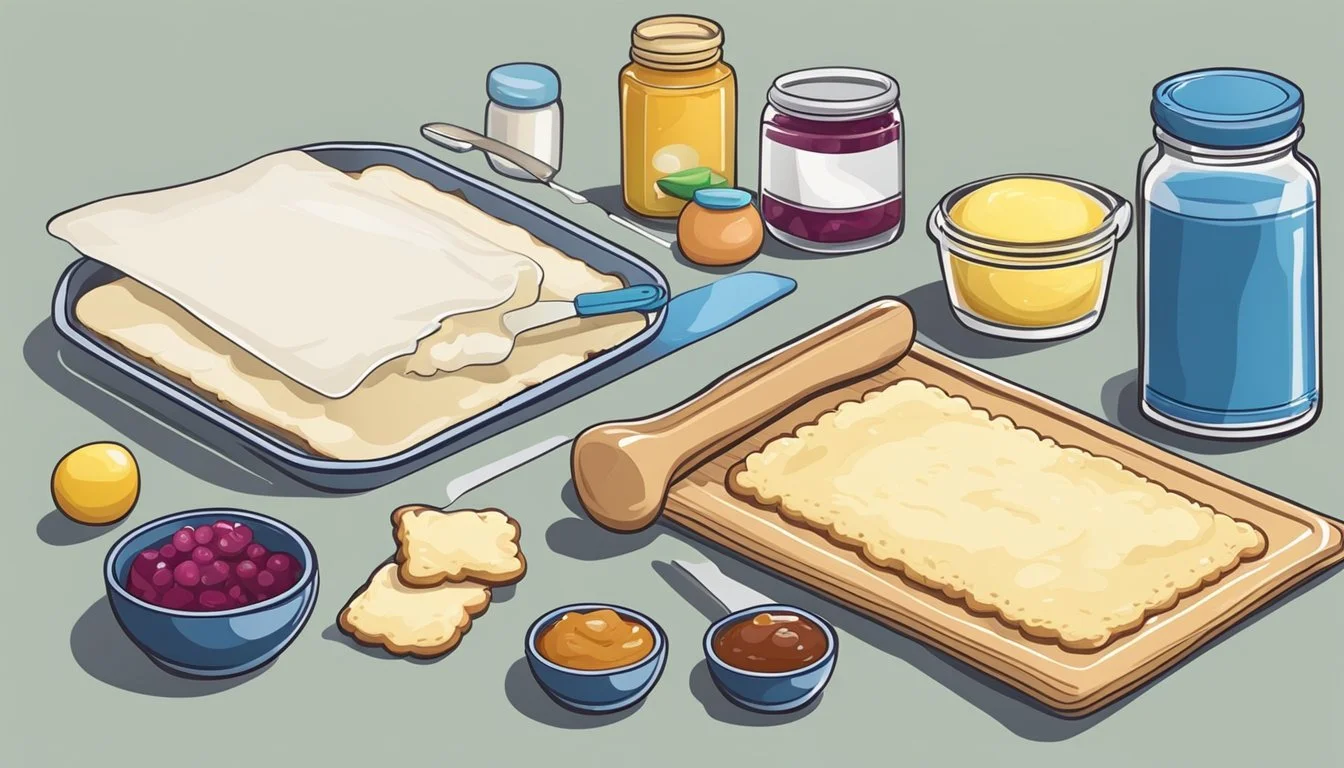
Forming and Sealing the Edges
After rolling out the chilled dough to about a ¼-inch thickness, one should cut it into evenly sized rectangles, approximately 3 to 4 inches on the longer side. To begin the assembly, they place a generous spoonful of their chosen filling in the center of a dough rectangle, leaving a border around the edge. They then lay another piece of dough on top and use a fork to crimp the edges firmly together. This ensures a tight seal and prevents any filling from leaking out during the baking process. A pastry cutter can also be used to trim the edges for a clean, professional appearance.
Applying Egg Wash
Before baking, an egg wash should be applied for both aesthetic and functional purposes. To make the egg wash, they whisk together an egg with a small amount of water until well blended. They then lightly brush the top of each sealed Pop-Tart with the mixture using a pastry brush. This step is crucial as it gives the pastry a shiny, golden finish upon baking, and it also helps to further seal the edges. After applying the egg wash, the Pop-Tarts are ready to be baked according to the recipe instructions.
Baking and Cooling
Achieving a perfect homemade Pop-Tart requires careful attention to the baking process to ensure they are lightly browned and crisp, as well as proper cooling technique to maintain the texture.
Baking to Perfection
The oven should be preheated to 400 degrees Fahrenheit before baking. They should place a baking sheet lined with parchment paper to prevent sticking and ensure easy removal after baking. The Pop-Tarts are then arranged on the sheet, making sure they are spaced out evenly to promote uniform cooking. The exact baking time may vary, but one should start checking them at the 15-minute mark, and they are typically done in 22-25 minutes. The Pop-Tarts are ready when they turn golden brown and the edges are crisp.
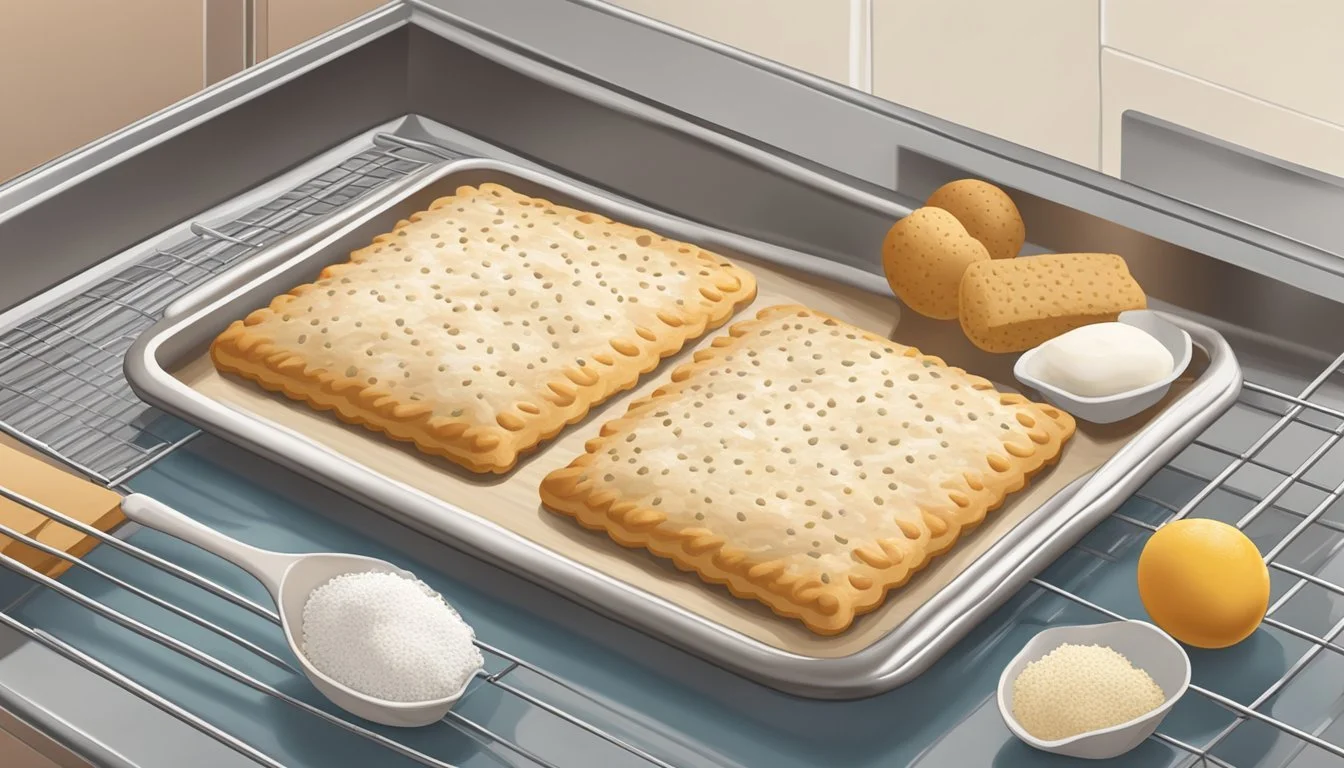
Cooling on a Wire Rack
Once baked to a golden perfection, they must promptly remove the Pop-Tarts from the oven and transfer them to a wire rack to cool. This step is crucial as it allows air to circulate around the pastries, preventing the bottoms from becoming soggy. The cooling process typically takes about 20 minutes, after which the pastries are at the right temperature to handle or apply icing if one chooses to. They should ensure the Pop-Tarts are completely cool before storing to maintain freshness and texture.
Decorating with Icing and Toppings
Once the homemade Pop-Tarts are cooled, they're ready for the final touch that brings sweetness and a personalized flair: icing and toppings. Proper icing adds not just flavor but also an attractive finish, while the toppings can offer a satisfying crunch or burst of complementary taste.
Preparing the Icing
To prepare icing for Pop-Tarts, one starts with the base ingredients. A simple yet delightful glaze can be made with:
1 cup confectioners' sugar
2 tablespoons milk or water
1/2 teaspoon pure vanilla extract
In a small bowl, one should whisk together the confectioners' sugar, milk or water, and vanilla extract until it reaches a smooth consistency. If the icing is too thick, add milk one teaspoon at a time until the desired thickness is achieved. In contrast, if it's too thin, more confectioners' sugar can be gradually mixed in.
For frosting that holds its shape better or for a richer flavor, one could opt for a thicker consistency by using less liquid or by including softened butter in the mixture. This creates a frosting-like texture that can be spread with a knife or piped for more decorative designs.
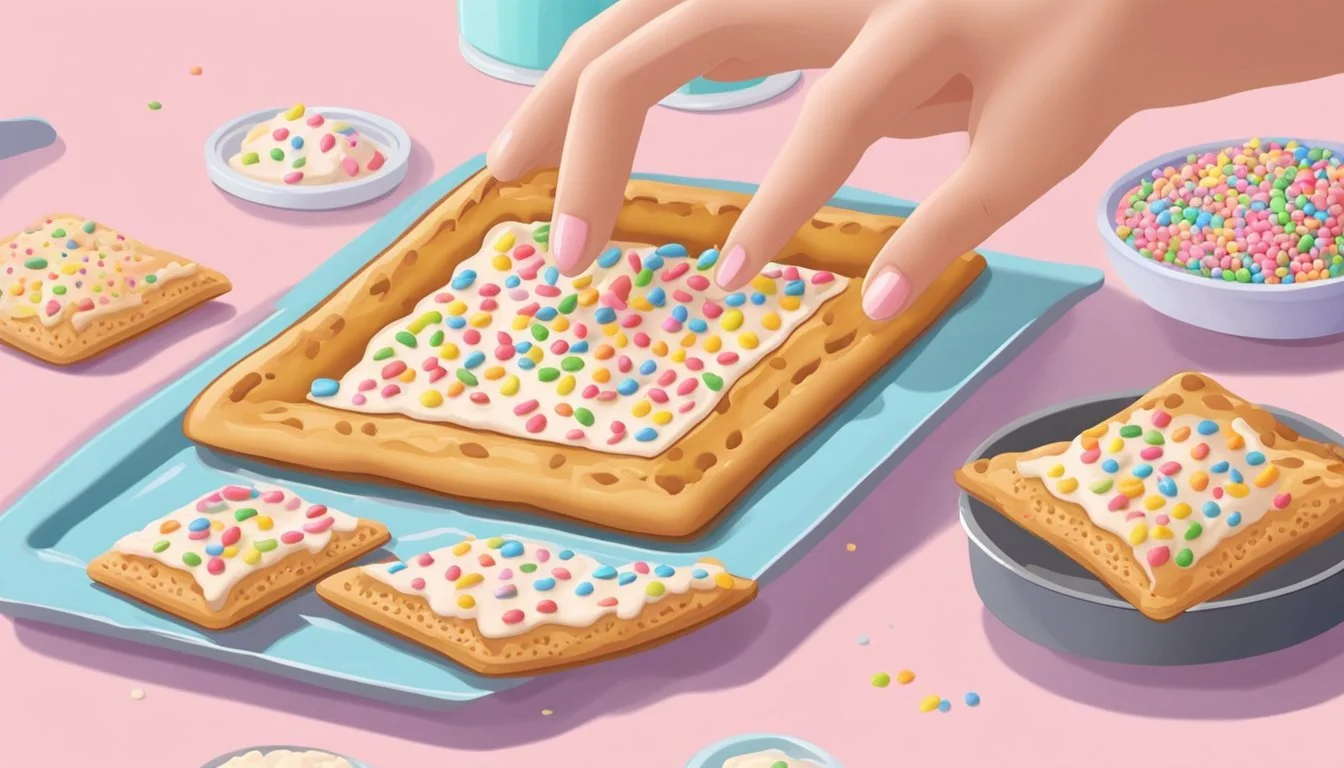
Adding Sprinkles and Toppings
Once the icing has been applied to the Pop-Tarts, the window to add sprinkles and other toppings remains open only until the icing sets. A diverse selection of sprinkles can be used to tailor each Pop-Tart to individual preferences or to make them more festive for special occasions.
Table of Recommended Toppings:
Topping Type Examples of Toppings Sprinkles Rainbow sprinkles, nonpareils, sugar pearls Crunchy Toppings Chopped nuts, toasted coconut, mini chocolate chips Fruit Dried fruit pieces, zest of citrus fruits
The toppings should be sprinkled or placed on the icing immediately after it is spread onto the Pop-Tart. They need to adhere to the icing before it dries to ensure they remain in place and become an integral part of the Pop-Tart's appeal. Experimenting with different combinations of flavored icings and toppings can result in an endless variety of delicious and unique homemade treats.
Storage and Serving Suggestions
Homemade Pop-Tarts, free from preservatives, require careful storage to maintain their freshness. They can be transformed into a delightful breakfast treat with proper refrigeration or freezing techniques.
Proper Refrigeration Techniques
To keep Pop-Tarts fresh for a few days after baking, one should refrigerate them in an airtight container. Wrapping them individually in plastic wrap before placing them in the container helps to preserve their texture and prevent the absorption of other flavors from the refrigerator.
Freezing and Reheating
For longer storage, Pop-Tarts can be frozen. Lay the Pop-Tarts in a single layer on a baking sheet and freeze until solid. Then, transfer them to an airtight container or sealable plastic bag. To reheat, one doesn't need to thaw them; instead, simply place them in a microwave or oven until warmed through. Microwaving typically takes about 30 seconds, while reheating in an oven preheated to 350°F may take a few minutes.
Exploring Variations and Flavors
Creating homemade Pop-Tarts offers the freedom to experiment with a variety of fresh fillings and imaginative toppings. One can fashion pastries that cater specifically to their taste while using healthier, preservative-free ingredients.
Trying Different Fillings
When it comes to fillings, the classic strawberry Pop-Tarts can easily be made at home using fresh strawberries, which enhance flavor without the need for artificial preservatives. Here’s how one can diversify their filling choices:
Mixed Berry: Combine strawberries, blueberries, and raspberries for a tangy, sweet mix.
Frosted Brown Sugar Cinnamon: Mix brown sugar and cinnamon to replicate this favorite flavor.
Customize with Seasonal Fruits: Utilize seasonal fruits to infuse different flavors throughout the year.
Customizing Toppings and Icing
Toppings and icing personalize the Pop-Tarts and are the finishing touch that brings them together. One might consider:
Glaze: A simple icing made from powdered sugar and milk can be customized with vanilla or citrus zest for an added kick.
Garnishes: Sprinkle the glazed Pop-Tarts with cinnamon, chocolate shavings, or even crushed nuts.
By selecting high-quality seasonal ingredients, one can craft delicious and unique Pop-Tarts that are free from unwanted additives, staying true to the homemade ethos.
Helpful Tips and Tricks
When making homemade Pop-Tarts, it's important to pay attention to the details. Paying close attention to the way one uses kitchen tools and perfecting the crust will elevate the overall quality of the final pastry.
Utilizing Kitchen Tools
Rolling Pin: Achieving an even thickness when rolling out the dough is crucial. A rolling pin should be used to roll the dough to about 1/4-inch thick. The uniformity of the dough ensures even baking and an ideal texture in the finished product.
Food Processor: For a quick and consistent dough, a food processor can mix the butter into the flour to create a texture resembling coarse crumbs. Then, while pulsing, the user can add ice water by the tablespoon until the dough comes together.
Pro Tip: A toothpick can be an inexpensive tool to check the doneness of the tarts if they appear golden but one is unsure if they're fully baked.
Achieving the Perfect Crust
Flakiness: A flaky crust is a signature characteristic of a good Pop-Tart. They can achieve this by incorporating cold butter into the dough. The butter should be visible in the dough— pea-sized pieces are ideal.
Chill the dough before rolling and again before baking to ensure the butter doesn’t melt prematurely.
Incorporate a pinch of kosher salt to enhance the flavor and structure.
Cornstarch: To maintain a crisp crust while preventing sogginess from the filling, one can add a small amount of cornstarch to the mix. It acts as a thickener and ensures the filling stays put.
Cinnamon Sugar: If one desires a cinnamon sugar Pop-Tart, they can sprinkle a mixture of cinnamon and sugar onto the dough scraps for a tasty treat while the main batch is baking.
By adhering to these guidelines and leveraging the appropriate tools effectively, bakers can craft homemade Pop-Tarts with flaky, golden crusts and robust flavors unfound in store-bought varieties.
Conclusion
In crafting a homemade version of Pop-Tarts, one embraces the art of making treats from scratch, free from the preservatives found in many store-bought alternatives. This approach not only allows for customization but also caters to the health-conscious consumer.
A pie crust recipe forms the base of these pastries, and when one makes it themselves, they have complete control over the ingredients. Unlike commercial options, there’s no need for corn syrup or artificial preservatives. The crust can be as buttery and flaky as desired, akin to the beloved homemade pie.
The joy in personalization extends to fillings as well, with options ranging from the classic cherry to inventive combinations limited only by one's imagination. Parents may find this particularly advantageous when trying to appease kids with selective tastes or dietary restrictions. The absence of high-fructose corn syrup is an additional benefit, satisfying the desire for a healthier snack option.
Much like preparing homemade granola bars, creating these pastries can be a fun, kitchen activity that fosters creativity and provides a satisfying, wholesome snack. This version is aimed to offer solace to those who wish to indulge mindfully, enjoying the nostalgic taste without compromise.
One must remember, homemade Pop-Tarts do not only cater to a sweet tooth but can also be adapted for savory preferences—another flexibility not often found in their store-bought counterparts.
Through this endeavor, they honor traditional baking while adapting to modern health standards—a sweet win for both taste and well-being.
