
10 Fun Chicken-Themed DIY Projects to Brighten Your Home

Raising chickens can be a delightfully rewarding experience, and adding a personal touch to their living environment can be both enjoyable and beneficial. Creating chicken-themed DIY projects not only enhances their habitat but also provides enrichment that keeps your flock active and engaged. These crafts can range from practical coop improvements to fun toys and interactive elements designed to stimulate their natural behaviors.
For those who enjoy handy projects and the joy of raising chickens, bringing creative DIY ideas to life can be incredibly satisfying. From simple builds using everyday materials to more elaborate designs, there are numerous ways to make your chickens’ lives happier and healthier. Not only do these projects add functionality and charm, but they also offer an opportunity to repurpose items and engage in sustainable practices.
1) Painted Chicken Rocks
Painted chicken rocks are a delightful DIY project that can brighten up any space. To start, gather smooth rocks, acrylic paints, paintbrushes, and a sealer. Clean the rocks thoroughly to ensure the paint adheres well.
Begin by painting a base color on the rock. Choose vibrant shades like yellow, red, or white to mimic chicken feathers. Once the base is dry, use a fine brush to add details such as eyes, beaks, and feathers.
Experiment with different designs, from adorable chick faces to intricate feather patterns. These painted rocks can be perfect for garden decor, fun Easter egg hunts, or creative indoor displays. They also make charming handmade gifts.
Inspiration for designs can be found on platforms like Pinterest. Communities dedicated to rock painting often share numerous ideas and techniques, making it easy to find a style that suits your preference.
Completing a painted chicken rock can take as little as 30 minutes to a couple of hours, depending on the complexity of the design. Once finished, seal the rock with a clear varnish to protect the artwork from the elements.
Painted chicken rocks are not only a fun craft but also a way to add a whimsical touch to your home. The simplicity and charm of these projects make them enjoyable for both adults and children alike.
2) Feathered Chicken Earrings
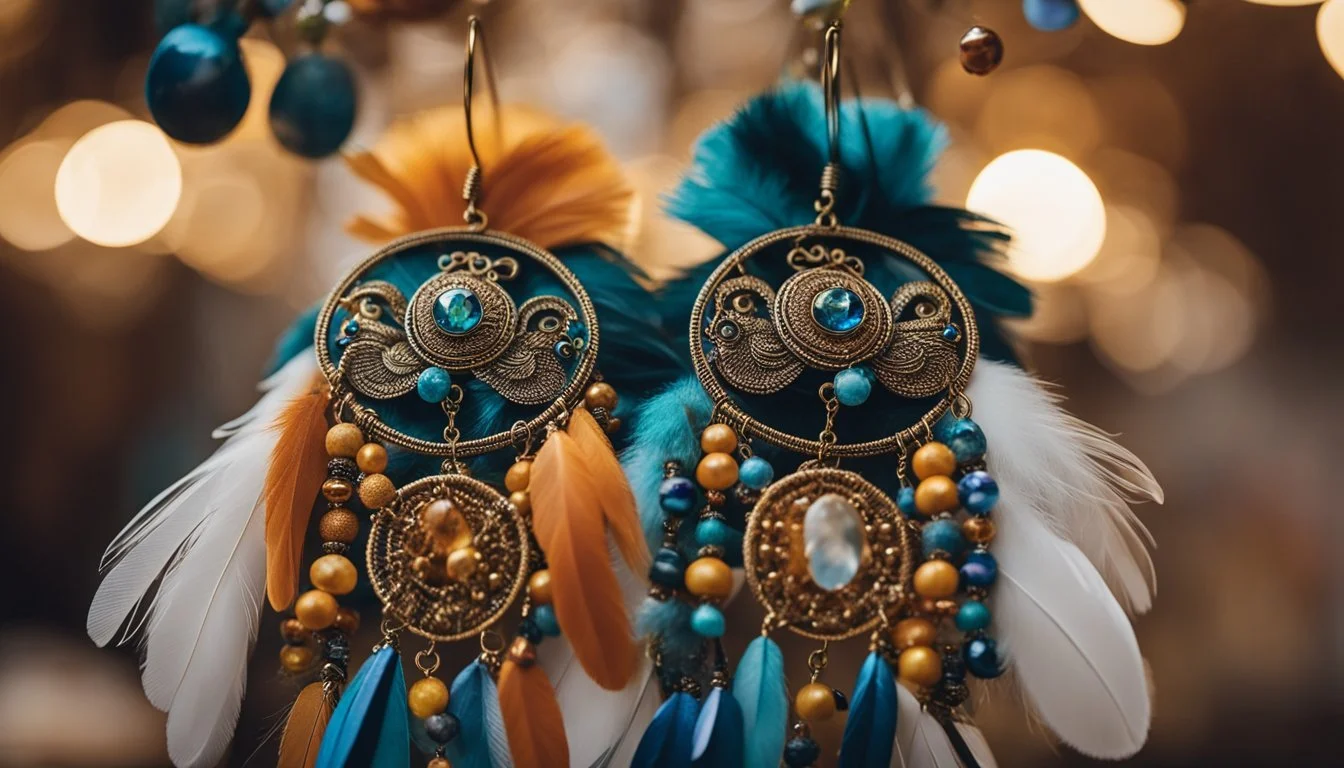
Feathered chicken earrings offer a unique blend of rustic charm and playful elegance. These earrings can be made using feathers from chickens, providing an authentic touch to any outfit.
Start by collecting clean and dry chicken feathers. It's essential to wash and sanitize the feathers thoroughly before using them in any jewelry project.
Once the feathers are ready, gather the necessary supplies: earring hooks, jump rings, and a bit of craft wire. Attach the feathers securely to the earring hooks using the jump rings, ensuring they are well-fastened.
Craft wire can be used to add decorative elements. Wrap the wire around the base of the feathers for added strength and visual interest. Experiment with different wire colors to complement the natural hues of the chicken feathers.
These feathered chicken earrings can be tailored to personal style preferences. For a more refined look, incorporate small beads or charms. This adds an extra layer of creativity and personalization.
Feathered chicken earrings are not only stylish but also an excellent way to repurpose feathers that might otherwise go to waste. They make for a delightful DIY project that merges sustainability with fashion.
3) Chicken Wire Photo Frame
Creating a chicken wire photo frame is a simple and stylish way to display pictures or mementos.
Start by selecting an old picture frame or wooden frame. Remove any existing backing or glass. Lay the frame flat and cut a piece of chicken wire to fit its dimensions.
Secure one end of the chicken wire to a corner of the frame using staples or zip ties. Stretch the wire tightly across the frame, ensuring it remains taut and wrinkle-free. Secure it at each corner and along the edges.
Fold any excess wire over the edges of the frame and staple or nail it to the back. This ensures the chicken wire stays in place and adds a rustic touch to the decor.
Attach hanging hardware to the back of the frame. This could be a sawtooth hanger or D-ring hangers, depending on the weight and size of the frame.
Add photos, cards, or small decorative items to the chicken wire using clothespins or clips. This versatile display can be easily updated by swapping out photos and items.
This project is perfect for adding a farmhouse feel to any space. The chicken wire adds texture and a unique look to your photo display.
4) Hand-Painted Chicken Mugs

For those who love personalized kitchenware, hand-painted chicken mugs can be a delightful project. These mugs not only brighten up your daily routine but also make thoughtful, handmade gifts for friends and family.
Start by selecting plain white coffee mugs and appropriate porcelain paints. Key colors might include shades of red, yellow, and orange to capture the essence of a chicken’s feathers and beak.
Using a thin paintbrush, begin sketching the outline of the chicken. Add details like feathers, eyes, and beak. Ensure your chicken design is vivid and bold.
After painting, let the mugs dry for at least 24 hours. This allows the paint to properly set, preventing smudging or fading.
Next, to permanently set the paint, place the mugs in a cold oven and then set the temperature to 350 degrees Fahrenheit. Let them bake for about 30 minutes.
Hand-painted chicken mugs are not only decorative but also functional. Creating them can be a fun activity for adults and children alike, fostering creativity and providing a sense of accomplishment.
5) Chicken-Shaped Pillow
Creating a chicken-shaped pillow adds a delightful touch to any room. This project is suitable for both beginners and experienced crafters. Start by selecting your favorite fabric. Opt for soft materials like fleece or cotton to achieve a cozy feel.
Cut out the shape of a chicken from the fabric. Remember to cut two identical pieces, one for the front and one for the back. Sew the two pieces together, leaving a small opening for stuffing.
Stuff the pillow with polyester filling or any soft material of your choice. Ensure the stuffing is evenly distributed for a balanced appearance. Sew the opening closed once the pillow is filled.
Add details to bring your chicken pillow to life. Attach buttons or fabric scraps for the eyes and beak. Use felt or embroidery for additional features like wings or a comb.
This project can be customized further by using different patterns and colors. It’s a perfect way to add a touch of whimsical charm to your décor.
6) Rooster Silhouette Wall Art

Rooster silhouette wall art adds a rustic and artistic touch to any space. These elegant pieces can be crafted from various materials, such as metal, wood, or even vinyl, giving them versatility. They capture the striking profile of roosters with clean lines and minimalistic design, making them ideal for both modern and farmhouse interiors.
Creating your own rooster silhouette wall art can be an enjoyable DIY project. Begin by selecting or drawing a rooster silhouette design. It can be as detailed or as simple as desired. Transfer the design onto your chosen material, like a wooden board or metal sheet, using carbon paper or a stencil.
Once the design is transferred, use a jigsaw for wood or a plasma cutter for metal to carve out the silhouette. For vinyl or paper, a crafting machine like a Cricut can be used. After cutting, smooth any rough edges with sandpaper or a file.
Paint or finish the silhouette based on your decor preference. Black paint often provides a classic and sharp look, while a distressed finish can enhance a rustic vibe. Mount the finished piece on the wall using nails, screws, or adhesive strips.
Rooster silhouette wall art not only serves as an eye-catching decor element but also celebrates the charm of farmhouse style. With a bit of creativity and effort, it can be a unique addition to home decor.
7) Chicken Coop Signs
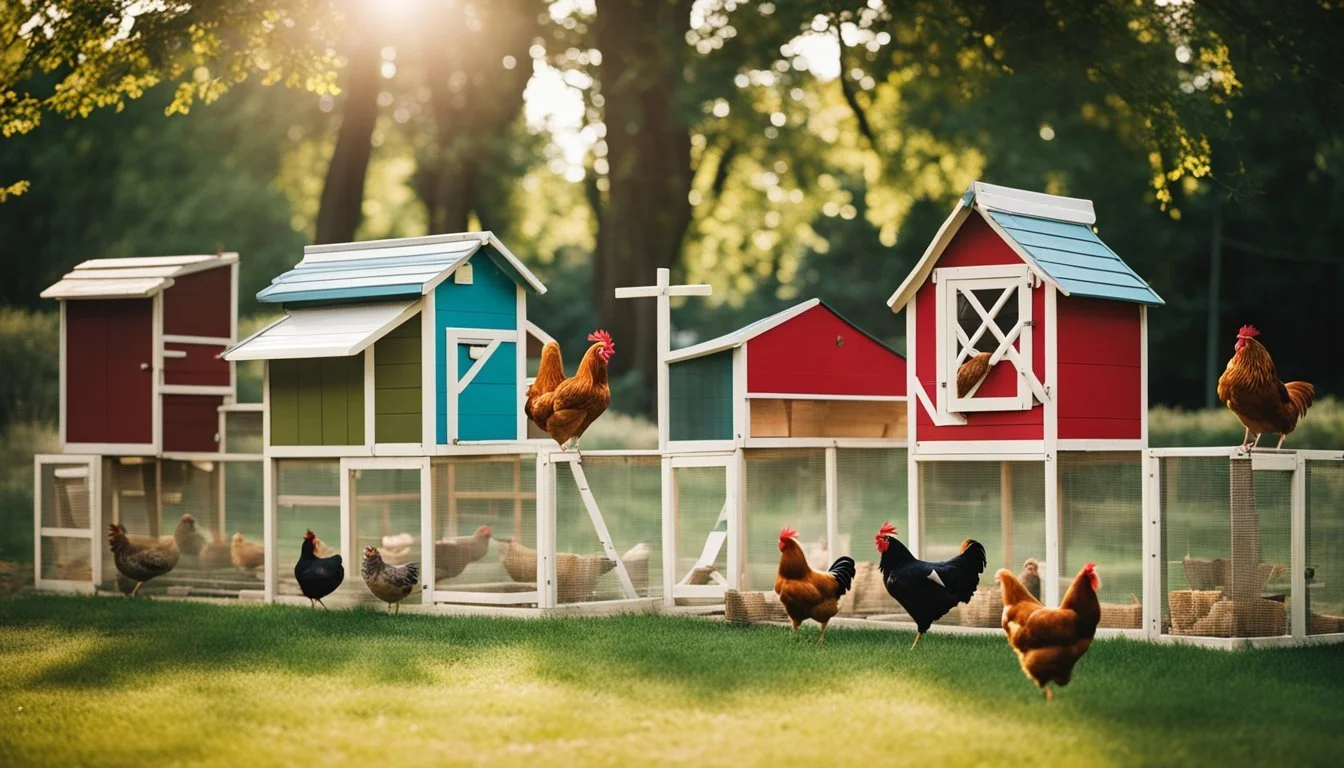
Adding a unique sign to your chicken coop can bring personality and charm to your backyard. These signs are not only decorative but also functional, helping to label different areas or add a touch of humor.
One popular option is the "Rise and Shine Mother Cluckers" sign. Made from heavy-duty steel, this sign is durable and stylish, making it a favorite among chicken owners.
Personalized signs also add a special touch. Wooden name tags with the names of each chicken, creatively titled "The Ladies," create a warm, welcoming environment.
Metal signs showcasing humorous phrases like "Wicked Chickens Lay Deviled Eggs" bring a playful element. They are crafted with precision and can withstand outdoor conditions.
DIY enthusiasts can create their own signs using materials like wood, metal, or reclaimed items. Painting or staining wood to match the coop's color scheme enhances the overall aesthetic.
These signs can be hung on the coop door, walls, or along the fence. They not only brighten the space but also reflect the personality and creativity of the owner.
Choosing the right sign involves considering durability, style, and personal taste. From professionally made options to homemade designs, the possibilities are endless.
8) Chicken Egg Holder
A chicken egg holder is a practical and charming addition to any kitchen or backyard. These holders can be crafted from various materials such as wood, resin, or fabric, adding a touch of personality to egg storage.
Wooden egg holders often feature a classic design. They can be carved to hold multiple eggs, making them ideal for daily usage. Walnut wood is a popular material due to its durability and timeless look.
Resin egg holders offer more creative freedom. By incorporating different colors and shapes, each holder becomes a unique piece. It's an enjoyable DIY project that lets creativity flourish.
For a seasonal twist, fabric egg holders shaped like chickens or Easter themes can be sewn. These holders add a festive feel and can be used as part of holiday decor.
Chicken-themed egg holders not only organize eggs but also add a decorative element. Whether made from wood, resin, or fabric, they serve both functional and aesthetic purposes. They are perfect for chicken enthusiasts and home crafters looking for a fun project.
9) 3D Printed Chicken Keychains

3D printed chicken keychains offer a fun and customizable project for DIY enthusiasts. They are easy to create with a 3D printer and can be personalized to suit different tastes.
There are thousands of downloadable designs available online. Websites like Yeggi and Cults 3D host a variety of chicken keychain models. Some designs are whimsical, while others are more realistic.
3D printing allows for a high level of detail, making these keychains great for gifts or personal use. Many designs are available for free, making this a cost-effective DIY project.
Different materials can be used for 3D printing these keychains, including PLA and ABS. This allows for a range of textures and finishes. Painting and decorating the printed keychain can add an extra personal touch.
3D printed chicken keychains are not only functional but also serve as a conversation starter. They are an example of how modern technology can bring creative ideas to life.
Creating a 3D printed chicken keychain can be an educational experience for those new to 3D printing. It offers a tangible result that showcases the capabilities of this technology.
10) Crocheted Chicken Potholder
A crocheted chicken potholder adds a playful touch to any kitchen decor. This functional piece is not only adorable but also practical for handling hot pots and pans.
Made with 100% cotton yarn, the potholder ensures durability and heat resistance. It's typically double-thick, which enhances its protective qualities.
The crochet pattern usually involves creating two body pieces that are joined together. This method provides extra thickness and durability.
During assembly, small details such as the comb, beak, and wattle are added to bring the chicken design to life.
For this project, a variety of crochet hooks might be used, but commonly a size H/8 or I/9 crochet hook is recommended. Medium weight or worsted weight yarn works best for this kind of potholder.
Many patterns provide step-by-step instructions, making it accessible even for those who are new to crocheting. Video tutorials are also available for those who prefer visual guidance.
Crocheted chicken potholders make great gifts and are an excellent way to combine creativity with functionality. Whether for personal use or as a charming addition to a friend’s kitchen, these potholders bring a touch of whimsy to everyday cooking tasks.
Materials and Tools Required

Creating chicken-themed DIY projects requires the right mix of materials and tools. Below, you will find details on common supplies commonly used in these crafts as well as essential tools that ensure success.
Common Craft Supplies
For most chicken-themed DIY projects, there is a set of standard supplies you will need. For paper-based crafts, construction paper in colors like yellow, orange, red, and black is essential. Popsicle sticks are handy for creating structures and adding support.
For fabric-based projects, having a variety of cotton fabrics in chicken-friendly colors and patterns is useful. Styrofoam sheets and blocks are versatile and can be used to create shapes and forms.
Glue sticks and hot glue are necessary to keep your materials together. Additionally, markers or paint can add details and color to your projects. String or yarn can be used for hanging or connecting parts of your creations.
Essential Tools
Proper tools can make DIY projects smoother and more enjoyable. Scissors suited for cutting both paper and fabric are indispensable. A hot glue gun is very helpful for sturdy, quick-drying bonds.
For wood-related crafts, a small handsaw is useful to cut Popsicle sticks or other small pieces of wood. Needle and thread are necessary for any sewing involved in the projects.
When working with Styrofoam or delicate materials, a craft knife provides precision. Cutting mats protect your work surface and assist in accurate cutting. Finally, many projects might require a ruler or measuring tape for precise measurements.
By having these materials and tools ready, you'll be well-prepared to tackle a variety of chicken-themed DIY projects.
Safety Tips for DIY Projects

Ensuring safety during DIY projects is crucial, especially when working with tools and involving children. Careful handling of tools and creating a child-friendly environment can prevent accidents and injuries.
Proper Handling of Tools
When engaging in DIY projects, using tools correctly can prevent accidents. Always inspect tools for damage before use, ensuring they are in good working condition.
Keep tools sharp and clean to improve accuracy and reduce the risk of slips. Blunt tools are more likely to cause injuries than sharp ones.
Wear appropriate safety gear such as gloves, goggles, and masks when handling sharp objects, chemicals, or when there is a lot of dust.
Maintain a clean workspace to avoid trips and falls. Clutter can lead to accidents, so keep the area organized and free from unnecessary items.
Follow the manufacturer’s instructions for tool use. Misusing tools can lead to damage or injury. For example, using a table saw requires maintaining good footing and balancing boards properly.
Child-Friendly Crafting
When involving children in DIY projects, special precautions are necessary to ensure their safety. Supervise children at all times to prevent mishandling of materials and tools.
Use child-friendly tools that are specifically designed for little hands. Blunt scissors, plastic needles, and non-toxic glue are safer alternatives.
Teach children the importance of safety gear. Even in simple crafts, gloves and aprons can protect from minor cuts and spills.
Designate a safe workspace for children that is free from hazards. Ensure that paint buckets, sharp tools, and small parts are out of reach.
Incorporate learning moments to teach children the correct way to handle materials and tools. This can instill good habits and safety awareness from a young age.
