
5 DIY Chicken Feeder and Waterer Ideas for Efficient Poultry Care
Raising chickens is both a rewarding and practical endeavor, providing fresh eggs and a sense of self-sufficiency. One aspect that can greatly simplify this task is the use of effective and easy-to-build chicken feeders and waterers. How can chicken owners ensure their flock remains well-fed and hydrated without constant supervision?
The solution lies in a variety of DIY feeders and waterers that are both cost-effective and simple to assemble. These DIY projects utilize common materials and straightforward designs, making it possible for any chicken keeper to enhance their poultry management with minimal effort and expense.
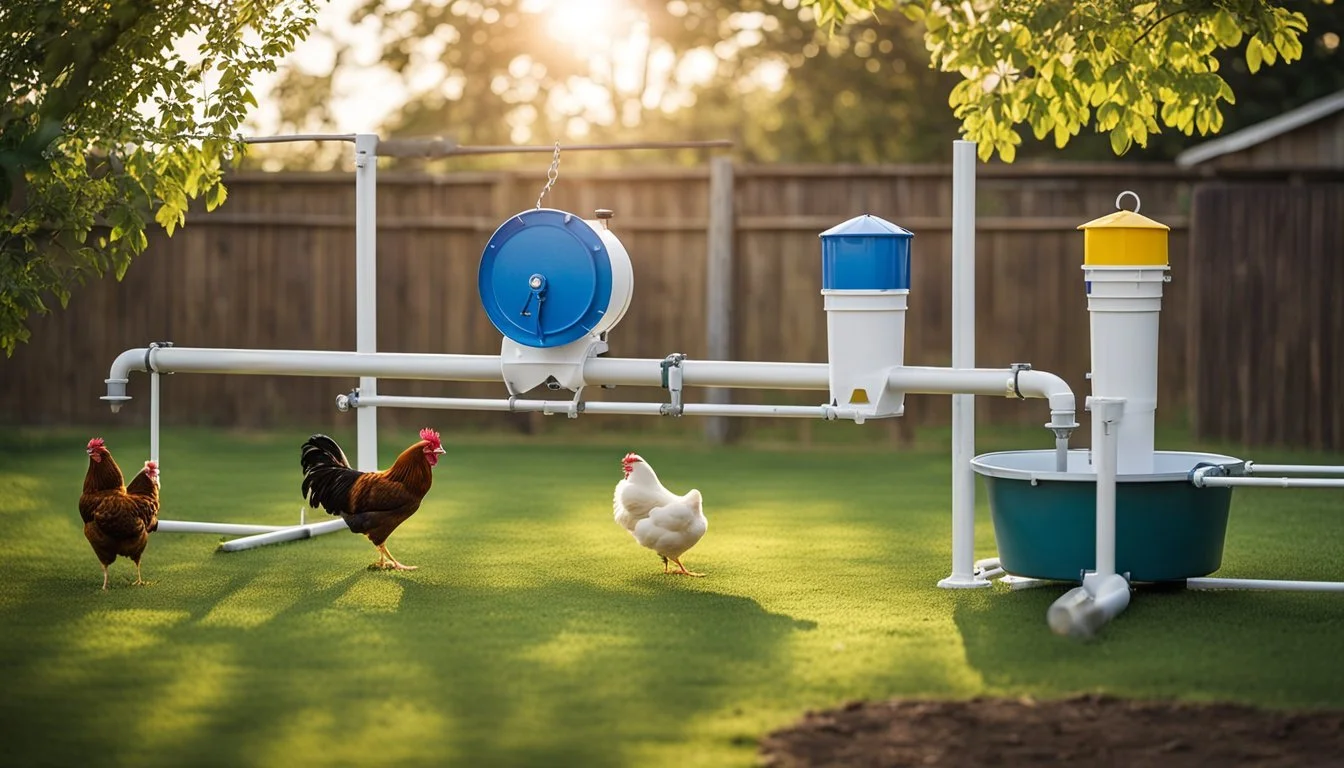
1) PVC Pipe Chicken Feeder
A PVC Pipe Chicken Feeder is an efficient and straightforward solution to feed poultry. It is designed to reduce waste and keep the feeding area clean. This type of feeder can easily be constructed using basic materials like PVC pipes and fittings.
To start, gather a PVC pipe, a few elbows, and connectors. Cut the PVC pipe to the desired length, typically about 3-5 feet, depending on your flock size. Attach an elbow at the bottom where the feed will be dispensed.
Next, create a cap or use a connector at the top to serve as the feed input. Ensure it is easy to open and close for quick refilling. This design allows gravity to dispense feed as the chickens consume it.
Mount the feeder vertically on a wall or a sturdy support to keep it stable. Ensure the feeding end is at a suitable height for your chickens to access. This setup prevents feed from scattering and minimizes wastage.
PVC pipe feeders are durable, weather-resistant, and require minimal maintenance. This makes them a popular choice among poultry keepers for a reliable and low-cost feeding solution.
2) Five-Gallon Bucket Waterer
A five-gallon bucket waterer is an effective, low-cost solution for keeping chickens hydrated. The design utilizes easily accessible materials and simple construction methods.
To start, gather a clean, empty five-gallon bucket and a shallow pan or feeder bowl. Drill two 1-inch holes near the bottom edge of the bucket. Place the bucket in the pan, ensuring the holes are positioned within the pan.
Fill the bucket with water through the top opening, then secure the lid tightly to ensure it is airtight. The water will flow out of the holes into the pan until the water level covers them, creating a self-regulating waterer.
This method keeps the water clean and reduces the frequency of refills. It is a practical option for both small and large chicken flocks. The DIY project requires minimal tools, usually just a drill with the appropriate bit size, making it an accessible project for anyone.
3) Automatic Treadle Feeder
An automatic treadle feeder is a practical solution for keeping your chicken feed clean and dry. It uses a mechanical system where chickens step on a treadle to open the feeder, granting them access to the food inside.
This design helps to reduce waste and discourage pests.
Building an automatic treadle feeder typically involves wood for the main structure and a metal treadle for durability. The treadle system is balanced, so it opens the feed compartment when the chicken steps on it and closes when they step off.
The key advantage of this type of feeder is it minimizes feed spillage and prevents other animals, like rodents, from accessing the feed.
Ensure the feeder is stable and the treadle is easy for even smaller chickens to press. Regular maintenance checks are recommended to keep the mechanism working smoothly.
This type of feeder is suitable for both small and larger flocks, providing an efficient way to manage feed while keeping it protected from the elements and unwanted pests.
4) Nipple Waterer System

A Nipple Waterer System ensures a clean and efficient way to provide water for your chickens. This system helps prevent water spillage and contamination, which is common with open water containers.
Start by gathering the materials: a bucket or PVC pipe, nipple waterers, a drill, and silicone sealant. Make sure the container is durable and clean.
Drill holes in the bucket or pipe where the nipple waterers will be installed. The number of holes depends on your flock size; each nipple can typically serve 3-4 chickens.
Insert the nipple waterers into the drilled holes, ensuring they fit tightly. Use silicone sealant around each nipple to prevent leaks and secure them firmly in place.
Fill the container with fresh, clean water and mount it at a height where the chickens can easily reach the nipple without straining. Regularly check the system for leaks and cleanliness.
The Nipple Waterer System provides chickens with a constant supply of fresh water. It is an efficient, low-maintenance option that improves the overall hygiene of your chicken coop.
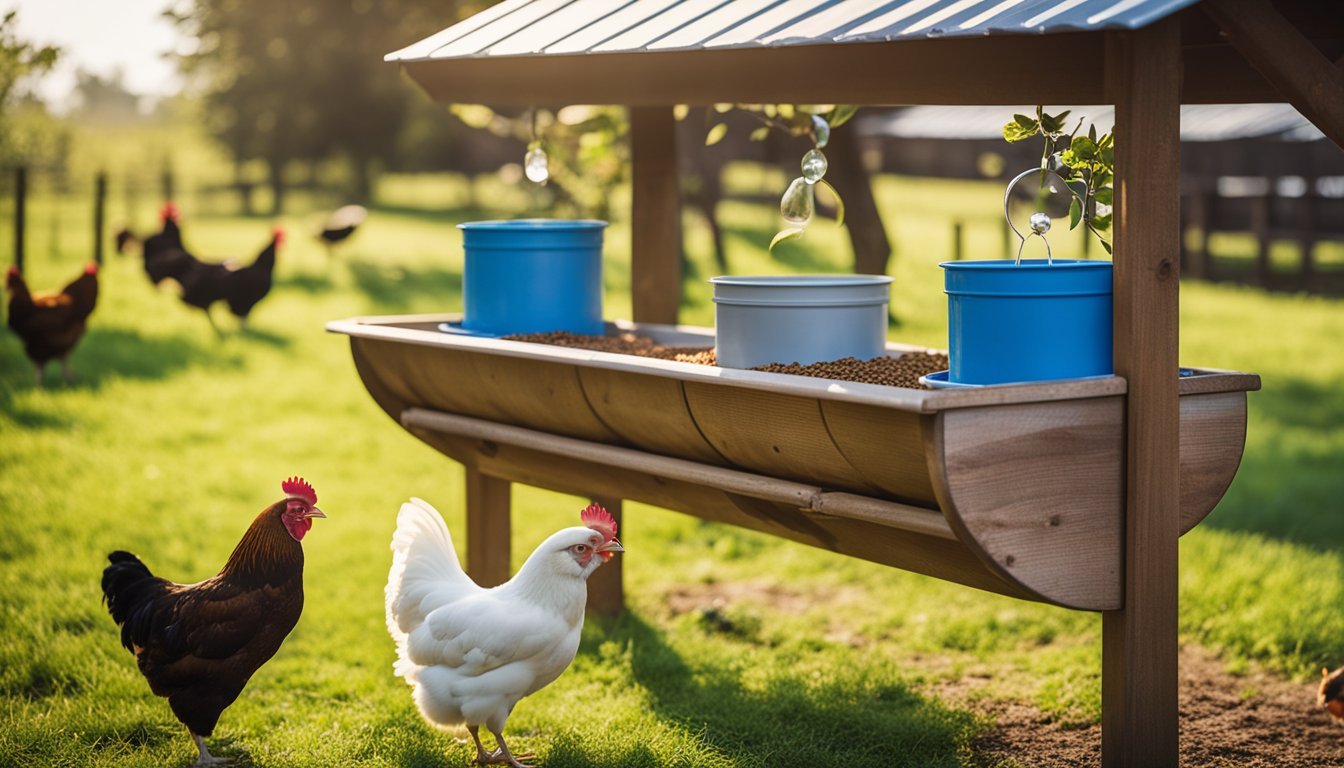
5) DIY Wooden Trough Feeder

A wooden trough feeder is a practical and straightforward option for feeding chickens. It can accommodate multiple birds simultaneously, reducing the chance of food scattering.
To make a wooden trough feeder, start by selecting durable wood, such as pine or oak. Cut the wood into pieces for the base and sides. The size can vary based on the number of chickens.
Assemble the base and sides into a rectangular box shape. Use screws or nails to ensure the structure is sturdy and secure. Adding a wire mesh over the top can help designate individual pecking zones.
This feeder design helps keep feed cleaner and reduces wastage. It’s easy to refill and maintain, making it convenient for daily use.
Lastly, consider weatherproofing the wood if the feeder will be used outdoors. Applying a non-toxic sealant can protect the wood from moisture and extend the feeder’s lifespan.
Benefits of DIY Chicken Feeders and Waterers
Creating your own chicken feeders and waterers provides numerous advantages. These include saving money, tailoring designs to specific needs, and promoting sustainable practices.
Cost-Effectiveness
DIY chicken feeders and waterers are significantly less expensive than commercial models. By using readily available materials such as PVC pipes, 5-gallon buckets, and discarded bottles, one can save a considerable amount of money. This approach helps reduce the initial investment required for setting up a chicken coop.
Moreover, the maintenance costs are lower. If any part of a DIY system breaks down, simple and inexpensive repairs can be made using household tools and supplies. This is especially beneficial for small-scale farmers looking to optimize their budget.
Customization
Customization is a notable benefit of DIY chicken feeders and waterers. Each flock has unique needs depending on the number of birds, their size, and their eating/drinking habits. Building feeders and waterers allows owners to tailor solutions specifically for their flock.
For instance, adjustments like multiple feeding slots and specific water outlet designs can be easily implemented. Additionally, automatic feeding mechanisms can be designed to regulate the feed, ensuring chickens are well-fed even when the owner is not around. This level of flexibility helps improve the efficiency and effectiveness of poultry care.
Sustainability
Building feeders and waterers using recycled materials promotes environmental sustainability. Items such as used PVC pipes, discarded bottles, and old buckets can be repurposed, reducing waste. This practice supports eco-friendly initiatives and makes use of materials that would otherwise be thrown away.
Furthermore, DIY projects encourage a self-sufficient lifestyle. By crafting these essential items, chicken owners reduce reliance on commercial products, leading to a lower carbon footprint. Being able to repair and adapt the systems without purchasing new ones contributes to more sustainable living.
Materials Needed for DIY Projects

Creating DIY chicken feeders and waterers requires gathering various tools, supplies, and safety gear. Each item plays a critical role in ensuring the project is successful and safe.
Common Tools
The right tools are essential for any DIY project. For making chicken feeders and waterers, you'll need:
Drill and Drill Bits: To create holes for water and feed dispensing.
Hammer and Nails: Useful for assembling parts securely.
Saw: An important tool for cutting PVC pipes or wood.
Pliers and Wrenches: These assist in tightening or adjusting components.
Screwdrivers: Both flathead and Phillips will be needed for securing parts.
Having these tools ensures you can work efficiently and precisely, resulting in a robust finished product.
Essential Supplies
Supplies needed for DIY chicken feeders and waterers vary, but some common items include:
PVC Pipes and Fittings: These are durable and suitable for both waterers and feeders.
Bottles (Plastic or Glass): Used for the water storage portion.
Nipple Waterers and Cups: These are pivotal for providing water without spills.
Silicone Sealant: Ensures all joints and connections are watertight.
Wire or Rope: For hanging or securing the waterers and feeders in place.
These supplies are easily accessible and cost-effective, making them ideal for DIY projects aimed at providing consistent feed and water access for chickens.
Safety Gear
Safety is paramount when undertaking DIY projects. Always use:
Gloves: To protect hands from sharp tools and hot surfaces.
Safety Glasses: Shield your eyes from debris while cutting or drilling.
Dust Masks: Essential when cutting materials that release dust particles, like wood or PVC.
Hearing Protection: Use earplugs or earmuffs when working with loud tools.
Adhering to safety practices prevents accidents and ensures a smooth project completion.
Tips for Maintaining Chicken Feeders and Waterers

Maintaining chicken feeders and waterers ensures your flock remains healthy and your equipment lasts longer. Important aspects include regular cleaning, preparing for winter, and preventing pests.
Regular Cleaning
Regular cleaning of chicken feeders and waterers is crucial for preventing disease. Feeders should be cleaned weekly to remove old food that could harbor mold. Use a brush and mild detergent, then rinse thoroughly.
Waterers often accumulate algae, which can be harmful. Clean them at least twice a week. For plastic waterers, a bit of vinegar in warm water can help remove algae buildup effectively.
Inspect for cracks or damage that can harbor bacteria, and replace parts as needed to maintain hygiene standards.
Winterization
Preparing chicken feeders and waterers for winter involves insulation and heating. Insulating both feeders and waterers can prevent the contents from freezing. Wrap the bases with insulating material and cover them with a waterproof layer.
Heated waterers or adding a small, submersible aquarium heater can keep water from freezing. Ensure electrical components are safe from pecking.
Avoid metal feeders in extremely cold climates unless they are properly insulated, as metal can make the feed colder, affecting your chickens' willingness to eat.
Pest Prevention
Pest prevention around chicken feeders and waterers involves several strategies. Elevate feeders to make it harder for pests like rats and mice to access the food. Use hanging feeders or place them on a platform.
Secure storage of feed in metal, rodent-proof containers helps to avoid attracting pests. Ensure the lids are tightly closed after each use.
Ant deterrents like petroleum jelly around the base of waterers can help keep ants away. Regularly check for pest droppings and set traps if necessary.
A few simple steps in maintaining your feeders and waterers can make a significant difference in keeping your flock healthy and safe.
