
7 Steps to Winterizing Your Urban Chicken Coop
Essential Tips for Cold Weather Preparedness

As urban homesteading continues to gain popularity, many city dwellers are embracing the joys of keeping chickens right in their backyards. With the winter months approaching, ensuring that these feathered friends remain safe, warm, and healthy becomes a priority. Knowing how to properly winterize your urban chicken coop can make a significant difference in the well-being of your flock.
Taking the necessary steps to prepare your chicken coop for cold weather doesn't have to be daunting. By implementing effective strategies, urban chicken keepers can provide a cozy environment for their birds while mitigating the challenges of winter. This guide provides an informative approach to safeguarding urban chickens against winter's chill.
1) Inspect and Repair the Coop
Inspecting and repairing the coop is the first step in preparing your urban chicken coop for winter. Begin by walking the perimeter of the coop. Look for any signs of wear and damage, such as holes or gaps.
Check the door and windows to ensure they close tightly. Cold drafts can significantly affect your chickens' health. Tight seals keep the warmth inside.
Scan the roof for any leaks. Rain and snow can cause moisture buildup, leading to mold and mildew, which can harm your flock. Fix any leaks immediately.
Examine the walls for cracks or weak spots. Predators like raccoons and foxes can exploit these vulnerabilities to harm your chickens. Reinforce these areas with sturdy materials.
Don't forget to check the floor. Ensure it is solid and free from any potential entry points for pests. A secure floor keeps the coop insulated and dry.
Regular maintenance and prompt repairs are vital for the coop's integrity. By addressing these issues before winter, you create a safe and cozy environment for your chickens.
2) Install Insulation Panels

Insulating a chicken coop is critical for maintaining a stable temperature during cold months. Begin by selecting high-quality insulation panels. Foam board, reflective barriers, or even bubble wrap can be effective. Ensure the material is safe and non-toxic for the chickens.
Measure each wall, ceiling, and floor section of the coop. Cut the insulation panels to fit the measured dimensions. It is crucial to cover as many surfaces as possible to minimize heat loss.
Use adhesive or screws to secure the panels in place. Make sure there are no gaps between the panels and the coop structure. Any gaps could allow cold air to seep in.
Adding insulation to the coop's ceiling is particularly important. Heat rises, so an insulated ceiling will help retain warmth inside. Don’t forget to insulate the floor, especially if the coop is elevated, as cold air can circulate underneath.
For doors and windows, consider using weather stripping to seal any potential air leaks. This prevents drafts while still allowing for necessary ventilation.
Lastly, check the insulation periodically throughout the winter months. Ensure it remains intact and effective in keeping the coop warm. Regular maintenance will help ensure the chickens stay comfortable during the colder season.
3) Seal Drafts and Gaps
To maintain a warm and healthy environment for chickens, addressing drafts and gaps in the coop is crucial.
Start by inspecting the coop thoroughly. Look for any cracks in the walls, especially near windows and doors. Make sure to check around pipes or electrical lines.
Use appropriate materials to seal these gaps. Caulk works well for smaller cracks, while weather stripping is effective around doors and windows. Insulate larger gaps with foam or other suitable materials.
Proper sealing helps in maintaining the warmth inside the coop and prevents moisture from entering. This is essential as trapped cold air can reduce the overall temperature, stressing the chickens.
Remember, proper ventilation is still necessary, so don't seal vents completely. Ensure there's a balance between eliminating drafts and allowing for fresh air circulation. This approach keeps the coop warm without compromising air quality.
4) Provide Supplemental Heat

In colder climates, supplemental heat can be crucial for maintaining the well-being of chickens during winter. Using a safe heat source, such as a poultry-safe heater or infrared heat lamp, helps keep the coop temperature above freezing.
Ensure that the heat source is securely installed to prevent any fire hazards. Place it in a location that provides warmth without creating hotspots that could harm the chickens.
It's also important to monitor the humidity levels in the coop, as excessive moisture can lead to respiratory issues. The heat should be balanced with proper ventilation to maintain a healthy environment. Regularly check the equipment to ensure it functions correctly and safely throughout the season.
Heaters with built-in thermostats can help maintain a stable temperature, reducing the risk of overheating. They can be an efficient way to keep the coop warm without constant manual adjustments.
Electric outlets and cords should be kept away from water sources and secured to prevent chickens from pecking at them. Safety measures will help avoid accidents and ensure a comfortable winter for the flock.
5) Enhance Ventilation
Proper ventilation is crucial for a healthy chicken coop, especially during the winter months. Chickens produce a significant amount of moisture through their droppings and breath. If this moisture accumulates, it can lead to respiratory issues and frostbite.
Ventilation helps to remove damp air and replace it with fresh, dry air. This process reduces humidity levels inside the coop. It's essential to ensure that air is constantly flowing without creating drafts that can chill the chickens.
Position vents high on the walls, near the roofline, to allow warm, moist air to escape. Inlets should be placed lower to bring in fresh air. This setup ensures a continuous exchange without causing cold air to blow directly on the birds.
Using adjustable vents can help regulate airflow based on the weather conditions. In very cold weather, they can be partially closed to maintain warmth while still allowing some air circulation.
Maintaining clean bedding is another way to manage moisture levels. Regularly replacing soiled bedding will help keep the coop drier and healthier for your flock.
6) Adjust Lighting for Egg Production
Urban chicken keepers should ensure their hens receive adequate light during winter months to maintain egg production. Chickens need approximately 14-16 hours of light daily for optimal laying.
LED lights are recommended for their efficiency and good light distribution. Position lights to illuminate feeders and waterers while keeping nesting boxes in dimmer areas.
Using a timer is effective for managing light schedules. Set the timer to turn lights on early in the morning rather than extending evening light. This practice helps avoid disturbing the hens' natural roosting habits.
Avoid over-lighting the coop as excessive daylight can stress the hens, negatively impacting egg production. Properly managed lighting ensures a more consistent supply of eggs throughout winter.
7) Upgrade Bedding Materials
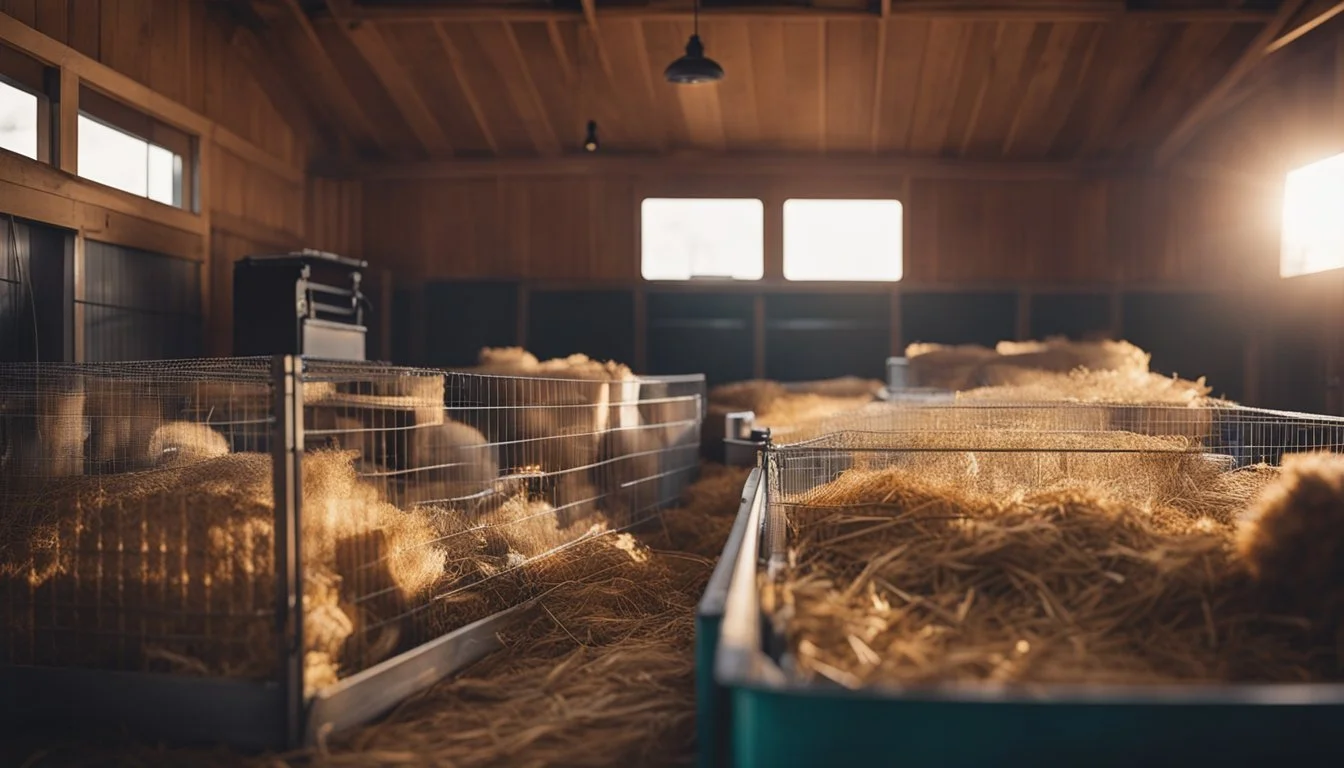
Upgrading bedding materials is essential for keeping chickens warm during winter. Straw and hay are popular choices due to their excellent insulation properties. These materials help maintain warmth inside the coop by trapping heat effectively.
Wood shavings are another good option. They are absorbent, which helps keep the coop dry. This is crucial for preventing moisture buildup that can lead to respiratory issues in chickens.
Hemp bedding is gaining popularity among chicken owners. It's thick and retains heat well, though it can be more expensive. Its durability means it doesn't need to be replaced as often, providing consistent warmth throughout the season.
Sand can also be used as bedding material. It is easy to clean and offers good drainage, reducing the risk of a damp coop environment. Ensure to provide a thick layer to maximize insulation.
Leaf litter is an eco-friendly option. When used in sufficient quantities, it provides good insulation and is readily available during the fall season. Just make sure the leaves are dry to avoid mold formation.
Switching to materials that offer better warmth and moisture control will create a healthier environment for the chickens during the cold months. Regularly check bedding to maintain its effectiveness and replace any damp or compacted areas promptly.
Understanding the Importance of Winterizing Your Chicken Coop
Winterizing a chicken coop is crucial to maintain the health and productivity of urban chickens during colder months. Proper preparation helps in insulating against harsh weather and preventing common issues that chickens face in winter.
Benefits of a Well-Prepared Coop
A well-prepared coop ensures that chickens remain warm and comfortable. Proper insulation helps in maintaining a stable temperature inside the coop, reducing stress on the birds.
Good ventilation, without drafts, prevents moisture build-up and related respiratory problems. Additionally, clean and dry bedding reduces the risk of frostbite and other cold-related ailments. By keeping the environment stable and clean, egg production remains consistent, even in winter.
Common Winter Challenges for Urban Chickens
Urban chickens face several challenges during winter. One significant issue is maintaining a warm environment in smaller urban coops, which may not be as sturdy as rural counterparts. Ice formation in waterers is another common problem, making it difficult for chickens to stay hydrated.
Urban settings may also have limited space, making it harder to store extra bedding or insulation materials. Inadequate preparation can lead to increased health issues such as respiratory problems, frostbite, and reduced egg-laying, which can be costly and time-consuming to address.
Insulation Techniques for Urban Chicken Coops
Proper insulation is crucial for maintaining a stable temperature in your chicken coop, which protects your flock from harsh weather conditions. Focus on selecting the right materials and using effective methods to insulate both the walls and the roof of the coop.
Choosing the Right Insulation Materials
Selecting the right insulation material is essential for both effectiveness and safety. Rigid foam boards are a popular choice due to their high insulating value and ease of installation. They can be cut to fit the walls and ceiling, providing a snug layer of protection.
Spray foam insulation is another effective option. It expands to fill gaps and crevices, creating an airtight seal. Reflective insulation can also be used to reflect radiant heat, helping to maintain a consistent temperature year-round. Ensure any chosen material is non-toxic and safe for chickens, as they may peck at it.
Methods to Insulate Walls and Roof
To insulate the coop walls, start by sealing any cracks and gaps with caulk or weather stripping. Attach rigid foam boards or other insulation materials to the walls, ensuring a snug fit. Cover the insulation with plywood or a similar material to prevent chickens from pecking at it.
Insulating the roof is equally important. Place insulation boards or spray foam insulation between the rafters. Ensure there's proper ventilation to prevent moisture buildup, which can lead to mold and other issues. Adding a vapor barrier can also help keep moisture out.
Maintaining Optimal Ventilation
Ensuring proper ventilation in your chicken coop during winter is crucial for maintaining the health and comfort of your flock. Good ventilation helps balance warmth while preventing moisture buildup that can lead to serious health issues.
Balancing Ventilation and Warmth
Creating a balanced environment is key. Ventilation is necessary to allow fresh air to circulate, removing ammonia and other harmful gases.
Strategically place vents high on the coop walls but away from areas where chickens roost.
Adjustable vents can help control airflow depending on the weather, allowing the right amount of air in without causing drafts.
Ensure that ventilation openings are protected with mesh to prevent predators and pests from entering.
Using insulated chicken coop windows or baffles can help manage airflow while maintaining temperature. These solutions aim to retain heat while still allowing sufficient air exchange to prevent condensation and dampness, which can lead to frostbite.
Preventing Moisture Build-Up
Moisture is a major concern in chicken coops. It can come from droppings, breath, and spilled water. Excess moisture can lead to respiratory diseases and frostbite.
Regular cleaning of the coop helps reduce moisture levels. Remove soiled bedding and replace it with fresh, dry material.
Drip trays under waterers can catch spills, preventing dampness. Check waterers frequently to ensure they are not leaking.
Deep litter method, which involves adding fresh bedding material regularly without entirely cleaning out the old, can naturally help in absorbing moisture while providing warmth through composting action.
Having a well-designed ventilation system that allows warm moist air to escape is essential. Openings should be placed at a height where rising warm air can easily escape without direct drafts hitting the birds. This process prevents the environment inside the coop from becoming too humid, ultimately maintaining the comfort and health of the flock.
