
8 Essential Chicken Coop Cleaning Tips for a Healthier Flock
Keeping a chicken coop clean is essential for the health and happiness of your flock. Regular cleaning helps prevent the spread of diseases and keeps the environment pleasant for both the hens and their caretakers. Understanding the best practices for maintaining a spotless coop can make this task easier and less time-consuming.
A well-maintained chicken coop not only ensures the well-being of the chickens but also prolongs the life of the coop itself. By following a set of practical cleaning tips, chicken owners can manage their chores efficiently, ensuring that their chickens thrive in a clean and sanitary space.
1) Remove Old Bedding Weekly

Removing old bedding from the chicken coop weekly is an essential part of maintaining a clean and healthy environment for the chickens.
Old bedding can harbor bacteria, parasites, and fungi that can be harmful to poultry. Regularly replacing the bedding helps prevent the buildup of these potential health hazards.
Begin by using a shovel or rake to collect all the used bedding. Ensure that every corner of the coop is thoroughly cleaned out to remove any remnants of waste or soiled material.
Dispose of this bedding properly. It can often be added to a compost pile, where it will decompose and become valuable fertilizer.
Once the old bedding is removed, check for any damp or wet spots on the floor of the coop. Address any issues by allowing these areas to dry before laying down fresh bedding.
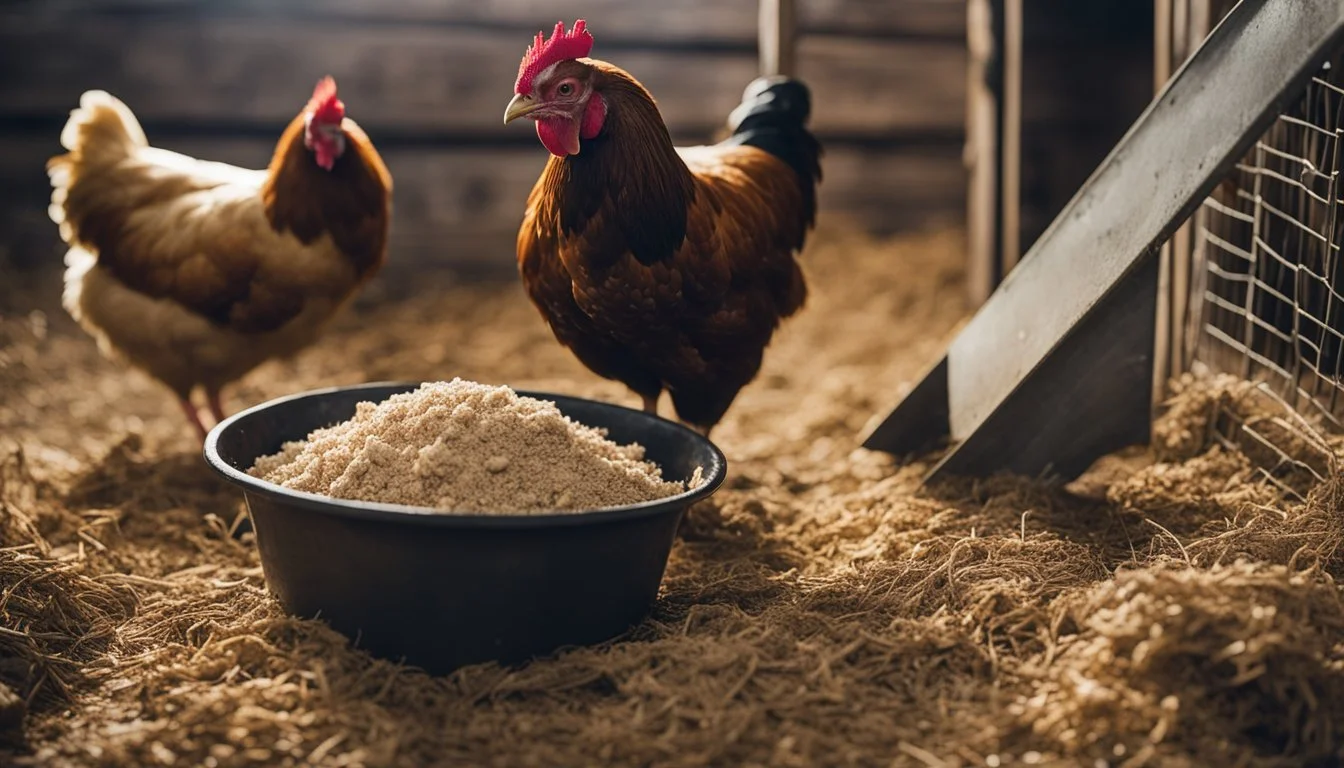
Use ample amounts of clean, dry bedding material such as straw, wood shavings, or hay. This not only helps to absorb moisture but also provides a comfortable and clean area for the chickens.
Ensure the fresh bedding is spread evenly across the floor of the coop. This will help promote an even distribution of waste and maintain a cleaner environment for longer periods.
2) Scrub Feeders and Waterers
Clean feeders and waterers are crucial for maintaining the health of the flock. Start by removing any leftover food and emptying the waterers. Use a bottle brush to scrub the insides of the waterers, ensuring any build-up is removed.
Mix a solution of equal parts water and white vinegar. This natural solution effectively cleans without leaving harmful residues. Use it to thoroughly scrub both feeders and waterers.
In areas with stubborn grime, a slightly stronger solution might be necessary. Rinse everything well with clean water after scrubbing. This ensures no cleaning solution remains that could harm the chickens.
It's essential to dry the feeders and waterers completely before refilling them. Moisture can lead to mold and bacteria growth, which can be harmful to the chickens. For larger flocks, consider cleaning these items twice a week to prevent build-up. Regular cleaning ensures the flock stays healthy and hydrated.
3) Provide Fresh Bedding Weekly
Replacing bedding weekly is crucial to maintain a healthy coop. Fresh bedding helps control odors and reduces the risk of disease.
Remove all bedding and inspect the area for hidden moisture or mold. Moisture can lead to respiratory issues for the chickens.
Using a clean and dry tarp on the coop floor can simplify the process. Spread fresh bedding evenly over the tarp after removing old material.
Consider using materials such as straw, wood shavings, or hay. These provide good absorption and cushioning for the chickens.
Ensure proper ventilation while cleaning to aid in drying out the coop and reducing ammonia buildup.
This practice keeps the coop hygienic and comfortable for the flock.
4) Clean Nesting Box Liners
Nesting box liners should be cleaned regularly to provide a hygienic environment for hens.
Start by removing the old liners. Dispose of them responsibly. If the liners are reusable, shake off any debris and wash them with warm, soapy water.
Let the liners dry completely before placing them back in the nesting boxes. This helps prevent mold and bacteria growth.
While the liners are drying, use a stiff brush to scrub the nesting boxes. Focus on corners and crevices where dirt can accumulate.
You can disinfect the nesting boxes using a solution of equal parts water and vinegar. Spray this mixture evenly and allow it to air dry.
Replace the clean, dry liners into the nesting boxes. Ensuring clean nesting box liners promotes healthy laying hens and reduces the risk of infections.
5) Check for Mites and Pests
Regularly inspecting your chicken coop for mites and pests is crucial for maintaining a healthy environment for your hens. Mites and other pests can cause significant distress and health issues for your chickens if left unchecked.
Begin by examining the nesting boxes and perches. These are common areas where mites tend to hide. Look for small, crawling insects or clusters of eggs.
Use a flashlight to inspect crevices and cracks. Mites often reside in these hidden spots. Pay attention to your chickens' behavior as well; signs of excessive scratching or feather loss can indicate the presence of pests.
To treat an infestation, clean the coop thoroughly and apply a poultry-safe insecticide. Diatomaceous earth (DE) can also be effective against a variety of pests including mites. Dust the coop and the chickens lightly with DE.
Regular cleaning and maintenance will help prevent infestations. Keep moisture levels low, as damp environments attract pests. Always monitor the coop and chickens for any signs of mites or other pests to ensure their comfort and well-being.
6) Disinfect Coop Monthly

Disinfecting the chicken coop each month helps maintain a healthy environment for your birds. Start by removing all bedding, droppings, and loose debris.
Next, hose down the interior surfaces. Use a natural cleaning solution and a hand brush to scrub down walls, roosts, and floors. Pay special attention to nesting and feeding areas.
After scrubbing, rinse the coop thoroughly with water. Allow it to dry completely before adding fresh bedding. This process prevents bacteria build-up and controls odors, ensuring a clean, safe space for your chickens. Regular disinfection also helps reduce the risk of parasites and diseases.
7) Inspect Ventilation Regularly

Regularly inspecting the ventilation in your chicken coop is crucial for maintaining a healthy environment for your flock.
Proper ventilation allows for the exchange of stale air with fresh air, which helps control temperature and humidity levels.
Check for obstructions in vents and windows, such as dust, dirt, or nesting materials.
Ensuring vents and windows are functioning correctly helps reduce the buildup of harmful gases like ammonia.
Make sure ventilation methods do not create drafts that could negatively impact your chickens.
Strategically placed windows can optimize cross-ventilation, promoting a stable and comfortable temperature inside the coop.
Regularly cleaning and inspecting vents keeps the air quality high and helps prevent respiratory issues in your chickens.
8) Rotate Outdoor Run Areas

Rotating the outdoor run areas is crucial for maintaining a healthy environment for your chickens. Over time, chickens will deplete the grass and soil in their run, leading to muddy conditions and increased disease risk.
By rotating the run areas, you allow each section of land to recover. This process helps reduce parasite loads and promotes healthier forage for the birds.
To implement this effectively, divide the chicken run into multiple sections. Move the chickens to a different section every few weeks or months, depending on the size of your flock and the available space.
Installing temporary fencing can make this rotation process simpler. Use portable fencing to cordon off different areas as needed. This method ensures the birds have fresh ground while other sections regenerate.
The Importance of Regular Cleaning
Regular cleaning of a chicken coop is crucial for preventing disease and ensuring the comfort of your livestock. It involves removing waste, disinfecting surfaces, and maintaining a hygienic environment.
Preventing Disease
Chickens are susceptible to various diseases such as Avian Influenza and Coccidiosis. Regular cleaning helps minimize the risk of these infections. Waste buildup can attract pests like rats and flies, which carry pathogens that can harm the flock.
Scraping dried droppings and debris reduces bacterial growth. Using a mixture of water and vinegar can naturally clean surfaces. After cleaning, disinfecting with 1 part bleach to 10 parts water effectively kills harmful bacteria and viruses.
Improving Livestock Comfort
A clean coop impacts the overall well-being and productivity of chickens. Accumulated waste produces ammonia, which irritates their respiratory systems. Providing a clean, dry environment helps prevent respiratory issues.
Replacing soiled bedding with fresh materials makes the coop more comfortable. Regularly sweeping and hosing down the coop ensures a pleasant living space. This not only boosts the health of the chickens but also their egg production and growth rate.
Materials and Tools Needed
Proper materials and tools are crucial for effective chicken coop cleaning. Ensure you have the necessary supplies for quick and thorough cleaning while staying protected from potential hazards.
Essential Cleaning Supplies
Shovel or Garden Hoe: Useful for scraping out droppings and debris.
Pitchfork: Ideal for removing larger chunks of bedding material.
Broom: Sweeps out the remaining dirt, dust, and feathers.
Hose: Wets down surfaces to loosen stubborn dirt.
Scrubbing Brush: Helps remove dried-on dirt from surfaces.
Disinfectant: Should be a natural solution to keep the coop safe for chickens.
Bedding Material: New bedding to replace the old.
Tarps: Line the floor for easy removal of bedding.
Personal Protective Equipment
Gloves: Protect hands from dirt, debris, and harsh cleaning agents.
Dust Mask: Prevents inhalation of dust and harmful particles during cleaning.
Protective Eyewear: Shields eyes from potential splashes of cleaning solutions.
Waterproof Boots: Ensure comfort and protection from wet and dirty conditions.
Effective Cleaning Techniques
Maintaining a clean chicken coop involves both dry and wet cleaning methods to ensure the health and comfort of your flock. Each method has specific steps and tools that contribute to an effective cleaning routine.
Dry Cleaning Methods
Dry cleaning is the initial stage of cleaning the chicken coop. Start by removing all the bedding and loose debris. This can be done using a shovel or garden hoe to scrape out the droppings and other waste materials on the coop’s surfaces. Following that, sweeping the floor thoroughly helps gather the remaining dirt and feathers.
Using a scraper or putty knife is effective for tackling stubborn spots and dried-on waste. Make sure to cover perches, nesting boxes, and other key areas where build-up commonly occurs. Collect all debris and transfer it to the compost pile.
Wet Cleaning Methods
Wet cleaning involves using liquids to disinfect and sanitize the coop. Begin by dousing the coop with water using a hose, paying attention to all interior surfaces. This step helps prepare the surfaces for deeper cleaning. For a natural cleaning solution, mixing equal parts water and vinegar works well for washing surfaces.
Disinfect the coop by applying a solution of 1 part bleach to 10 parts water. This solution should be applied evenly across all surfaces, including perches and nesting boxes. After the application, allow the coop to dry completely before adding fresh bedding. These wet cleaning steps ensure that any harmful bacteria are effectively eliminated.
