
How to Cook a 7 Pound Brisket
Tender and Flavorful Results

Cooking a 7-pound brisket can be a rewarding experience for any home chef. This large cut of beef offers ample opportunity to create a flavorful, tender meal that's perfect for feeding a crowd. To achieve the best results, cook the brisket in the oven at 250°F (121°C) for about 1 hour per pound, or until it reaches an internal temperature of 200°F (93°C).
The process of cooking brisket involves more than just time and temperature. A good dry rub made with salt, pepper, and other spices can enhance the meat's natural flavors. Some cooks also opt to add liquid smoke or use a smoking pan in the oven to impart a BBQ-like taste without the need for an outdoor smoker.
Patience is key when cooking brisket. The long, slow cooking process allows the tough connective tissues to break down, resulting in a tender, juicy piece of meat. Resting the brisket after cooking is equally important, as it allows the juices to redistribute throughout the meat before slicing.
Selecting the Right Brisket
Choosing the perfect brisket is crucial for a successful cook. The grade, fat content, and cut type all play important roles in the final result.
Understanding Beef Grades
Beef grades indicate the meat's quality and marbling. Select grade is the leanest and most affordable option. Choice grade offers more marbling and tenderness. Prime grade has the highest fat content and is typically the most expensive.
For a 7-pound brisket, Choice or Prime grades are recommended. These grades provide better flavor and juiciness during the long cooking process. Select grade can work but may result in a drier finished product.
Fat Marbling and Fat Cap
Fat marbling refers to the white flecks of intramuscular fat within the meat. A well-marbled brisket will be more tender and flavorful. Look for even distribution of fat throughout the muscle.
The fat cap is the layer of fat on one side of the brisket. Aim for a fat cap about 1/4 inch thick. This layer helps keep the meat moist during cooking. Trim excess fat if needed, but leave enough to protect and flavor the meat.
Picking Packer Brisket
A packer brisket includes both the flat and point cuts. This full brisket is ideal for smoking. When selecting a packer brisket:
Choose one with a deep red color and minimal blemishes
Look for flexibility - it should bend easily when lifted
Ensure an even thickness throughout for consistent cooking
Check for a smooth, firm texture
A 7-pound brisket is typically a smaller packer cut or a larger flat cut. Ask your butcher for recommendations based on your cooking method and preferences.
Preparing the Brisket for Smoking
Proper preparation is crucial for achieving a delicious smoked brisket. The key steps involve trimming excess fat, applying the right seasonings, and considering the use of marinades or rubs.
Trimming the Fat
Trimming a brisket ensures even cooking and improves the final texture. Start by removing the hard fat and silverskin from the surface. Leave about 1/4 inch of fat on the fat cap to keep the meat moist during smoking.
Trim any thick areas of fat to create a uniform surface. This promotes even seasoning distribution and consistent cooking. Pay attention to the point and flat ends, ensuring a smooth transition between them.
Preserve some marbling within the meat, as it adds flavor and juiciness. A well-trimmed brisket will have a clean appearance with a thin layer of fat remaining.
Seasoning Your Brisket
A simple yet effective seasoning for brisket consists of kosher salt and coarse black pepper. Mix equal parts of each to create a traditional Texas-style rub. Apply the seasoning generously, covering all surfaces of the meat.
For added depth, incorporate garlic powder or onion powder into your seasoning mix. Some pitmasters prefer to season their brisket several hours before smoking, allowing the flavors to penetrate the meat.
Ensure even coverage by patting the seasoning into the meat. This helps create a flavorful bark during the smoking process.
The Use of Marinades and Rubs
While a simple salt and pepper rub is classic, experimenting with marinades and complex rubs can yield unique flavors. Marinades typically contain acidic ingredients like vinegar or citrus juice, which can help tenderize the meat.
Popular rub ingredients include paprika, chili powder, and brown sugar. These additions create a more complex flavor profile and can enhance the bark formation.
When using a wet marinade, allow the brisket to soak for at least 4 hours or overnight in the refrigerator. For dry rubs, apply them 1-2 hours before smoking to allow the flavors to set.
Remember that excessive seasoning can overpower the natural beef flavor. Balance is key when crafting your marinade or rub recipe.
Smoking Process Explained
Smoking a 7-pound brisket requires careful attention to detail and proper technique. The process involves several key steps, from setting up the smoker to monitoring the meat's progress throughout the cook.
Setting Up Your Smoker
Start by preparing your smoker for the long cooking process ahead. Clean the grates and ensure proper ventilation. Fill the water pan to maintain humidity and help regulate temperature. Preheat the smoker to 225°F, the ideal temperature for smoking brisket.
Place a thermometer at grate level to accurately monitor the cooking environment. Position the brisket fat side up on the grate, away from direct heat. This placement allows the fat to render and baste the meat as it cooks.
Maintaining Temperature
Consistent heat is crucial for properly smoking a brisket. Keep the smoker temperature steady at 225°F throughout the cook. Monitor the temperature gauge regularly and make adjustments as needed.
Add fuel or adjust air vents to maintain the target temperature. Avoid opening the smoker door unnecessarily, as this can cause temperature fluctuations. Use a dual-probe thermometer to track both smoker and meat temperatures simultaneously.
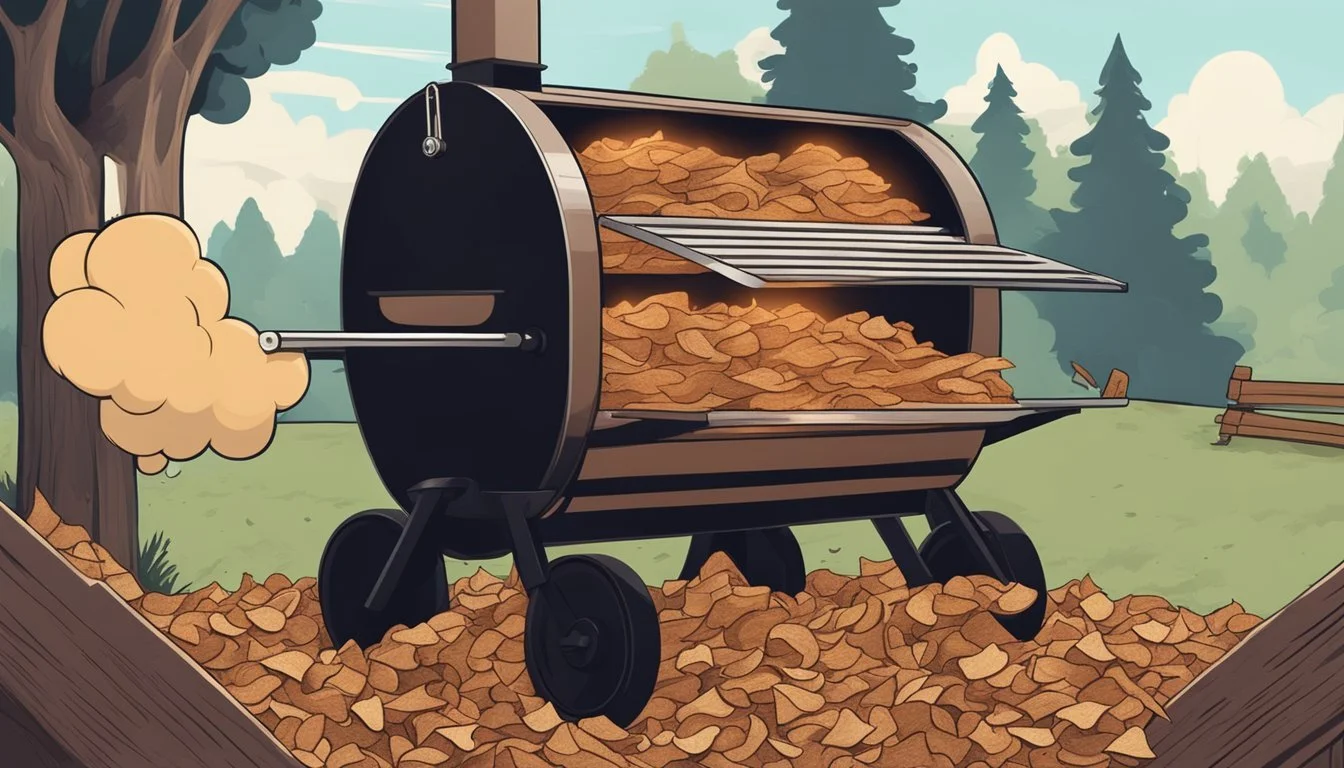
Smoke and Wood Choices
Selecting the right wood is essential for imparting desirable smoke flavor to your brisket. Hardwoods like oak, hickory, apple, and cherry are popular choices. Oak provides a medium smoke flavor, while hickory offers a stronger taste.
Fruit woods like apple and cherry impart a milder, sweeter smoke. Use wood chunks rather than chips for longer-lasting smoke. Aim for thin blue smoke, which indicates clean combustion and optimal flavor development.
The Smoking Timeline
Expect to smoke a 7-pound brisket for approximately 10-12 hours at 225°F. The first few hours focus on smoke absorption and bark formation. After 4-5 hours, the internal temperature may stall around 150-160°F.
Consider wrapping the brisket in butcher paper when it reaches 165°F internal temperature. This helps push through the stall and retain moisture. Continue cooking until the brisket reaches 203°F internally.
Allow the brisket to rest for 1-2 hours after cooking. This redistribution of juices ensures a moist and tender final product. Slice against the grain and serve immediately for best results.
Cooking the Brisket
Proper cooking techniques are crucial for achieving a tender, flavorful brisket. The key is maintaining consistent temperature and managing moisture throughout the process.
Fat Side Up or Down
Positioning the brisket fat side up or down impacts the cooking process. Fat side up allows the fat to melt and baste the meat as it cooks. This can enhance flavor and help keep the brisket moist.
Fat side down protects the meat from direct heat, potentially resulting in more even cooking. It also allows for better bark formation on the top of the brisket.
Some cooks prefer to flip the brisket halfway through cooking to get the benefits of both methods. Ultimately, the choice depends on personal preference and the specific cooking setup.
Managing the Stall Phase
The stall is a period during cooking where the brisket's internal temperature plateaus. This occurs when moisture evaporates from the meat's surface, cooling it.
To manage the stall, maintain a consistent cooking temperature. Avoid opening the oven frequently, as this can extend the stall phase.
Patience is key during this period. The stall can last several hours, but it's an essential part of the process that contributes to the brisket's tenderness.
The Crutching Technique
Crutching, also known as the Texas Crutch, involves wrapping the brisket to push through the stall phase. This technique helps retain moisture and can reduce overall cooking time.
Wrap the brisket tightly in aluminum foil or butcher paper when it reaches an internal temperature of around 165°F (74°C). Foil creates a tighter seal, speeding up cooking but potentially softening the bark.
Butcher paper allows more moisture to escape, preserving the bark while still reducing cooking time. After wrapping, return the brisket to the oven and continue cooking until it reaches the desired internal temperature.
Monitoring and Achieving Doneness
Achieving the perfect doneness for a 7-pound brisket requires careful monitoring and attention to detail. Proper techniques and tools ensure optimal results.
Using a Meat Thermometer
A reliable meat thermometer is essential for accurate temperature readings. Insert the probe into the thickest part of the brisket, avoiding fat or bone. The ideal internal temperature range for a tender brisket is 195-205°F (90-96°C).
For a 7-pound brisket cooked at 225°F, expect a cooking time of approximately 10-12 hours. Regular temperature checks help track progress.
Digital thermometers with remote monitoring capabilities allow for easy tracking without opening the smoker or oven frequently.
Visual and Tactile Checks
While temperature is crucial, visual and tactile cues provide additional insights into brisket doneness.
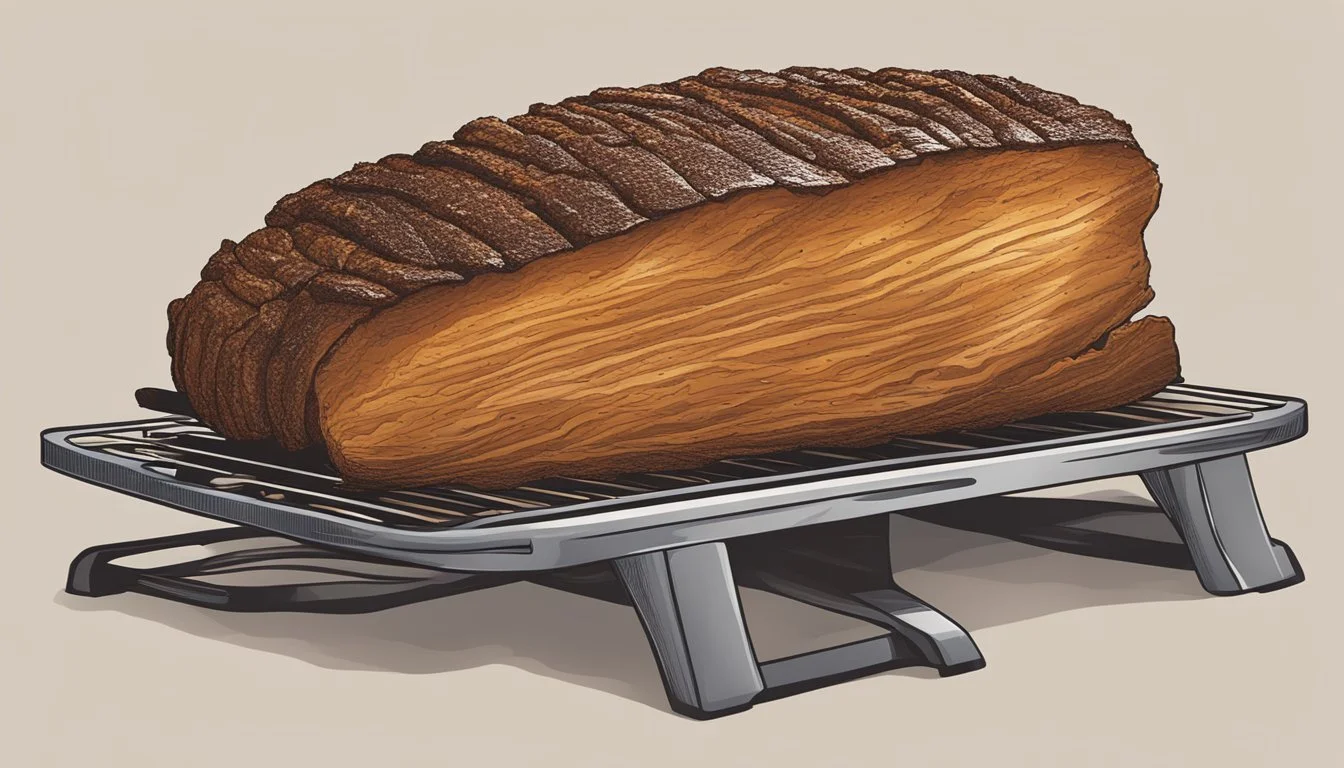
The brisket's color should be deep mahogany. A good bark formation indicates proper smoking conditions.
Gently probe the meat with a toothpick or skewer. It should slide in with little resistance, similar to inserting into soft butter.
The brisket may develop a slight jiggle when fully cooked, indicating proper rendering of fats and connective tissues.
The Importance of Temperature Range
Maintaining a consistent cooking temperature of 225°F is key for even cooking and proper fat rendering.
The brisket will typically experience a "stall" around 150-160°F internal temperature. Patience is crucial during this phase.
Once the internal temperature reaches 195°F, begin checking for doneness more frequently. Some pitmasters prefer to pull the brisket at 203°F for optimal tenderness.
Allow the brisket to rest for 30-60 minutes after cooking. This helps redistribute juices and can increase the internal temperature by a few degrees.
Resting the Brisket
Proper resting is crucial for achieving a juicy, flavorful brisket. This process allows the meat to relax and reabsorb its juices, resulting in a more tender and moist final product.
Wrapping and Insulation Methods
To rest a brisket effectively, start by removing it from the smoker. Wrap the meat tightly in foil or butcher paper to retain heat and moisture. For added insulation, use clean towels to wrap the foil-enclosed brisket. This extra layer helps maintain temperature during the rest period.
Place the wrapped brisket in a cooler or warm oven set to its lowest temperature (around 150°F if possible). The cooler method, often called "faux Cambro," is particularly effective for longer rests. It keeps the meat warm without continuing to cook it.
For shorter rests, simply leaving the wrapped brisket on the counter can suffice. However, ensure food safety by not letting the internal temperature drop below 140°F.
Timing Your Rest
The ideal resting time for a 7-pound brisket is typically 1 to 2 hours. This allows the meat fibers to relax and reabsorb juices, resulting in a more tender and flavorful brisket.
For larger briskets or when timing allows, extending the rest up to 4 hours can further enhance tenderness. Some pitmasters even rest their briskets for 6 to 8 hours, though this requires careful temperature monitoring.
Minimum rest time should be at least 30 minutes, but avoid resting for more than 8 hours. Extended rests can lead to temperature drops below safe levels or texture changes in the meat.
Use a meat thermometer to monitor the brisket's internal temperature during rest. Aim to keep it above 140°F for food safety. If the temperature drops too low, you can briefly return the brisket to a warm oven to bring it back up to serving temperature.
Slicing and Serving

Properly slicing and serving brisket is crucial for optimal texture and presentation. The right tools, techniques, and serving methods elevate the dining experience.
The Right Instruments
A sharp knife is essential for clean, precise cuts. Choose a long, thin-bladed knife designed for slicing meat. A serrated edge can tear the brisket, so opt for a straight-edged blade. A sturdy cutting board provides a stable surface and protects countertops. Select a board large enough to accommodate the entire brisket. Tongs help handle the meat safely without piercing it. A serving platter should be preheated to keep the sliced brisket warm.
Cutting Techniques
Allow the brisket to rest for 15-30 minutes before slicing. This lets juices redistribute, ensuring moist meat. Identify the grain direction of the brisket. For the flat, cut perpendicular to the grain in pencil-thick slices. The point requires a different approach. Slice it in half lengthwise, then cut each half against the grain. Aim for smooth, even strokes with the knife. Avoid sawing motions that can tear the meat.
Serving Suggestions
Arrange sliced brisket on a warm platter in a single layer to prevent overcrowding. Separate the point and flat cuts for guests to choose their preferred texture. Serve sauce on the side to let diners control the amount. Provide small dishes of additional toppings like pickled onions or jalapeños. Pair the brisket with classic sides such as coleslaw, baked beans, or potato salad. Offer soft rolls or sliced bread for those who want to make sandwiches.
Storing and Reusing Leftovers
Proper storage and creative reuse of brisket leftovers can extend your enjoyment of this flavorful meat. Careful handling prevents spoilage and maintains quality, while innovative recipes breathe new life into remaining portions.
Proper Storage Techniques
Store brisket leftovers promptly to maintain freshness. Allow the meat to cool to room temperature, but don't leave it out for more than 2 hours. Slice the brisket against the grain before storage for easier reheating.
Wrap slices tightly in aluminum foil or plastic wrap. Place wrapped portions in airtight containers or freezer bags. Refrigerate for up to 4 days or freeze for up to 3 months.
Label containers with the date to track freshness. For best quality, use frozen brisket within 2-3 months. Thaw frozen brisket in the refrigerator overnight before reheating.
Recipe Ideas for Brisket Leftovers
Transform leftover brisket into delicious new meals. Shred the meat for tacos, burritos, or enchiladas. Add brisket to quesadillas with cheese and caramelized onions.
Chop brisket for hearty sandwiches or sliders. Use it in breakfast hash with potatoes and eggs. Incorporate brisket into mac and cheese for added protein and flavor.
Create a brisket chili or stew. Add chunks to baked beans for a smoky twist. Toss shredded brisket with barbecue sauce for quick sandwiches.
Mix chopped brisket into pasta dishes or use as a pizza topping. Stir into scrambled eggs or omelets for a savory breakfast option.
