How to Cook Tri-Tip in the Oven
Achieving Juicy and Tender Results
Tri-tip roast, a flavorful cut of beef originating from California, has gained popularity for its rich taste and tender texture. This triangular-shaped piece of meat from the bottom sirloin offers a perfect balance of lean and marbled sections, making it ideal for various cooking methods. While traditionally grilled, cooking tri-tip in the oven provides a convenient and foolproof way to achieve delicious results.
To cook tri-tip in the oven, season the meat with salt and pepper or a preferred spice blend, sear it in a hot skillet, then roast at 425°F (218°C) for about 20-25 minutes until it reaches the desired internal temperature. This method ensures a flavorful crust on the outside while maintaining a juicy, pink center. After cooking, allow the meat to rest for 10 minutes before slicing against the grain to maximize tenderness.
Mastering oven-roasted tri-tip opens up a world of culinary possibilities. From family dinners to special occasions, this versatile cut can be the centerpiece of many memorable meals. With the right techniques and a bit of practice, anyone can create restaurant-quality tri-tip roasts in the comfort of their own kitchen.
Understanding Tri-Tip
Tri-tip is a flavorful and versatile cut of beef that originates from the bottom sirloin. This triangular-shaped roast earned its name from its distinctive three-pointed form.
Also known as the triangle roast or California cut, tri-tip gained popularity in Santa Maria, California. It has since become a staple in many cuisines across the United States.
Tri-tip typically weighs between 1.5 to 2.5 pounds and offers a balance of flavor and tenderness. The meat features a moderate amount of marbling, contributing to its rich taste while remaining relatively lean.
This cut is prized for its ability to be cooked quickly at high temperatures, making it ideal for grilling and roasting. When prepared correctly, tri-tip delivers a tender, juicy eating experience.
Tri-tip can be seasoned with various rubs or marinades to enhance its natural beef flavor. It's often served sliced against the grain, showcasing its characteristic texture and taste.
Key characteristics of tri-tip:
Cut: Bottom sirloin
Shape: Triangular
Weight: 1.5-2.5 pounds
Texture: Tender with moderate marbling
Cooking methods: Grilling, roasting, smoking
Tri-tip's versatility and robust flavor make it a popular choice for both casual barbecues and more formal dining occasions.
Preparation Basics
Proper preparation is crucial for a delicious tri-tip roast. Trimming, seasoning, and marinating are key steps that set the foundation for a flavorful result.
Trimming the Meat
Start by examining the tri-tip for any excess fat or silver skin. Trim off the fat cap, leaving a thin layer for flavor. Remove the tough silver skin using a sharp knife, carefully sliding it under and pulling it away from the meat.
For even cooking, ensure the tri-tip has a uniform thickness. If one end is significantly thinner, tuck it under and secure with kitchen twine.
Seasoning the Tri-Tip
A simple yet effective seasoning blend enhances the beef's natural flavors. Mix kosher salt, ground black pepper, and granulated garlic in a small bowl. Rub this mixture generously over all surfaces of the meat.
For added depth, incorporate dried herbs like rosemary or ground cumin into the seasoning blend. Apply the rub at least 30 minutes before cooking to allow the flavors to penetrate the meat.
Marinating Options
Marinating can infuse the tri-tip with extra flavor and moisture. Create a basic marinade using olive oil, minced garlic, salt, and pepper. Add fresh herbs like rosemary for an aromatic touch.
For a more complex flavor profile, experiment with ingredients like soy sauce, Worcestershire sauce, or balsamic vinegar. Place the seasoned tri-tip in a resealable plastic bag with the marinade.
Refrigerate for 2-8 hours, turning occasionally to ensure even distribution. Avoid marinating for too long, as acidic ingredients can start to break down the meat's texture.
Cooking Methods
Tri-tip can be prepared using two primary oven methods: traditional roasting and searing before roasting. Both techniques yield flavorful results with slight differences in texture and cooking time.
Oven Roasting
Oven roasting is a straightforward method for cooking tri-tip. Preheat the oven to 425°F (220°C). Place the seasoned roast on a rack in a roasting pan. This allows air to circulate, promoting even cooking.
Insert the pan into the preheated oven. Cook for about 20-30 minutes for medium-rare, or until an instant-read thermometer registers 125°F (52°C) in the thickest part. Cooking time may vary based on the roast's size and desired doneness.
Remove the tri-tip from the oven and let it rest for 10 minutes before slicing. This resting period allows juices to redistribute, ensuring a moist and tender result.
Searing Before Oven
Searing before roasting adds an extra layer of flavor and texture. Heat a cast iron skillet over high heat. Add the seasoned tri-tip and sear for 3-4 minutes on each side until browned.
Transfer the skillet with the tri-tip to a preheated 425°F (220°C) oven. If the skillet isn't oven-safe, move the roast to a baking dish. Roast for 15-20 minutes or until the internal temperature reaches 125°F (52°C) for medium-rare.
Let the roast rest for 10 minutes before slicing. This method creates a flavorful crust while maintaining a juicy interior.
Monitoring Doneness
Accurately gauging the doneness of tri-tip is crucial for achieving the perfect roast. Precise temperature measurement and visual indicators help ensure the meat reaches the desired level of doneness.
Using a Meat Thermometer
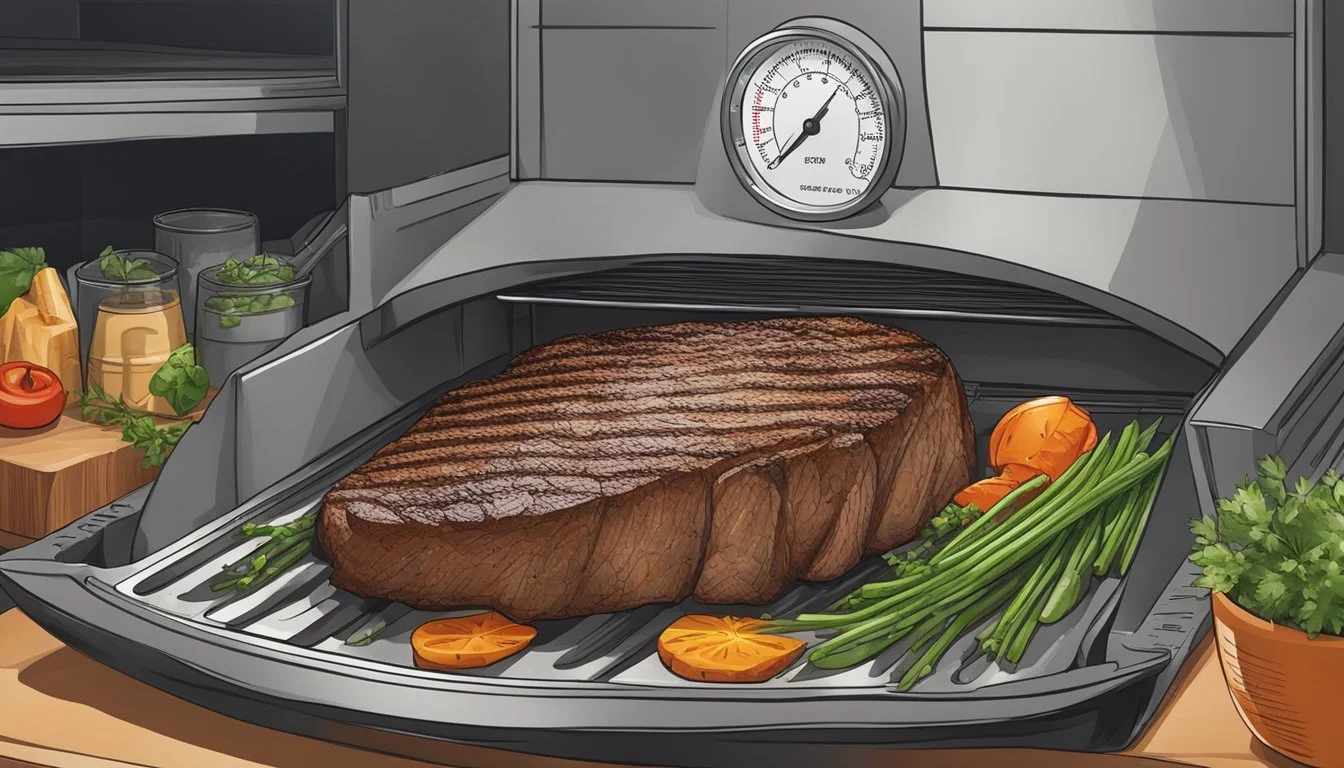
A meat thermometer is the most reliable tool for monitoring tri-tip doneness. Insert the thermometer into the thickest part of the roast, avoiding fat or bone. For medium-rare, aim for an internal temperature of 130-135°F (54-57°C). Medium doneness is achieved at 140-145°F (60-63°C).
Allow for carryover cooking. The temperature will continue to rise 5-10°F after removing the tri-tip from the oven. Remove the roast when it's 5°F below the target temperature.
Instant-read thermometers provide quick, accurate readings. They're ideal for checking doneness without prolonged heat loss from opening the oven door.
Visual and Tactile Cues for Doneness
While less precise than temperature readings, visual and tactile cues can supplement thermometer use. As tri-tip cooks, its color changes from red to pink to brown. Medium-rare meat appears bright pink in the center with a brown exterior.
Texture changes with doneness. Rare meat feels very soft when pressed. Medium-rare offers slight resistance, while well-done meat feels firm. The "finger test" compares the meat's firmness to different parts of your palm.
A small incision can reveal the interior color. However, this method allows juices to escape, potentially drying out the meat.
Resting and Slicing
Proper resting and slicing techniques are crucial for achieving a tender, juicy tri-tip roast. These steps ensure the meat retains its flavor and texture after cooking.
The Importance of Resting Meat
After removing the tri-tip from the oven, let it rest for 10-15 minutes on a cutting board. This resting period allows the juices to redistribute throughout the meat.
Tent the roast loosely with aluminum foil to keep it warm without trapping excess moisture. Resting prevents the juices from flowing out when sliced, resulting in a more tender and flavorful tri-tip.
The internal temperature will continue to rise slightly during this time, contributing to the final doneness of the meat. This process, known as carryover cooking, helps achieve the desired level of tenderness.
Carving Techniques for Tri-Tip
To slice tri-tip properly, first identify the direction of the muscle fibers. Cut against the grain to ensure maximum tenderness.
Start at the narrower end of the roast and slice perpendicular to the grain. Use a sharp knife to make clean cuts about 1/4 to 1/2 inch thick.
As you reach the center of the tri-tip, the grain may change direction. Adjust your slicing angle accordingly to maintain cuts against the grain.
For sandwiches or tacos, consider slicing the meat more thinly. Thicker slices work well for standalone servings.
Serving and Accompaniments
Tri-tip pairs well with a variety of side dishes and sauces. Leftovers can be repurposed into tasty new meals.
Pairing with Side Dishes
Roasted vegetables complement tri-tip nicely. Try rosemary-seasoned potatoes or grilled asparagus. A fresh green salad adds brightness to the rich meat.
Garlic bread is a classic accompaniment. Its crispy texture contrasts the tender sirloin.
Pinquito beans are traditional in Santa Maria-style barbecue. Their earthy flavor balances the beef's richness.
For a lighter option, serve steamed broccoli or sautéed green beans. These vegetables provide nutrients without overshadowing the tri-tip.
Creating Sauces and Butters
A flavorful sauce enhances tri-tip's taste. Chimichurri, made with parsley and garlic, adds zest. Red wine reduction sauce complements the meat's richness.
Compound butters elevate the dish. Mix softened butter with herbs like rosemary or thyme. Add minced garlic for extra flavor.
Horseradish cream sauce offers a tangy kick. Blend prepared horseradish with sour cream and lemon juice.
For a smoky option, try barbecue sauce. Choose a variety that doesn't overpower the meat's natural flavor.
Serving Ideas for Leftovers
Leftover tri-tip makes excellent sandwiches. Slice the meat thinly and layer on crusty bread with horseradish mayo.
Use tri-tip in fajitas. Reheat sliced meat with bell peppers and onions. Serve with warm tortillas and guacamole.
Create a hearty salad. Top mixed greens with tri-tip slices, blue cheese, and balsamic vinaigrette.
Transform leftovers into tacos. Warm the meat and serve in corn tortillas with fresh salsa and avocado.
Stir chopped tri-tip into scrambled eggs for a protein-packed breakfast. Add cheese and serve with toast.
Cleaning and Storage
Proper cleaning and storage are crucial for maintaining food safety and preserving the quality of cooked tri-tip. Follow these guidelines to ensure your leftover roast stays fresh and delicious.
Post-Cooking Cleanup
Remove the tri-tip from the roasting pan and set it aside. Discard any used aluminum foil. Scrape off excess grease and food particles from the pan using a spatula. Soak the pan in hot, soapy water for easier cleaning.
Wash the roasting pan, utensils, and cutting board with hot, soapy water. Rinse thoroughly and dry with a clean cloth. Sanitize surfaces that came into contact with raw meat using a diluted bleach solution or commercial kitchen sanitizer.
Clean the oven if there are any spills or splatters. Wipe down the exterior of the oven and surrounding countertops with a damp cloth. Wash your hands thoroughly with soap and water after handling raw meat and cleaning up.
Storing Cooked Tri-Tip
Allow the cooked tri-tip to cool to room temperature, but don't leave it out for more than 2 hours. Slice the meat against the grain or store it whole, depending on your preference.
Wrap the tri-tip tightly in plastic wrap or aluminum foil. Place the wrapped meat in an airtight container or resealable plastic bag. Label the container with the date of cooking.
Store the tri-tip in the refrigerator for up to 3-4 days. For longer storage, freeze the meat for up to 2-3 months. When freezing, remove as much air as possible from the packaging to prevent freezer burn.
To reheat, thaw frozen tri-tip in the refrigerator overnight. Warm slices in a pan with a bit of broth or in the microwave for quick serving. Whole pieces can be reheated in a 300°F oven until warmed through.
Alternative Cooking Techniques
While oven roasting is popular, tri-tip can be prepared using other methods for delicious results. These techniques offer unique flavors and textures to suit different preferences.
Grilling Tri-Tip
Grilling imparts a smoky flavor and creates a delicious crust on the tri-tip. Preheat a gas grill to medium-high heat. Season the meat with salt, pepper, and smoked paprika. Sear each side for 5-7 minutes to develop a nice crust.
Reduce heat to medium and continue cooking until the internal temperature reaches 130°F for medium-rare, about 20-25 minutes. Let the meat rest for 10 minutes before slicing against the grain.
For an authentic Santa Maria-style tri-tip, use red oak wood chips in a smoker box or wrapped in foil with holes poked in it. This adds a distinct smoky flavor characteristic of California barbecue.
Slow Cooking in the Oven
Slow cooking tri-tip in the oven results in extremely tender meat. Preheat the oven to 250°F. Season the tri-tip generously with salt, pepper, and your choice of herbs.
Place the tri-tip in a roasting pan and cook for about 2 hours, or until the internal temperature reaches 135°F for medium-rare. This low and slow method breaks down connective tissues, producing a melt-in-your-mouth texture.
For added flavor, brown the tri-tip in a skillet before slow cooking. This creates a flavorful crust while keeping the inside tender and juicy. Let the meat rest for 15 minutes before slicing to allow juices to redistribute.
Nutritional and Dietary Considerations
Tri-tip is a lean cut of beef that offers several nutritional benefits. It is rich in protein, providing approximately 26 grams per 3-ounce serving.
This cut contains essential nutrients like iron, zinc, and B vitamins, particularly vitamin B12, which supports red blood cell formation and neurological function.
Tri-tip is relatively low in fat compared to other beef cuts, with about 8 grams of total fat per 3-ounce serving. Roughly half of this fat is monounsaturated, which is considered heart-healthy.
For those watching their calorie intake, a 3-ounce portion of tri-tip contains around 180 calories.
Tri-tip can be part of a balanced diet when consumed in moderation. It fits well into low-carbohydrate and high-protein eating plans.
Individuals with specific dietary restrictions should be mindful of sodium content, especially if the tri-tip is seasoned with salt-based rubs.
To enhance the nutritional profile of a tri-tip meal, consider serving it with a variety of colorful vegetables and whole grains.
For those concerned about saturated fat intake, trimming visible fat before cooking can help reduce the overall fat content of the dish.
Pairing with Wines and Beverages
Selecting the right beverages can elevate your tri-tip dining experience. Both alcoholic and non-alcoholic options can complement the rich flavors of this cut.
Selecting the Right Wine
Red wines pair exceptionally well with tri-tip. Syrah, with its bold flavors and peppery notes, makes an excellent choice. Merlot offers a softer alternative, balancing the meat's richness with its fruity undertones.
Cabernet Sauvignon's tannic structure complements tri-tip's lean profile. For a lighter option, Pinot Noir's subtle earthiness enhances the beef without overpowering it.
Adventurous diners might try sparkling wines. The effervescence and acidity of Champagne or Prosecco can create an intriguing contrast with the savory meat.
Non-Alcoholic Pairings
For those preferring non-alcoholic options, several beverages can enhance tri-tip. Sparkling water with a slice of lemon refreshes the palate between bites.
Unsweetened iced tea, particularly black or oolong varieties, offers tannins that mirror red wine's effect. Craft sodas, like artisanal root beer or cola, provide complexity without alcohol.
Mocktails using herbs like rosemary or thyme can echo flavors often used in tri-tip rubs. A virgin sangria made with red grape juice and fresh fruits can mimic wine's fruity notes.


