
Easter Parade Floats
Design Tips for an Unforgettable Showcase

Easter is a time of celebration, and an Easter Parade Float presents an excellent opportunity to display creativity and community spirit. To construct a float that captures the attention of parade-goers, it's essential to focus on unique designs that embody the festive spirit of the occasion. A standout float requires more than just bright colors and decorative eggs; it is the blending of imaginative concepts with meticulous execution that truly separates an extraordinary float from the commonplace.
Building a memorable parade float that resonates with the Easter theme demands a careful balance of elements. From selecting the right materials that can withstand the parade's duration to incorporating Easter-related symbols in innovative ways, every detail contributes to the float's overall impact. It is the attention to these details, coupled with a cohesive aesthetic, that will make a float not just noticeable but unforgettable amidst the festive fanfare.
In choosing elements that will distinguish the float, it is wise to consider the incorporation of interactive or dynamic components. Movement, sound, and even the distribution of treats or mementos can engage the audience more deeply, leaving a lasting impression. Whether representing a community organization, a business, or a group of friends, the float should reflect a clear message, tied together by the universal themes of renewal and joy that Easter embodies.
Choosing Your Theme
The selection of a parade float theme is a pivotal step in creating an impactful Easter parade float. It determines the float’s visual appeal, relevance, and connection with the audience. A theme should be distinctive and align with the spirit of the holiday or the values of the community it represents.
Community and Holiday Themes
Community and holiday themes are a quintessential choice for Easter parade floats. They should embody the essence of Easter and reflect the local customs or traditions. For instance:
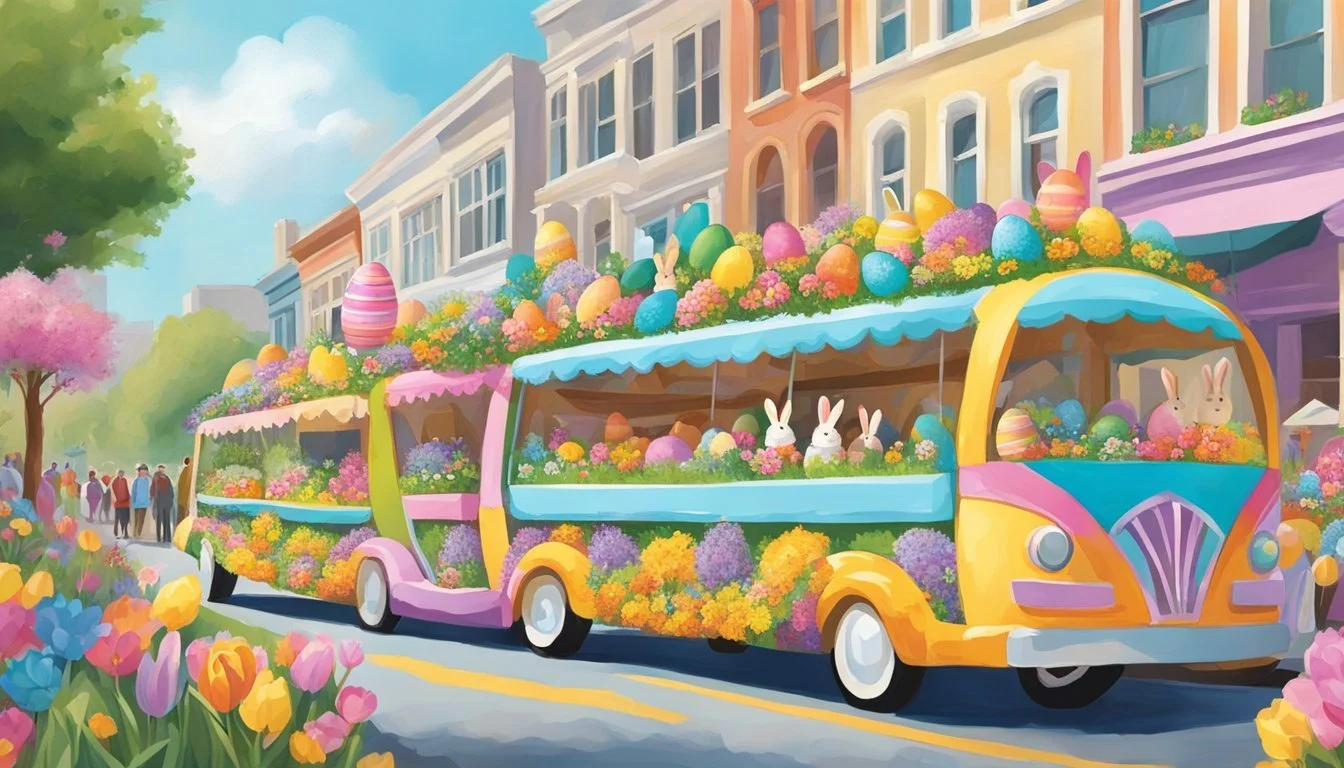
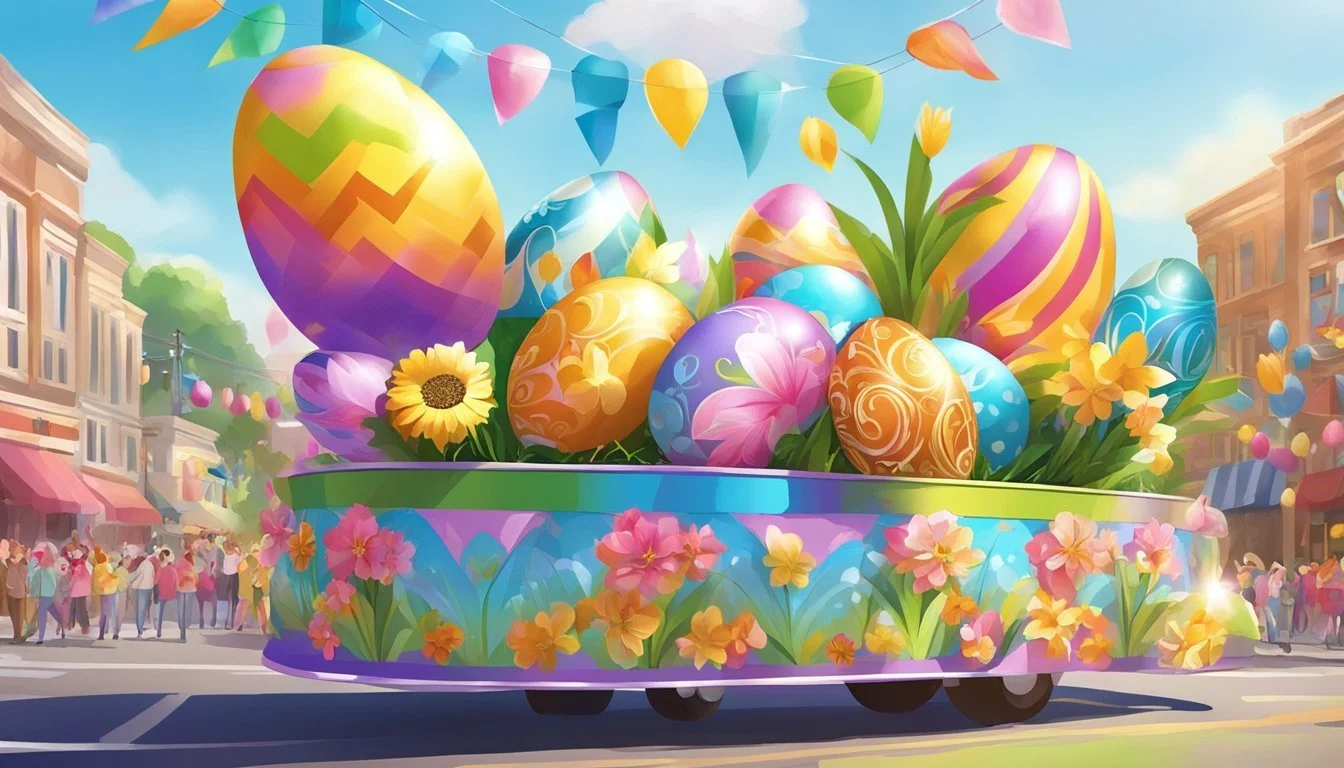
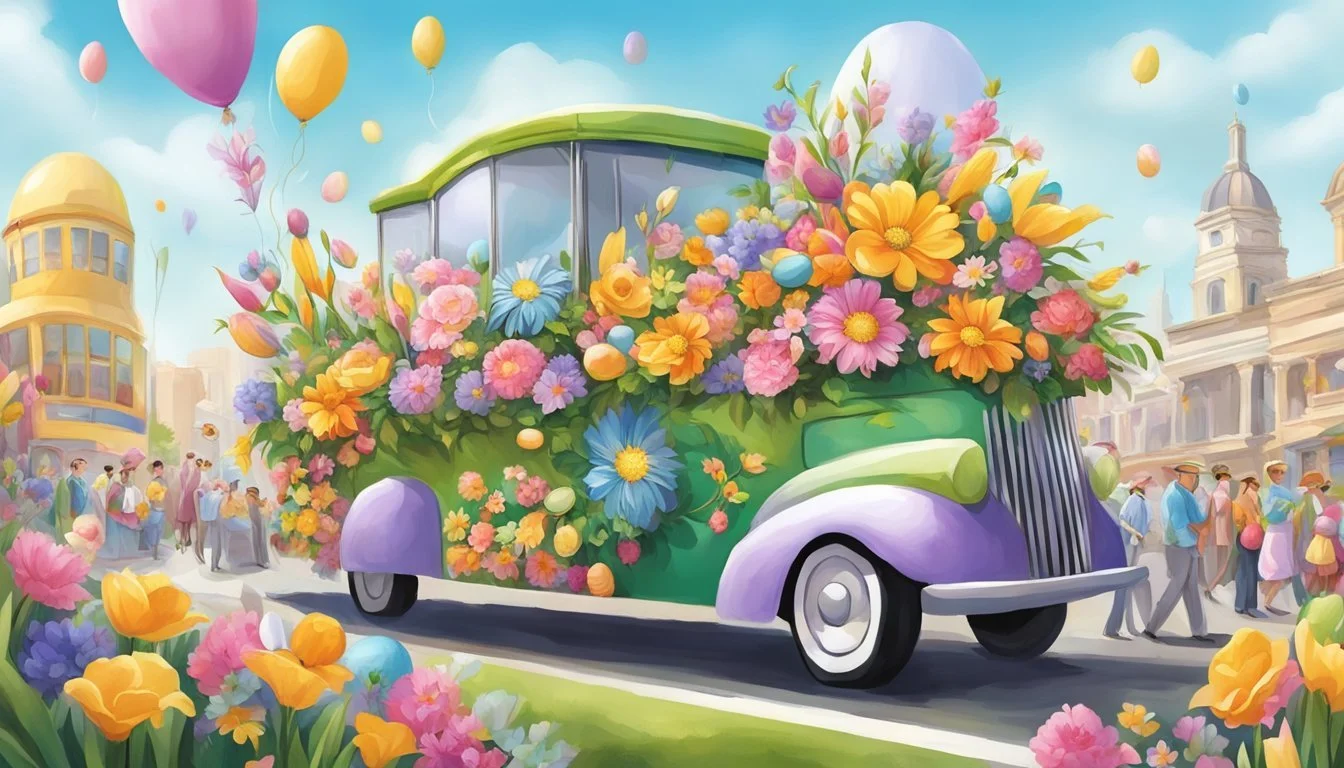
Holiday-centric: A float could revolve around symbols of Easter such as eggs, bunnies, and spring flowers to resonate with the seasonal festivities.
Community Pride: Themes that celebrate a neighborhood's heritage or milestones foster local pride and participation.
Concepts Centered Around Kids
Thematic concepts for kids not only add a layer of charm but also actively engage the younger audience. They often include:
Interactive elements: Features like a water-spraying whale or characters from popular children's stories.
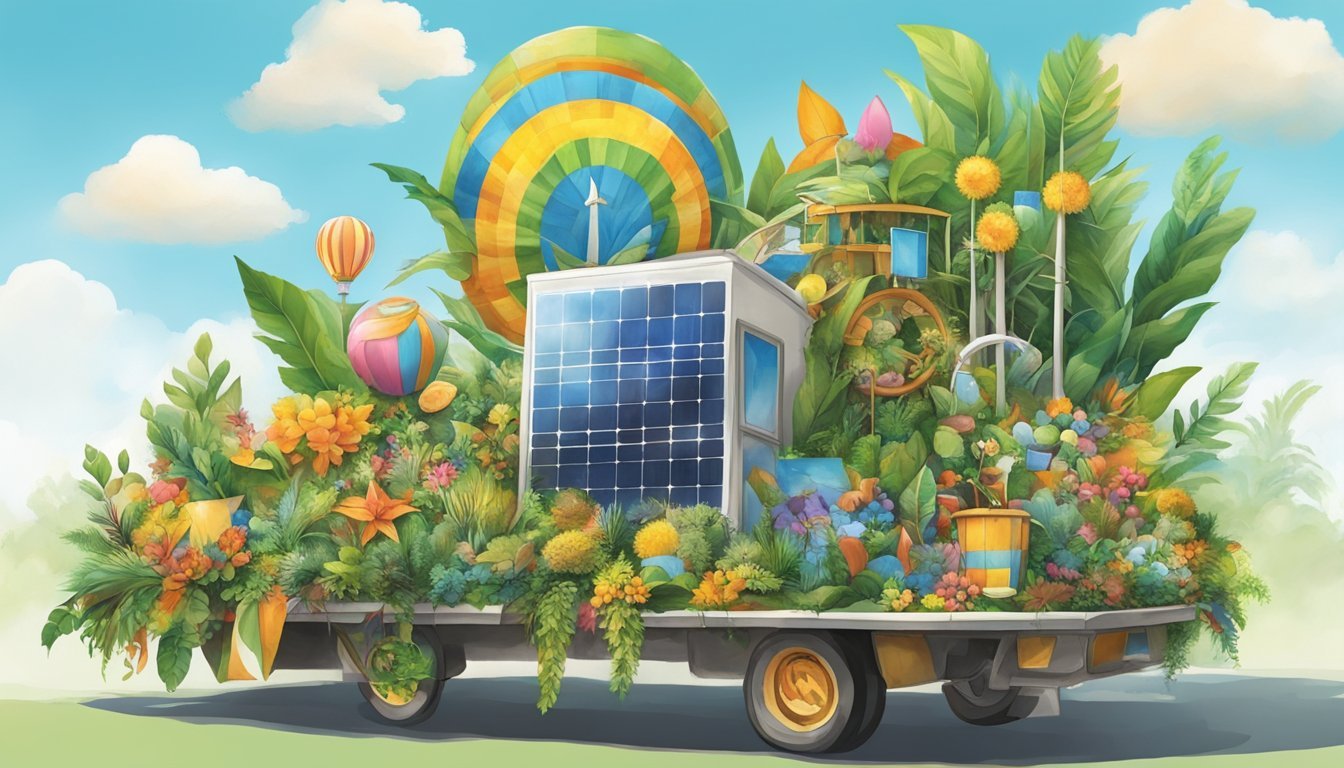
Educational angles: Float designs that incorporate elements from children's literature or environmental awareness.
Cultural and Historical Significance
The cultural and historical facets provide depth and narrate a story through the float. This is especially powerful for:
Cultural Representation: Showcasing the diversity within a community through traditional attire or folk tales.
Historical Events: Marking significant dates such as Independence Day with patriotic displays to echo national pride and involve various community groups.
Design Basics

Creating an Easter parade float that stands out requires attention to detail in the design phase. One must carefully consider color schemes, create detailed design sketches, and potentially incorporate dynamic elements such as lights and movement to captivate the audience.
Color Scheme Selection
Choosing the right color scheme is vital for a parade float's visual impact. A float for Easter typically benefits from a colorful and vibrant palette that resonates with the season's celebratory nature. The colors should be thematic, often including pastels or bright hues that evoke springtime freshness.
Pastels: Soft pink, baby blue, mint green, and lavender
Bright Hues: Fuchsia, turquoise, lemon yellow, and coral
When selecting a color scheme, one must consider visibility from a distance and how colors interact with each other to create a cohesive look.
Sketching Your Design
Once a color scheme is in place, sketching the design is the next critical step. Detailed sketches allow for visualizing the float from various angles and assist in planning the layout and allocation of materials. When sketching:
Clearly mark where each color or material will go
Note dimensions to ensure the float components are proportionate and will fit the base
The design should include all elements, from structural features to the specific decorations that will cover the float. The use of grid paper or design software can be helpful for accuracy.
Incorporating Lights and Movement
To make a parade float truly stand out, integrating lights and movement adds a dynamic layer to its presentation. Strategically placed lights can highlight key features of the float and ensure it's eye-catching, even in varied lighting conditions, while elements that move grab attention and add a layer of excitement.
Lights: LED strips, spotlights, twinkle lights
Movement: Rotating parts, waving characters, or elements that mimic natural motion
Each of these components requires careful planning for safety and reliability, especially when considering electrical and mechanical setup. In all cases, ensuring that these elements complement the overall design, rather than overshadow it, is key to a balanced and impressive float.
Materials and Construction

Constructing an Easter parade float involves selecting the right materials for durability and utilizing effective assembly techniques to ensure stability and aesthetics.
Choosing Durable Materials
For the main structure, builders often use a robust frame upon which chicken wire can be affixed to mold the desired shapes. The wire's flexibility allows for easy attachment of decorations, while the small grid size, typically around 1-inch, helps maintain the integrity of the design elements. Floral sheeting, a decorative plastic covering, commonly adorns the sides of the float, adding color and texture. It's crucial to visit a hardware store to source these items, along with other basic materials such as tape, glue, and scissors. These supplies are fundamental in attaching and securing the decorative components.
Essential Construction Materials:
Frame (wood or metal)
Chicken wire (1-inch mesh recommended)
Floral sheeting
Tape and glue
Scissors
Assembly Techniques
The assembly process begins with securely wrapping chicken wire around the frame, which forms the base of the structure. Builders use specialized tape and glue to attach the chicken wire and decorations, ensuring they stay in place during the parade. It's essential to overlay the chicken wire with decorations and focal elements evenly to maintain balance and prevent any parts from detaching. The method of layering and securing each element demands precision and attention to detail, as the float will be in motion and exposed to various external elements during the parade.
Recommended Assembly Techniques:
Secure chicken wire to the frame with binding wire or zip ties.
Evenly distribute weight when adding decorations.
Use weather-resistant tape and adhesive for outdoor conditions.
Creating Standout Decorations
To ensure your Easter parade float captures attention, focus on designing unique decorations that resonate with the festive theme. Utilizing a mix of crafted props, effective use of fringe and floral sheeting, and imaginative DIY ideas can elevate your float from ordinary to extraordinary.
Crafting Unique Props
When one aims to create unique props, they should start by sketching a concept that aligns with the parade's theme. For instance, constructing an oversized 3D Easter bunny can serve as a focal point. Using materials like chicken wire for the frame and covering it with tissue paper or other vibrant materials can bring the creation to life. Additionally, incorporating elements such as thrones or arches adds a regal touch. Ensure the props are weather-resistant and firmly secured to the float.
Using Fringe and Floral Sheeting Effectively
Fringe and floral sheeting are materials that can add both texture and color to a parade float. For a polished look:
Fringe: Use fringe around the base of your float for a classic parade aesthetic. Select colors that complement your overall design.
Floral Sheeting: Apply floral sheeting to create a seamless, blooming surface, perfect for capturing the essence of spring.
These materials are lightweight and easy to attach, making them a practical choice for float decoration.
DIY Decoration Ideas
Incorporating DIY decoration ideas brings a personal touch to your float. Here are some suggestions:
Balloons: Arrange balloons in creative patterns or use them to build figures related to Easter.
Tissue Paper: Stuff colored tissue paper into chicken wire to fashion custom shapes and designs.
Markers and Glitter: Utilize markers to add details and glitter to give a sparkling effect, enhancing the visual appeal.
Always remember to test your decorations for durability to ensure they withstand the length of the parade without losing their allure.
Finishing Touches for Visual Impact
When constructing an Easter Parade float, the final flourishes are crucial for creating a memorable spectacle. Strategic use of lighting and signage can elevate a float from ordinary to extraordinary as it travels the parade route.
Accentuating with Lighting
Lighting plays a pivotal role in highlighting the float’s features and attracting attention. Tape lights are an excellent choice for their flexibility and ease of installation. They can outline shapes, illuminate paths, and bring a magical twinkle to any design element. When selecting lights, one must ensure that they're:
Bright enough to be seen in daylight
Durable to withstand the parade’s duration
For nighttime parades, lighting becomes even more critical. It casts shadows, adds depth, and can turn a static display into a dynamic visual feast. The use of various lighting sizes and colors can create a robust three-dimensional effect that brings the float to life.
Attaching Banners and Signs
Banners and signs serve as the communicators of the float's message or theme. They should be:
Visibly clear with bold, readable fonts
Securely fastened to withstand movement and weather
When attaching banners and signs, one can utilize durable materials like plywood as a backing for stability. It's important to place signs at different heights and angles to ensure that they are readable from various perspectives by onlookers along the parade route. Proper positioning and fastening can be achieved with strong adhesives and ties, making sure that decor elements remain intact.
Safety and Compliance

When constructing a parade float for an Easter celebration, safety and adherence to parade regulations are paramount. It's essential that all decorations are secured to withstand the motion of transit, and that the vehicle complies with all parade rules and local laws.
Securing Decorations for Transit
To ensure safety during the parade, decorations on the float must be firmly attached to the float bed. High-strength adhesives, sturdy fasteners (such as zip ties), and reinforced structures can prevent elements from becoming hazards on the parade route. For example:
Adhesives: Use weather-resistant tapes or glues fit for outdoor use.
Fasteners: Heavy-duty zip ties, screws, or bolts should be used to fix decorations to the base.
Reinforcements: Wooden or metal frameworks can secure larger elements.
It is recommended to test the stability of decorations by driving the vehicle carrying the float at a speed similar to parade conditions prior to the event.
Parade Rules and Regulations
Each parade committee typically has a set of regulations that all participants must adhere to. These can include:
Size Restrictions: Maximum width, length, and height allowed.
Safety Zones: Designated areas along the route where riders can disembark safely.
Driver Requirements: Rules about the driver's field of vision and vehicle speed.
For compliance, consult the official parade guidelines before building a parade float to avoid violations. Ensure the driver's visibility is unobstructed by the float's design and that the vehicle is equipped to pull the additional weight of the float safely. It's important to note that these regulations are in place to protect both participants and spectators along the parade route.
On Parade Day

On parade day, ensuring the float's readiness is paramount as it sets the tone for a successful display. This involves a thorough final inspection and awareness of the nuances of navigating the parade route.
Final Inspection and Touch-Ups
On the morning of the event, the team should conduct a detailed inspection of the float to check for any safety concerns or decorative elements that may need last-minute adjustments. It's crucial to:
Verify the stability of all structures and props.
Inspect the mechanical components (wheels, tow bar, brakes) for functionality.
Ensure all decorations are securely attached and can withstand the parade's duration.
Double-check the visibility for the driver or anyone operating the float.
Any issues discovered during the inspection should be promptly addressed to prevent mishaps during the parade.
Navigating the Parade Route
The team handling the float must be familiar with the parade route to anticipate potential challenges. Key considerations include:
Route Map: Review the parade route map for any sharp turns, inclines, or narrow passages.
Speed: Maintain a steady pace that aligns with parade guidelines and allows spectators to appreciate the float.
Spacing: Keep a safe distance from other floats to prevent collisions and ensure the safety of both participants and observers.
Professional Behavior: Encourage all team members to act professionally by staying in character and engaging with the crowd positively.
Understanding the parade dynamics and practicing proper etiquette on the route is essential for a memorable and trouble-free parade experience.
Eco-Friendly Practices
Creating an Easter parade float can be an environmentally friendly endeavor by selecting sustainable materials and planning for cleanup to minimize environmental impact.
Using Sustainable Materials
One critical aspect of eco-friendly float construction is choosing sustainable materials. Instead of relying on plastic decorations or non-recyclable items, one should opt for materials that either come from renewable resources or can be reused after the event. For instance:
Biodegradable paints: These are made from natural materials and reduce the toxic footprint.
Second-hand fabrics: Utilize fabrics from thrift stores or repurpose old clothing for costumes and decorations.
Recycled paper: Create signs and flowers from recycled paper or biodegradable options instead of plastic.
Construction materials should also be eco-friendly. Consider using a plywood base from sustainably sourced wood and decorate with natural elements like flowers or leaves that can be composted after the parade.
Cleanup Strategies
An eco-friendly float requires a cleanup strategy that is as sustainable as the materials used. The focus is on leaving no trace, ensuring all materials are disposed of properly:
Recycle: Separate recyclables from waste. Have bins clearly marked for paper, plastic, and other materials.
Compost: Organic materials like real grass or flowers should be composted to avoid adding to landfill waste.
Cleanup should be organized and efficient to prevent leaving a messy environment behind. Volunteers can be assigned specific roles to streamline the process, ensuring a swift and thorough cleanup, maintaining the integrity of the event's eco-friendly commitment.
Case Studies and Inspiration
When looking at the most successful parade floats, it becomes clear that innovation and community engagement are common threads. Here are examples and inspiration from both high-impact designs and local community favorites.
Successful Parade Floats
Case Study: The Mechanical Marvel
A standout float featured a functional mechanical element—a whale that could shoot water from its spout. Not only did this create a dynamic and interactive experience, but it also offered a respite from the heat to parade onlookers.
Case Study: Visual Spectacles
Pictures from past events often highlight floats with intricate designs, such as a 12-foot wide and 20-foot tall plywood Easter Bunny. Such visuals serve as inspiration for future designs, showcasing the impact of scalability and attention to detail.
Community Favorites
Local Traditions
A neighborhood tradition of displaying plywood Easter Bunnies turned into a communal effort to create oversized versions for their parade float. This not only engaged the local community but also established a unique and cherished custom.
Online Resources
For those seeking additional inspiration, websites like andersons.com offer extensive galleries of pictures from past parades, which can ignite creativity and provide a wealth of ideas for themes, decorations, and construction techniques.
