
Crafting with CSA
Creating Vibrant Natural Dyes from Fresh Produce

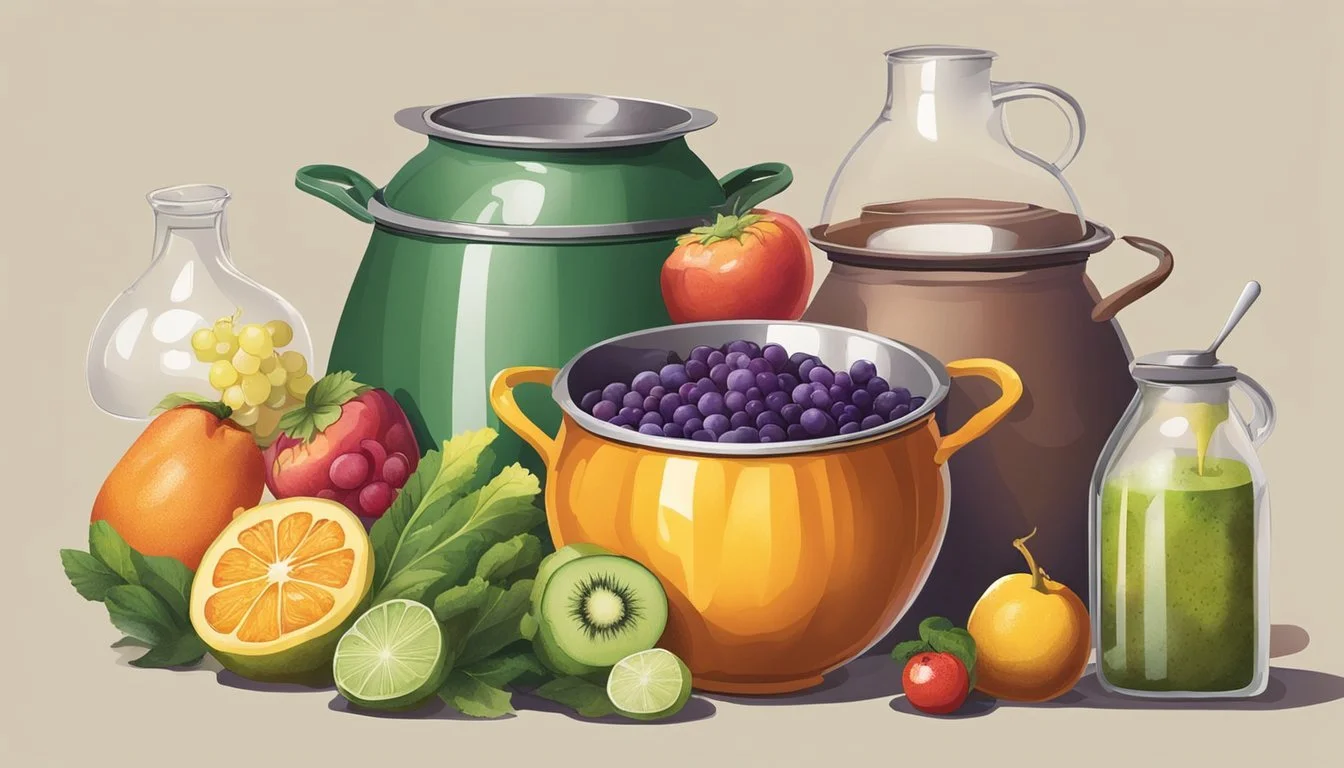
The resurgence of interest in sustainable practices has brought traditional methods of crafting back into modern relevance, particularly in the realm of natural dyes. Community Supported Agriculture (CSA) programs not only provide households with fresh, locally-grown produce but also present an opportunity to engage in eco-friendly crafting. By harnessing the pigmentation found in fruits, vegetables, and spices, individuals can create a spectrum of vibrant, natural dyes for textiles and other materials.
Crafting with organic materials sourced from CSAs contributes to an environmentally conscious lifestyle, reducing reliance on synthetic dyes that often contain harmful chemicals. The use of natural dyes offers an artisanal approach to coloring fabrics, where the individual can control the ingredients and tailor the process to achieve unique hues. Additionally, this practice supports local agriculture and promotes a deeper connection between consumers and the natural world.
The process of making natural dyes involves extracting color from plant-based materials and applying it to fibers in a way that is gentle to both the fabric and the environment. It can be as simple as boiling food scraps to release their innate colors or as intricate as fermenting certain plant parts to develop more complex shades. These methods not only add creative value to crafting projects but also align with a growing movement towards more sustainable and mindful living.
Understanding Natural Dyeing
This section explores the fundamental principles of natural dyeing, its historical context, and its benefits for sustainability. Readers will learn about the procedures and natural elements used to impart color to fibers.
The Basics of Natural Dyes
Natural dyes are colorants extracted from organic materials like plants, insects, and minerals. The dyeing process typically involves three main components: the dye source, a mordant which fixes the dye to the fabric, and the substrate, such as cotton, wool, or silk. To extract the dye, one often simmers the natural materials in water. The ratio is crucial for obtaining a vivid color, for instance, a 1:1 cup ratio of water to crushed plants or 1 cup of water to 1 tablespoon of spice.
Historical Significance
Dyeing with natural substances dates back at least 4,000 years and spans across various cultures, including Egyptian, Indian, and Chinese civilizations. Historically, these dyes not only colored fabric but also signified status and played a role in trade and economy. Traditional techniques involved extracting pigments from sources available in the region, demonstrating a storied tradition of bespoke artisanal crafts.
Sustainability and Eco-Friendliness
Natural dyeing is revered for its low environmental impact, as it eschews synthetic chemicals for biodegradable substances. The process aligns with principles of sustainability, often using leftovers from agricultural production. Moreover, when applied to natural fibers, which are biodegradable, the combination enhances the eco-friendly nature of the textile product.
Materials and Equipment
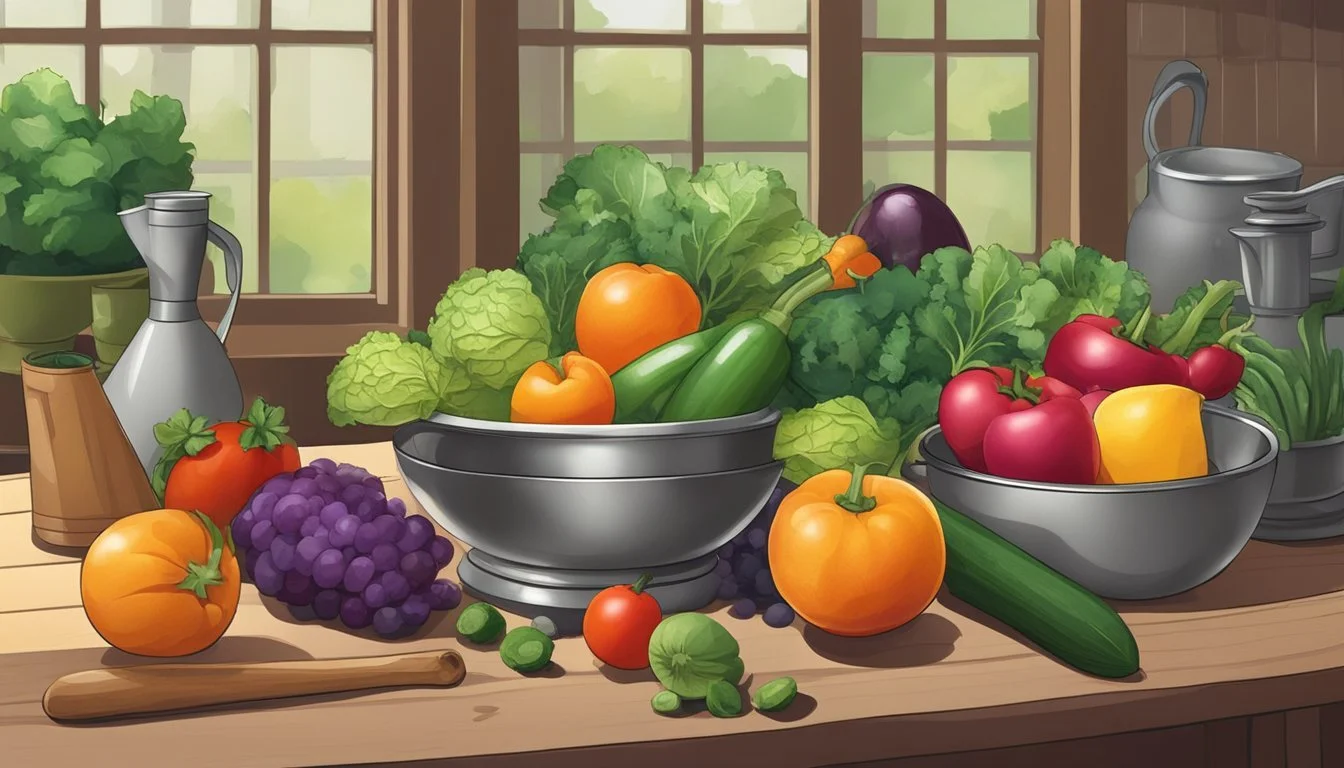
Crafting with CSA embraces the art of using fresh produce to create natural dyes, necessitating specific materials and equipment for optimal results. This section outlines the key components required, including the right choice of fabrics, appropriate plants and vegetables for pigments, and the essential dyeing equipment.
Choosing the Right Fabrics
Natural dyes adhere best to natural fibers. The choice of fabric is crucial for the dye to take hold and produce vivid colors. Here are some excellent fabric options:
Cotton: Highly absorbent and widely available.
Linen: Known for its durability and natural luster.
Silk: Offers a unique sheen and takes dye well.
Wool: Has a natural affinity for dyes due to its protein fibers.
Pre-washing fabrics is recommended to remove any impurities that might affect dye absorption.
Selecting Plants and Vegetables
Natural dyes can be extracted from a variety of plant-based sources. One can choose from:
Flowers: such as marigolds and hibiscus for vibrant yellows and reds.
Leaves: spinach and parsley can yield greens.
Roots: such as turmeric for rich yellows and madder root for reds.
Vegetables: beets and red cabbage offer deep purples and pinks.
The CSA box may dictate the colors that are seasonally available.
Essential Equipment
To create natural dyes, a few key pieces of equipment are necessary. This includes:
Large Pot: A non-reactive vessel, ideally enamel or stainless steel, for simmering the dye.
Strainer: To remove plant materials after extracting the dye.
Gloves: To protect hands from stains and heat.
Mordants: Substances like alum, copper, iron, and tin are used to fix the dye to the fabric. They can alter the hue and improve colorfastness.
A table listing the role of each mordant is below:
Mordant Use Alum Enhances color brightness and bonds well with fibers. Copper Can modify colors towards green/bluish tones. Iron Darkens colors and improves colorfastness. Tin Intensifies colors, often yielding bright and vibrant shades.
In addition to water, which is imperative for the dye bath, ensure enough is on hand to fully immerse the fabrics.
Preparing the Dye Source
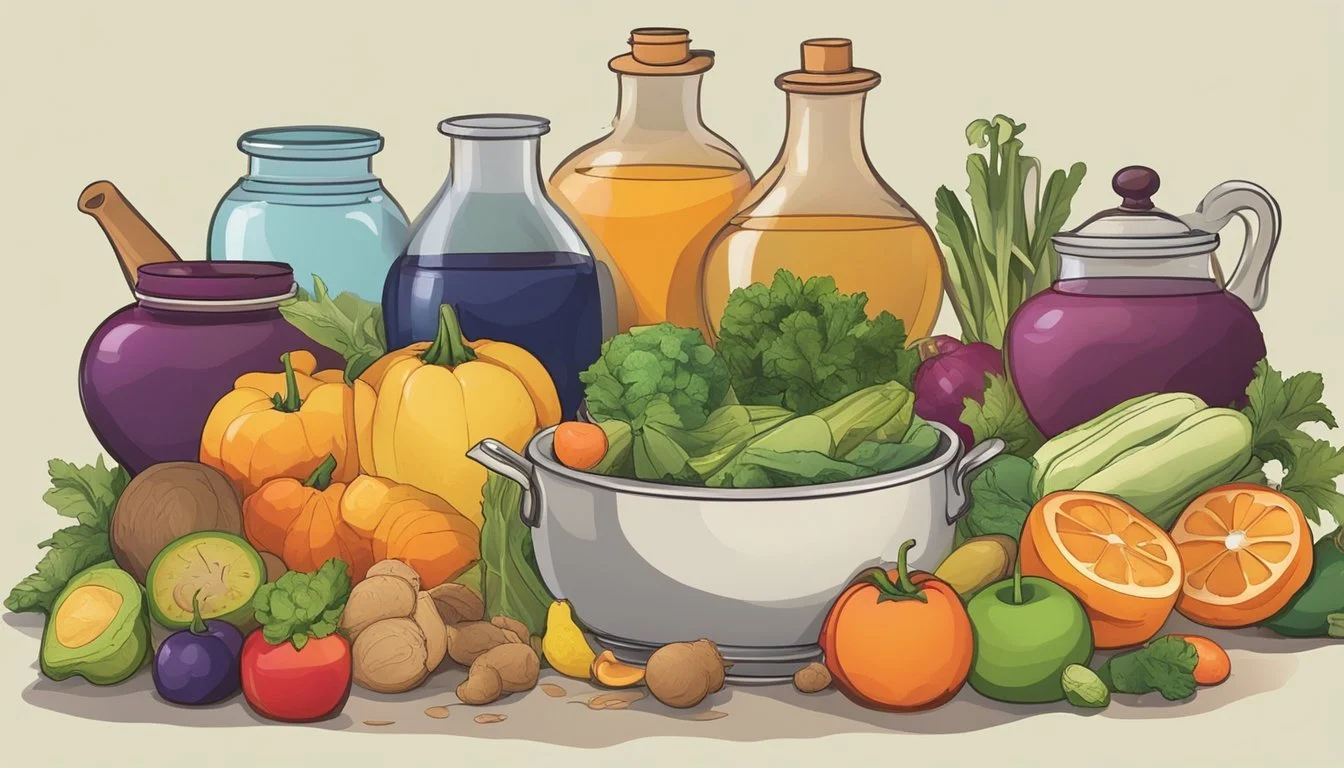
Before one can begin the process of natural dyeing, the dye source must be properly prepared. This involves both the harvesting of suitable natural materials and the extraction of the dye. The key to vibrant and long-lasting dye is selecting high-quality dye material and processing it correctly.
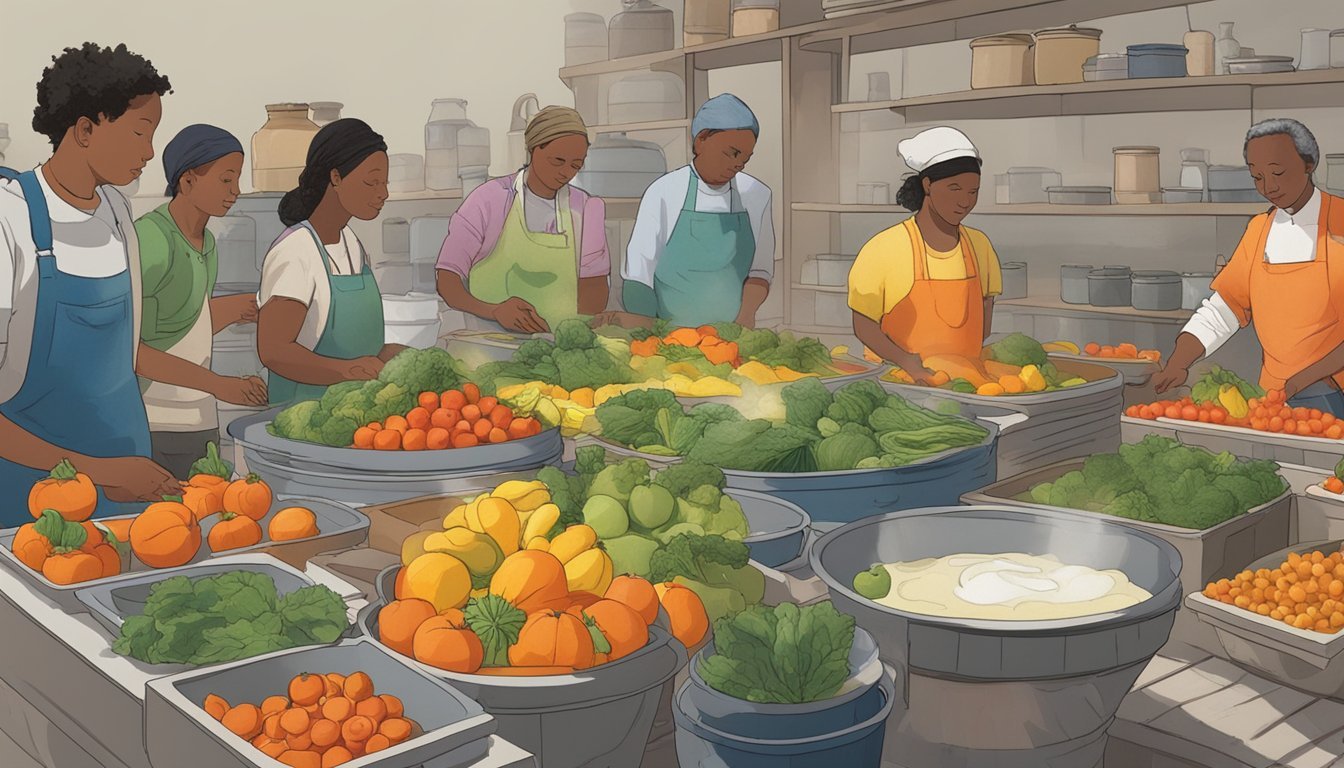
Harvesting and Collection
The selection of dye materials should focus on the freshest and most vibrant sources available. Flowers like marigolds and roses will produce a range of yellows and pinks, whereas beets give a strong red-pink shade. Leaves and roots can offer a variety of greens and yellows. Fruits like berries and black walnuts can produce rich purples and browns. It's essential to harvest the plant material responsibly and ethically, ensuring not to overharvest and to leave enough for natural regrowth. Gathering should be done when the materials are at their peak color potency, which is typically during dry and sunny days.
Flowers: marigolds, roses
Leaves: spinach, kale
Roots: turmeric, madder
Fruits: blueberries, blackberries
Others: onion skins, avocado pits
Natural Dye Extraction
After collecting the natural materials, they need to be processed to extract the dye. The process begins by washing the plant materials to remove any dirt and then chopping or crushing them to increase the surface area, which aids in releasing the dyes.
For example, to extract dye from beets, one needs to chop the beets finely before placing them in water. The mixture is then simmered; different times are required based on the material being used. Berries may release dye quickly, while roots and thick leaves may take longer.
The extraction process typically involves the following steps:
Wash the dye materials thoroughly.
Chop or crush the materials to expose more surface area.
Place the prepared material into a pot with water.
Simmer the pot over low to medium heat for an extended period.
Dye Material Preparation Method Simmering Time Flowers Petals separated and crushed 30-60 minutes Leaves Chopped or torn 1-2 hours Roots Finely diced or grated 1-2 hours Fruits Crushed or blended 1 hour Onion skins Used as-is 30-60 minutes
Once the dye has been extracted, it can be strained to remove the solid plant materials, leaving behind the liquid dye that is ready to be used for coloring textiles or other crafts.
Fabric Preparation and Mordanting
Proper fabric preparation and mordanting are crucial steps in natural dyeing. These processes ensure the fibers fully accept the dye, resulting in vibrant, long-lasting colors. Two key stages are involved: scouring the fabric to clean it thoroughly and applying the mordant to help fix the dye to the fiber.
Scouring the Fabric
Before applying any mordant, the fabric must be scoured. Scouring is the process of cleaning the fabric to remove any impurities or oils that may inhibit dye absorption. Different fibers require different scouring methods:
Cotton and Linen: These cellulose fibers should be boiled in a solution containing soda ash for approximately one hour. Rinse them thoroughly after boiling to ensure all residues are removed.
Wool and Silk: Protein fibers such as wool and silk need a gentle touch. They should be washed in a warm, slightly soapy solution and carefully rinsed to maintain the integrity of the fiber.
Mordant Application
Mordants are substances that chemically bond dyes to fibers, enhancing color retention and fastness. The choice of mordant and its application can vary widely, depending on the fiber and desired outcome:
Alum (Potassium Aluminum Sulfate): Works well with protein fibers like wool and silk, often combined with cream of tartar to aid even distribution. Dissolve the correct ratio of alum to fiber weight in hot water before adding the fiber, then heat the solution for about an hour.
Tannin: This mordant is especially useful for cellulose fibers such as cotton and linen. Tannin can be used as a pretreatment before the application of other mordants to improve dye uptake.
Alum Acetate: This mordant is recommended for cellulose fibers. It is particularly useful for dyeing yarns and fabrics that will be used in printing with natural dyes.
The application involves soaking the fiber in the mordant solution for the prescribed time, often with intermittent stirring to ensure an even distribution of the mordant. Afterward, the fabric should be rinsed to remove any excess mordant before proceeding to the dye bath.
The Dyeing Process
The dyeing process transforms natural produce into vibrant dyes that can imbue fabrics with a spectrum of hues. Each step is crucial to ensure that the colors last longer and remain bright after repeated washings.
Creating the Dye Bath
To create the dye bath, one will need to fill a pot with water at a 2:1 ratio to the plant material. Heat this mixture on the stove until it comes to a simmer. The contents should simmer for at least an hour allowing the colors to leach out of the produce. If using spices, the proportion is 1 cup of water to 1 tablespoon of spice. A good rule of thumb is to use just enough water to cover the materials for more intense colors.
Heat: Maintain an active simmer to effectively extract the dye.
Water: Usually double the amount of the dye material.
Time: Often an hour or more, depending on the desired intensity.
Dyeing Your Fabric
Once the dye has been extracted, strain the plant material out, leaving the colored liquid. The fabric, pre-treated with a fixative, should then be submerged in the dye bath. It's important to ensure that the fabric is completely covered and can move freely for even dyeing.
Soaking: Fully immerse the fabric in the dye bath.
Stirring: Frequent stirring is necessary for a uniform distribution of color.
Setting the Color
Setting the color is the last step to achieving a colorfast dye. This may involve using a fixative like salt or vinegar, depending on the fabric and dye source. After adding the fixative to the dye bath, the fabric should remain in the heated mixture for an additional period, allowing the fixative to help set the dye. Rinse the fabric in cold water until the water runs clear, indicating that excess dye has been removed.
Fixative: Salt or vinegar can act as a fixative to set the color.
Rinse: Cold water rinse removes any unattached dye.
Exploring Color Possibilities

In the realm of natural dyeing, the produce from a CSA (Community Supported Agriculture) box offers a palette of vibrant options. One can harness a spectrum of hues from the natural elements found in fruits, vegetables, and other plant-based materials.
Creating a Rainbow of Colors
A vast array of colors can be obtained from common produce and spices. Below is a list of natural elements and the colors they yield:
Yellow: Turmeric roots give a strong and vibrant yellow.
Brown: Onion skins can produce a range of colors from soft beige to rich brown.
Green: Blending yellow dye from turmeric with blue from indigo can create green shades.
Orange: Yellow onion skins can give a range of colors including a warm orange.
Red: Cochineal, a small insect, produces a deep red, while beets offer a reddish-pink.
Blue/Indigo: Indigofera plant leaves are the traditional source for blues and indigo hues.
Blending Colors and Overdyeing
Creating custom colors involves combining different dyes or using successive dye baths. Here, the art of blending and overdyeing comes into play:
Blending Colors: Combine dyes from different sources, such as yellow onion skin and red cabbage, to form new colors. For instance, yellow and blue can merge into various shades of green.
Overdyeing: This technique involves dyeing the fabric in one color, then dyeing it again in a second color to achieve greater depth. Overdyeing turmeric yellow with a touch of blue from red cabbage can result in green tones.
Advanced Techniques and Tips
When venturing into the sophisticated realm of natural dyeing, the crafter can enrich their palette with specialized techniques such as Shibori and block printing. A mastery of fiber reactivity, mordant usage, and pH adjustments is essential to achieve the desired hue and pattern durability.
Shibori and Tie-Dyeing
For Shibori, a Japanese resist dyeing technique, fabric manipulation and folding create intricate patterns. Here, natural dyes take on a new dimension, and control over fabric fiber is crucial. Natural fibers like silk and cotton are preferred for their absorbency and ability to interact well with mordants—substances that fix dyes to fibers.
Materials: Silk or cotton fabric, natural dye, and chosen mordants (alum, iron, or copper)
Process:
Pre-treat the fabric with a mordant solution to ensure dye adherence.
Fold, twist, or bind the fabric to resist dye in certain areas.
Apply the natural dye, using an acidic medium like vinegar to brighten colors or an alkaline medium such as baking soda to darken them.
Block Printing and Hand Painting
While Shibori is an exercise in the serendipity of patterns, block printing and hand painting are deliberate acts of design. Artists often use mordants in their dyes to ensure the print's longevity on the fabric.
Materials: Carved blocks, paintbrushes, prepared natural dye, mordants, and neutral pH fabric
Process:
Select or carve a block for printing or a brush for hand painting.
Mix the natural dye with a mordant to create a stable ink or paint.
Apply the dye mixture to the fabric with steady pressure or strokes, ensuring even coverage and saturation.
Cure the fabric, allowing the mordant-dye complex adequate time to bind to the fiber.
Understanding the underlying chemistry of the crafting materials—namely the pH and metal ion content of solutions—is fundamental for artists seeking to perfect their natural dyeing art. With these advanced techniques, one can bring vibrant, long-lasting natural colors to any textile project.
Aftercare and Maintenance
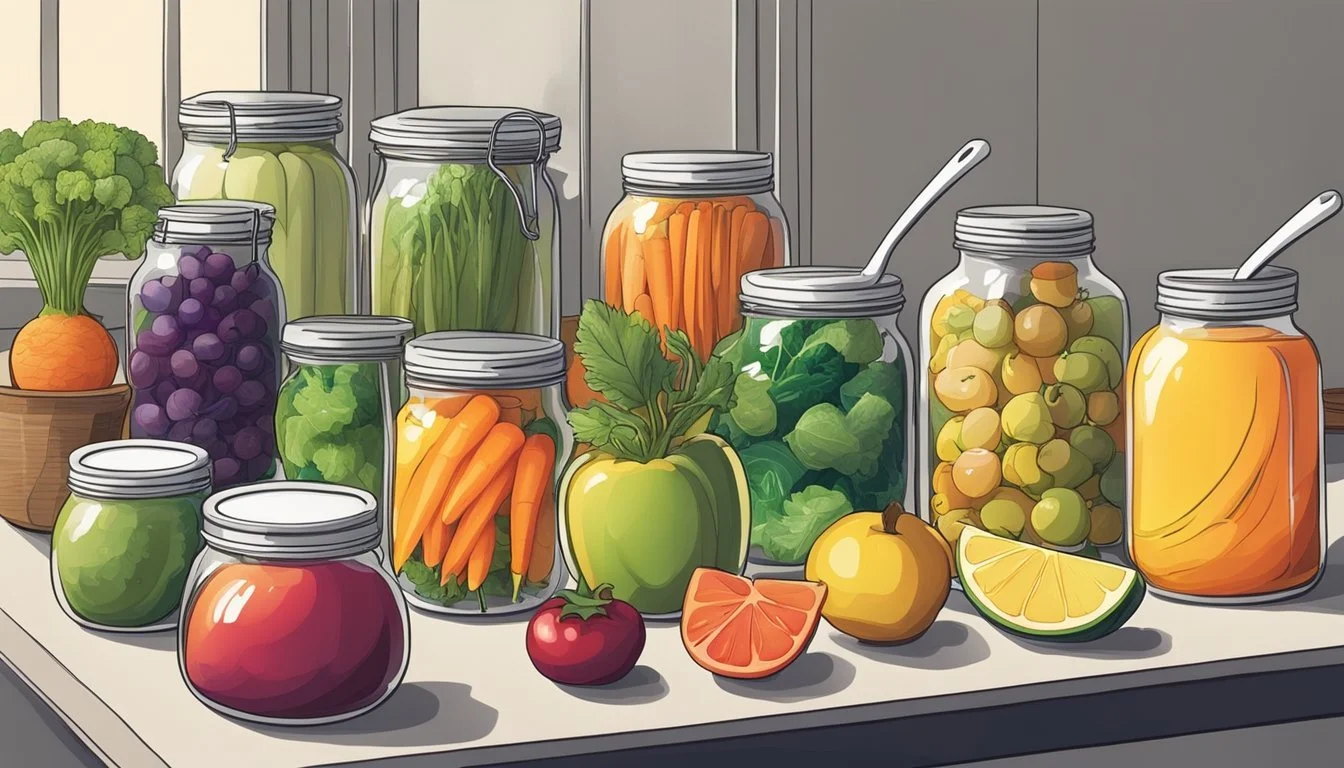
Proper aftercare of naturally dyed fabrics ensures longevity of color and less environmental impact. Thorough rinsing and mindful maintenance practices are vital for sustainability and maintaining the vibrancy of the dye.
Washing and Caring for Dyed Fabrics
Rinsing: After dyeing, textiles should be rinsed in cool water until the runoff is clear. This step removes any unattached dye particles and helps preserve the vibrancy of the fabric dyes.
Washing: Fabrics dyed with natural ingredients should be hand-washed separately with pH-neutral soap. Extensive agitation or harsh detergents can strip the colors, reducing their vibrancy.
Drying: Air drying is recommended for eco-friendly maintenance. Tumble drying should be approached with caution, as it may cause unnecessary fading or distress to textiles.
Ironing: If required, iron dyed fabrics on a low setting to avoid heat damage to the colors.
Environmental Considerations
Wastewater: Handle wastewater from the rinsing process responsibly. Natural dyeing byproducts are safer for the environment, but care should be taken to avoid potential staining of surfaces or groundwater contamination.
Sustainability: Engaging in natural dyeing promotes sustainability. Reusing water from the rinsing process for watering plants or in the garden further enhances eco-friendly practices.
Eco-friendly materials: Opt for textiles made from natural fibers, which are more conducive to natural dyeing and are biodegradable, reducing the carbon footprint of fabric dyes.
Proper care for naturally dyed textiles not only extends the life of the colors but also plays a part in preserving the environment. It emphasizes the importance of incorporating sustainable, eco-friendly methods into fabric dyeing and maintenance.
Showcasing Creations
Crafting with Community-Supported Agriculture (CSA) produce transcends mere color creation; it's about bringing one's artistic and fashion endeavors to life while embracing community connections. The natural dyes made from CSA produce add unique beauty to textiles and fibers, honoring tradition with every hue.
Integrating Natural Dyes in Art and Fashion
Artists and designers utilize natural dyes to impart both aesthetic and environmental harmony to their work. With a palette derived from vegetables, fruits, and plants, textiles are transformed into eco-conscious pieces. In fashion, designers are adopting naturally dyed fabrics to offer garments that not only stand out but also have a low ecological footprint. They frequently employ techniques such as:
Dip-dyeing yarn and fiber for a gradient effect.
Shibori or tie-dye on natural fibers for patterned designs.
Screen-printing with dyes on fabric, creating intricate motifs.
These techniques showcase the richness and variance of colors achievable with natural dyes, with each piece telling its own story of origination and transformation.
Community and Sharing
Sharing finished creations is pivotal in fostering a sense of community. Crafters often organize exhibitions and workshops to display and teach the art of natural dyeing, nurturing an appreciation for sustainable practices. The traditions of crafting and dyeing become a collective experience through:
Local exhibitions where artisans can showcase their naturally dyed textiles and apparel.
Crafting circles that encourage hands-on learning and experimentation with different dye materials and methods.
Online platforms for crafters to share their methods, results, and experiences with a global audience.
Community engagement through these sharing opportunities cultivates a collective knowledge base and reinforces the importance of sustainable art and fashion practices.
