
How to Ferment Capicola
Mastering Italian Cured Meat Preparation

Capicola, also known as coppa, is a traditional Italian cured meat that enjoys a celebrated spot in the pantheon of charcuterie (What wine goes well with charcuterie?). Originating from Italy, this delicacy is crafted from the muscle running from the neck to the fourth or fifth rib of the pork shoulder or neck. Renowned for its delicate balance of meat and fat, capicola undergoes a meticulous process of curing and fermenting, developing a rich and complex flavor profile that is both sought after by connoisseurs and a proud staple of Italian culinary tradition.
The production of capicola involves a careful blend of seasoning, curing, and aging that spans several months. To achieve its distinctive taste and texture, the meat is first rubbed with a special blend of salts and spices, and then left to cure under specific conditions. This is a crucial stage where the meat's flavors are developed, and it lays the groundwork for the fermentation process. The art of fermenting capicola is a skill honed over generations, encapsulating a blend of history and craftsmanship.
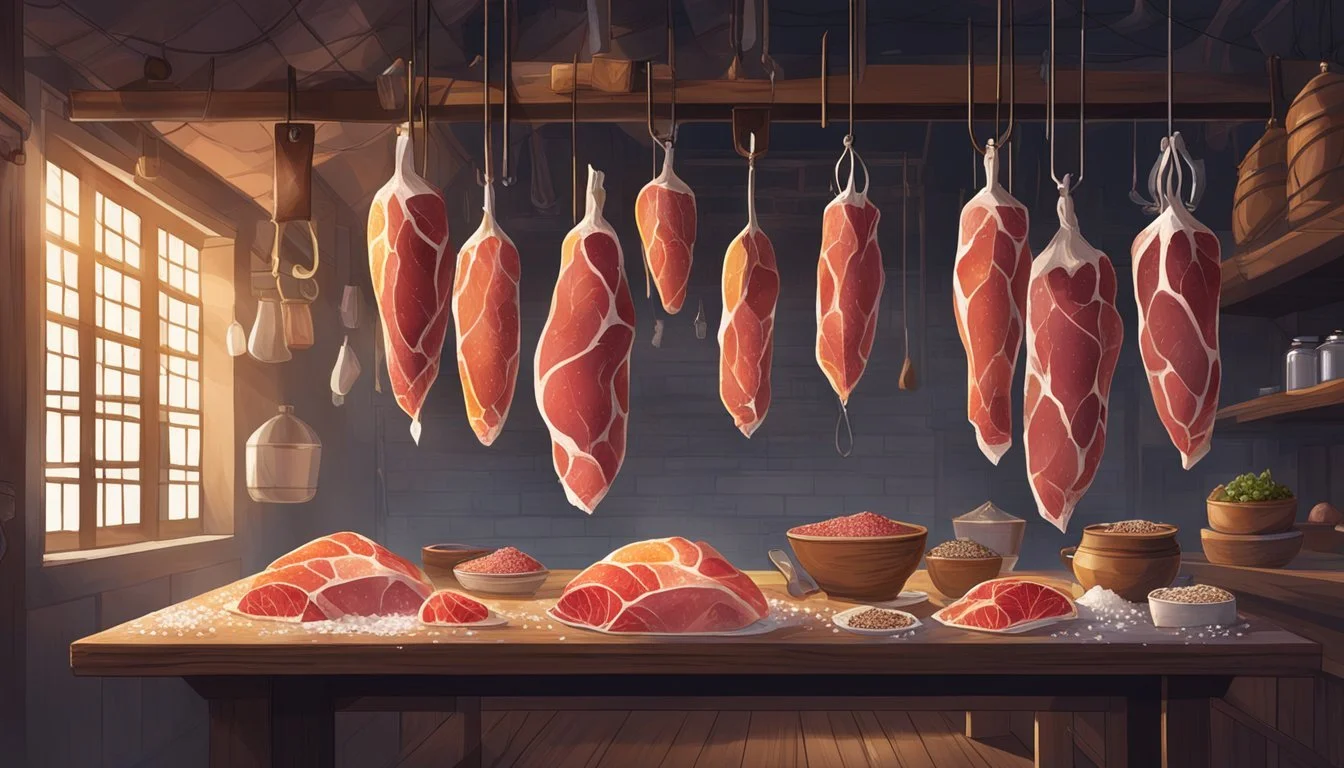
As capicola ferments, the environment in which it is kept remains of paramount importance. The temperature and humidity are closely controlled, typically requiring a space akin to a traditional Italian curing chamber. This precise environment enables the slow and natural fermentation of the meat, allowing beneficial bacteria to impart the characteristic tang and preparing the capicola for its final phase of drying and maturation. Throughout this process, the meat is transformed, culminating in a richly flavored capicola that pays homage to its Italian origins and the timeless art of charcuterie.
Understanding Capicola

Capicola, also known as capocollo or coppa, is a distinguished Italian cured meat made from the pork neck or shoulder, celebrated for its delicate flavor and balance of meat and fat.
Origins and History
Capicola has its roots in Italian charcuterie, a testament to Italy's rich tradition of dry-curing meats, which originated centuries ago. The process was developed as a means to preserve meat before the advent of modern refrigeration. Italian farmers would cure cuts of pork, including the muscle running from the neck to the shoulder, known as capo (head) and collo (neck). The result is a flavorful, dry-cured meat with a tender texture, which is revered in Italian culinary traditions and often features in antipasto platters.
Coppa Versus Other Cured Meats
Coppa is often compared to other Italian cured meats (What wine goes well with cured meats?), such as prosciutto (cured ham) and salami. While similar in curing tradition, coppa is notably different:
Cut of Meat: Coppa comes from the muscle between the pig's neck and shoulder, whereas prosciutto is made from the hind leg, and salami can be made from a variety of cuts.
Texture and Flavor: Coppa boasts a perfect balance of marbled fat and lean meat, contributing to its melt-in-the-mouth texture and robust flavor profile. Prosciutto has a more pronounced ham-like texture and flavor, with salami delivering a more granular texture due to its ground meat composition.
Seasoning: The distinctive seasoning blend used for capicola often includes red or white wine, garlic, coriander, cinnamon, cloves, salt, pepper, sugar, and fennel, while other cured meats leverage different spice combinations.
Capicola's nuanced flavor and distinct preparation process make it a unique and sought-after staple in the realm of Italian cured meats.
Selecting the Meat

When making capicola, the selection of the pork cut is vital as it influences the quality and flavor of the cured meat. One must look for a balance between fat and muscle which is pivotal for texture and taste.
Criteria for the Best Pork Cut
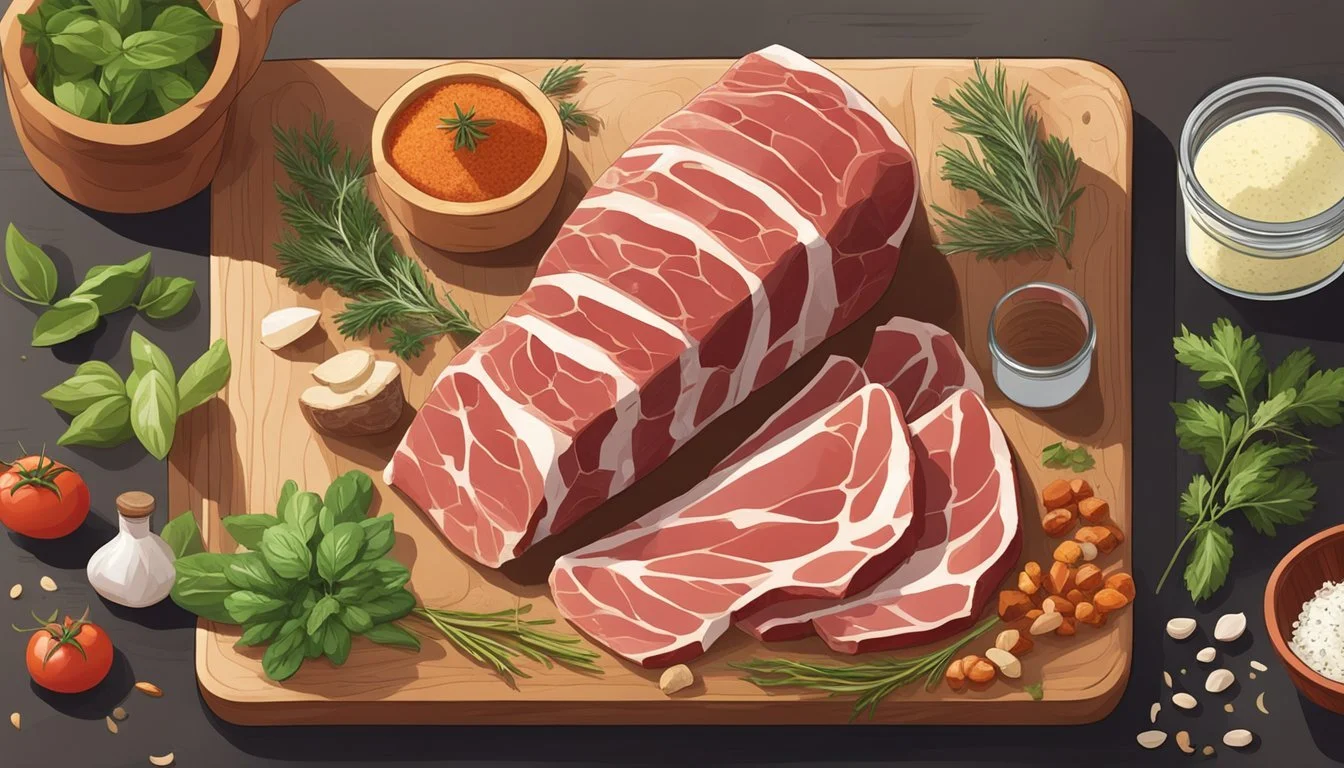
The ideal pork cut for capicola comes from the shoulder, specifically the muscle running from the neck to the fourth or fifth rib. This cut is known either as the pork shoulder or pork butt. The muscle consistency and the inherent quality of the meat are key factors in creating the perfect capicola. To ensure high-quality cured meats, the pork should come from a reputable source where the animals are raised for their meat's superior characteristics.
Fat Content and Texture
A specific fat ratio is essential for the ideal capicola. The cut should exhibit a fat distribution of roughly 30% fat to 70% lean meat. This balance ensures that the capicola remains moist and tender once it is cured and dried. Fat not only contributes to the succulent texture but is also a vehicle for flavor; therefore, even marbling throughout the cut is highly sought after. Avoid lean cuts like the pork loin, as they lack the necessary fat content, resulting in a less flavorful capicola.
Preparation for Curing
Preparing capicola for curing is a meticulous process that sets the stage for flavor development and preservation. It involves creating a curing mix tailored to the meat's requirements and the desired taste profile, followed by the careful application of the cure to the meat.
Mixing the Cure
The curing mix for capicola typically consists of a base of salt and sugar, which act as preservatives. To this base, a combination of spices and herbs is added to impart distinct flavors. Common choices include:
Black Pepper: for heat and complexity
Garlic Powder: for a sharp, aromatic quality
Juniper Berries: crushed for a piney note
Red Pepper Flakes: to introduce a subtle or pronounced spiciness
Coriander Seeds: lightly toasted and ground, adding a lemony-sage flavor
Fennel Seeds: for anise-like taste notes
Less commonly, spices like cinnamon or cloves may be used for a warm, deep aroma.
Quantities vary according to recipe and taste but should be measured precisely to ensure consistency and safety. Additionally, nitrates or nitrites are often included to inhibit harmful bacteria growth and help in preserving the meat's red color. It is vital to use these components according to safe, regulated amounts.
Applying the Cure
After mixing the cure, the meat must be coated thoroughly. This is a critical step to ensure that the right environment is set for good bacteria to do their work during fermentation. The process involves the following steps:
Trimming: The capicola cut should be trimmed of excess fat to ensure even curing.
Coating: Rub the spice and cure mix generously over every surface of the meat.
Layering: For an even distribution, sprinkle the mixture onto the meat and massage it in layers.
Resting: The meat should rest with the cure applied to allow the flavors to penetrate deeply and the curing agents to begin working.
Ensuring that the curing mix is distributed evenly is crucial for the development of flavor and the prevention of spoilage. After applying the cure, the meat typically remains refrigerated for several days to several weeks, depending on the size of the cut and the specific recipe's requirements. This period allows the salt, sugar, and additional curing agents to draw moisture from the meat, concentrating flavors and starting the preservation process essential for successful fermentation.
Curing and Seasoning

In crafting traditional Capicola, meticulous attention to the curing and seasoning processes is paramount. These processes enhance flavor and ensure safe, long-term preservation of the meat.
Dry Curing Fundamentals
The art of dry curing Capicola begins with a precise ratio of salt to meat weight. Salt, including Prague powder or curing salt, plays a critical role in drawing moisture out, which is essential for preservation and flavor concentration. The meat should be thoroughly coated with the curing mixture and placed in a curing chamber or a designated refrigerator space where it can remain at a stable temperature and humidity. Recommended conditions are usually between 55°F - 57°F (13°C - 14°C) and 80% - 82% humidity over several months, depending on recipe specifics.
Seasoning Techniques
After the initial salting, the Capicola is seasoned with an array of spices to achieve its distinctive taste. Commonly used spices include but are not limited to:
Garlic: for a robust aroma
Juniper berries: for a piney hint
Black pepper: for heat and piquancy
Nutmeg: for sweetness and depth
Thyme and bay leaves: for their woodsy and floral notes
Some recipes incorporate wine, adding a layer of complex fruitiness to the meat's palette. The spices are often finely blended and rubbed evenly onto all surfaces of the meat to ensure thorough flavor penetration. The seasoned meat is then returned to the controlled environment to continue the curing process.
Fermentation and Aging
The fermentation and aging processes are essential in developing the distinctive flavor and texture of Capicola, while simultaneously ensuring the meat is safe from harmful bacteria. They must carefully monitor and sustain specific temperature and humidity levels in a controlled environment.
Fermentation Process
Once the Capicola has been prepared with its curing mix, it undergoes an initial fermentation stage to develop good bacteria, which are crucial for flavor development and safety. This phase typically occurs at a higher temperature range to encourage the growth of these beneficial bacteria. Fermentation helps reduce pH, thus inhibiting the growth of harmful bacteria and setting the stage for proper aging.
Key Factors during Fermentation:
Temperature: Usually between 55°F to 85°F (12°C to 29°C)
Timeframe: Can last from 24 to 72 hours
Controlled Aging Environment
After the fermentation phase, the meat is transferred to a curing chamber for the aging process, which is when the Capicola slowly matures and develops its complex flavors and desirable dry-cured texture. A precisely controlled environment with stable temperature and humidity is vital during this period, typically lasting several months.
Conditions in the Curing Chamber:
Temperature: Generally maintained at 55°F to 60°F (12°C to 16°C)
Humidity: Kept at 80% to 82%
Aging allows the meat to dry gradually, reducing water activity and concentrating flavors. The duration of this process varies, but it is common to allow Capicola to mature for at least three months before consumption.
Drying and Storage
For successful fermentation of Capicola, maintaining proper drying conditions and implementing effective long-term storage practices are critical. These steps will ensure the development of flavor and the prevention of spoilage.
Optimizing Drying Conditions
The drying phase conditions the Capicola to develop its characteristic flavor and texture. The optimal temperature should be maintained at 55°F to 57°F (13°C - 14°C), while the humidity needs to be kept at 80% to 82%. These conditions are pivotal for forming a proper rind and preventing the meat from drying out too quickly.
When setting up the drying environment, wrap the meat in a casing or cover it with meat netting to protect it and help maintain its shape. Monitor the Capicola regularly throughout the drying process. This stage typically lasts around 3 months, but it can vary depending on the size of the meat and the desired dryness.
Long-Term Storage Practices
Once the Capicola has dried to the maker's preference, it needs to be stored properly to retain its quality. Transfer the meat to a storage area, such as a refrigerator where it can be kept at a steady, cool temperature. Wrap the Capicola in parchment paper or vacuum-seal it to minimize exposure to air, which can help prevent spoilage and the development of unwanted mold on the surface.
Regularly inspect the Capicola during storage and consume it within the recommended timeframe to enjoy its full flavor and texture. When it’s time to enjoy, remove the casing, and slice the meat as thin as possible.
Slicing and Servicing
After the fermentation and aging process, capicola can be transformed into a delectable treat with the right techniques. Slicing it properly maximizes the flavor while preserving its texture, and serving it creatively enhances any meal or gathering.
Proper Slicing Techniques
When slicing capicola, the goal is to produce thin, almost translucent slices that will melt on the tongue. Using a sharp knife or preferably a meat slicer set to a thin setting ensures uniformity and maintains the integrity of the meat. The temperature of the capicola matters; slightly chilling it makes it easier to slice thinly. It is essential to slice against the grain for the ideal texture.
Meat Slicer Setting: Thin
Temperature: Slightly chilled
Direction: Against the grain
Serving Ideas
Capicola shines when added to a variety of dishes and can be served in multiple ways. One popular method is to incorporate it into an antipasto platter, where its rich flavor complements other appetizers like cheeses and olives. As part of a charcuterie board, capicola's unique taste stands out among other cured meats.
Antipasto Platters: Combine with mozzarella, olives, and marinated vegetables.
Charcuterie Boards: Pair with hard cheeses, bread, and fruit preserves.
For heartier options, capicola can elevate sandwiches and subs, particularly the famed muffuletta, with its distinctive layers of meats and condiments. Additionally, it's an excellent topping for pizzas, adding a savory punch to each slice.
Sandwiches/Subs: Layer into a muffuletta or a simple sub with provolone cheese.
Pizzas: Top onto a pizza before baking for a flavorful addition.
Pairing with Other Foods
Selecting the right companions for Capicola enhances its flavors and creates a memorable culinary experience. This section focuses on pairing Capicola with other foods to bring out its best qualities.
Complementary Flavors
Cheese: Capicola's rich and savory profile is magnificently complemented by a variety of cheeses. Options include:
Sharp, aged cheddar with a solid texture and distinct bite.
Gruyere and provolone, which provide a creamy balance.
Wine: When it comes to wine, look for varieties that match the intensity of Capicola:
For reds, a medium-bodied Chianti can be a classic choice.
With whites, a crisp Pinot Grigio offers a refreshing contrast.
Peppers: The spicy kick of pickled peppers cuts through the fattiness of Capicola, creating a delightful tang.
Creating Balanced Charcuterie Boards
When including Capicola on a charcuterie board, consider the following:
Other Italian meats: Pair with salami and prosciutto for a range of textures and tastes.
Breads: Offer crusty baguettes or artisanal crackers as neutral bases.
Fruits: Fresh and dried fruits (What wine goes well with dried fruits?) like figs or grapes add a sweet counterpart.
When crafting charcuterie boards, aim for a balance of flavors and textures to highlight the Capicola without overpowering it. Pairings should not just complement the taste of the Capicola but also offer a varied sensory experience.
