
How Long Does Gluten-Free Chicken Kiev Last?
Storage Tips and Shelf Life
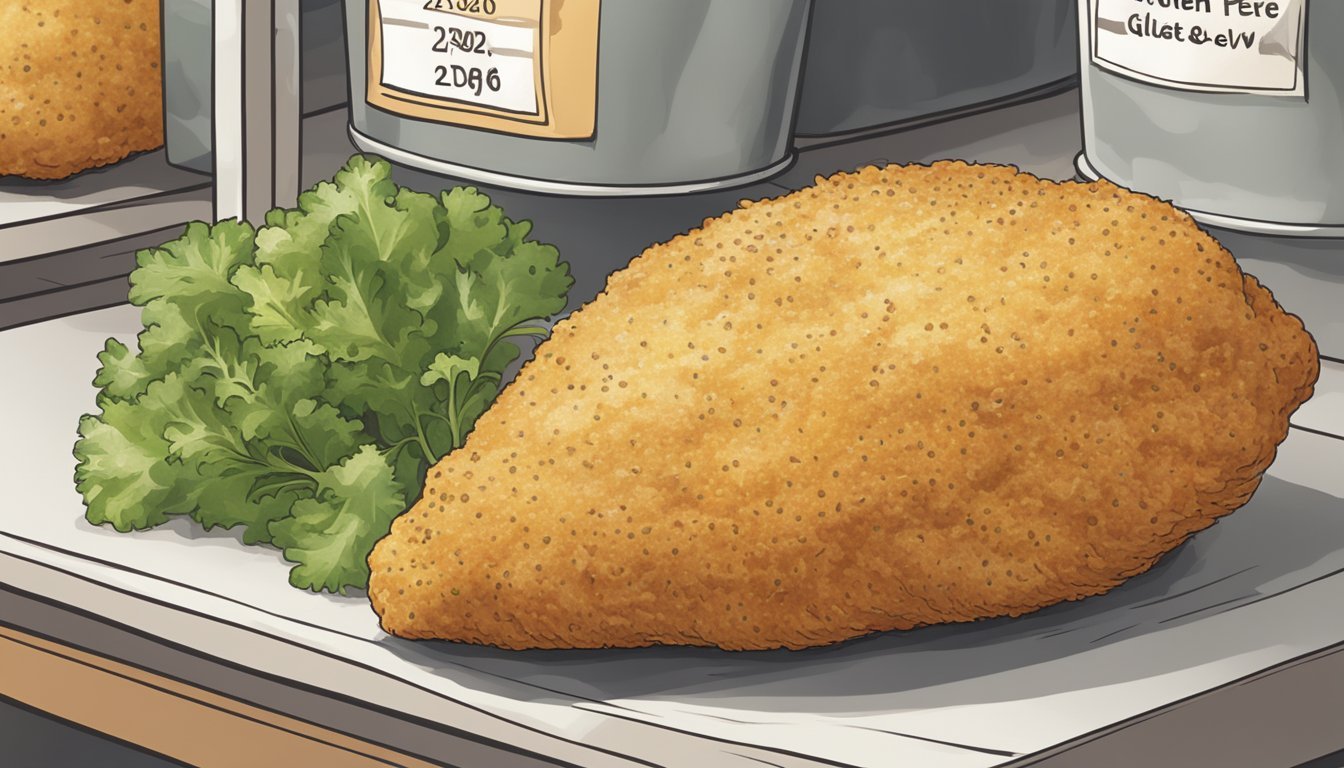
For those who relish the tender, savory delight of gluten-free Chicken Kiev, knowing how long this dish can last is crucial. Prepared with chicken breast, herb-infused butter, and a crispy gluten-free coating, this culinary masterpiece does demand careful storage practices. Properly stored in the refrigerator, gluten-free Chicken Kiev can last for up to 3-4 days before it begins to lose its quality.
To ensure the longevity of your gluten-free Chicken Kiev, it is essential to quickly refrigerate it after cooking. The herb butter center and the chicken both maintain their flavors well within this timeframe. For extended storage, freezing is the best option. When frozen, gluten-free Chicken Kiev can last up to 2-3 months, retaining its delicious taste and texture.
When it comes to reheating, make sure to heat it thoroughly to maintain food safety and enjoy the same delectable experience as when it was first prepared. Whether fresh or stored, gluten-free Chicken Kiev offers a delightful meal for those mindful of their gluten intake.
Understanding Gluten-Free Chicken Kiev
Gluten-Free Chicken Kiev is a delightful dish that involves chicken breasts stuffed with herb butter, typically garlic butter.
To ensure it is gluten-free, cookers utilize gluten-free flour or almond flour for coating. This avoids traditional wheat-based flours, catering to those with gluten intolerances or celiac disease.
Preparation starts by flattening the chicken breast and placing a piece of herb butter in the center. The butter mix usually contains garlic and various herbs, enhancing the flavor.
Next, the chicken is rolled up, secured, and coated with a mixture of gluten-free flour, breadcrumbs, or almond flour. This coating provides a crispy texture when cooked, either by baking or frying.
The versatility of this dish allows it to fit into many dietary restrictions while still delivering a rich culinary experience.
Ingredients and Substitutions
When preparing gluten-free Chicken Kiev, it's essential to choose high-quality chicken breasts, and various gluten-free and dairy-free options. This section covers the vital ingredients you need and possible substitutions to suit different dietary needs.
Selecting Chicken Breasts
Choosing the right chicken breasts is crucial. Opt for boneless, skinless breasts that are consistent in size for even cooking. Flatten each chicken breast to about 1/4-inch thickness using a meat mallet between sheets of plastic wrap or waxed paper. This ensures the chicken cooks evenly and wraps securely around the herb butter filling.
Gluten-Free Breading Options
For gluten-free breading, traditional breadcrumbs can be replaced with various options:
Gluten-free breadcrumbs: Available in most grocery stores, these provide a similar texture and crispness to regular breadcrumbs.
Almond flour: An excellent low-carb alternative that adds a slightly nutty flavor.
Gluten-free panko: Lighter and crispier than regular breadcrumbs, ideal for a crunchy exterior.
Egg and flour are also essential for breading. Use gluten-free flour, such as rice or almond flour, for dredging before dipping in beaten eggs and coating with the gluten-free breadcrumbs.
Herb Butter Mixtures
The herb butter mixture is what makes Chicken Kiev special. Combine salted butter (or ghee for a dairy-free option) with fresh herbs and aromatics.
Herbs: Common choices include chives, parsley, and dill.
Garlic: Freshly pressed garlic enhances the flavor.
Lemon zest: Adds a zesty brightness.
Salt and pepper: To taste.
Mix the ingredients, roll them into a log using plastic wrap, and freeze until firm. This helps keep the butter mixture intact during cooking.
Dairy-Free Alternatives
For those avoiding dairy, ghee and olive oil are excellent substitutes.
Ghee: Clarified butter that retains a rich flavor but is lactose-free.
Olive oil: Can be mixed with fresh herbs and garlic to replace the butter mixture.
Non-dairy butters are also available, but ensure they're suitable for high-heat cooking if used for this recipe.
Preparation Techniques
Creating a delicious Gluten-Free Chicken Kiev involves several detailed steps. These include preparing the filling, breading the chicken, and using a meat mallet to ensure the meat is properly flattened.
Creating the Filling
The filling for Chicken Kiev typically consists of garlic butter mixed with herbs. To start, combine softened ghee or butter with finely chopped chives, dill, and minced garlic in a small bowl.
Ingredients:
Softened ghee or butter
Finely chopped chives
Minced garlic
Dill
Mix the ingredients thoroughly until well incorporated. Form the mixture into a log using plastic wrap, and twist the ends to secure it firmly. Place the wrapped log in the freezer for about 20-30 minutes until it becomes solid. This step ensures the filling stays intact during cooking.
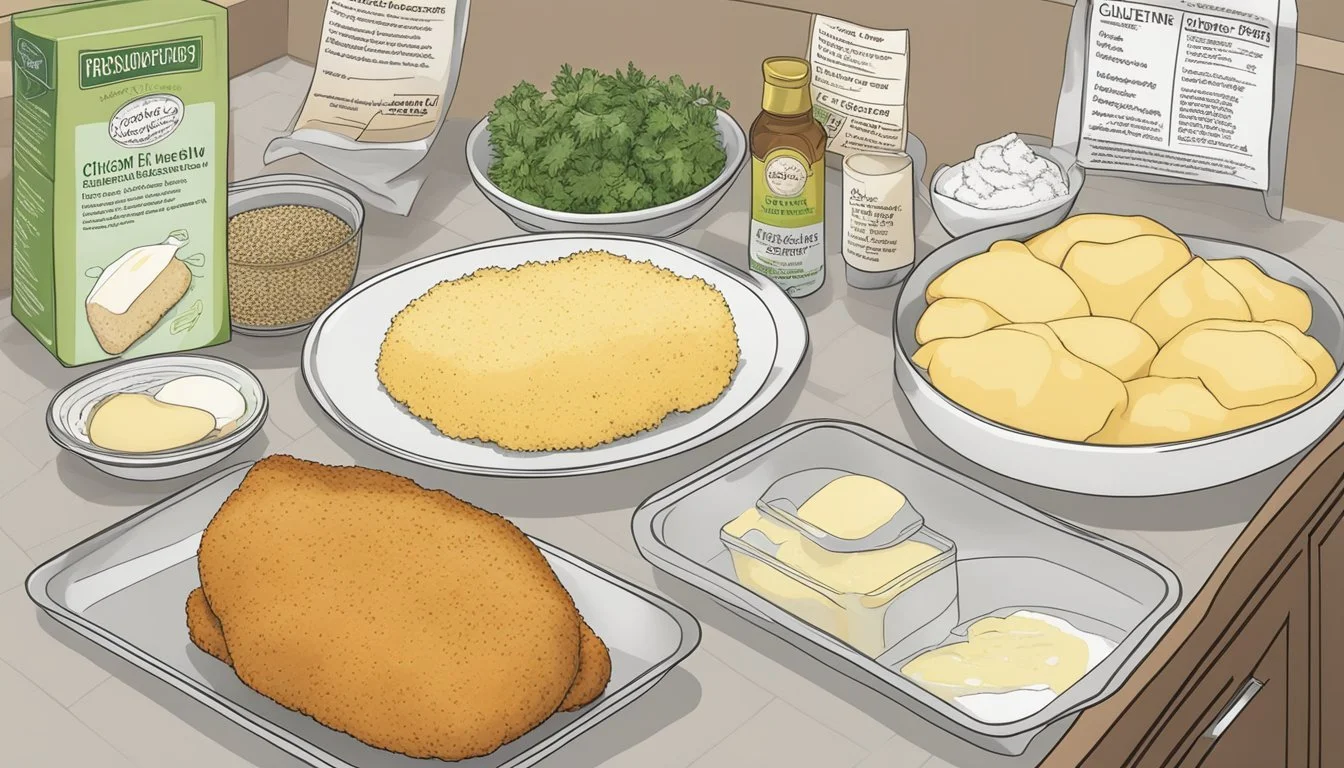
Breading the Chicken
Breading the chicken is crucial for a crispy exterior. Begin by setting up three shallow dishes: one with gluten-free flour, one with beaten eggs, and the last with seasoned gluten-free breadcrumbs.
Steps:
Dredge the flattened chicken breasts in the flour, ensuring they are fully coated.
Dip them into the beaten eggs, allowing any excess to drip off.
Finally, coat the chicken in seasoned breadcrumbs.
Season the breadcrumbs with salt, pepper, and, optionally, paprika. This creates a flavorful and textured crust that enhances the Chicken Kiev's taste.
Meat Preparation With Meat Mallet
Properly flattening the chicken breasts is essential for even cooking and easy rolling. Place each chicken breast between two sheets of plastic wrap or wax paper. Use a meat mallet to pound the chicken to a 1/4-inch thickness.
This technique helps achieve an even thickness, which is crucial for the cooking process. Flattening the chicken allows for easier rolling and ensures that it cooks uniformly, preventing any parts from being undercooked.
Flattening also creates a larger surface area for the filling, ensuring that each bite is flavorful and moist.
Cooking Methods

There are two main ways to cook gluten-free Chicken Kiev: baking in the oven and frying on the stove. Each method has unique steps and benefits that cater to different tastes and preferences.
Baking in the Oven
Baking Chicken Kiev in the oven provides a healthier alternative to frying and ensures even cooking. To start, preheat the oven to 425°F (220°C). Grease a square baking tray (9x9x2 inches) with ghee or butter. Flatten each chicken breast to a 1/4-inch thickness between sheets of plastic wrap or wax paper.
Next, fill the chicken breasts with a mixture of butter, chives, and garlic, then fold and secure them with toothpicks. Place the filled chicken breasts on the prepared baking tray, seam side down. Bake for 25-30 minutes or until the internal temperature reaches 165°F (74°C). The baking process ensures a crispy exterior without the excess oil used in frying.
Frying on the Stove
Frying Chicken Kiev on the stove creates a golden, crispy crust and can be achieved with a few essential steps. Start by heating a deep frying pan with enough oil to immerse the chicken pieces. The oil is ready when bubbles form around a wooden spoon handle dipped in it. Flatten the chicken breasts to a 1/4-inch thickness, then fill them with a mixture of butter, dill, and garlic.
Secure the filled chicken with toothpicks and lightly coat them in gluten-free flour or bread crumbs. Place the chicken in the hot oil carefully, frying each side for 4-5 minutes until golden brown. After frying, transfer the chicken to a baking tray and finish cooking in a preheated 350°F (180°C) oven for 10-15 minutes to ensure the insides are thoroughly cooked.
Storage Guidelines
Proper storage extends the shelf life of gluten-free Chicken Kiev while maintaining its taste and safety. Following these guidelines ensures your dish stays fresh and delicious.
Refrigeration
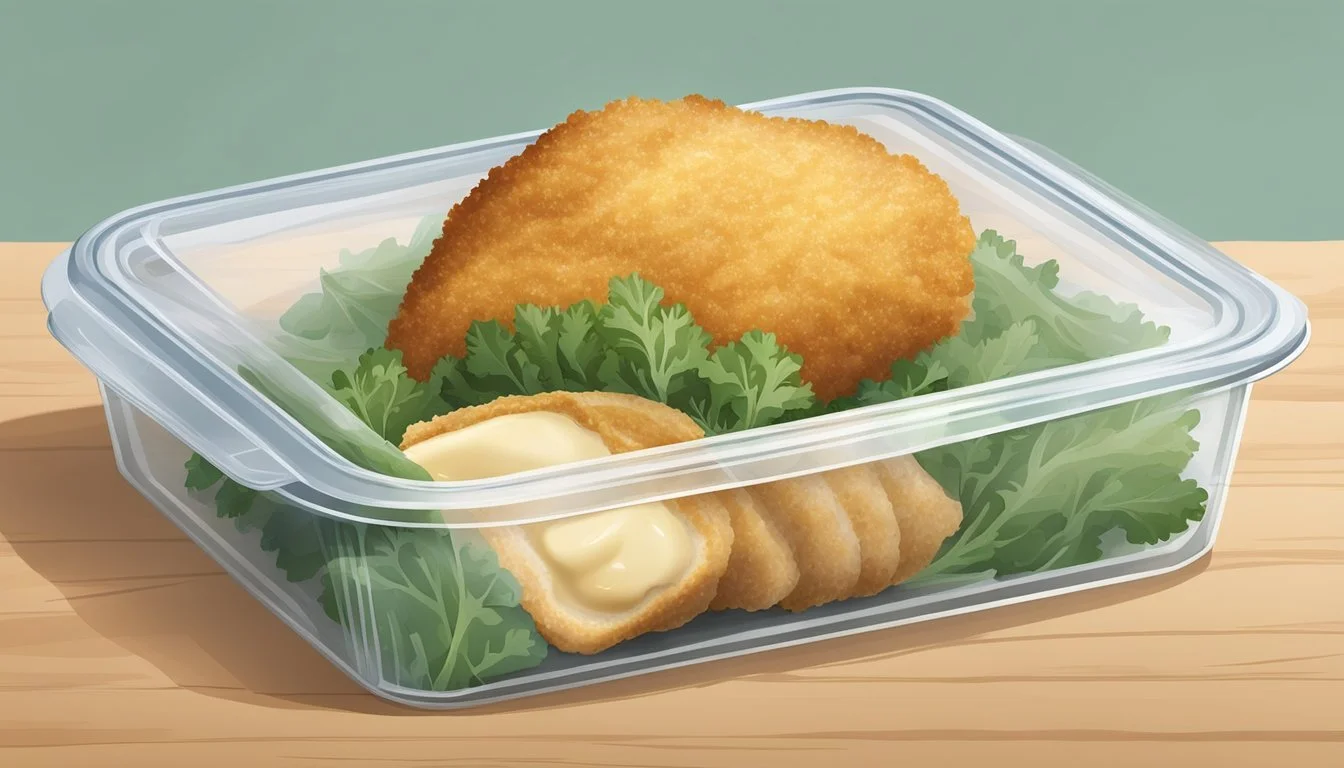
Gluten-free Chicken Kiev can be kept in the fridge for up to 3-4 days.
Store it in an airtight container to prevent moisture from making it soggy and to avoid cross-contamination with other foods.
Labeling the container with the date helps track its freshness.
Avoid overcrowding the fridge to keep the temperature consistent (below 40°F).
Reheating should be thorough, ensuring the internal temperature reaches 165°F for safety.
Freezing and Thawing
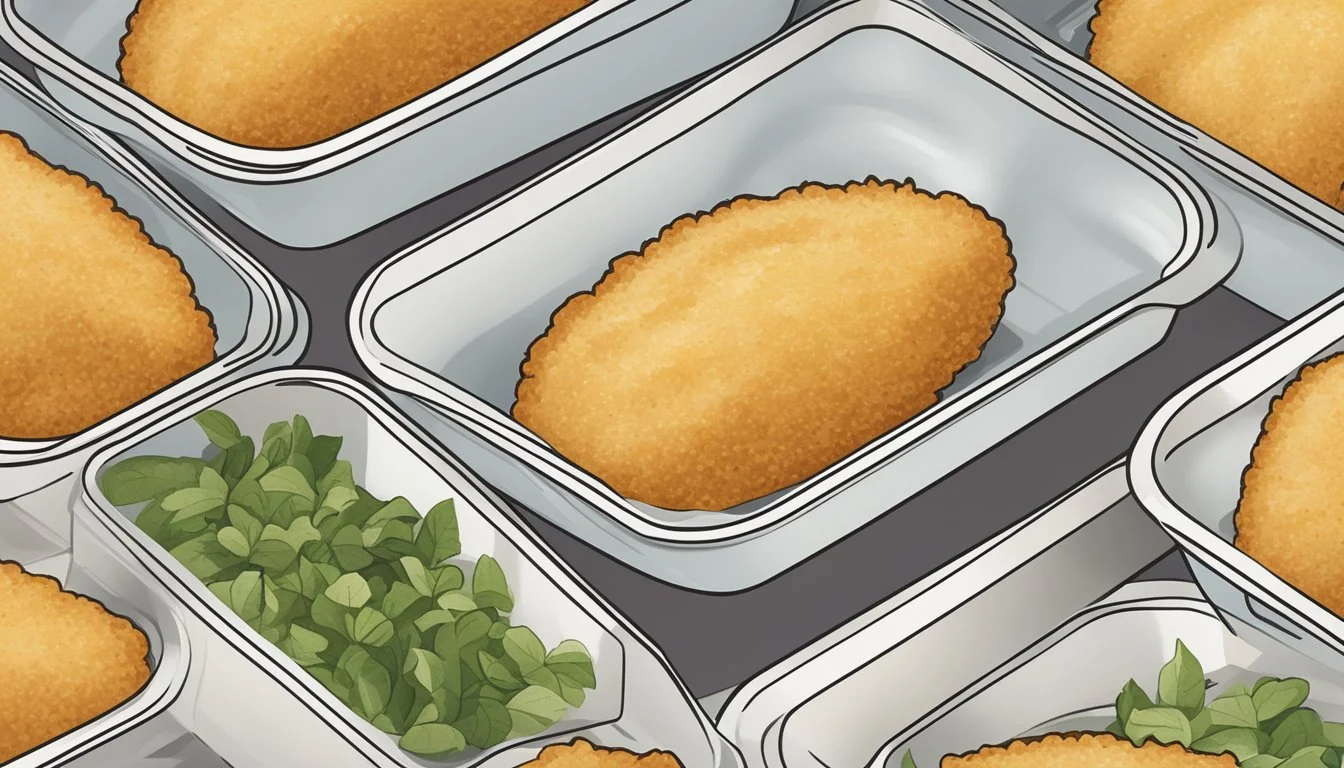
For longer storage, freeze the Chicken Kiev. Wrap each piece tightly in plastic wrap and place it in a freezer-safe bag.
Frozen Chicken Kiev can last for up to 3 months.
When ready to use, thaw it overnight in the fridge for safest results.
Avoid thawing at room temperature to minimize the risk of bacterial growth.
Once thawed, cook promptly and do not refreeze.
Using a vacuum sealer can extend freezer storage and prevent freezer burn.
Shelf Life Determination
The shelf life of gluten-free chicken kiev depends on proper storage conditions. Cooked gluten-free chicken kiev can be stored in the refrigerator at a temperature of 40°F (4°C) or lower.
Refrigerator Storage Times:
Whole cooked chicken kiev: 3-4 days
Cooked chicken kiev pieces: 3-4 days
Freezing the chicken kiev can extend its shelf life. When properly wrapped, it can be frozen for up to 2-3 months. Ensure it is tightly sealed to prevent freezer burn.
Freezer Storage Times:
Whole frozen chicken kiev: Up to 3 months
Frozen chicken kiev pieces: Up to 3 months
If the chicken kiev contains dairy, such as butter, storage times remain the same. Always check for any spoilage signs like odor or color changes.
Using airtight containers or heavy-duty freezer bags can help to maintain the quality of the chicken kiev during storage. Store-bought versions may have specific guidelines, so always follow any additional instructions provided on the packaging. Proper handling and storage practices ensure the shelf life of gluten-free chicken kiev is maximized.
Serving Suggestions
When serving Gluten-Free Chicken Kiev, consider pairing it with complementary side dishes and presenting it in an appealing way to enhance the dining experience.
Accompaniments
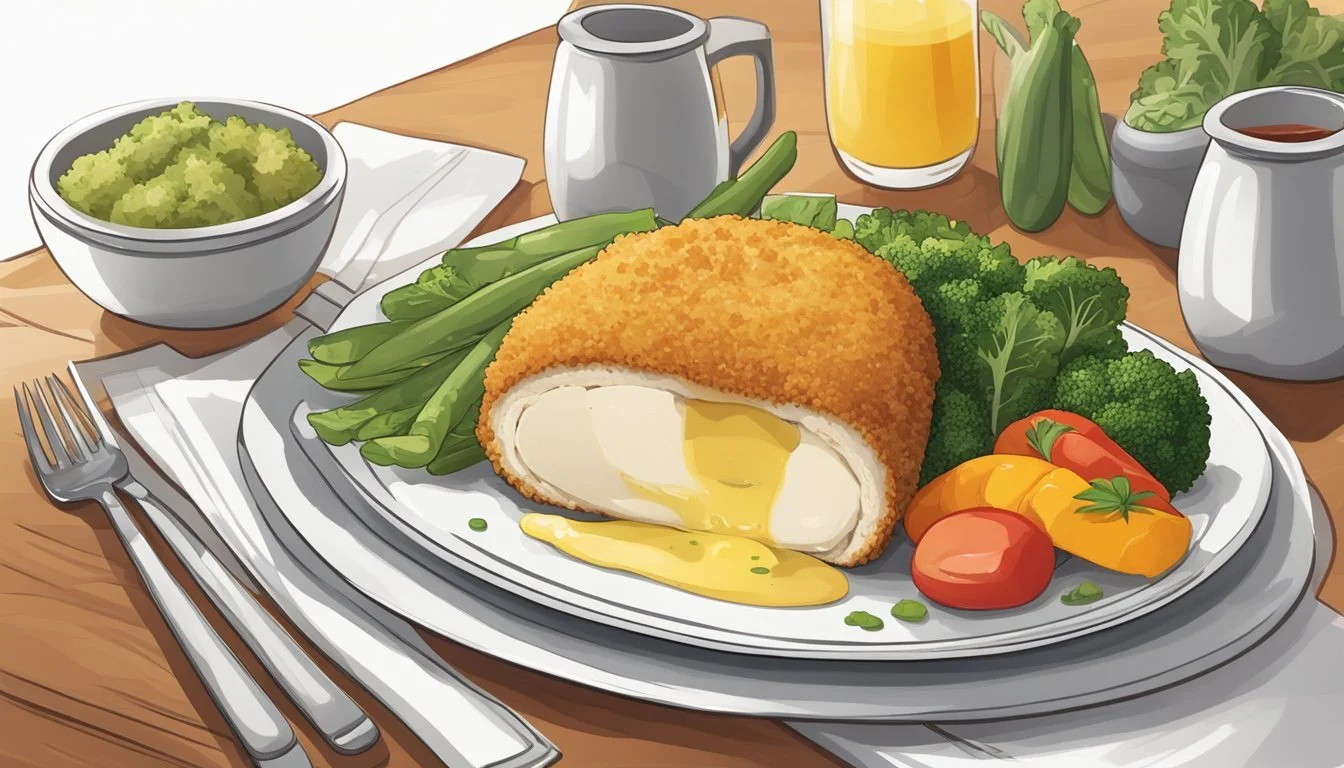
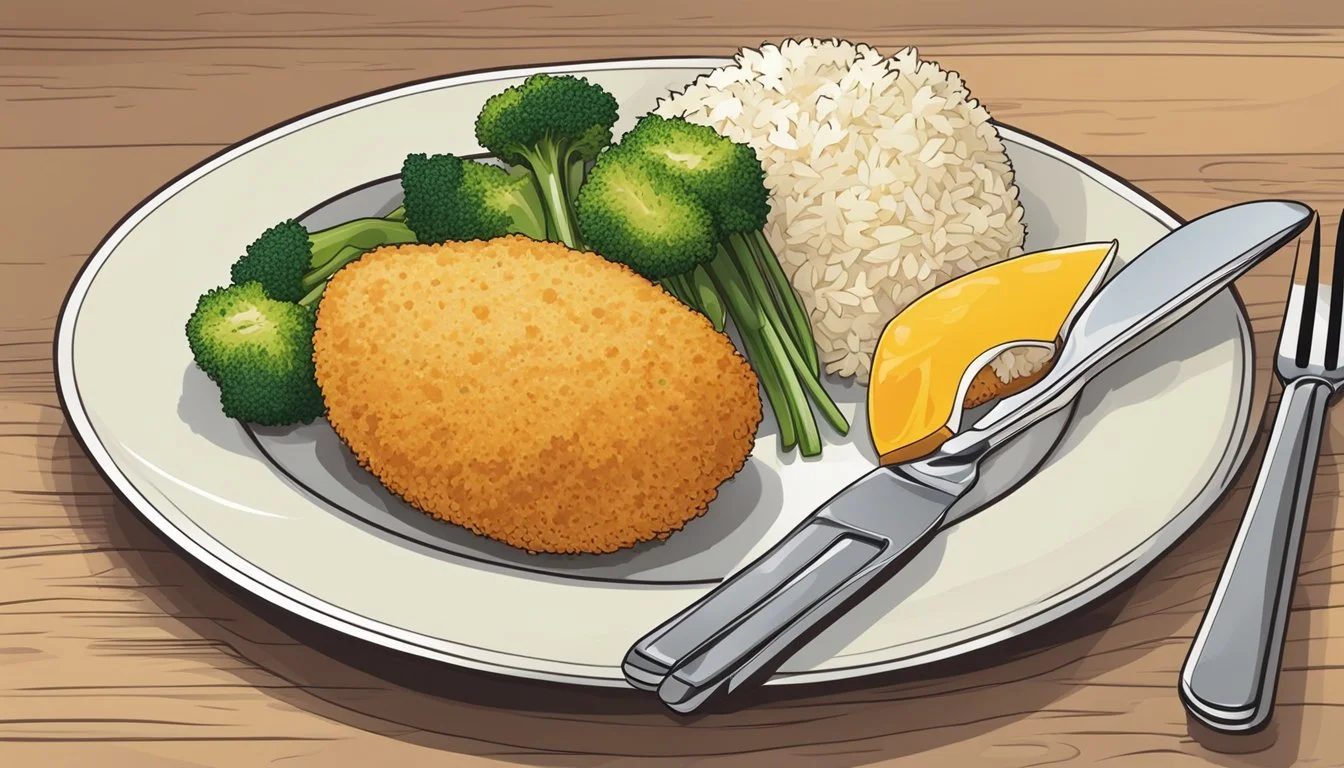
Mashed potatoes make an excellent side dish, providing a creamy contrast to the crispy chicken. They can be garnished with chopped parsley to add color and freshness.
Another great option is roasted potatoes, seasoned with salt and pepper, to complement the rich flavors of the Chicken Kiev. Steamed vegetables, such as broccoli or green beans, also pair well and add a nutritious element to the meal.
A simple lemon wedge on the side can be squeezed over the chicken to balance the richness with a touch of acidity. For a light salad option, consider a mix of greens with thin slices of cucumber and a lemon vinaigrette.
Presentation Tips
To present Gluten-Free Chicken Kiev attractively, slice the chicken diagonally before placing it on the plate to showcase the melted butter filling. Arrange the slices slightly overlapping for a professional look.
Garnish the plate with some fresh parsley for a pop of green. Place a lemon wedge on the side of the plate for both visual appeal and added flavor.
Use white plates to make the golden crust of the Chicken Kiev stand out. A drizzle of the melted butter sauce from the chicken over the mashed potatoes or veggies can add a gourmet touch.
Ensure the plate is not overcrowded, maintaining a balance between the main dish and the sides for an aesthetically pleasing and appetizing presentation.
Health and Dietary Considerations
A gluten-free chicken Kiev is suitable for individuals with gluten intolerance or celiac disease. It's crucial to ensure that all ingredients, from the coating to the filling, are free from gluten contaminants.
Understanding Gluten-Free Diets
Gluten intolerance and celiac disease require strict avoidance of gluten, a protein found in wheat, barley, and rye.
Ingredients:
Use gluten-free breadcrumbs or grain-free alternatives like almond flour for coating.
Ensure all seasonings and any added thickeners are also gluten-free.
Contamination:
Cook in a dedicated gluten-free kitchen or thoroughly clean surfaces to prevent cross-contamination.
Use separate utensils, cookware, and storage containers.
Benefits:
Reduces digestive issues and other symptoms associated with gluten consumption.
Helps maintain the integrity of the intestinal lining for individuals with celiac disease.
