
How to Freeze Cooked Grits
Preserving Southern Breakfasts with Ease
Cooked grits are a cornerstone of Southern cuisine, known for their versatility and comfort food appeal. While ideal when served fresh, grits can also be preserved for future use through freezing. This method is not only practical; it extends the shelf life and makes for a rapid and convenient breakfast option on busy mornings. When freezing grits, it is essential to understand the steps involved to maintain their texture and flavor, ensuring they are just as enjoyable when reheated.
The process of freezing cooked grits is straightforward, involving portioning the grits into usable sizes and storing them properly. Care must be taken to leave a small amount of space at the top of the container or ice cube tray to accommodate expansion during freezing. Frozen cooked grits can be kept for up to three months, making them a time-saving solution for meal planning. With the right preparation, frozen grits can be quickly defrosted and retain the creamy consistency and taste that is characteristic of a classic Southern breakfast.
Understanding Grits
Grits are a versatile and beloved dish in Southern cuisine, appreciated for their texture and ability to absorb a variety of flavors. They serve not only as a breakfast staple but also as a base for many savory American dishes.
Types of Grits
Grits are made from dried, ground corn and come in several varieties, each with unique characteristics.
Hominy Grits: They are made from corn that has been treated with an alkali in a process called nixtamalization which removes the hull and germ, resulting in a smoother texture.
Stone-Ground Grits: These are produced by grinding the corn between stones and retain more of the hull and nutritious germ. They have a coarser texture and richer corn flavor.
Quick Grits: These grits have been further processed to reduce cooking time but still maintain a fairly traditional taste. They are not as fine as instant varieties.
Instant Grits: Instant grits are the most processed. They cook rapidly and offer convenience, although they often lack the depth of flavor found in stone-ground varieties.
Grits as a Southern Staple
Grits have cemented their status as an iconic Southern dish, integral to traditional Southern breakfasts and a common feature in regional dinners.
Southern Cuisine: Grits are a cornerstone of Southern cuisine, often served with butter, cheese, or gravy, and accompanied by eggs, meat, or seafood.
Cornmeal: While both grits and cornmeal are derived from corn, grits are typically made from dent corn and come in various textures, while cornmeal is uniformly ground and used differently in cooking.
Grits symbolize more than just a morning meal; they represent a rich cultural history and continue to be a staple in the Southern culinary scene.
Preparation of Grits

When preparing grits for freezing, achieving the desired consistency and flavor is crucial. One must consider the liquid base and added ingredients, which can range from water and milk to butter, cheese, and seasonings.
Cooking Methods
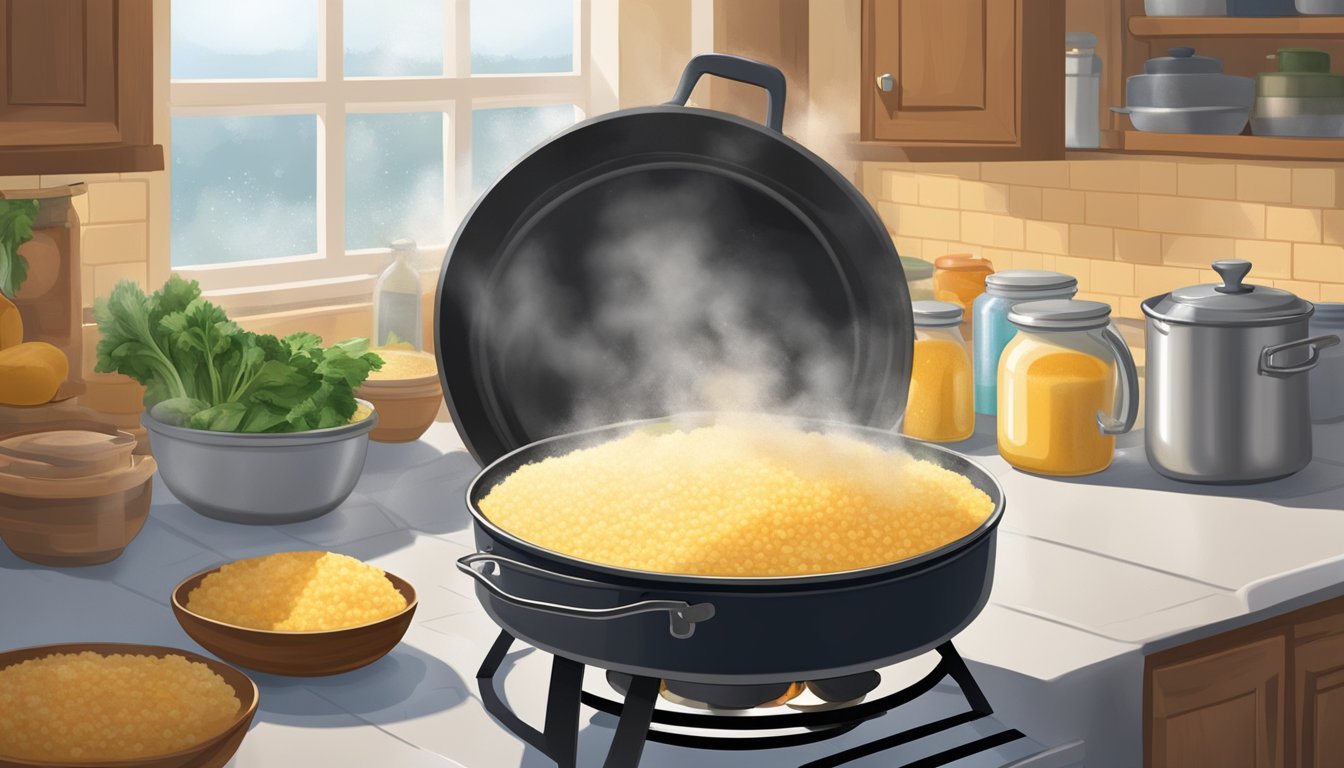
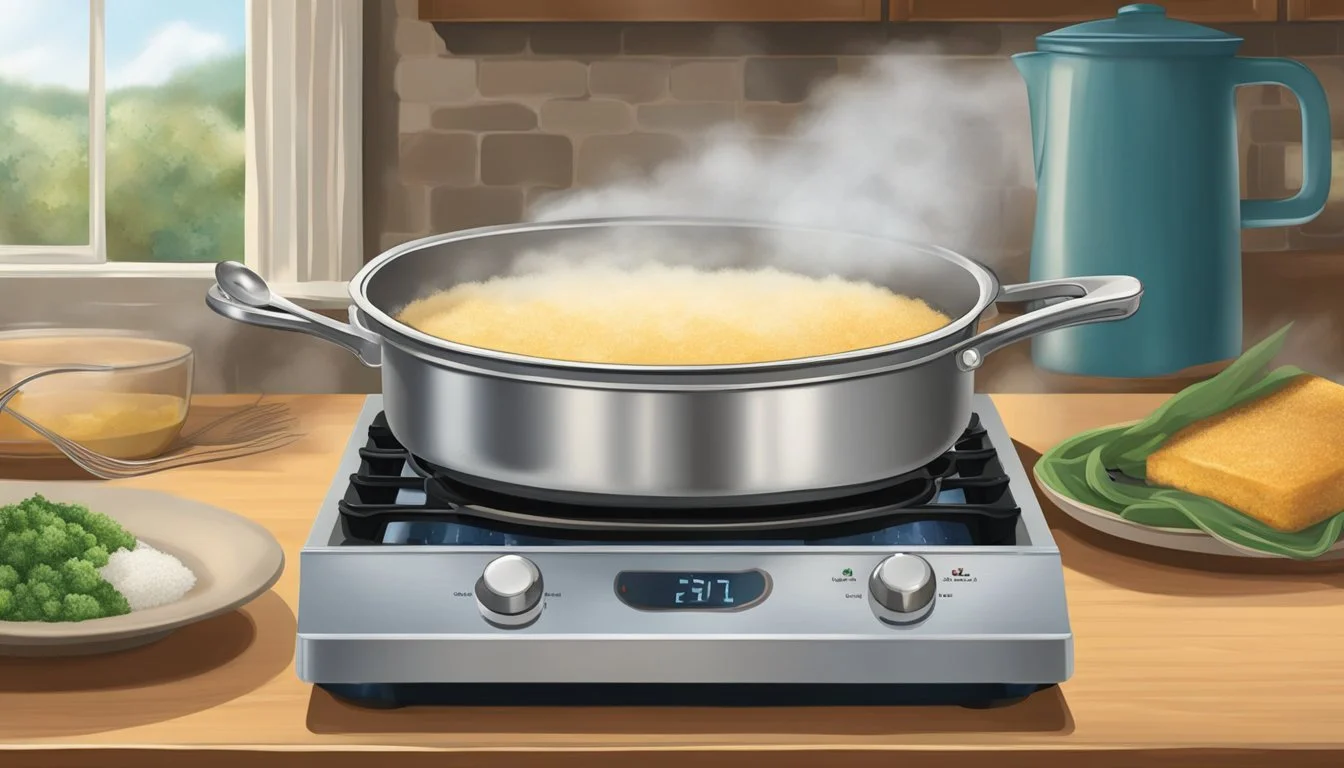
To cook grits, they generally start with boiling the chosen liquid – water for basic grits or a mixture of water and milk for creamier grits. Regular stirring is important to prevent sticking and clumping. The temperature is key: once the liquid boils, the heat should be reduced to a simmer. Here's a concise cooking method:
Bring the liquid to boil:
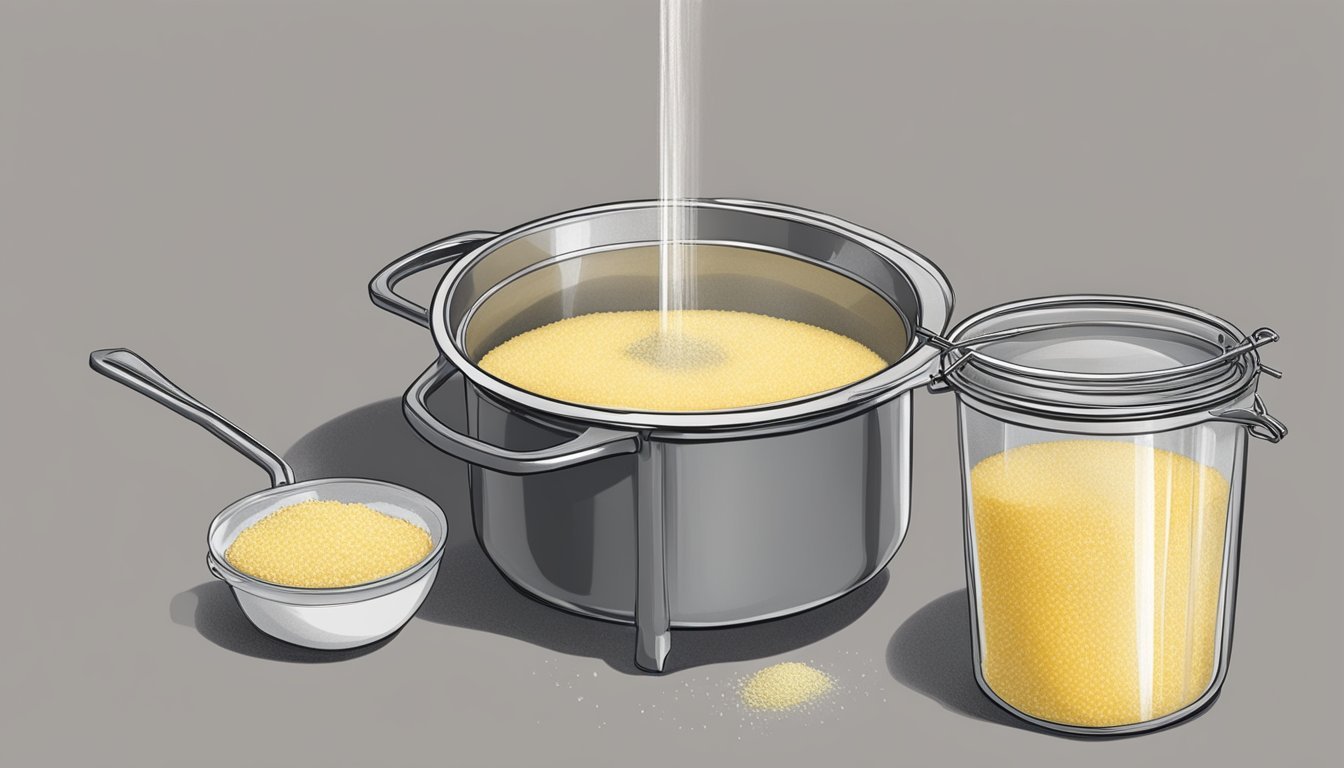
For a single serving, use 1 cup of water or a water-milk combination.
Add the grits slowly:
Pour in 1/4 cup of grits while stirring constantly.
Reduce heat and simmer:
Cover and simmer for 20-30 minutes, depending on the desired thickness.
Regular stirring:
This prevents the grits from sticking to the pot.
Creamy Grits Recipe
For creamy grits that are rich in flavor, the inclusion of dairy products and seasoning is essential. Below is a focused recipe that takes the prepared grits and elevates their creaminess and taste.
Ingredients:
1 cup water
1/2 cup milk
1/4 cup grits
Salt, to taste
1 tbsp butter
1/4 cup grated cheese (cheddar recommended)
Black pepper, to taste
2 tbsp heavy cream (optional for extra richness)
Steps:
Mix liquids and salt:
In a saucepan, combine water and milk. Add a pinch of salt and bring to a boil.
Add the grits:
Whisk in the grits gradually to prevent lumps.
Cook until thickened:
Simmer on low heat, stirring frequently, until the grits have absorbed the liquids and thickened to the preferred consistency, approximately 8-10 minutes.
Stir in remaining ingredients:
Once the grits are cooked, remove from heat and stir in butter, cheese, and heavy cream (if using). Season with black pepper to taste.
Before freezing cooked grits, let them cool to room temperature to maintain the texture and flavor integrity. Proper cooling also prevents condensation from turning to ice crystals, which can negatively impact the texture upon reheating.
Benefits of Freezing Cooked Grits
Freezing cooked grits effectively extends their shelf life and offers greater versatility in meal planning. Here's how kitchen efficiency and culinary creativity benefit from this simple preservation method.
Extending Shelf Life
When properly stored in the freezer, cooked grits can maintain quality for up to three months. Freezing leftovers not only reduces waste but ensures a quick and easy breakfast option. One should store the grits in an airtight container or freezer bags to prevent freezer burn and maintain taste and texture.
Condition for Freezing: Leave a small gap at the top of the container to allow for expansion.
Duration for Quality: Up to three months without loss of quality.
Versatility in Meals
Frozen cooked grits can be a game-changer for those who enjoy the comforting texture and flavor of this Southern staple without the wait. They can be thawed or reheated directly from the freezer, making them a convenient addition to various meals, from breakfast to dinner.
Breakfast: Quick reheating can result in a steaming bowl of grits, perfect for busy mornings.
Dinner: Serve as a base for shrimp, (What wine goes well with shrimp?) cheese, or other hearty toppings for a fulfilling meal.
Effective Freezing Techniques
Freezing cooked grits properly ensures they retain their texture and flavor, making them a convenient and quick option for future southern breakfasts. The key to effective freezing lies in using the right containers and techniques to maintain the quality of the grits.
Using Airtight Containers
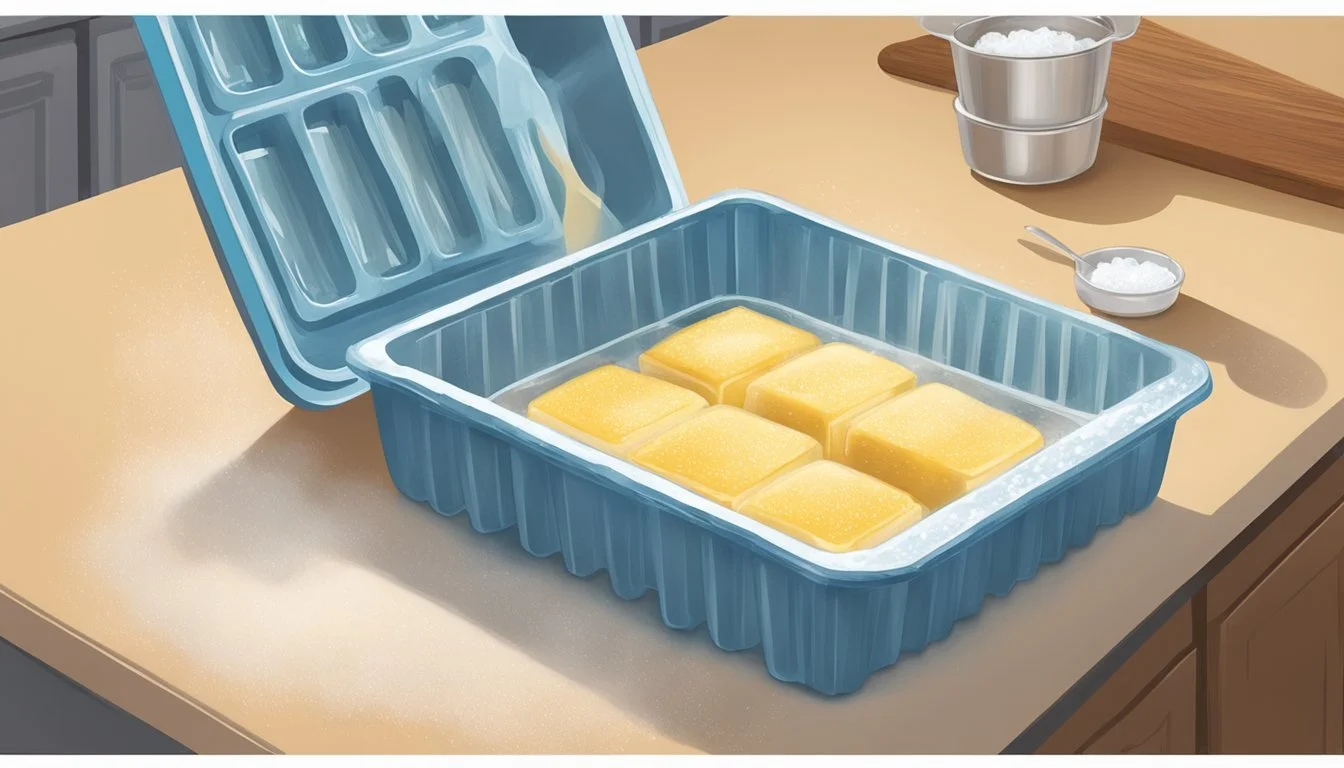
For long-term storage, the use of airtight containers or freezer bags is essential to prevent freezer burn and oxidation. One should fill these containers with grits, leaving about half an inch of space at the top to allow for expansion during freezing. The containers need to be sealed tightly to ensure no air can enter. Additionally:
Label each container with the freezing date.
Lay freezer bags flat to save space.
Portioning and Freezing on Baking Sheets
For those who prefer convenience, portioning grits into individual servings before freezing is ideal. Spread the cooked grits in an even layer on a baking sheet, ensuring they are separated into the desired portion sizes. Here's the process:
Flash freeze the portions on the baking sheet for a few hours.
Once solid, transfer the portions into an airtight container or freezer bag for storage.
This method prevents the grits from clumping together, allowing the option to thaw only what is needed at a time. Remember, one should not freeze uncooked grits as their texture can be compromised.
Preventing Freezer Burn
Freezer burn can degrade the quality and flavor of cooked grits. To maintain their freshness and prevent ice crystals, proper sealing methods are crucial, along with tips for strategic freezer storage.
Proper Sealing Methods
To prevent freezer burn, one should ensure cooked grits are stored in airtight containers or freezer-safe bags. Before sealing, they must remove as much air as possible from the container or bag. For freezer bags, one could use a straw to suck out the excess air. When using containers, pressing a layer of plastic wrap directly on the surface of the grits before sealing the lid can offer extra protection.
Airtight Containers:
Use rigid, freezer-safe containers with tight-fitting lids.
Press plastic wrap on the surface of the grits before covering.
Freezer Bags:
Fill, leaving an inch of space for expansion.
Squeeze out air, then seal tightly.
Tips for Freezer Storage
The longevity of frozen grits improves with correct freezer storage techniques. Cooked grits should be placed in the coldest part of the freezer to ensure a rapid freeze that prevents the formation of large ice crystals. Labeling the container or bag with the date of freezing helps track how long the grits have been stored, maintaining usage within the recommended 2-3 month period.
Freezer Placement:
Store at the back of the freezer, away from the door.
Position below other foods to promote a stable temperature.
Labeling:
Clearly label with the contents and freezing date.
Use waterproof markers to avoid smudging.
By following these procedures, one can preserve the quality of cooked grits and enjoy a southern breakfast without the worry of freezer burn.
Reheating Frozen Grits
When reheating frozen grits, one's goal should be to restore the creamy texture and to ensure the best flavor. The process involves thawing and then heating, with methods slightly varying for the microwave or stove.
Thawing Directions
Refrigerator: Transfer the frozen grits to the refrigerator the night before you plan to reheat them. This allows the grits to thaw gradually, which helps in maintaining texture and flavor.
Countertop: For a quicker option, place the frozen grits on the countertop at room temperature for a few hours.
Heating for Best Flavor
Microwave:
Transfer the thawed grits into a microwave-safe bowl.
Stir in a small amount of water, milk, or broth to reintroduce moisture.
Heat the mixture on a medium setting for 30 seconds.
Stir, adding more liquid if necessary, and continue to heat in 30-second to 1-minute intervals until hot throughout.
Stove:
Place the thawed grits into a saucepan.
Add a touch of water, milk, or broth and mix well.
Warm the grits over a low-to-medium heat.
Continuously stir to distribute heat evenly and to prevent sticking or burning.
Once they reach a creamy consistency and are heated through, serve immediately.
By following these steps, the reheated grits should return to a state nearly indistinguishable from their freshly cooked counterparts.
Creative Grits Dishes from Leftovers

Transforming leftover grits into delightful dishes adds not only to the economy of the kitchen but also brings variety to the Southern breakfast table. With the right mix of ingredients, one can easily revamp the humble grit into exciting new meals.
Savory Additions
Leftover grits, with their adaptable nature, can be the base for a diverse array of savory dishes. Cheese grits can be enlivened with the addition of crisp bacon, sausage, or ham, providing a hearty breakfast option with a taste of the South. For shrimp and grits lovers, the addition of sautéed shrimp mixed into warmed-up grits makes for a quick twist on the classic dish.
Ingredients for Revamped Savory Grits:
Crumbled bacon or sausage
Diced ham
Sautéed shrimp
Sharp cheddar cheese
Green onions
Substitutions: For those looking for a lighter option, turkey bacon or chicken sausage can replace traditional pork products, while still adding that necessary flavor complexity.
Sweet and Cheesy Combinations
Utilizing leftover grits in sweet dishes might not be the first thought, but adding ingredients like a sprinkle of sugar, a dash of cinnamon, and a pat of butter can transform them into a comforting breakfast. Alternatively, mixing in a generous helping of sharp cheddar and baking it until bubbly creates an indulgent, cheesy experience that pairs well with eggs or fresh fruit.
Ideas for Sweet and Cheesy Grits:
Baked cheese grits with sharp cheddar
Grits with sugar, cinnamon, and butter
One should be mindful of portion sizes and complementary flavors when adding sweet or rich ingredients, as they can overpower the delicate taste of the grits if not balanced properly.
Additional Tips and Tricks
When freezing cooked grits, it’s essential to ensure they remain fresh and tasty. Proper labeling and knowing what to avoid are critical for refreezing success.
Labeling Your Frozen Grits
One should always label their frozen grits with both the freezing date and contents. This practice helps keep track of how long the grits have been stored. A regular marker can fade over time in the freezer, so use a permanent marker for clarity. Managing leftover grits effectively means one can avoid waste and enjoy them later with the same Southern charm as when they were first made.
Freezing Date: The date the grits were frozen.
Contents: The specific type of grits or any added ingredients.
What to Avoid When Freezing Grits
Individuals should avoid a few key things when freezing cooked grits to maintain their quality and flavor:
Do not overfill containers: Grits expand when frozen, so leaving about a half-inch of space at the top of the container is necessary to prevent overflow.
Avoid freezer burn: Use airtight containers or freezer bags to prevent air from drying out the grits.
Refreezing: It is not recommended to refreeze cooked grits, as this can significantly decrease their texture and flavor quality.
By sticking to these methods, one can ensure their Southern breakfasts are both convenient and delicious, with grits always ready to be reheated and enjoyed.
