
No-Dig Farming Basics For Small Gardens That You Should Know!
Discover > Grow Your Own Food > No-Dig Farming Basics For Small Gardens That You Should Know!
Who cultivates a forest? How, then, does a forest grow and thrive so spectacularly, all elements in perfect symbiosis with one another? Forest floors collect organic matter like fallen leaves, twigs, branches, annual plants at the end of their yearly cycle and creatures at the end of their lives are all deposited on the forest floor to decompose into rich humus. The abundant mix thus enriches the soil; the soil absorbing precisely what it needs, when it needs, without disturbing the inner life and composition, allowing revitalization at its own pace: the perfect pace.
When setting out to create our own little green paradise, we need to take a page out of this flawless guidebook. What do we do instead? Get inspired watching videos of farms tilling the life out of their soil. One of the biggest errors gardeners make is underestimating the importance of the earth. No matter how lifeless it may seem, the earth can be brought back to its blooming nature. All it needs is a bit of TLC. It is essential to the success of your home garden.
No-dig gardening is all about taking care of the soil, maintaining it, and even improving it over time. Before we begin this crash course on creating a simple home garden, here are some important facts about soil maintenance that you should be aware of.
How Did We Begin Digging Up Soil to Plant a Garden?
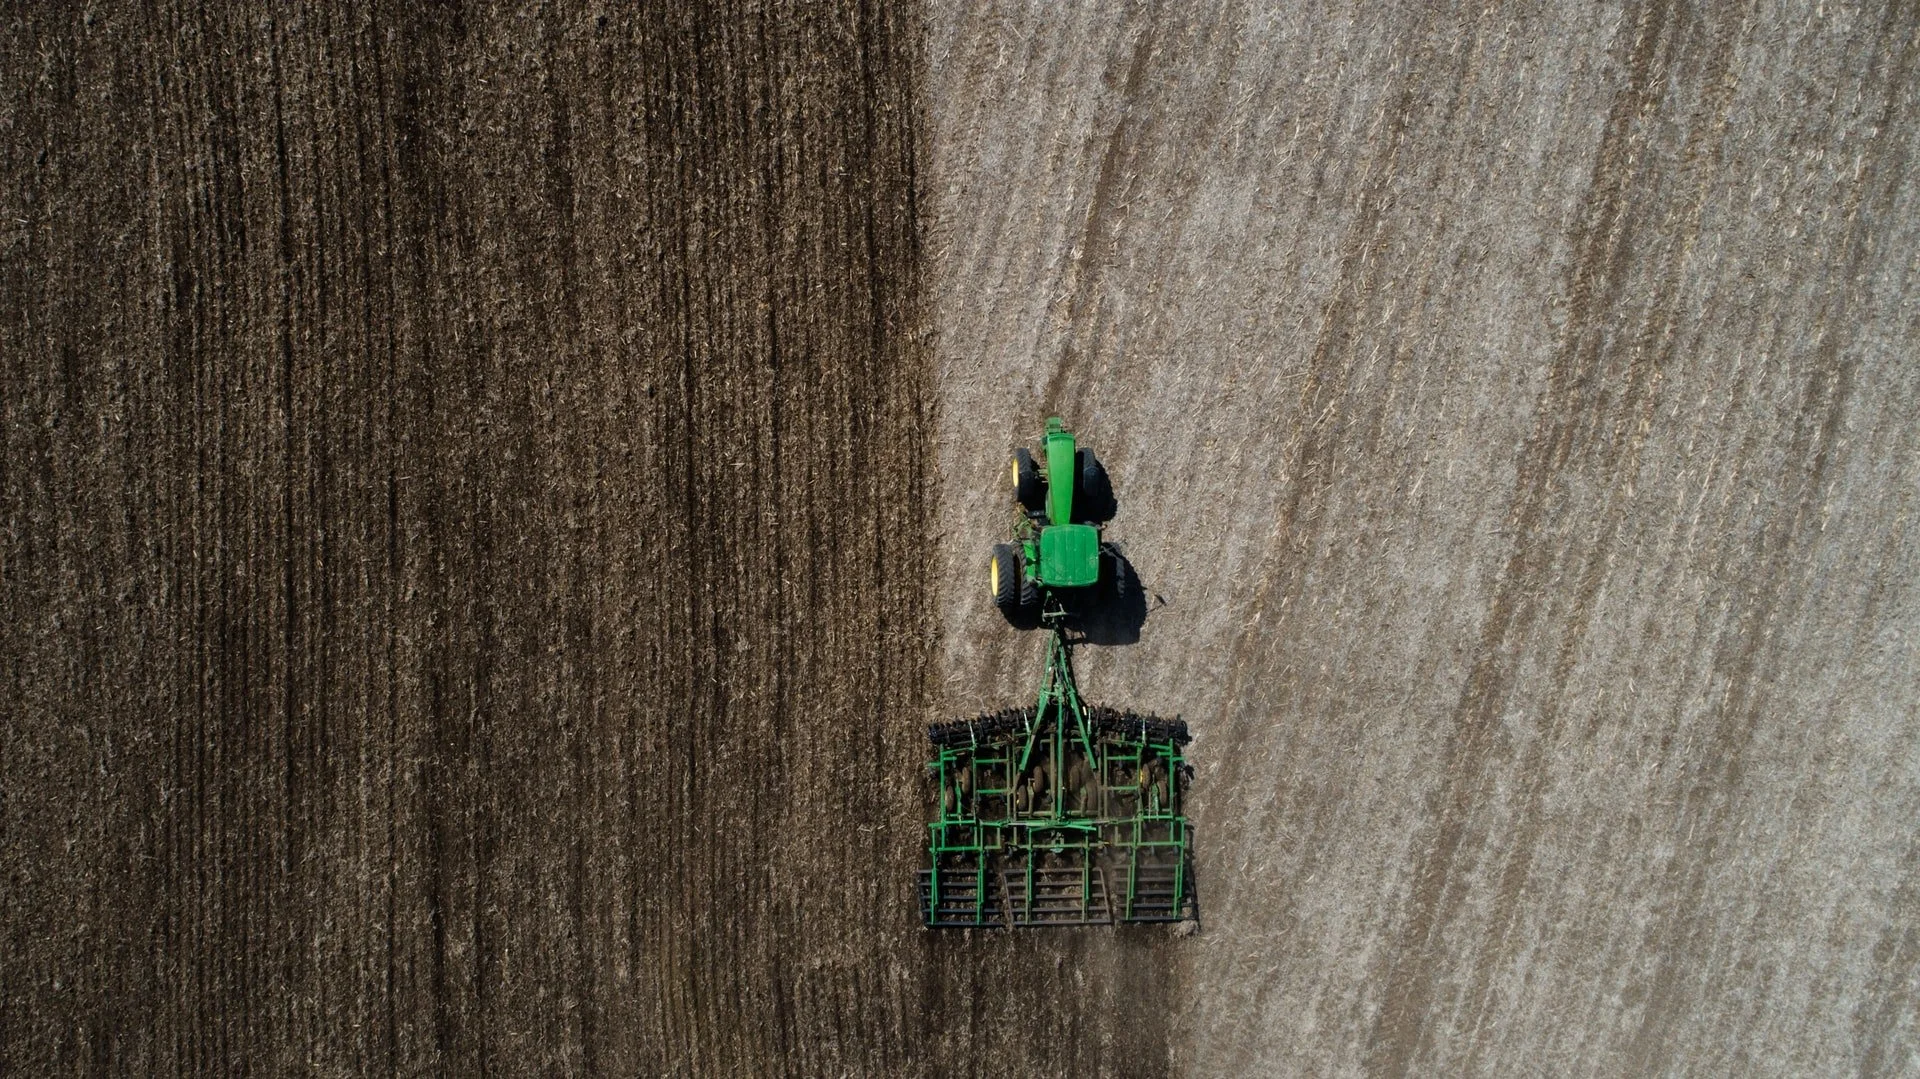
We treat home gardens like mini farms. Watching how farmers tilled acres of farm area, we did the same on a smaller scale.
Unlike large farming areas, where the soil gets compacted due to many factors, home garden soils are not exposed to that scale of soil compaction, and therefore tilling is not necessary. Infact, overtilling or frequently tilling even on a large scale, like a farm has its drawbacks.
Over Tilling and its Consequences
Over tilling breaks down the soil structure and overall soil quality. A hardpan surface develops, cutting off root elongation, crop development and yield. At this point, farms will have high erosion rates and low soil fertility. Over tilled farms also add to the problem of ‘eutrophication’, or a harmful enrichment of nutrients in nearby water bodies due to sediment run off from the land.
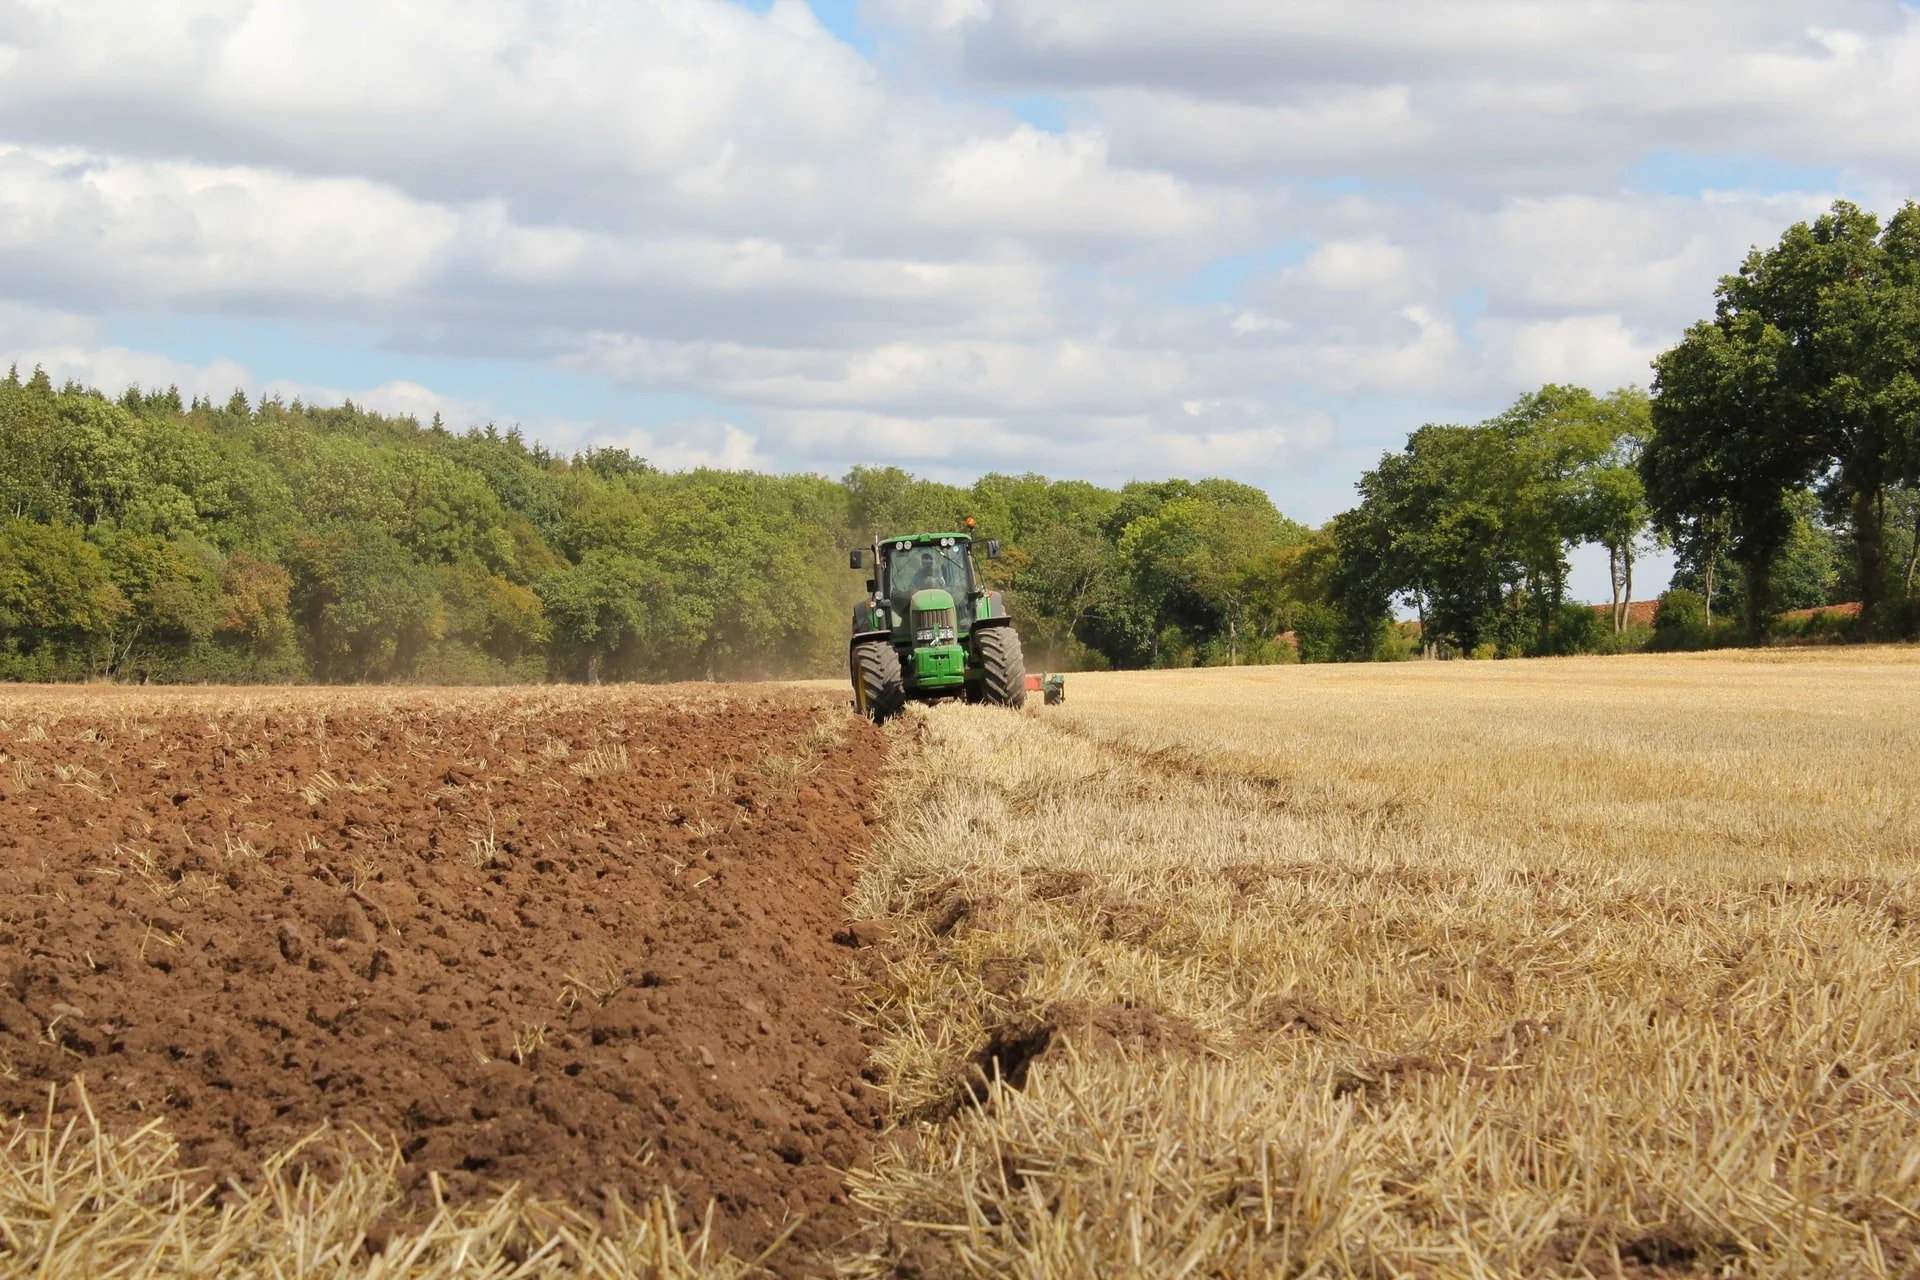
So, Why Till Farms?
Farms are tilled because it is thought that tilling helps loosen compacted soil, and gets some air going into the hard earth, which makes it easier to plant into. Tilling also rips up weeds, and buries the scraps left over from harvesting.
How Does Soil Get Compacted in the First Place?
Farm equipment, animals, rain, and even people, contribute to soil compaction.
Why Shouldn’t We Dig the Garden?
The soil doesn’t only anchor plant and tree roots, though this is what many of us believe. Soil is an extraordinarily complex ecosystem, teeming with diverse life forms including bacteria, fungi, actinomycetes, yeast, protozoa, algae, earthworms, and other critters. Soil life forms a mutually beneficial relationship with plant roots, and the soil fungi forms a similar association with the tree roots, helping them access nutrients efficiently. Microorganisms are responsible for nutrient cycling, improving soil structure and aeration, and also for controlling diseases.
Tilling and digging the soil exposes a very subtle ecosystem to the air which dries it out. The sunrays sterilize the soil, killing organisms in the process. It also loses a lot of the organic matter, and eventually doesn't retain moisture as well. Or, in the case of dense, clay soils, destroys the organic matter that helps these soils drain. The fragile soil structure is disturbed, it dries out and forms a hardpan surface, which diminishes water absorption, and leads to more surface runoff, which eventually increases soil erosion. This forms the basis for the current ecological crisis of desertification.
While it may seem like tilling and digging leads to better plant performance, that is a common misconception. The fact is with the first dig, tiny living organisms within the soil are killed, and that gives a boost of nutrients. Fertility goes up and plants grow better. But this boost is only temporary. With the second, third time over, the soil becomes sterile, your plants end up worse off from when you started, and will likely require increased quantities of fertilizers, which again, over time, harms the soil’s nutrients and natural balance. All this can be avoided if we have a basic understanding of soil ecology and soil health.
What is No-Dig Gardening?
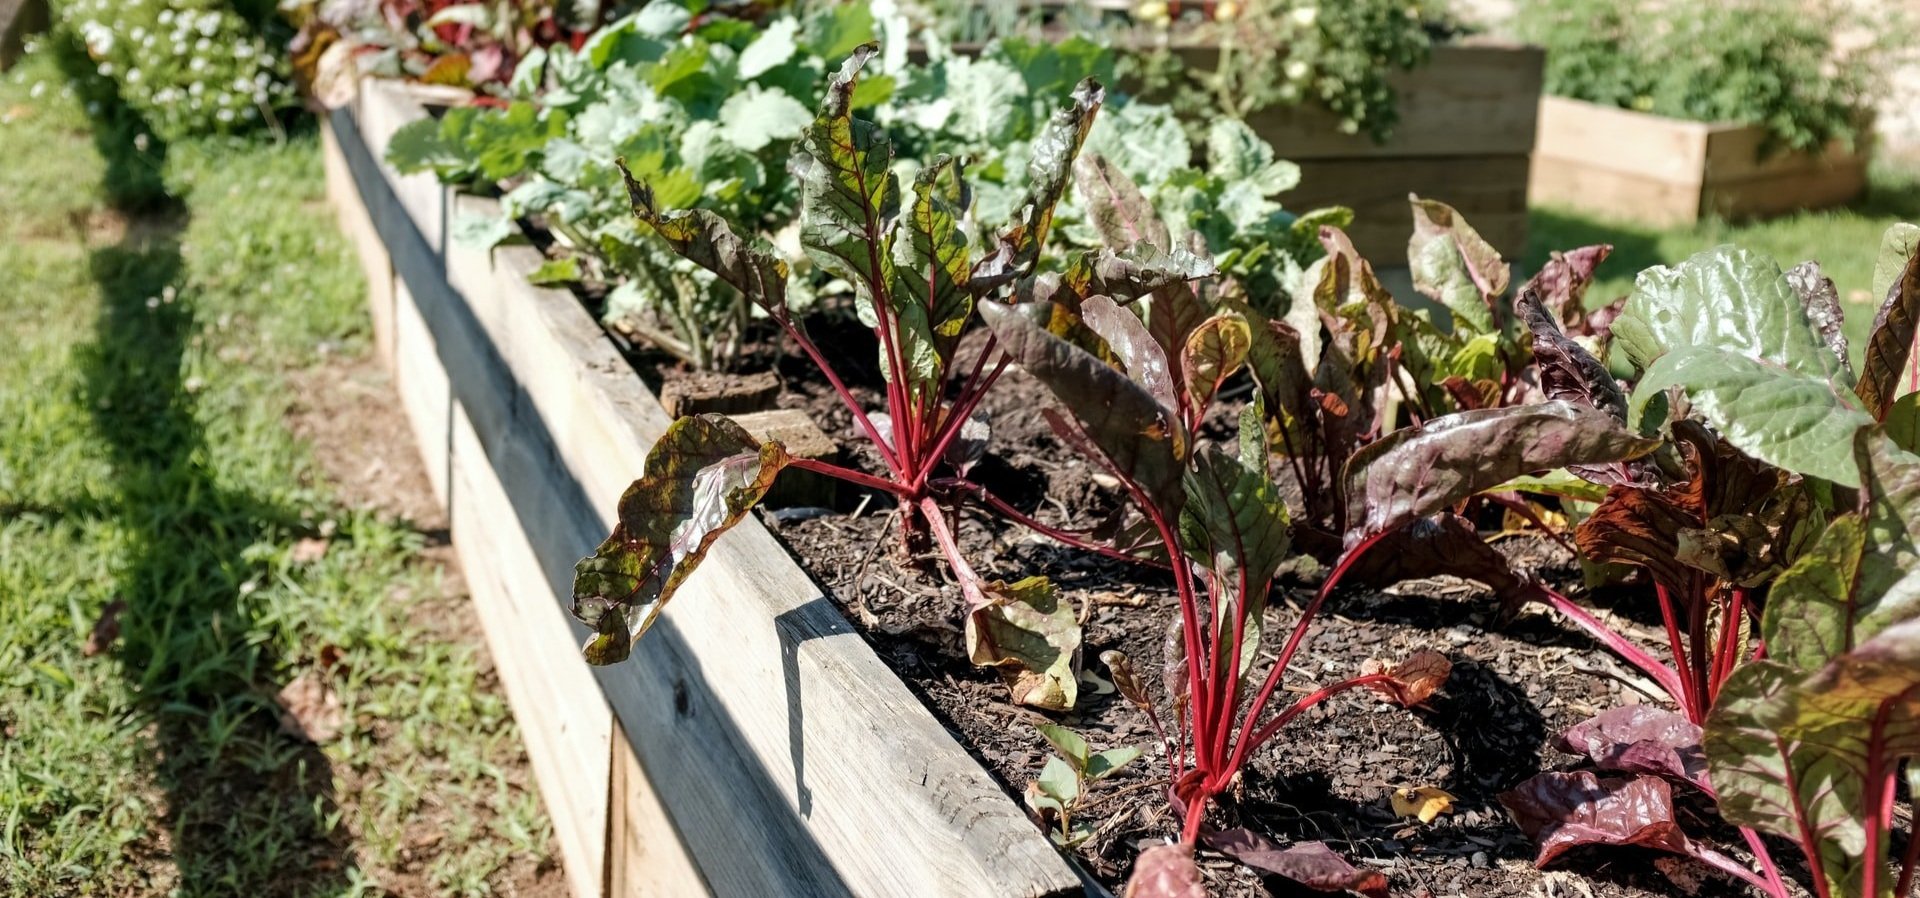
Low upkeep, low water needs, and copious. That’s no-dig gardening for you. No dig gardening is a practical and effective method of organic gardening. No-dig gardening involves leaving the soil as intact as possible. This usually relies on a series of raised beds, incorporating different mulching techniques to suppress weeds, followed by rich, high-quality organic compost as a planting medium. It differs from more ‘traditional’ gardening in that it doesn’t require plowing to aerate the soil, to incorporate organic matter into it, or to improve its quality.
In a no-dig garden, the soil is not compacted as it is not stepped upon frequently. An initial walk-through, tamping down of the compost is required, but not after. Walking on the soil bed repeatedly destroys the soils structure by compacting it, preventing air and water penetration to the plant roots, which affects its health, restricts growth and productivity. Digging is not required, apart from an initial forking session to get the perennial weeds and grasses out.
There are many reasons why a no dig approach can be the perfect idea for your home garden.
Allows for a healthy soil ecosystem that is brimming with life.
Enhances soil fertility and moisture retentiveness over time.
Improves yield and its quality.
No more sore muscles and aching back!
Around the world, deforestation coupled with global warming is leading to the loss of valuable topsoil at a rate faster than it can be replaced. It is crucial that we develop and practice more green practices. If not, the world could run out of the fertile soil it needs to grow food within the next 60 years.
How to Protect the Soil and Improve its Quality
The delight of growing fresh chemical-free food at home is regularly hindered by our lack of time and poor-quality soils. With no-dig gardening, adding organic matter directly to the soil surface, such as manure, compost, straw, leaves etc. is enough. Placing organic matter on top is a good way to bring the soil to life because that is how soil organisms work- searching for, and eating, organic matter at the surface, then digesting and excreting into the soil, building a permanent structure in doing so. Because the soil is undisturbed, a stable soil ecosystem develops and plant health improves.
Moisture is also better retained due to the mulching, and the organic matter in the soil works like a sponge to the water. The mulching also prevents soil erosion, runoff of rainwater across the surface, and allows rainwater to percolate into the soil. The earthworms- nature’s very efficient diggers, create channels in the soil, which help both water and air to penetrate.
There are several variations of how we can establish “no dig gardening”, since they all use the same underlying principle- soil build up. No-dig gardens can be assembled anywhere because this technique creates soil – a rich, dark, healthy, nutrient-filled humus where plants thrive. They can be constructed over old soil, or an existing lawn. For the sake of clarity, this article will discuss starting a no-dig garden on an existing lawn.
If you are just starting, you can really go with any method of no dig gardening depending on the kind of space you have. To grow new gardening areas, you can choose to grow:

Lasagna Gardens (raised beds with organic materials are composted in place.)
Hugelkultur Beds (Mounds of organic materials)
Straw Bale Gardens (Plants grow on straw bales, instead of soil.)
In each of these cases, the new growing area is colonized, from beneath, by soil organisms, and slowly breaks down over time. Its nutrients are gradually combined into the soil ecosystem below, and new growing areas are created which will continue to flourish for years to come.
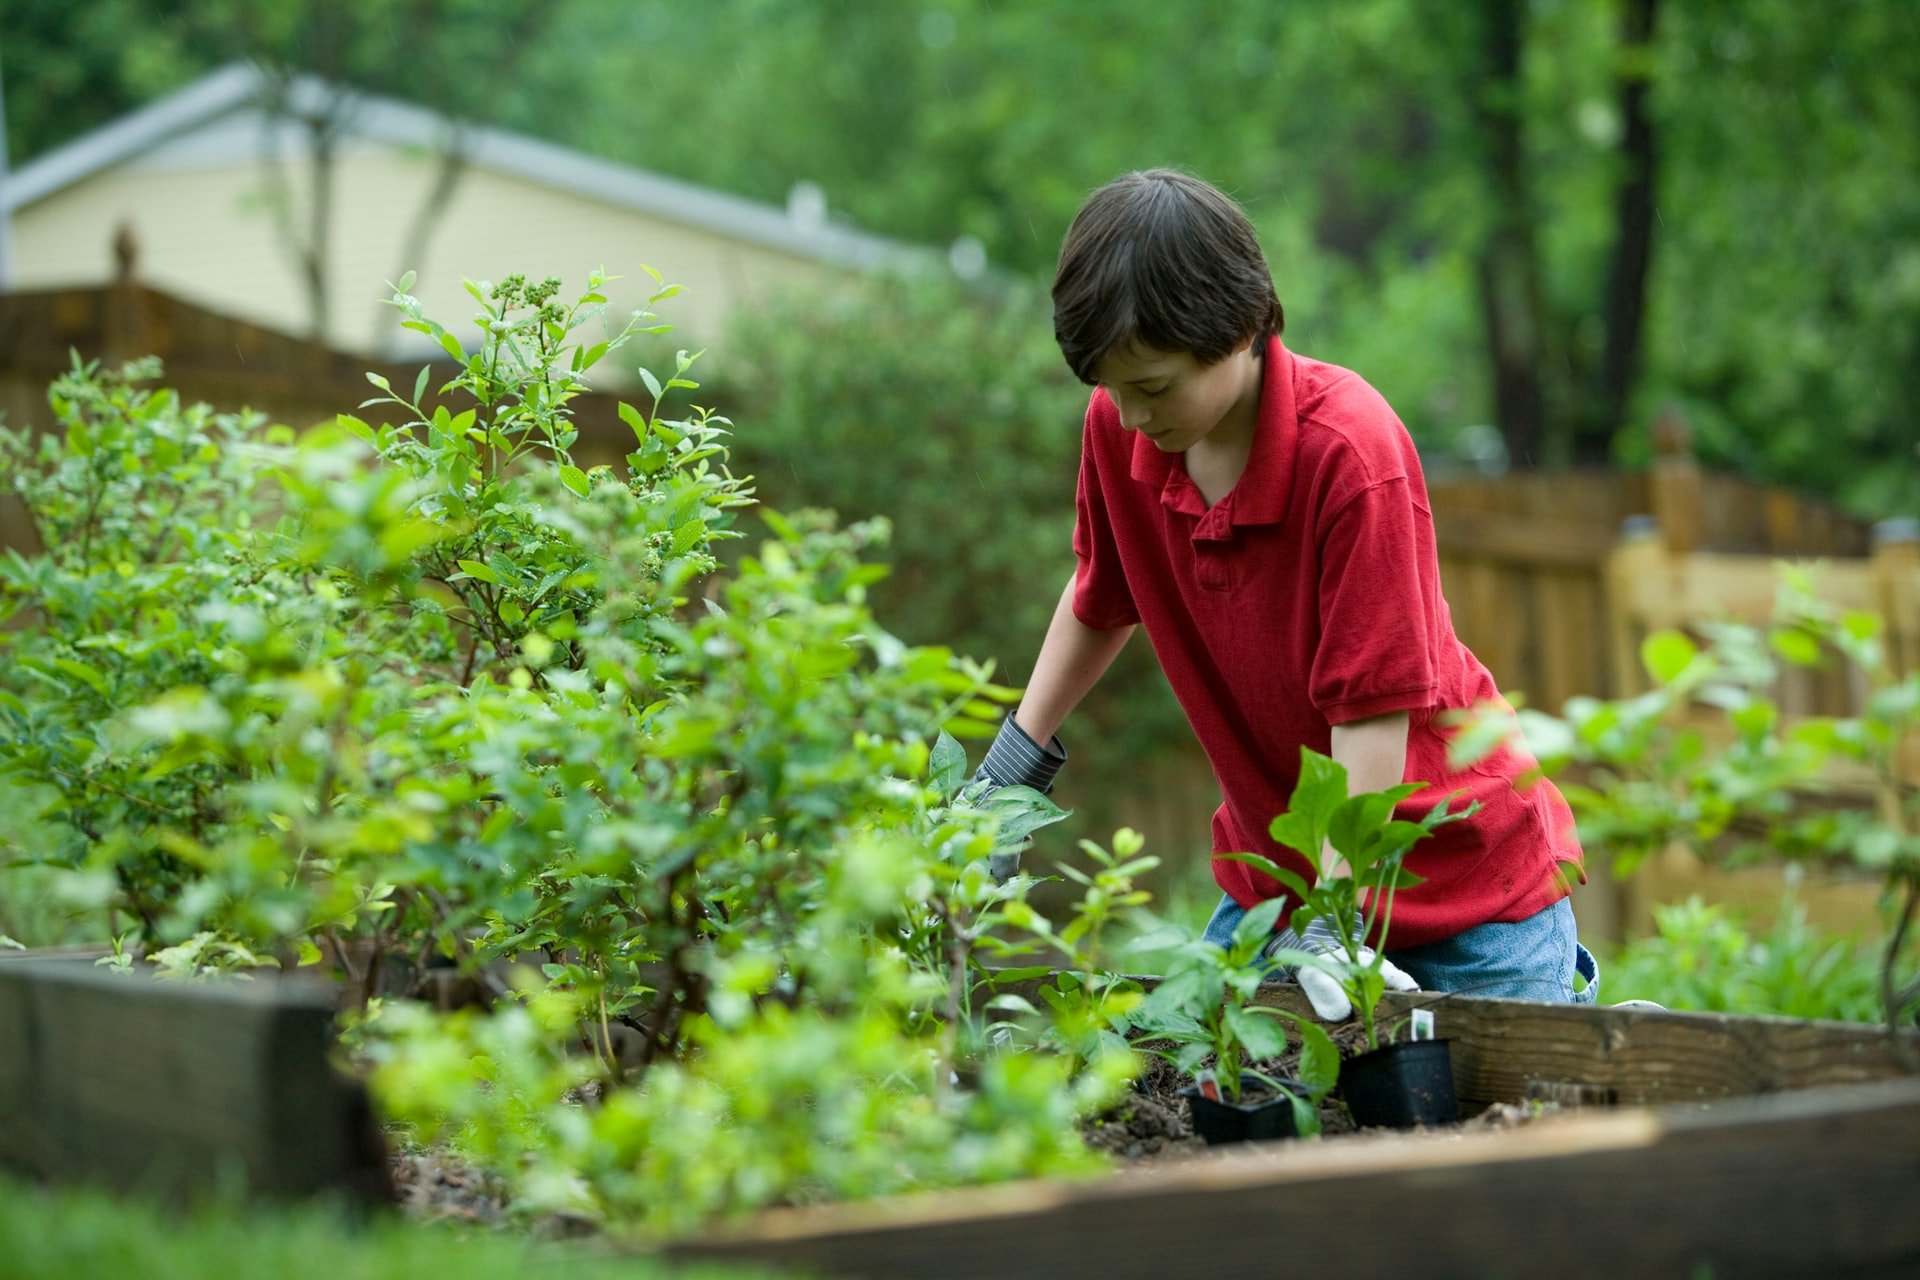
How Does Someone Start If They Have No Experience?
To begin with, try not to be daunted with what you see or what you read. With so much information available on the internet, it can be easy to get overwhelmed while figuring what works and what doesn’t.
Start Small
For beginners, start small-with one bed. 4 x 8 ft with 6 inches compost being an appropriate size for a no-dig garden. Small areas need less time and resources and make management easier. Harvests are often just as plentiful as from larger areas that are less intensively cropped. Cropping a small area well is more productive than having weeds and empty spaces on a larger area.

Learn some fundamentals about propagation, so you can raise healthy seedlings at home.
Select a garden site – a spot that’s close to the kitchen and gets 6-8 hours of sunshine daily.
Mark out your garden measurements, including edges and pathways. Pull or dig out grasses and weeds. Do this on a dry and sunny day, to prevent re-rooting. Don’t discard them but leave them on the surface. These will add organic matter to the topsoil layer. When roots die, channels for air and water open up.
Invest in some basic crop protection equipment, like a piece of mesh to keep critters from eating your vegetables.
Water the area well – or preferably start construction after a good rain.
Sow in season – each vegetable has a “best time” when it crops most healthily and abundantly. The success of your first crop will give you the needed motivation for moving on to your next no-dig project.
Choose cover crops wisely. Different cover crops can help with issues related to compaction, erosion, low nutrient levels, and other soil issues. Multi-species cover crops are a better solution to prevent soil issues than planting just a single variety.
Fork and Feed the Soil
Loosen the soil with a garden fork, only if you think the soil needs it. This opening will not involve any turning the soil. Turning over layers of soil will kill the existing ecosystem within the soil. Push the fork down as far as there is no resistance. and pull back to open and raise the soil. We’re just trying to loosen the soil and make it and crumbly, not dry it out.
Sprinkle nitrogen-rich organic materials such as chicken manure and fresh non-meat kitchen scraps. Coffee grounds, eggshells are some other great options.
Create A New Topsoil Layer
Add 6-7 inches of well-rotted compost and water it in. Well-rotted compost is usually dark, crumbly and smells earthy sweet. This becomes the new topsoil.
Use what you can find locally or recycle from your own garden materials.
If you have a choice of composts, drop the least rotted first as a base layer, with the finest compost as your top layer, to sow and plant into.
Bulk up the compost layer by adding ripped leaves of any abundant leafy green available.
If your compost contains lots of fresh leaves or manure, it's best to wait a couple of weeks before planting to avoid burning delicate seedlings from all the heat that’s going to be generated.

Make a Weed Barrier
Weeds, despite best efforts, will still sprout up every now and then. Adding a biodegradable weed barrier will prevent weeds from taking over your garden. Always be on top of them and pick out stray weeds before they spread. Here is how to limit weed growth.
Use moist newspapers about 10-15 sheets thick. Some people use cardboard, but we prefer paper. Do not use glossy printed papers, you don’t want toxic inks leaking into your preciously grown food! Soak paper thoroughly before laying. Dry paper doesn’t lay well and absorbs moisture from the soil.
Overlay the paper 4 inches in all directions to ease planting through the paper layer.
Before mulching, cover up any gaps. If you leave spaces, the weeds will find it!
Lay paper in your paths and edges too.
Hoe and trowel periodically to get out perennial or larger weeds that escape hoeing.
Maintaining your edges is key, especially if your plot is adjacent to grassy areas or weedy allotments. Compost all of these, to add to the fertility of your plants.
Laying the newspaper as one of the final layers before the mulch layer has a few advantages. The compost layer stays more damp under the paper layer. Less nutrients from the compost are lost to evaporation. Roots of growing plants can penetrate directly into the soil.
Keep Soil Covered at All Times
Another important rule is to not leave areas of soil, bare. Soil should always be covered, preferably with live plants. Spread mulch between plants where necessary. Bare areas of soil lose moisture and nutrients, and the soil's capacity to store carbon is reduced.
Planning for continual soil cover is an essential long-term task. People find it difficult to move to a no-till system since they believe they don’t have enough organic material/biomass for sheet mulching, composting and creating beds.
In small gardens, home composting is priceless. Consider starting on it right away, since it takes a couple months to have a batch of well-rotted compost ready.
Kitchen scraps, grass clippings, pruned materials, leaves from trees already growing on your property can all be added to your compost bin.

If you really don’t have anything as mulch, plan to plant perennial, fast growing shrubs and trees that can be used as biomass to aid your compost or mulch pile.
Add a thick layer of mulch (6 inches) over the weed barrier, beds and paths.
Place anything containing seeds (like kitchen scraps) under the barrier layer.
The mulch gradually becomes part of your new topsoil, but in the process it protects and insulates the surface and also conserves moisture.
Planting and Watering
Select a variety of seasonal and perennial vegetables, herbs, and flowers for a lush and plentiful garden.
Consider the size and growth structure of each plant when planning where to place seedlings or seeds.
To plant, make a small pit in the mulch to reveal the paper. Poke a hole through the paper and check that the soil is loose below.
Add a handful of compost in dug space to level off the weed barrier, newspaper in this case.
Plant the seedling or seed into the compost. Press to make sure it stays put.
Bring the mulch back around the seedling, without touching the seedling.
Water the individual holes and ensure that the seedlings are firmly in the compost.
To plant small seeds like tomatoes, open the mulch along a line, tear the paper gently and lift back a little. Add compost and sprinkle the seeds.
Tips for Your No-Dig Garden
Water when necessary. Overwatering causes shallow root growth.
Combine herbs and flowers amongst the vegetables to have good pest management.
Always keep working on growing that beautiful compost pile.
Don’t trample your garden! Design your no-dig so it's accessible from all sides. Never walk
When you uproot a plant, add a handful of compost in its space and place a different plant – no need to recreate the whole area.
Uneven ground will need levelling. Scrape off high bits with a sharp tool and level out the surface.
You are bound to come across a few glitches in the first growing season. Like Boggy Creek Farm, maintain a journal of your findings noting the season, plant type and the problem that you faced. Also note down how you were able to overcome this challenge. Next growing season, with experience and your own good judgement, your no-dig garden will flourish with lesser issues!
Further Reading for No-Dig Gardening in Texas
Preparing Your Spring Garden Utilizing the No-dig Method, Corey Wahl of Ronin Farm, Bryan, Tx.
Overcoming North Texas Gardening Challenges with Raised Beds, Texas Master Gardener
