
The Ultimate Guide to Organizing Wool Yarn
Mastering the Yarn Ball Winder for Efficient Homesteading
Homesteaders who work with wool yarn understand the importance of efficiency and organization in their crafting process. A yarn ball winder is an indispensable tool that transforms hanks, skeins, or loose yarn into manageable balls or cakes, streamlining the knitting and crochet workflow. Not only does it save time, but it also helps in preventing tangles and keeping yarn storage tidy and accessible.
Yarn ball winders come in various types, from manual to electric, each with its own capacity, features, and price points. For instance, a compact manual winder is a budget-friendly option, perfect for lightweight thread and creating smaller balls of yarn. On the other hand, electric winders cater to those who need to organize large quantities, offering speed and ease of use that significantly reduces the manual labor involved in winding.
Selecting the right yarn winder can be dictated by the volume of yarn a homesteader works with, as well as their budget. While manual winders are suitable for occasional use, electric winders are advantageous for those dealing with heavier weights or bulk quantities of yarn. Regardless of the choice, a yarn ball winder is a sound investment, ensuring that the transition from fleece to fabric is as smooth as possible.
What Is a Yarn Ball Winder?
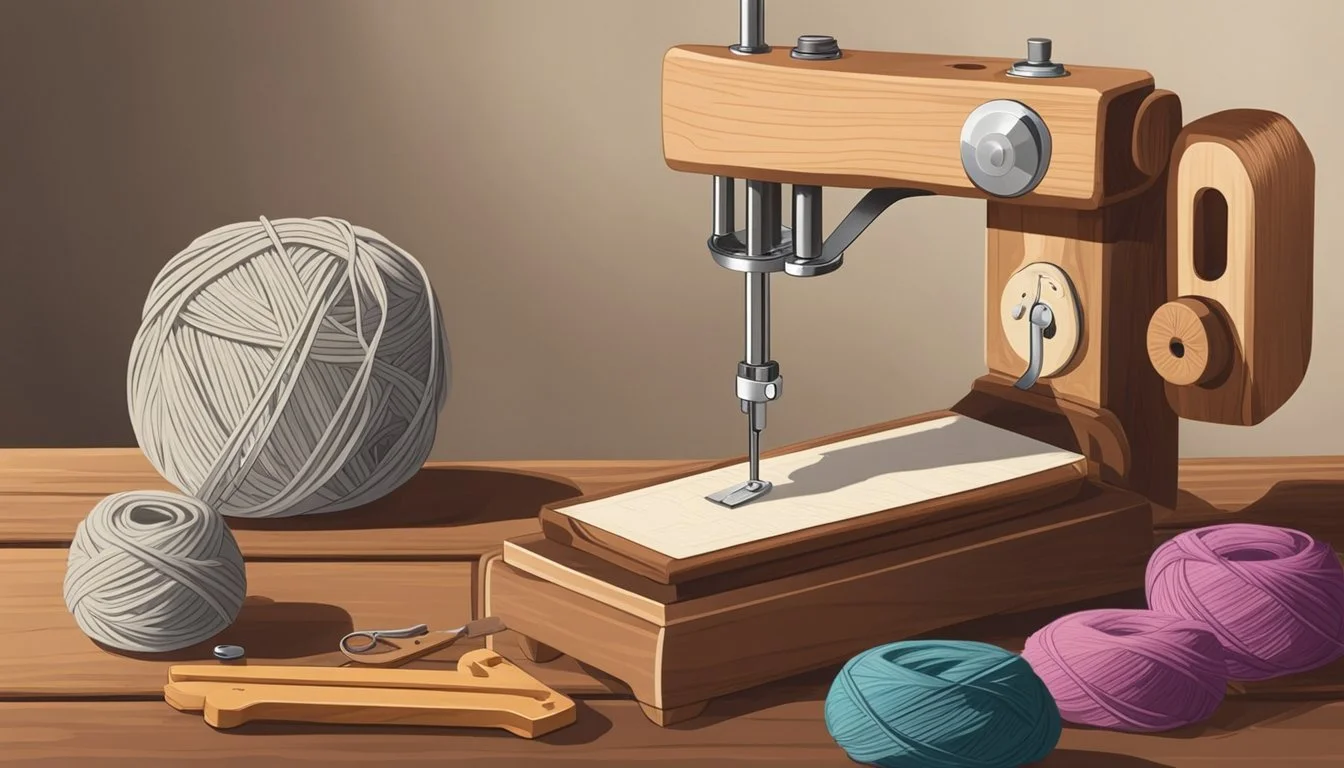
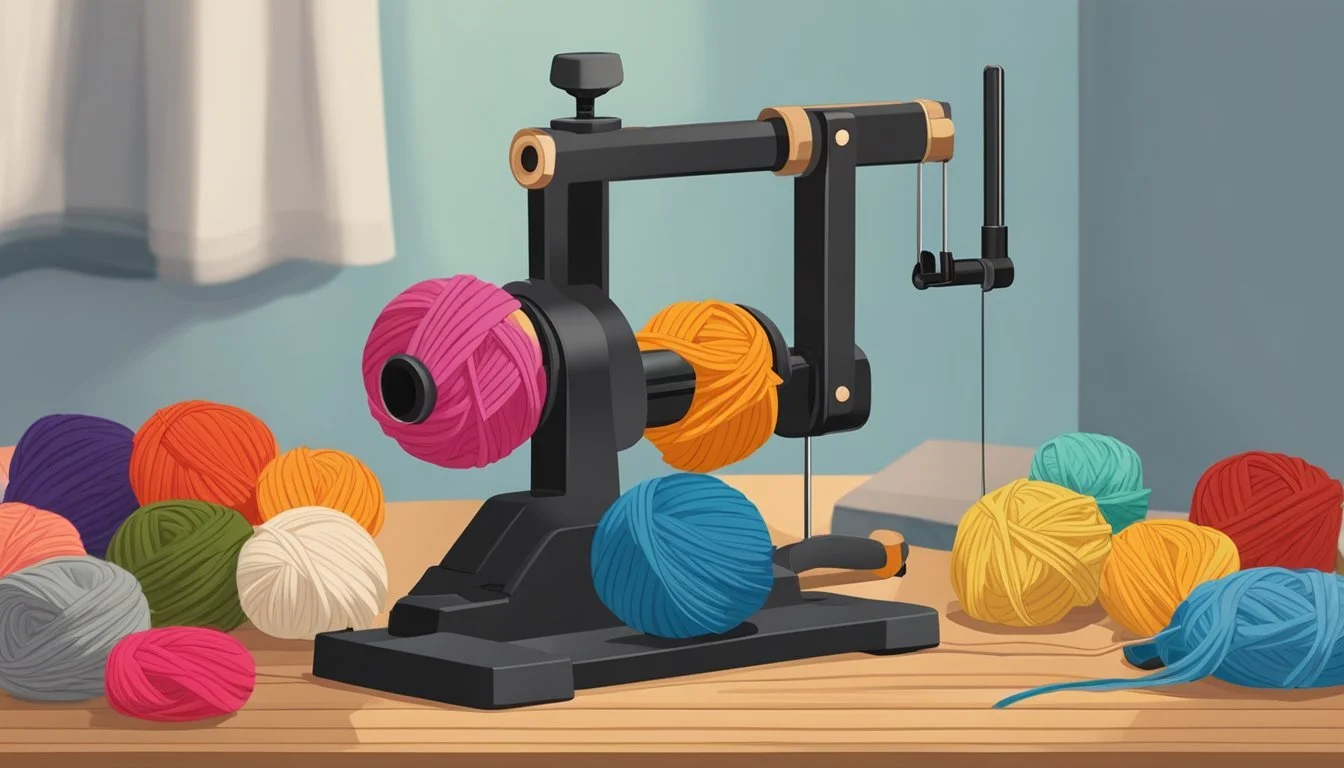
A yarn ball winder is an essential tool for homesteaders and crafters who work with wool yarn. This device simplifies the task of organizing yarn into a more manageable and usable form.
Structure: Typically, a yarn ball winder consists of a clamp to secure it to a table, a crank handle for winding, and a spindle or bobbin to hold the yarn. They may also include a metal yarn guide arm to feed the yarn smoothly onto the bobbin.
Function: It transforms loose skeins or hanks of yarn into neat, compact balls or cakes. The term "cake" refers to the cylindrical shape with a flat top and bottom that results from proper winding.
Usage:
Homesteaders place the skein on a swift.
Yarn is threaded through the winder's guide(s).
Yarn end is secured to the winder's spindle.
The handle is rotated, and the winder winds the yarn.
Benefits:
Efficiency: Winders accelerate the process of organizing wool yarn, saving time.
Convenience: Wound yarn cakes pull from the center, preventing tangling.
Uniformity: Winders create uniform balls, ensuring consistent tension in projects.
Types of Winders:
Manual Winders: Operated by hand, providing the user with control over tension.
Electric Winders: Automated for faster winding but typically more expensive.
A yarn ball winder turns the potentially tedious task of hand-winding yarn into a simple, efficient process, making it a valuable tool for anyone looking to streamline their crafting workflow.
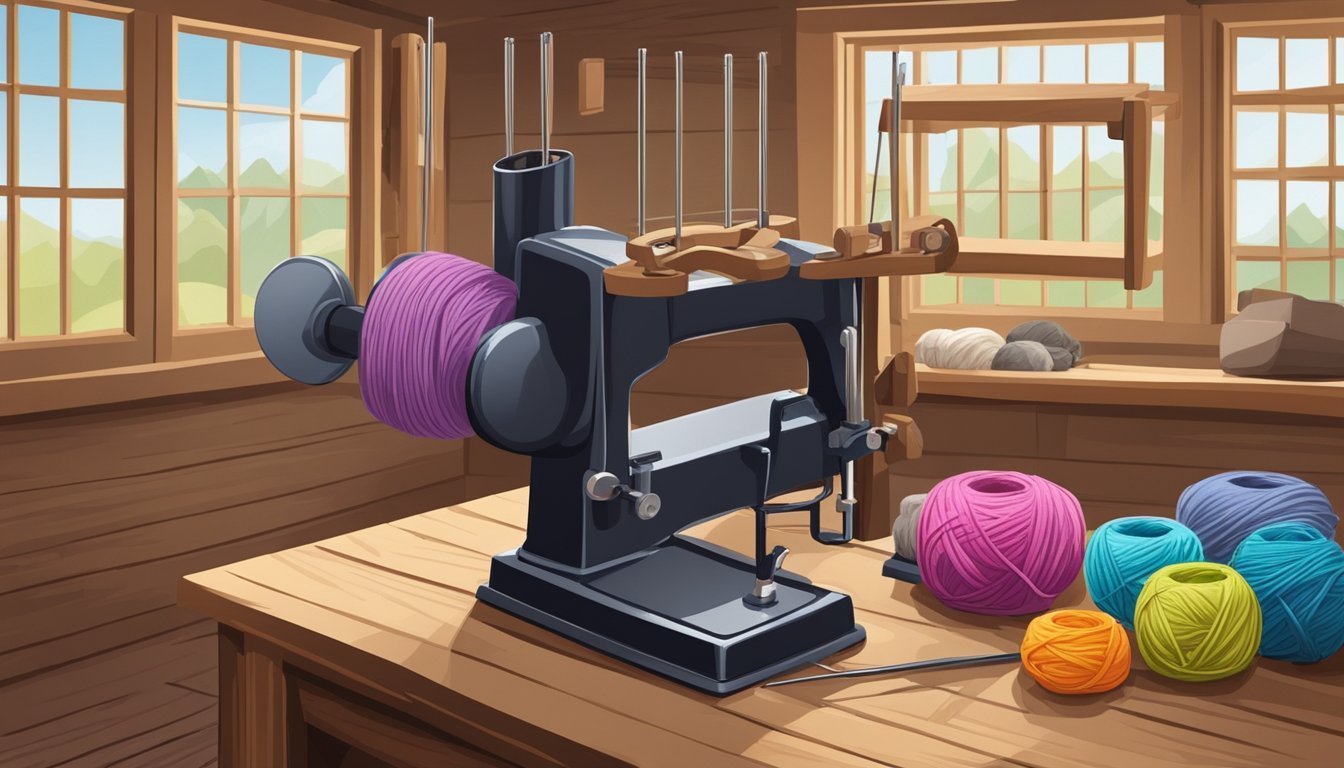
Understanding Different Types of Yarn Winders
Selecting the appropriate yarn winder can vastly improve a homesteader's fiber organization. The type of winder chosen—electric or manual, horizontal or vertical—depends on various factors like the volume of yarn, the user's physical comfort, and space constraints.
Electric vs. Manual Winders
Electric yarn winders offer speed and ease, ideally suited for those with large quantities of yarn to process. Brands like Stanwood Needlecraft and Simplicity Boye produce electric winders that can handle different yarn weights efficiently. Manual winders, like the Knit Picks Yarn Ball Winder, are budget-friendly and don't require power, making them portable and accessible for users with hand or wrist discomfort.
Type: Electric
Pros: Faster winding, less manual effort
Cons: Higher cost, requires power source
Type: Manual
Pros: More control, portable, less expensive
Cons: More physical effort, slower than electric
Horizontal vs. Vertical Winders
Horizontal winders rotate the yarn horizontally, akin to the axis of the earth. They tend to be more stable and can be easier to set up and use. Vertical winders, on the other hand, wind the yarn in a vertical orientation, which can be more space-saving on a worktable. Homesteaders must consider their working space and ergonomic needs when choosing between these designs. Brands do not usually specialize in one orientation over the other, so both types can be found from trusted names in the field.
The Benefits of Using a Yarn Winder
Using a yarn winder offers numerous advantages to homesteaders, from streamlining the winding process to enhancing yarn storage solutions. It addresses the common frustrations associated with yarn management by incorporating efficiency and neat storage practices.
Efficiency and Speed
A yarn winder greatly increases efficiency in yarn management. It turns a potentially time-consuming task into a swift and simple process, allowing an individual to wind skeins of yarn in a fraction of the time it would take to do so by hand. This tool is particularly useful when one has a high volume of yarn to wind, making it an indispensable asset for time-sensitive projects.
Time saved: Drastically reduces the time spent winding yarn.
Ease of use: Simple setup and operation make it accessible to users of all skill levels.
Neatness and Tangle Prevention
Creating a neatly wound ball of yarn not only looks appealing but also prevents tangles and knots. A yarn winder helps maintain consistent tension throughout the winding process, ensuring the yarn feeds smoothly without snarls during subsequent use.
Uniform cakes: Produces compact, center-pull cakes or balls of yarn.
Reduced knots: Minimizes the risk of encountering disruptive knots and tangles while knitting or crocheting.
Yarn Storage and Organizing
Neat, uniformly wound balls of yarn are easier to store and organize. Homesteaders can optimize their space and maintain an orderly crafting area with ease, leveraging the compact nature of wound yarn.
Space efficiency: Wound yarn takes up less storage space and can be stacked or stored in various containers.
Accessibility: Organized yarn makes it easy to inventory and select the desired skein for any project.
Selecting the Right Yarn Winder for Your Needs
When it comes to organizing wool yarn, choosing the appropriate yarn winder is critical for efficiency and ease of use. Homesteaders should consider winder compatibility with their preferred yarn weight, the proper size and capacity for their projects, and the durability and construction materials of the winder.
Matching Winder to Yarn Weight
The weight of the yarn dictates the type of winder needed. Lighter yarns like lace or fingering require a winder with a delicate touch to prevent damage or tangling. Conversely, heavy-weight yarns like chunky or bulky demand a robust winder that can handle the thickness without malfunctioning.
Lightweight yarns: Delicate winders
Heavy-weight yarns: Robust winders
Capacity and Size Considerations
Wind from smaller capacity winders is suitable for hanks up to 100 grams, ideal for most standard projects. Larger capacity winders can accommodate massive skeins upwards of 10 ounces, beneficial for those bigger tasks on a homesteader's varied to-do list.
Capacity Examples:
Standard: Up to 100 grams
Large: 4 to 10 ounces or more
Durability and Material Choices
A winder's longevity and performance lie in its material construction. Durability often correlates with higher-quality materials such as metal components over plastic. The best yarn winders balance durability with functional design, ensuring that they can withstand repeated use without sacrificing performance.
Durable Materials: Preferably metal components
Performance: Must not decrease over time
Setting Up Your Yarn Winding Station
A well-organized yarn winding station streamlines the process of tidying up skeins into neat balls or cakes. It combines ease with efficiency, ensuring that the task of winding wool yarn becomes a simple routine.
Choosing an Ideal Location
When selecting the perfect spot for a yarn winding station, look for a stable, flat surface such as a sturdy table or desk. This location should have ample lighting and enough space to accommodate both a yarn winder and a swift. A non-slip surface or rubber mat can add stability and protect the table's finish. Ensure the area is free from distractions and clutter, which not only aid concentration but also prevent the yarn from catching or tangling during the winding process.
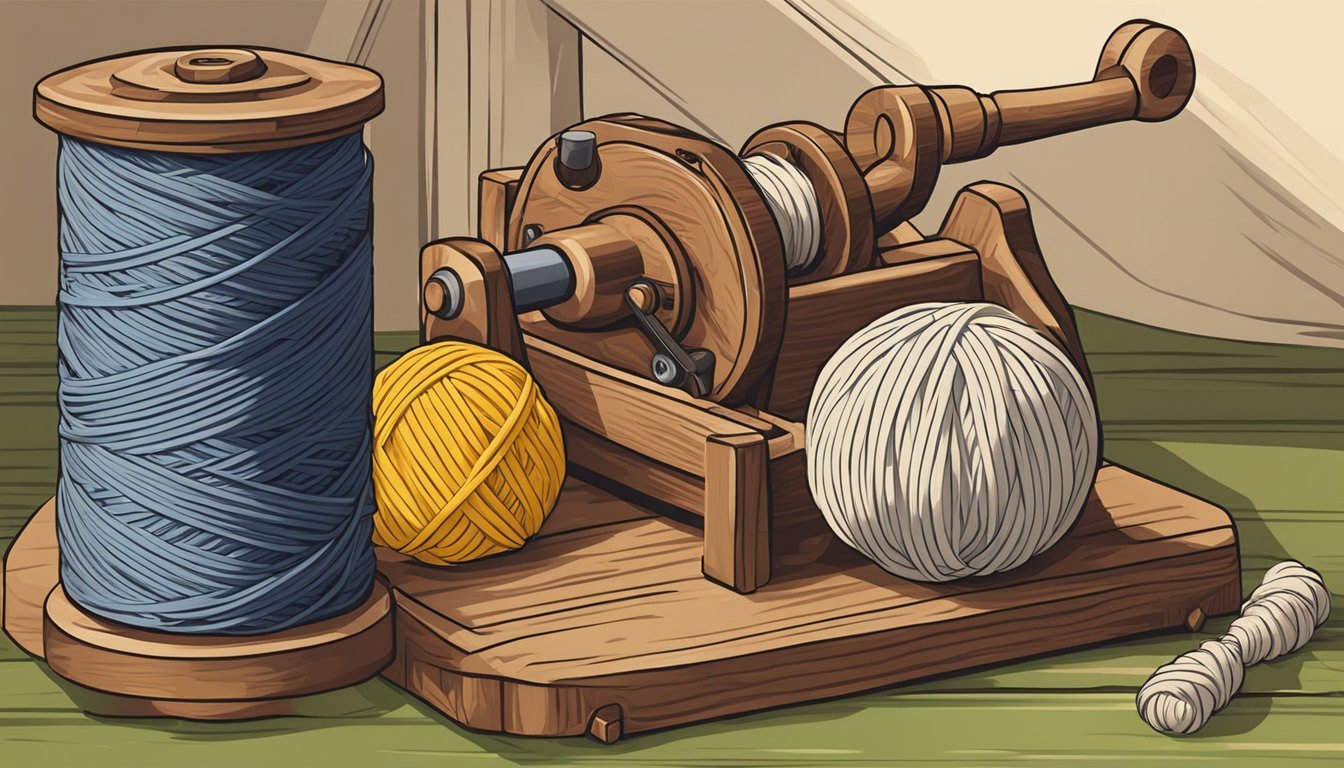
Combining Yarn Winder with Swift
A yarn winder works best when paired with a swift, an umbrella-like tool that holds the yarn skein taut and spins for an even wind. Here's how to optimize their setup:
Mounting the Yarn Winder: Clamp the yarn winder to the edge of the table, ensuring it's secure and the handle turns freely.
Positioning the Swift: Place the swift in line with the winder, with enough room for the swift to rotate without obstruction.
For best results, the path from the swift to the winder should be clear, letting yarn feed directly into the winder's metal yarn guide. Operating the swift and winder in tandem turns loose skeins into compact balls, making them easy to store and use.
Step-by-Step Guide to Winding Yarn
Winding yarn efficiently turns loose skeins or hanks into neat, manageable yarn cakes suitable for both storage and use. This guide outlines a methodical process, ensuring the yarn is wound properly and ready for use without tangles.
Preparing Your Skeins and Hanks
Before one can start winding, it's essential to properly prepare the skeins or hanks. Lay out the yarn and identify the ends; they should remain loose and accessible. Gently untwist the skein or hank and place it on a swift, making sure it's not tangled. If one does not have a swift, they can spread out the yarn on a clean surface or have someone hold it to maintain tension.
Loading the Winder
With the yarn prepared, it's time to secure the winder to a stable surface, such as a desk or table. Ensure the yarn through the guide arm moves freely. Locate the end of the yarn and tie it to the notch on the winder's spindle. Confirm that the yarn is fed from the correct position to prevent snags and uneven tension.
Starting the Winding Process
Now, one can begin winding. Start turning the handle slowly; the yarn will feed through the guide and start wrapping around the spindle. The handler should maintain a steady pace as they wind—too fast and one risks tangling the yarn, too slow and the ball may not form correctly. As the ball builds, guide the yarn to distribute it evenly across the cake's surface.
Finishing the Ball
As one nears the finish, the yarn cake should appear uniform and tight. Once all the yarn has been wound onto the spindle, cut the yarn from the skein or hank. Carefully remove the yarn cake from the winder by lifting it upward, avoiding the disruption of the neatly wound yarn. To secure the end, one can tuck it into the outer wraps, or if available, into the notch or center of the cake to prevent unraveling.
Troubleshooting Common Yarn Winder Issues
When homesteaders encounter issues with their yarn winders, the problem typically lies in the yarn's delivery to the winder or within the winder's mechanism itself. This section will detail how to address tangles and knots, as well as best practices for maintenance.
Dealing with Tangles and Knots
Tangles and knots can halt the smooth operation of a yarn winder. It's essential for one to ensure that their yarn is free of knots before it's guided onto the winder. If a tangle occurs, they should stop winding, gently untangle the yarn, and resume the process with caution to prevent stress on the fibers.
Before use:
Inspect the yarn for potential tangles.
Gently untangle any knots by hand.
During use:
Watch for even yarn feeding.
Pause winding if resistance is felt and inspect for kinks.
After use:
Store the yarn neatly to prevent future tangles.
Maintenance Tips
Regular maintenance ensures a yarn winder operates effectively and extends its lifespan. Key maintenance procedures include regularly inspecting the gears for proper alignment, ensuring the teeth are free of yarn fibers, and cleaning accumulated lint.
Cleaning:
After each use, check for and remove any lint or yarn fibers from the gears.
Wipe down the winder to remove dust and debris.
Regular checks:
Confirm the tightness of winder parts and tighten any loose screws.
Ensure gears are meshing correctly with teeth interlocking snugly.
Lubrication: Sparingly apply a suitable lubricant to the gears, following the manufacturer's recommendations, if applicable.
By following these steps, homesteaders can keep their yarn winder in optimal working condition, ensuring the efficient organization of wool yarn.
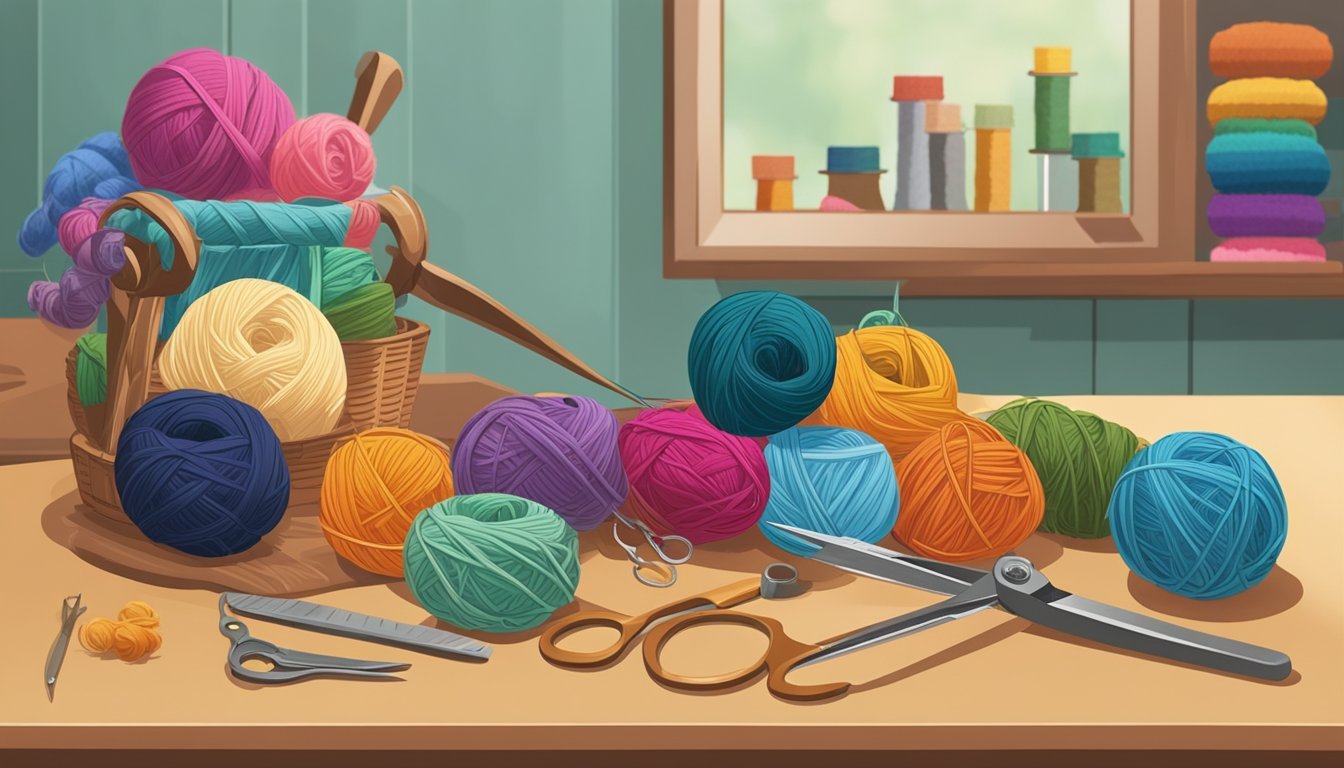
Innovative Ideas for Organizing Wound Yarn
Organizing wound yarn efficiently maximizes a homesteader's available space and preserves the quality of their yarn store. Precision in storage and categorization ensures ease of access and prevents tangles and damage.
Creative Storage Solutions
One can employ a variety of containers for yarn organization, including clear plastic boxes and wire baskets. Clear plastic boxes with lids protect the yarn from pests and dust while providing visibility, so one does not have to search through each box. Baskets offer a more open and rustic appearance, suitable for quick access and an attractive display.
Airtight Containers: Preserve yarn in airtight containers to safeguard from moisture and pests.
Wall-Hanging Organizers: Utilize vertical space with wall-mounted storage solutions.
Repurposed Furniture: Turn bookcases or hutches into yarn storage with the addition of wire baskets to keep skeins separated and orderly.
Labeling and Categorizing
Each storage unit should be clearly labeled to identify the contents swiftly. Labels can be as simple as handwritten tags or more durable options like printed or laminated labels.
Categories to Consider:
Color: Group yarn by color to find the perfect shade quickly.
Fiber Type: Separate wool, cotton, acrylic, and specialty fibers for specific project needs.
Weight: Arrange yarn by weight from lace to bulky to easily select the correct yarn for a project's gauge requirement.
Project Stage: If part of a current project, label yarn with the pattern name or use date to prioritize work-in-progress materials.
By adhering to these innovative storage solutions and detailed labeling systems, homesteaders can efficiently organize their wound yarn, easing the process of selecting the right material for the next project.
Integrating Wound Yarn into Your Projects
Once a homesteader has transformed skeins into neatly wound balls using a yarn winder, incorporating this yarn into knitting projects becomes streamlined and efficient.
Planning Your Projects
Crafters often start with a clear plan for their knitting projects. Selecting a pattern beforehand allows them to determine the quantity of yarn needed. Organized wound yarn balls make it easier to estimate and allocate material for new creations. They should keep a project bag ready with labeled yarn and essential supplies like stitch markers and the chosen pattern. For longer projects, committing to a timeline can keep the knitter on track and ensure each wound ball has its place in the future piece they envision.
Keeping Track of WIPs and Leftover Yarn
For in-progress pieces (WIPs), homesteaders benefit from an organizational approach. Utilizing marked plastic bags or designated project bags helps them to store and identify WIPs alongside their corresponding wound yarn and tools. It’s essential to regularly catalog WIPs to prevent unfinished projects from being forgotten.
Project Name: Cozy Mittens
Yarn Ball Color: Blue
Pattern Status: Halfway Complete
Notes: Leftover yarn to be repurposed
Project Name: Winter Scarf
Yarn Ball Color: Red, White
Pattern Status: Cast On
Notes: Need more red yarn
Recording the usage of leftover yarn from completed projects in a craft journal or digital app can save resources and inspire ideas for patchwork items, accessories, or creative patterns that require minimal yarn. This ensures every last bit of their precisely wound yarn is efficiently integrated into beautiful, tangible handcrafted projects.
Concluding Thoughts on Yarn Winding
When homesteaders wind yarn, they invest in the longevity and ease of use of their woolen materials. A yarn winder streamlines the winding process, offering a reliable way to transform skeins into compact, neat balls. This simple tool enhances a crafter's confidence, knowing that their yarn will not tangle during storage or knitting projects.
Yarn Winders:
They make yarn storage more efficient and visually organized.
They provide the satisfaction of creating uniform, ready-to-use yarn balls.
The operation of a yarn winder is straightforward. Homesteaders find that with little effort, yarn is wound into a tidy ball that is not only simple to use but also appealing in appearance. It is a graceful addition to any homesteader’s toolkit.
Key Benefits:
Increased efficiency: wind large quantities of yarn in less time.
Enhanced organization: maintain a clean, orderly crafting space.
Prevention of tangles: ensure smooth workflow during knitting sessions.
Using a yarn ball winder is indeed a practical and effective method to keep wool yarn organized. It lends itself to a methodical approach to crafting, where the focus can remain on the project at hand rather than the frustration of disentangled yarn. Homesteaders who employ this tool can confidently proceed with their creative endeavors, assured in the quality and readiness of their prepared yarn.
