
The Ultimate Guide to Seed Starting Heat Mats
Boosting Germination with Improved Soil Temperature

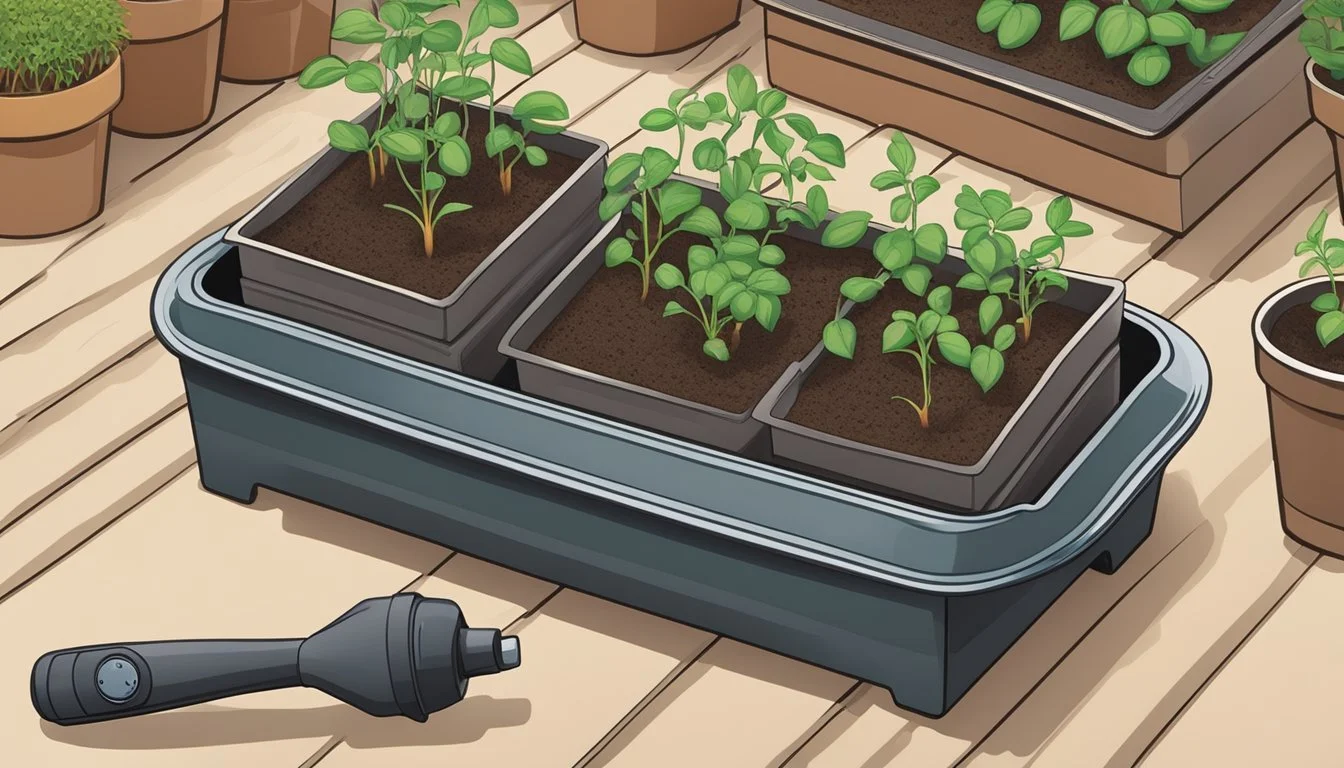
Seed starting heat mats are an essential tool for gardeners who aim to give their seeds a head start. They work by providing consistent, gentle warmth that promotes faster and more reliable germination. This is particularly useful for seeds that require a warm environment, which is not always possible to achieve, especially in cooler climates or during early spring when temperatures are still low. By maintaining the soil temperature within the optimal range of 70-85°F (21-29°C), these mats can enhance the germination process significantly, leading to a successful and bountiful growing season.
Understanding how and when to use a heat mat is crucial for its effectiveness. The mats are best placed on a dry, stable surface and should be set to warm the soil to a general base temperature of 75° to 80°F (24° to 27°C). This aligns with the needs of most seedlings, enabling them to enter the optimal zone for growth. For gardeners who seek efficiency, options with built-in thermostats can help maintain the desired temperature without manual monitoring. This eliminates the risk of overheating the soil, which could be detrimental to seed germination.
While heat mats are particularly advantageous for temperature-sensitive seeds, they should be used with attention to the specific requirements of the plants being grown. Not all seeds require additional heat for germination, and for those that do, the timing of heat application is equally important. Starting seeds on a heat mat too early or too late can affect their development. The goal is to provide an assisted germination phase that mimics the natural warmth of the soil during prime growing seasons, ensuring seedlings emerge strong and are ready for transplanting at the appropriate time.
Understanding Seed Germination
Seed germination is a critical phase in a plant’s life cycle, hinging significantly on soil temperature. The right conditions can accelerate the growth process, while suboptimal environments may deter or entirely inhibit a seed from sprouting.
The Role of Soil Temperature
Soil temperature plays a decisive role in seed germination. Seeds demand specific temperature ranges to activate the enzymes necessary for growth. For most types of seeds, soil warmth is a signal that conditions are suitable for sprouting, as it correlates with longer daylight and the subsequent arrival of spring.
Optimal Conditions for Germination
To germinate, a seed requires an optimal temperature range, typically between 70-85°F (21-29°C). These conditions assure the seeds that the environment is conducive for their growth. It is essential to maintain consistent soil temperatures within this range to prevent disruptions in the enzymatic activities that drive germination.
Effects of Temperature on Seed Germination Rates
The germination rate of seeds can be directly linked to soil temperature. A soil temperature that’s too low might result in slow or no germination, whereas excessively high temperatures can damage the seed or lead to uneven germination. Ensuring a uniform and appropriate temperature is crucial for achieving high germination rates, and thereby, a successful and vigorous start for seedlings.
Types of Heat Mats for Seed Starting
Seed starting heat mats are invaluable for encouraging quick and uniform germination by maintaining consistent soil temperatures. Careful selection and understanding of these mats can significantly influence the success of seedling growth.
Comparing Different Heat Mats
When considering heat mats, gardeners encounter a range of options varying in quality, size, and added features. Standard heat mats typically maintain a soil temperature of 70-85°F (21-29°C), which is ideal for most seeds. Some models include built-in thermostats, while others may require an external thermostat to control the temperature more precisely. Waterproof and water-resistant models provide durability and safety, as they protect the heating elements from moisture.
Selecting the Right Heat Mat Size
Size is crucial when selecting a heat mat:
Small Mats: Typically fit one standard seed tray; suitable for hobbyists or small-scale planting.
Large Mats: Can accommodate multiple trays, making them efficient for larger plantings or professional use.
It's important to match the size of the mat with the number of seedlings one intends to grow. Over-sized mats waste energy, while under-sized mats may not provide uniform heat to all seeds.
Features of Seedling Heat Mats
In terms of features, seedling heat mats can vary:
Thermostat Control: Ensures precise temperature management, critical for species with specific germination requirements.
Waterproofing: A waterproof mat is ideal for messy gardening spaces or accidental water spills.
Durability: High-quality mats resist wear and are a wise long-term investment for regular gardeners.
Additional features could include multi-layer construction and built-in humidity and temperature gauges, enhancing the overall functionality and reliability of the heat mat.
Installation and Usage
Proper installation and usage are crucial for maximizing the benefits of heat mats while minimizing risks during the seed starting process. This section details step-by-step setup instructions and essential safety measures.
Setting Up Heat Mats
To begin, one must ensure that their heat mat is positioned on a dry, flat surface close to an electrical outlet. It's critical that the surface is stable to avoid any potential water-induced hazards.
Steps for Installation:
Place the heat mat on a dry shelf or table in the seed starting area.
Connect the mat to the electrical outlet, making sure cables are not posing a tripping hazard.
Set the thermostat, if available, to the desired temperature range, usually between 70-85°F (21-29°C) for optimal germination.
Place the seed tray on the mat, ensuring it fits completely on the mat's surface.
Insert the thermostat probe into the growing medium if your mat has one, avoiding the edges for accurate temperature readings.
By following these steps, one can ensure that their seeds are provided with a warm environment, which is often necessary for most seeds to sprout.
Safety Precautions and Best Practices
When using heat mats for starting seeds, safety should always be the top priority to prevent any fire hazards or damage to the seeds and growing medium.
Safety Tips:
Never place a heat mat in a location where it may come into contact with water.
Regularly inspect for damage or wear in the mat or power cords, and replace immediately if found.
Monitor soil moisture levels to prevent drying out, using tools such as a water mister to maintain proper hydration without saturating.
To avoid overheating, remove the heat mat once seeds sprout, as continued exposure is not necessary and could be detrimental to young plants.
By adhering to these safety practices, one ensures that their utilization of heat mats for starting seeds is both effective and risk-free.
Temperature Control and Monitoring
Accurate temperature control and monitoring are crucial for seed germination. A heat mat should maintain a consistent soil temperature that matches the specific requirements of the seeds being propagated.
Using a Thermostat for Precision
A thermostat is essential for setting and maintaining the desired temperature of the heating element within a heat mat. Users should look for heat mats that either include a thermostat or have the option to attach one. The thermostat typically comes with a probe that is inserted into the soil to read the temperature accurately. By doing so, it provides precision in temperature control, ensuring that the soil is neither too hot nor too cold for the seeds to germinate properly.
Measuring Soil Temperatures
To measure soil temperature effectively, gardeners can use a soil thermometer. Precision is key, and the thermometer should be inserted into the soil near the center of the heat mat where the seeds are sown. The goal is to aim for the optimal temperature range for seed germination, which often lies between 75° to 80°F (24° to 27°C). Monitoring should be done regularly to account for any fluctuations in ambient room temperature.
Maintaining Consistent Temperatures
For seeds to germinate successfully, a consistent temperature is as important as the correct temperature range. Heat mats should evenly distribute heat, but the gardener must be mindful of potential temperature drops or spikes in the room. If the ambient air temperature fluctuates widely, this can impact the efficacy of the heat mat. Users should avoid placing the heat mat in drafts or near doors and windows, which can lead to inconsistent soil temperatures and affect germination rates.
Enhancing Germination with Additional Factors
Aside from maintaining optimal soil temperature with heat mats, successful germination heavily relies on the right balance of light and moisture. These factors contribute significantly to the health and growth rate of seedlings.
The Importance of Light for Seedlings
Seedlings require a proper light source for photosynthesis, the process by which they produce energy for growth and development. Grow lights are a popular choice for gardeners starting seeds indoors, as they provide a consistent light spectrum that mimics natural sunlight. It is essential to position the lights at the right distance—usually between 2 to 4 inches above the seedlings—to prevent elongated, weak stems or foliage burn.
Key considerations for light:
Duration: 14 to 16 hours of light per day is ideal.
Type: Full-spectrum LED grow lights are energy-efficient and cover the full spectrum of light that plants need.
Distance: Maintain a 2-4 inch distance above seedlings to prevent stretching or burning.
Controlling Moisture and Humidity Levels
Moisture is crucial during the germination phase, but overwatering can be detrimental, leading to issues like rot or fungal diseases. A consistent moisture level in the soil encourages seeds to absorb water and swell, which triggers germination. Humidity domes can help in retaining moisture and keeping humidity levels stable around the seedlings, but they should be monitored to prevent excessive condensation that can encourage mold growth.
Key guidelines for moisture and humidity:
Start: Begin with pre-moistened seed starting mix to ensure even soil moisture.
Monitor: Use a spray bottle to gently mist the soil surface if it begins to dry out.
Adjust: As seedlings establish, gradually reduce humidity to acclimate them to less controlled environments.
Seedling Development Post-Germination
Once seedlings have germinated, the focus shifts to nurturing their growth and preparing them for the eventual transition to the outdoor environment. The following subsections will discuss the stages of development following germination, including acclimatization and growth monitoring, to ensure vigorous and healthy plant growth.
Transitioning to Natural Conditions
After germination, seedlings must gradually acclimate to less controlled conditions. This process is known as hardening off, which involves slowly exposing seedlings to outdoor temperatures and sunlight to reduce stress. A greenhouse can play a key role during this phase, utilizing the greenhouse effect to buffer external temperature fluctuations. Plant growth depends on the careful management of this transition period, especially during the early growing season.
Week 1: Begin exposing seedlings to a few hours of indirect sunlight daily.
Week 2: Incrementally increase exposure, including some direct sunlight.
Week 3: Introduce seedlings to the natural wind and temperature variations for part of the day.
Week 4: Position seedlings outdoors for most of the day, only bringing them in during extreme conditions.
Monitoring Seedling Growth
Close observation of seedlings in their seed trays is essential for identifying ideal growing conditions and any signs of stress. Seedling growth should be monitored for the development of true leaves, which follow the initial sprouting of cotyledons. A rich, well-aerated growing medium supports healthy root and foliage development. Key factors in monitoring include:
Moisture: Maintain consistent moisture levels without waterlogging.
Nutrition: Introduce a diluted liquid fertilizer as seedlings establish more leaves.
By paying attention to these factors and adjusting care as needed, gardeners can ensure that their seedlings develop into strong, flourishing plants ready for the challenges of the growing season.
Common Seed Varieties and Heat Mat Usage
Selecting the appropriate heat mat settings can significantly influence the germination success of various seeds. Each plant species has its own temperature preferences that, when optimized, can lead to robust early growth.
Heat Mat Recommendations for Popular Vegetables
Tomatoes and peppers thrive when germinated between 75-85°F, which a heat mat maintains effortlessly. Lettuce seeds, however, have a lower tolerance for heat, favoring soil temperatures under 70°F for optimal germination and avoiding damping off, a common seedling disease.
Eggplant: Germinate at 75-85°F
Beans and squash: Slightly cooler at 70-80°F
Root vegetables like carrots, beets, turnips, and radishes: Keep within 65-75°F
Corn, okra, and zucchini: Prefer a range of 70-85°F
For broccoli, cabbage, and cauliflower, aim for 70-75°F, while celery, leeks, and parsnips may require temperatures closer to the 65-70°F range. Remember that lima beans need consistent soil warmth, around 75-85°F, to sprout efficiently.
Germinating Flowers and Herbs on Heat Mats
Herbs like basil and parsley benefit from heat mats, with ideal soil temperatures hovering around 70°F. While some flower seeds, such as lisianthus, may demand a slightly higher warmth up to 75°F. It's important to research each herb and flower's specific requirements for best results.
The germination of kale and other leafy greens should not be overshadowed by excessive heat, so maintain a soil temperature around 65–70°F. Carrots and other root crops need a steady but not excessive warmth, usually between 65–75°F to prevent premature sprouting without robust root development.
Employing the correct heat mat settings for herbs and veggies can accelerate germination, foster uniform growth, and ultimately, contribute to a successful growing season.
Maintaining Heat Mats and Seasonal Adjustments
Seed starting heat mats require careful maintenance and thoughtful adjustments according to the seasonal changes. These practices ensure optimal soil warmth for successful seed germination throughout the year.
Cleaning and Storing Heat Mats
Cleaning heat mats at the end of the growing season is crucial. They should be unplugged, wiped down with a mild soap solution, and thoroughly dried before storage. Avoid using harsh chemicals that can damage the mat's surface. Store them flat or rolled up in a cool, dry place out of direct sunlight to prevent cracking and degradation.
Storage is best done in a location with stable temperatures such as a basement or an interior closet, as fluctuating conditions in areas like a garage may compromise the integrity of the mat.
Adjusting for Ambient Room Conditions
Winter: The colder months, particularly when the risk of frost is still present, may require higher settings on the heat mat to maintain the optimal soil temperature ranges between 70-85°F (21-29°C). Heat mat thermostats should be closely monitored, as the ambient room temperature in locations like basements can drop significantly in winter.
Spring: As the weather warms, adjustments must be made to prevent overheating. The heat mat thermostat should reflect the increased ambient temperatures, especially during spring when room temperatures tend to be more variable. Keeping a close eye on soil temperatures is necessary, as improper heat can lead to poor germination or damage to the seedlings.
In both seasons, gardeners should consider the specific requirements of the seeds they are germinating since some may prefer temperatures outside the typical range mentioned above. The careful management of heat mats helps plants transition from indoor start to garden transplant as efficiently as possible.
Alternatives and DIY Solutions
For gardeners seeking cost-effective methods or energy-efficient alternatives to commercial seedling heat mats, there are viable solutions that can be implemented at home to encourage successful seed germination.
Creating Your Own Heat Mat
Individuals can design a DIY heat mat using common materials. One such method involves securing a heating wire, like those used for underfloor heating, to a piece of waterproof insulation. It must be evenly spaced and meticulously covered with a durable material to evenly distribute heat and prevent any electrical hazards. An external thermostat can offer precise temperature control, ensuring that the soil remains within the optimal range of 70-85°F (21-29°C).
Materials Required:
Heating wire or cable
Waterproof insulation board
Thermostat for temperature regulation
Durable covering material
Instructions:
Lay the heating wire across the waterproof insulation board.
Ensure the wire is evenly spaced to distribute heat uniformly.
Cover with a durable material safe for high temperatures.
Connect to a thermostat to monitor and adjust the temperature as needed.
For those affiliated with or having access to resources provided by educational institutes, the University of California extension program might offer additional research-based guidelines and recommendations for creating a DIY seedling heat mat tailored for energy efficiency.
Natural Methods for Soil Warming
Alternatively, gardeners can utilize passive heating methods to provide warmth. Placing seedling trays near a sunny window allows natural sunlight to raise soil temperatures. However, gardeners should monitor temperatures regularly as glass can amplify heat and potentially harm delicate seedlings. Another simple technique is using a standard household heating pad, set to a low setting, beneath seed trays to provide a gentle heat source.
Passive Heat Sources:
Sunny window
Top of refrigerator or other warm household appliances
Heating pads (set to low)
Implementing these methods requires careful oversight to maintain an even and adequate temperature level while avoiding overheating, which could be detrimental to the seed germination process. Gardeners should consistently check the warmth of the soil, especially when employing these more variable heat sources, to ensure energy-effective and safe germination conditions.
Troubleshooting and Common Issues
When using seed starting heat mats, gardeners may encounter a few problems that can hinder the performance and benefits of the mats. Understanding how to handle uneven heating and dealing with diseases and pests can ensure that seeds sprout faster and healthier.
Handling Uneven Heating
Uneven heating is a common issue that can result from placing a seed starting heat mat on an unlevel surface or from a mat that is not functioning correctly. It's vital to ensure the mat is laid on a flat, stable surface. One can use a universal bottom tray to help distribute the warmth more evenly.
Checklist for Even Heat Distribution:
Verify that the heat mat is placed on a completely flat surface.
Use a universal bottom tray to provide consistent support to the cell tray.
Monitor soil temperatures in different areas of the tray to detect any variance.
If one side of a cell tray is consistently warmer, rotating the tray regularly can help balance the soil temperature, promoting uniform germination rates across all seeds.
Dealing with Diseases and Pests
Diseases and pests can proliferate if the environment becomes too damp or warm, which is sometimes an inadvertent outcome of using heat mats.
Preventive Measures:
Ensure proper air circulation around the seed trays to reduce excess humidity.
Watch for signs of mold or fungi, and address them promptly with appropriate treatments.
Regularly inspect for pests that might be attracted to the warmth and take necessary actions if they are detected.
Additionally, it's essential not to leave the heat mat on continuously after seeds have germinated, as a cooler temperature is often required post-sprouting. One should also make sure that there's easy access to electrical outlets for the safe operation of heat mats and to avoid overloading circuits.
