
The Ultimate Guide to Using a Seed Planter
Streamline Your Homestead Planting Process
Modern homesteading demands efficiency and precision, especially when it comes to planting seeds. A seed planter is an indispensable tool for gardeners looking to enhance their planting process. This tool not only ensures seeds are distributed evenly and at the correct depth, but it also saves gardeners from the back-breaking work of bending and planting by hand. With a seed planter, the sowing of seeds becomes a consistent and less labor-intensive task, allowing for better use of time and resources in the garden.
Utilizing a seed planter enables gardeners to achieve a more organized and productive garden. The device's ability to plant seeds at a uniform depth and spacing ensures optimal conditions for germination and growth. This is critical as it minimizes competition between seedlings for sunlight, water, and nutrients. In essence, a seed planter is a valuable addition to any homesteader's gardening arsenal, where the need for maximizing the yield from every patch of soil is paramount.
As garden soil varies in texture and composition, the right seed planter can adapt to different conditions, ensuring the seeds make good contact with the soil, which is crucial for successful germination. Gardeners can adjust settings for various seed sizes and planting depths to suit the specific needs of each plant species. This level of control is what makes the seed planter an essential tool for those who seek an effective and precise way to cultivate their homestead gardens.
Understanding Seed Planters
In the realm of precision agriculture and efficient homesteading, seed planters are indispensable tools. They ensure that seeds are planted quickly and at the correct depth, which promotes even germination and growth.
Types of Seed Planters
Seed planters come in various forms, each suited to different scales of planting and types of seeds. Hand planters are space-saving and budget-friendly, often used for smaller gardens. Users can operate these lightweight seed planters with ease, making them ideal for precision planting without investing in bulky equipment. On the larger end of the spectrum are garden seed planters, which are designed to cover more ground efficiently and are particularly beneficial for planting larger plots. These may come with features such as integrated row markers and adjustable seed spacing.
How Seed Planters Work
A seed planter's mechanism can be simple yet ingenious. It commonly employs planter plates, which are discs with holes or cells spaced around the edge to pick up and release individual seeds. When in operation, the user pushes the planter forward, causing a plate to rotate. Seeds fall into these holes and are then released into the soil at a set depth. Some models use PVC pipe designs, which often serve as a less sophisticated but highly inexpensive chute for manual seed placement.
Choosing the Right Seed Planter
Selecting an appropriate seed planter is crucial. The key is to match the planter to the seed size and garden scale. Planter plates come in various sizes and should be chosen based on the seeds to be planted to minimize misses and doubles. Some plates require manual customization, where the user might need to modify the size of the cells using tools like a Dremel to achieve the right fit. For homesteaders looking for an inexpensive and lightweight option, DIY solutions such as hand-held PVC pipe planters can be utilized, making the task of precision planting more accessible.
Preparing Your Garden Bed
Preparing one's garden bed with precision ensures a bountiful harvest. Proper soil conditions, plant spacing, and seed planter setup are essential steps for success.
Soil Preparation
Before planting, the gardener must ensure the soil is well-prepared. This involves checking that the soil is loose, moist, and crumbly. Soil compaction obstructs root growth, so it might be necessary to add peat to the soil to improve its structure.
Moisture: Soil should be kept evenly moist to provide an ideal environment for seed germination.
Amendments: The gardener must appraise the soil's nutrient content and condition and, if necessary, amend it with organic matter like compost to enhance fertility.
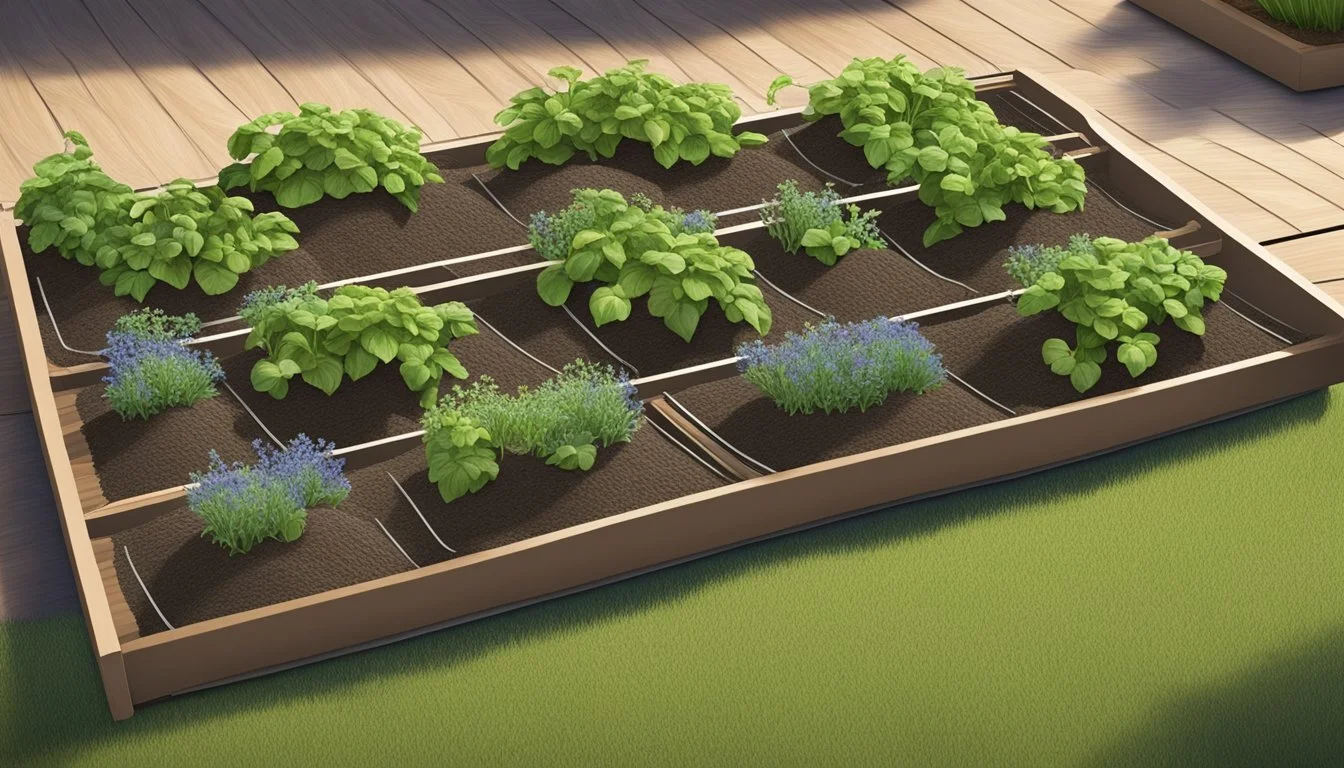
Determining Plant Spacing
Correct plant spacing is vital for optimal growth and yield in a vegetable garden. Here’s a breakdown for common vegetables:
Vegetable: Carrots
Spacing Between Plants: 3 inches
Rows Apart: 12 inches
Vegetable: Lettuce
Spacing Between Plants: 8 inches
Rows Apart: 14 inches
Vegetable: Tomatoes
Spacing Between Plants: 18 inches
Rows Apart: 24 inches
This structured approach prevents crowding, allows for sufficient airflow, and increases sunlight exposure for each plant.
Seed Planter Setup
The gardener sets up the seed planter tailored for the garden's specific needs. The seed planter should be adjusted according to the size and type of seeds being sown to ensure the correct depth and spacing. They must :
Fill the seed hopper with the desired seeds,
Set the depth guide to match the seed's recommended planting depth,
Calibrate the spacing mechanism as per the gardening plan.
By following these steps thoroughly, gardeners position themselves for a garden that's well-prepared for a thriving season.
Seed Selection and Spacing
Effective use of a seed planter involves two critical decisions: selecting the right seeds and figuring out the proper spacing. Both of these factors are vital for ensuring successful germination and optimal growth of plants on your homestead.
Choosing Seeds for Your Planter
When determining which seeds to use with your seed planter, consider the type of crops you want to grow. Common vegetables like beans, tomatoes, corn, and peas, as well as flowers such as sunflowers, require specific plate settings on planters for accurate seeding. Pumpkins and other larger seeds need larger plates, while small seeds like those for onions may be placed closer together. Always choose high-quality seeds with high germination rates to achieve the best results.
Seed Size and Planter Plates
A seed planter's efficiency hinges on using the correct planter plate for the size of the seeds you're planting. Large seeds like corn and pumpkins need plates with bigger cells, whereas tomatoes and peas require medium-sized ones, and onions and flowers often need smaller ones. To cut your own planter plate:
Choose one of the largest seeds in your sample.
Place it on the flat flange part of the plate and trace it.
Use a tool like a Dremel to cut out the rough shape, testing the fit of the seed as you go.
Aim for a cell that snugly fits your seed without restricting its drop.
Seed Spacing Guidelines
Appropriate seed spacing is crucial for plant health and maximizing yield:
Beans: Plant seeds 2–4 inches apart in rows 18–24 inches apart.
Tomatoes: Space seeds 24–36 inches apart with rows 3–4 feet apart.
Corn: Plant 9–12 inches apart in rows 30–36 inches apart.
Peas: Sow 1–2 inches apart with rows 18–24 inches apart.
Sunflowers: Space seeds 6 inches apart, in rows 30 inches apart.
Pumpkins: Require more space, with seeds planted 2–3 feet apart in rows 6–8 feet apart.
For smaller seeds like those of flowers and onions, optimal spacing is typically closer, often 1–2 inches apart. Seed depth is equally important, varying from 1/2 inch for small seeds to 1 or 2 inches for larger seeds. Consult your seed planter’s manual for additional guidance and use a dibber wand with depth measurements for precise planting.
Planting Methodology
The planting process is crucial for ensuring optimal growth of seeds, with particular attention to the choice between direct sowing and using transplants, the precision in creating holes and determining the proper planting depth, and leveraging the use of seed planters to streamline operations.
Direct Sowing vs. Transplants
Direct Sowing: Directly sowing seeds into the soil where they will grow is favored for its simplicity and reduced labor. This method is suitable for vegetables and flowers that thrive without the transplantation shock. Direct sowing ensures that seeds are acclimatized from the onset and is often used for root crops and large-seeded vegetables.
Transplants: Starting seeds indoors or in a protected environment allows for greater control over growing conditions. Transplants facilitate an extended growing season, especially for plants that require a longer maturation period. Transplanting can lead to stronger, more robust plants because they are shielded from early environmental stress.
Creating Holes and Planting Depth
Creating holes and establishing accurate planting depths are critical steps that affect seed germination and plant health:
Creating Holes: Carefully create holes at a uniform depth to ensure consistent growth. For most seeds, holes should be made at a depth of two to three times the seed's diameter.
Planting Depth Charts:
Seed Size: Small
Suggested Depth: 1/4" - 1/2"
Seed Size: Medium
Suggested Depth: 1/2" - 1"
Seed Size: Large
Suggested Depth: 1" - 2"
The depth impacts the seed's access to moisture, light, and heat, which are vital for sprouting. Larger seeds typically require deeper planting than smaller ones.
Using Seed Planters for Efficiency
Seed planters greatly enhance the efficiency of the planting process, offering time-saving benefits and uniformity. They are available in a variety of types, ranging from simple handheld models for home gardens to more complex machinery for larger scale operations.
Handheld Seed Planters: These are perfect for small plots and can increase the speed of planting while reducing strain on the gardener. They ensure seeds are deposited at a consistent depth and spacing.
Mechanical Seed Planters: For large-scale use, these devices can plant rows upon rows of seeds quickly and with precise depth control, making them ideal for commercial farming.
In using seed planters, one saves time and promotes even growth through consistent seed placement. The gardener's or farmer's choice of planter will depend on the scale of their operations and the specific requirements of the plants they are cultivating.
Optimizing Germination

To ensure successful germination, gardeners must control soil temperature and moisture, choose between starting seeds indoors or outdoors, and apply proven gardening tips to increase germination rates.
Soil Temperature and Moisture
Soil temperature and moisture levels are critical factors for the germination of seeds. Most vegetable seeds require a soil temperature between 65°F and 75°F (18°C and 24°C) to germinate efficiently. A soil thermometer can be used to measure these conditions accurately. Consistent moisture is essential but overwatering should be avoided to prevent seed rot. Covering seeds with a fine layer of soil or a moisture-retentive material can aid in maintaining the required humidity.
Starting Seeds Indoors vs. Outdoors
Starting seeds indoors offers the benefit of a controlled environment, leading to higher germination rates. A greenhouse or simple setup with trays can protect seedlings from extreme weather and pests. On the other hand, direct sowing outdoors might align better with some crop needs, like those of root vegetables or large-seeded plants. Herbs and lettuce, which are sensitive to transplanting, also thrive when directly sown outdoors.
Germination Tips for Seasoned Gardeners
Seasoned gardeners recommend:
Pre-soaking: Large seeds benefit from being soaked in water for 24 hours before planting to accelerate germination.
Planting depth: A general rule is to plant seeds at a depth twice their diameter.
Labeling: Each pot or tray should be clearly labeled with the crop name and sowing date.
Seed viability test: Conducting a germination test with a few seeds on a wet paper towel can help predict germination rates for that batch of seeds.
By adhering to these guidelines, gardeners can improve their chances of growing plants from seeds successfully.
Seed Planter Maintenance
Maintaining a seed planter is crucial for precision and efficiency during the planting season. Proactive care ensures longevity and top performance of the equipment.
Cleaning and Storage
After each use, seeders should be thoroughly cleaned to remove any dirt and debris. This not only prevents rust and corrosion but also maintains the integrity of the mechanisms. It's essential to dry all parts before storage to avoid any moisture-related damage. Storing the seed planter in a dry, sheltered environment protects it from the elements and reduces the risk of wear and tear.
Cleaning Checklist:
Remove soil and plant residue.
Inspect seed hoppers for remaining seeds.
Use compressed air or a brush to clean hard-to-reach areas.
Ensure all parts are completely dry before storage.
Replacing Worn-out Parts
Regular inspection of the seed planter's components is key to identifying wear and tear before it leads to larger issues. Critical parts like opener blades and bearings require close attention and should be replaced if signs of excessive wear are evident. Using high-quality replacements can improve the longevity and functionality of the planter.
Key Parts to Monitor:
Opener blades
Bearings
Sprockets
Seals
Replacement Indicators:
Visible damage or deformity
Unusual noises during operation
Reduced performance or inconsistencies in seed placement
Routine Planter Check-Up
A comprehensive check-up before the planting season begins can prevent unexpected downtime. They should check each component, such as pivot bushings for tightness and vacuum meter systems for cleanliness and intact seals. These regular checks ensure optimal seed metering and placement.
Check-Up Steps:
Examine frame integrity and tighten any loose bushings.
Assess row cleaners for proper alignment and tension.
Validate the condition of hoses and tubes, replacing where necessary.
Test the functionality of electronic components and software.
By adhering to these maintenance practices, users can ensure a seed planter operates smoothly and dependably, maximizing their homestead's planting potential.
Advanced Techniques and Tips
In this section, you will discover ways to enhance the accuracy and productivity of your seed planting process. Utilizing precision planting techniques, innovating with DIY seed planters, and effectively troubleshooting can significantly improve the yield of your homestead's garden.
Precision Planting for Maximum Yield
Precision planting is essential to maximizing yield by ensuring seeds are spaced optimally and planted at the correct depth. A keen eye on accuracy can lead to uniform germination and growth, which translates into a more productive garden. One method to ensure precision is using a seed planter with adjustable settings that cater to different seed sizes. Adjustments should be made according to the seed's diameter, generally aiming to plant seeds at a depth four times their diameter.
Depth Setting: Ensure your seed planter has clear markings from ¼ to ½ inch apart for granular control.
Spacing Guide: Create a spacing template with common planting distances to maintain consistent row spacing.
Homemade Seed Planter Innovations
Homesteaders can construct an effective seed planter using simple materials like PVC pipe, an elbow joint, duct tape, and a funnel. This innovation can cut down costs while still achieving high precision.
Connect a length of PVC pipe to an elbow joint to create the handle and the chute.
Affix a funnel to the PVC pipe's opening using duct tape, ensuring a snug fit for directing seeds.
For added comfort, padding can be added to the handle.
Utilizing a homemade planter allows for customization and adjustments catering directly to the unique needs of your garden.
Troubleshooting Common Issues
Problems can arise during the seeding process, but they can often be solved with a few adjustments.
Seed Clumping: Ensure your funnel is wide enough to prevent multiple seeds from jamming up and causing clumps.
Inconsistent Depth: Regularly check and calibrate your seed planter's depth settings for consistency.
Soil Clogging: Clean the chute and planting mechanism after each use to prevent soil buildup, which can lead to blockages.
Accessorizing Your Seed Planter
Accessorizing a seed planter elevates the precision and efficiency of planting various seeds. It involves customizing planter plates, creating DIY seed starting containers, and implementing a system for marking and labeling.
Customizing Planter Plates
Seed planter plates are essential for accurate seed placement. For specific plants like corn, one can adjust the plate's size and distribution to match the seed size, ensuring a snug fit. This custom fit prevents jamming and skips, improving planting uniformity. When it feels necessary, one may modify a planter plate by tracing the outline of a large seed onto the plate and using a tool, such as a Dremel, to carve out a precise opening.
DIY Seed Starting Containers
Instead of purchasing pre-made containers, one can use household items to start seeds. Toilet paper rolls and pea pellets are cost-effective and biodegradable options. To employ toilet paper rolls:
Cut four slits at one end of a roll, fold them inward to create a bottom.
Fill with soil, and plant the seed.
Pea pellets, on the other hand, expand with water and are ready to support seed growth, making them an ideal choice for convenience and minimizing transplant shock.
Marking and Labeling
Effective marking and labeling ensure track of plant growth and varietal distinctions. Using labels or tags with the plant's name, planting date, and expected germination time can be placed directly into the soil near the planting site. For a more durable option, gardeners may prefer waterproof labels to withstand different weather conditions.
Seasonal Planning and Planting
Effective seasonal planning and planting ensures a plentiful harvest. Precision is key, and gardeners must consider local frost dates, crop cycles, and the optimal sowing times for different plants.
Determining the Frost Date
Frost dates are crucial for planning when to start planting seeds. A garden's success begins with knowing the last spring frost date to avoid seedling damage from cold temperatures. Gardeners can find local frost dates from regional gardening guides or meteorological resources.
Last Spring Frost: Typically noted in planting schedules to inform the seeding of frost-sensitive plants.
First Fall Frost: Guides the timing for the last plantings to mature before cold weather.
Crop Rotation and Seasonal Cycles
Experienced gardeners rely on crop rotation to maintain soil health and prevent pests. By varying what is planted in different sections of a vegetable garden annually, they can reduce disease and optimize nutrient use.
Leafy Greens: Prefer cooler, early season planting.
Nightshades (tomatoes, peppers): Rotate annually to fresh beds to decrease disease risk.
Legumes: Fix nitrogen, ideal after heavy-feeding crops.
Sowing Seeds at Optimal Times
Sowing seed should align with the plant's temperature preferences and the seasonal cycle.
Cool-weather crops (lettuce, peas): Sow as soon as the soil can be worked.
Warm-weather crops (corn, beans): Wait until after the frost date when the soil has warmed.
For seasoned gardeners and novices alike, timing is essential. Some gardeners prefer to use a seed planter for even spacing and depth, enhancing germination rates and yields. For example, potatoes require planting in cool soil, while flowers often have specific depth requirements for successful growth.
