The Ultimate Guide to Using a Seedling Dibber
Mastering Seedling Transplantation Techniques
Transplanting seedlings is an essential step in the lifecycle of a plant, marking the transition from a controlled, nurturing environment to a more permanent outdoor location or larger container. The process requires precision and care to minimize stress on the young plants and ensure their continued growth and development. A tool commonly employed in this delicate task is a seedling dibber, a simple yet effective instrument designed to make the right-sized hole in the soil for the seedling to be placed into.
A dibber, with its pointed end and comfortable handle, offers gardeners the ease of creating uniform holes at the correct depth for various types of seedlings. The use of such a tool ensures that roots are not damaged during transplanting and that air pockets, which could dry out roots, are avoided. It's not just about efficiency; the dibber aids in providing consistency in depth and spacing, which is crucial for optimal growth conditions.
Understanding the Basics
When transplanting seedlings, a seedling dibber is an invaluable tool that ensures the proper placement of young plants into the soil. By utilizing this simple device, gardeners can efficiently prepare soil and facilitate the successful growth of their plants.
Defining a Seedling Dibber
A seedling dibber is a hand-held tool designed for garden use, typically featuring a pointed end suitable for piercing soil. This instrument varies in length but is usually long enough to make holes appropriate for the depth of seedlings' roots. Materials range from wood to stainless steel, with the latter providing durability and ease of penetration in compact soils.
Key features of a seedling dibber:
Pointed end: To create precise holes in the soil.
Measurement markings: These may be included to gauge the depth of the holes.
Handle: Ergonomically designed for comfort during use.
Benefits of Using a Dibber
Gardeners favor dibbers for their ability to transplant seedlings quickly and with minimal disturbance to the plant and the surrounding soil. There are several distinct advantages to using a seedling dibber:
Accuracy:
Ensures seedlings are placed at an ideal depth for optimal growth.
The pointed tip allows for precise hole placement, maintaining even spacing between plants.
Efficiency:
Significantly faster than using a trowel or fingers to dig holes for seedlings.
Streamlines the transplanting process, allowing gardeners to work on larger areas in less time.
Reduced Damage:
Minimizes harm to both the roots of the seedlings and the structural integrity of the soil.
Delicate seedlings are less likely to suffer from transplant shock when handled correctly with a dibber.
By incorporating a dibber into the planting process, gardeners can achieve a well-organized and thriving garden with robust plants. The careful design of the dibber supports the critical early development stage of seedlings, ultimately enhancing their chances for vigorous growth.
Preparation for Transplanting
Successful transplanting starts with careful preparation, focusing on the quality of the soil, the condition of the seedlings, and precise timing to ensure optimal growth.
Preparing the Soil
The soil serves as the foundational support for new seedlings. For ideal conditions, it's essential to use multi-purpose compost mixed with organic matter to improve drainage and nutrient content. Using a seedling dibber, gardeners create uniform holes without compacting the surrounding soil. Soil temperature plays a critical role—it should be warm enough to promote germination. Aim for soil to be consistently above 50°F (10°C) to encourage healthy root development.
Selecting the Right Seedlings
When selecting seedlings for transplanting, they should be sturdy and well-developed, with two true leaves, indicative of a strong seedling ready for transplant. The seedlings should be watered adequately before transplanting to ease the transition and minimize root shock. Retaining as much of the original soil attached to the roots as possible will help the seedlings adjust to their new environment.
The Importance of Timing
Timing is crucial in the transplanting process. It's recommended to transplant seedlings after the last frost when the outdoor temperature remains consistently warm. This ensures that the delicate seedlings avoid temperature stress. Seedlings ideally should be sown at the correct depth and during the optimal phase of their growth cycle to prevent premature bolting or slow growth, typically 2-3 weeks after sowing seeds.
Step-by-Step Transplanting Process
The process of transplanting seedlings is crucial for their survival and growth. A seedling dibber simplifies creating precise holes, ensuring the right depth and protecting the delicate root system during the transplantation.
Creating the Hole with a Dibber
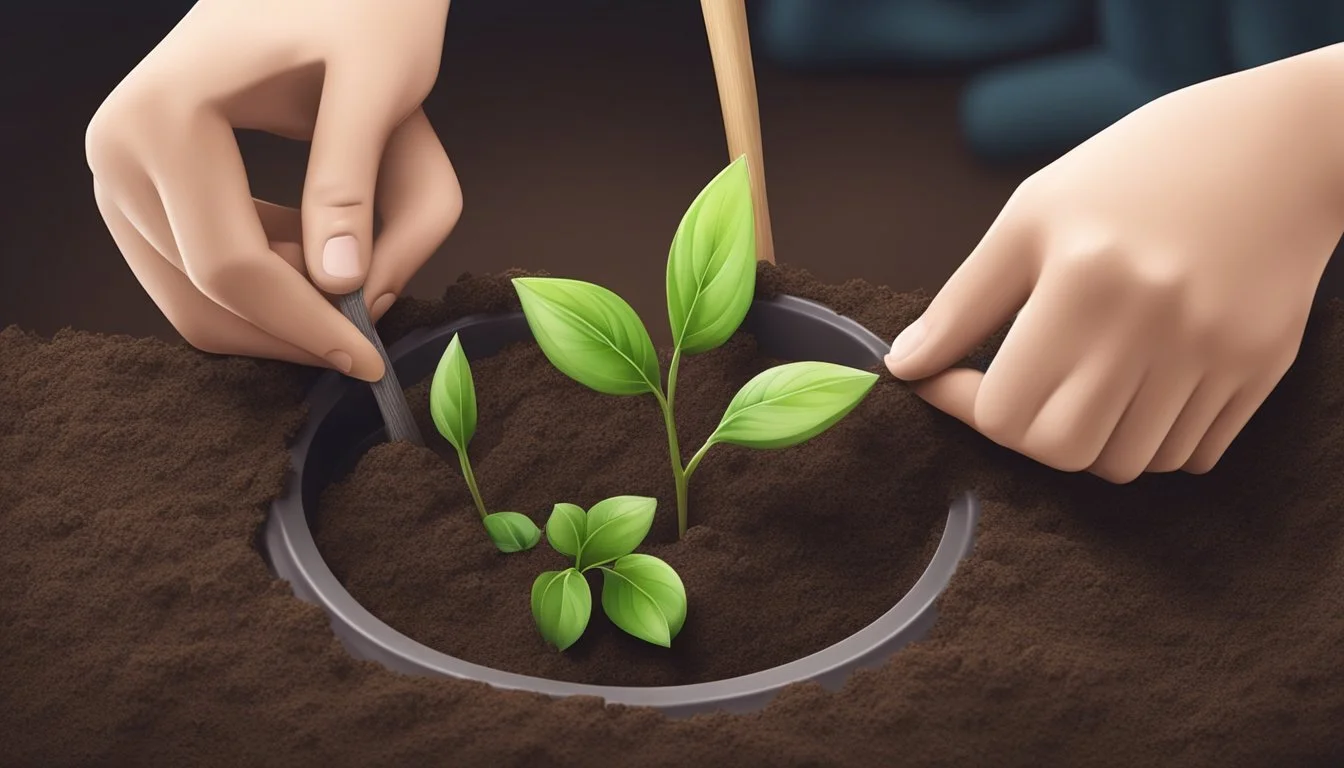
To create the perfect hole for your seedling, hold the dibber vertically and press it into the soil to the required depth. Generally, the hole should be at least as deep as the root ball of the seedling. Use the dibber to make the hole slightly wider than the root ball to avoid damaging the roots. Ensuring correct spacing between holes allows for adequate air circulation and room for growth.
Position of dibber: Vertical
Depth of hole: Equal to or slightly deeper than the root ball
Spacing: Adequate between seedlings
Transplanting the Seedling
Once the hole is ready, carefully remove the seedling from its current pot, supporting the stem and root ball to prevent damage. Insert the seedling into the hole prepared by the dibber. The top of the root ball should be level with the ground to encourage proper root development. Gently fill soil back around the seedling, using a hand or trowel to eliminate any air pockets, and lightly press the soil down to secure the seedling.
Planting depth: Root ball level with the ground
Eliminate air pockets: Gently fill and press soil
Aftercare Post-Transplant
Transplanting seedlings can be stressful for plants, necessitating proper aftercare for recovery and growth. Once the seedlings are in place, water thoroughly using a watering can to settle the soil around the roots and aid in recovery. Mulch can be added to conserve moisture, reduce weed growth, and protect the young plants. Avoid fertilizing immediately after transplanting to prevent root burn. Instead, wait until new growth appears, indicating the plants have acclimated.
Watering: Water thoroughly without flooding
Mulch: Apply to conserve moisture
Fertilizer: Delay until new growth establishes
Caring for Seedlings After Transplanting
After transplanting seedlings, successful establishment is contingent upon appropriate maintenance. This involves precise watering, protection from adverse weather and diseases, and the judicious use of fertilizers to encourage robust growth.
Watering Strategies
Seedlings require consistent moisture to thrive, but overwatering can be detrimental. It is advisable to water thoroughly immediately after transplanting to settle the soil around the roots. Subsequent watering should be done early in the day to allow foliage to dry, reducing disease risk. Utilize a water gauge or your finger to check soil moisture; water when the top inch feels dry. For effective watering, consider:
Frequency: Adjust based on soil type, weather, and seedling size.
Amount: Aim for deep, infrequent watering to promote strong root development.
Protecting from Weather and Diseases
After transplanting, seedlings are vulnerable to temperature shifts and pathogens. Hardening off seedlings gradually before transplanting minimizes shock. If temperatures drop unexpectedly, employ a cold frame or protective covering. To stave off diseases:
Circulate air: Space plants properly.
Control weeds: They can harbor pests and diseases.
Apply organic matter: It enhances soil health, discouraging disease proliferation.
The Role of Fertilizers in Growth
Fertilizer aids seedlings in establishing a vigorous growth pattern but must be used judiciously. Start with a weak solution and increase strength as plants grow. Opt for a balanced fertilizer containing equal parts nitrogen, phosphorus, and potassium. Organic options such as fish emulsion or compost tea are favorable because they provide slow-release nutrients and improve soil structure. Apply fertilizers according to the schedule:
Initial application: Two weeks after transplanting.
Maintenance: Every 4-6 weeks, depending on the plant's response and growth rate.
To summarize, each decision in watering, protecting, and fertilizing should consider the unique needs of the seedling to ensure a successful transition from pot to garden.
Common Mistakes and Solutions
When using a seedling dibber for transplanting, gardeners often face two critical challenges: protecting the delicate roots of seedlings and ensuring proper spacing for growth. Addressing these issues properly can lead to a successful transplant without the risk of transplant shock.
Avoiding Injury to Delicate Roots
One commonly encountered issue is damage to seedlings' delicate roots during the transplanting process, leading to transplant shock. To prevent this:
Be gentle: When removing seedlings from their original containers, it's crucial to handle them by the leaves rather than the stem or roots.
Dibber technique: Utilize the dibber to create an adequate hole, then place the seedling in without forcing it. This avoids compressing the soil too much around the roots.
Ensuring Proper Spacing
Another mistake is incorrect spacing, which can limit growth and nutrient uptake. To ensure proper spacing:
Follow guidelines: Refer to the specific requirements of the plants for spacing instructions. A spacing chart can be a handy reference.
Use marked dibbers: Some dibbers have measurements indicated on them. Use these to maintain consistent spacing between holes.
By understanding these nuances, gardeners can expect healthier growth and a more productive garden.
Advanced Tips for Expert Gardeners
Experienced gardeners understand that using a seedling dibber for transplanting requires precision and knowledge about the right containers, soil, and growth optimization techniques for successful plant development.
Selecting Containers and Pots
When it comes to transplanting, the choice of containers can significantly impact the health of your plants. Here are some specifics to consider:
Material: Select pots made of breathable materials like terracotta, which allow roots to access oxygen more easily than non-porous plastic pots.
Size: Larger vegetables like tomatoes and peppers require more space, so opt for pots with enough room to accommodate their growth. A general rule is to choose pots that are at least 2 inches larger than the plant's root ball.
Understanding Soil Mixtures
Soil mixtures play a crucial role in the development of your seedlings. Keep these points in mind:
Composition: Use a multi-purpose garden soil that provides proper drainage and is rich in organic matter.
Compatibility: Tailor your soil mixture to the needs of the specific plants; for instance, greens and herbs thrive in nitrogen-rich soils, while succulents prefer a sandier, well-draining mix.
Optimizing Plant Growth
Fostering the ideal growth conditions for your seedlings is essential:
Sunlight: Position plants so they receive the appropriate amount of sunlight; cool-season crops like spinach and cauliflower may tolerate some shade, while warm-season crops like squash and cucumbers demand full sun.
Temperature: Utilize cloches and propagators to maintain stable temperatures, especially when transplanting outdoors to protect from late frost.
Care: Begin the process of hardening off indoor seedlings by gradually introducing them to the outdoor conditions they will eventually face, to reduce transplant shock.
Specialized Techniques for Different Plants
Understanding how to transplant seedlings with precision is crucial for gardening success. Different types of plants require specialized techniques for optimal growth and vitality post-transplantation.
Transplanting Flowers and Decoratives
For flowers and ornamental plants, gentle handling is paramount to prevent root damage. These plants often have delicate roots that benefit from:
Preparation: Potting mix enriched with organic matter or compost to encourage healthy growth.
Hole Size: Use the dibber to create a hole that allows the root ball to sit comfortably without bending.
Positioning: Place the seedling so that the base of the stem is level with the soil surface.
Aftercare: Water them with a watering can to settle the roots and apply mulch to retain moisture.
Vegetable Seedling Transplantation
Vegetable seedlings consist of both cool-season and warm-season crops, each with its own set of requirements.
Cool-Season Crops such as spinach, cabbage, and cauliflower prefer:
Soil: Enriched with compost and well-draining.
Spacing: Adequate space to avoid overcrowding, promoting stronger growth and reducing disease pressure.
Warm-Season Crops including tomatoes, peppers, and cucumbers thrive with:
Sunlight: Ample sunlight, ensuring the location receives 6-8 hours of direct light daily.
Support: Stakes or cages to support growth for vining or tall plants.
Tips for Fruits and Berries
Fruit-bearing plants and berries, like melons and strawberries, require careful attention to:
Fertilizer: A balanced fertilizer to promote healthy foliage and fruit development.
Depth: A dibber can ensure that holes are the correct depth, which is crucial for root establishment.
Training: Trellises or supports for climbing varieties, such as certain squashes, to maximize garden space and reduce rot.


