
The Ultimate Guide to Using a Spinning Wheel
Mastering Yarn Making for Homesteaders
Spinning one's own yarn is a skill that merges the traditional craft with modern homesteading – it's a process both practical and deeply satisfying. In the age where self-sufficiency has become more a choice of lifestyle rather than mere necessity, learning to use a spinning wheel is a quintessential step for those looking to weave an element of handcrafted authenticity into their lives. It transforms raw wool into yarn which can then be used in a myriad of ways, from knitting garments to weaving tapestries, enabling homesteaders to create custom materials that reflect their personal aesthetic and functional needs.
Understanding how to operate a spinning wheel efficiently requires an appreciation of the mechanics involved and an awareness of the different techniques that can be employed. The spinning wheel, a time-honored instrument, has been modernized over the centuries but remains grounded in a harmonious blend of hand coordination and rhythmic foot movement. By attaching fibre to the leader of a spinning wheel and manipulating treadles, spinners add twist to the fiber, which is then drafted, or thinned, and allowed to wind onto the bobbin as yarn.
The process involves a series of steps that ensure the fiber is twisted appropriately and wound evenly, culminating in yarn of desired thickness and strength. Controlling the twist with one hand and drafting with the other, spinners develop a steady rhythm that prevents the fibers from tangling or breaking. Mastery of the spinning wheel not only enhances a homesteader's skill set but also elevates the quality of the homespun yarn, which is imbued with character, warmth, and a story of crafted tradition.
History and Evolution of Spinning Wheels
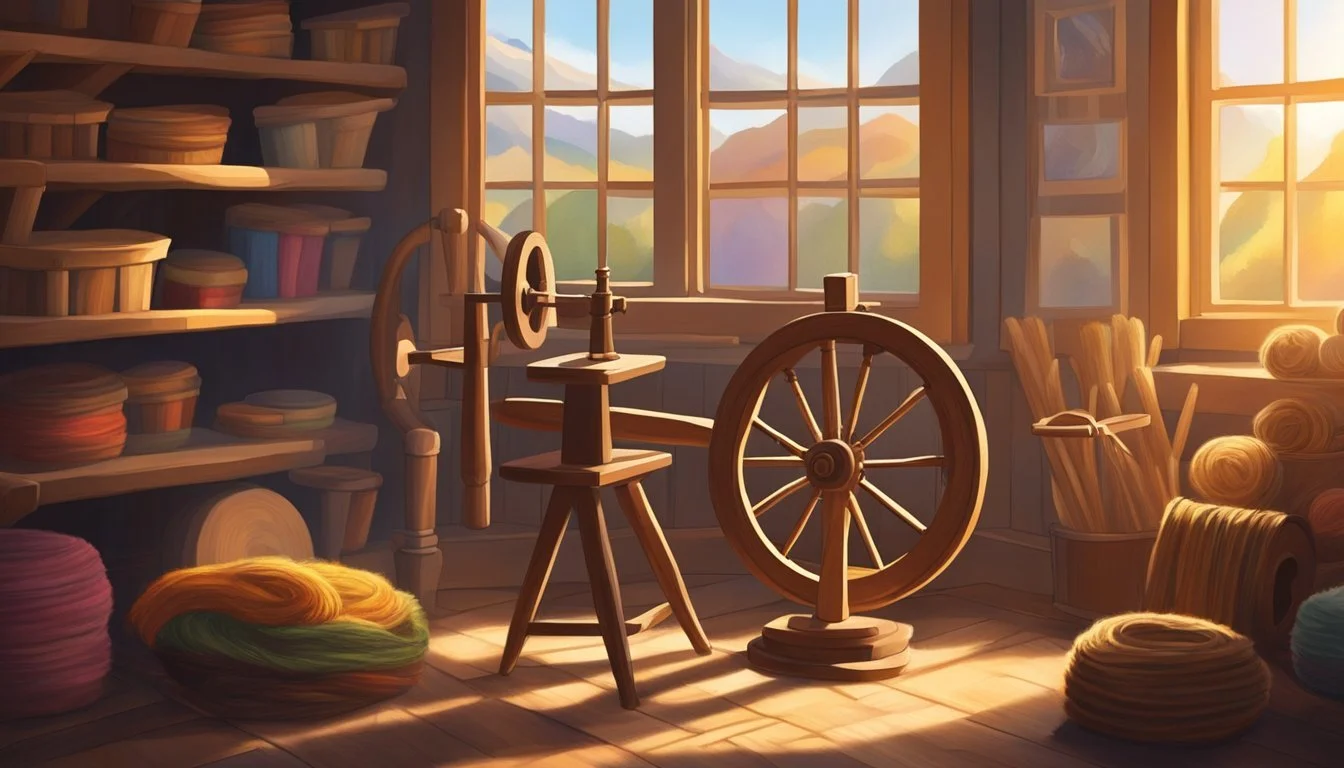
The spinning wheel, a pivotal development in textile history, originated in India between 500 and 1000 A.D. It made its way to Europe by the 13th century. The classic image of a spinning wheel most commonly refers to the Saxony wheel, which includes a single drive wheel and a horizontal arrangement of the flyer and spindle.
In the 16th century, a variant known as the castle wheel—characterized by its vertical design—became widespread. This space-saving design allowed for easier operation in homes.
During the 19th century, the spinning wheel evolved dramatically with industrial advancements. Innovations such as the water frame and the spinning jenny allowed the mass production of yarn by mechanizing the process. These devices could spin multiple threads at once, drastically improving productivity.
Today, modern spinning wheels combine the time-honored traditions of hand spinning with improvements that cater to comfort and efficiency. Modern wheels are designed with a range of styles and functionalities, but all serve the same core purpose of transforming fiber into yarn or thread.
Spinning wheels remain an essential asset for homesteaders and artisan yarn makers, blending the art of crafting with a rich historical legacy. They continue to symbolize the enduring relationship between human ingenuity and the making of textiles.
Understanding the Spinning Process
Spinning transforms fibers into yarn by introducing twist, which requires managing tension and drafting techniques. The type of spinning affects the properties of the finished yarn, with particular distinctions between worsted and woolen spins.
Basics of Yarn Spinning
Yarn spinning involves twisting fibers together to create a continuous thread. Essential to this process is the spinning wheel, which adds twist to the fibers. As the wheel turns, the fibers are drawn out and twisted, transforming into yarn.
Drafting Techniques and Fibers
Drafting is the method of pulling and thinning out fibers before they are spun into yarn. It's crucial to:
Keep consistent tension on the fibers to avoid uneven yarn thickness.
Choose the appropriate drafting technique, which can range from a short forward draw (inchworm) for tight twists to a long draw for softer, airier yarns.
Twisting and Tension Explained
Twist is what binds the fibers together, while tension determines the yarn's strength and consistency. Proper tension allows for uniform twist distribution, essential for a balanced yarn. Too much tension can lead to over-twisted, wiry yarn, whereas too little can result in a fragile yarn that easily falls apart.
Types of Spinning: Worsted and Woolen
Worsted spinning creates smooth, dense, and strong yarn. Fibers are combed parallel, removing short strands and producing a sleek yarn.
Woolen spinning produces a lofty, warm, and soft yarn. Fibers aren't aligned, capturing more air within the yarn.
Each spinning style yields a distinct type of yarn suitable for different end uses in homesteading projects.
Types of Spinning Wheels
Selecting a spinning wheel is a crucial decision for any yarn maker. The type directly affects the yarn's quality and the spinning process. This section will explore various spinning wheel styles, drive systems, and considerations to help choose the most suitable wheel for homesteading or yarn making.
Features of Different Wheel Styles
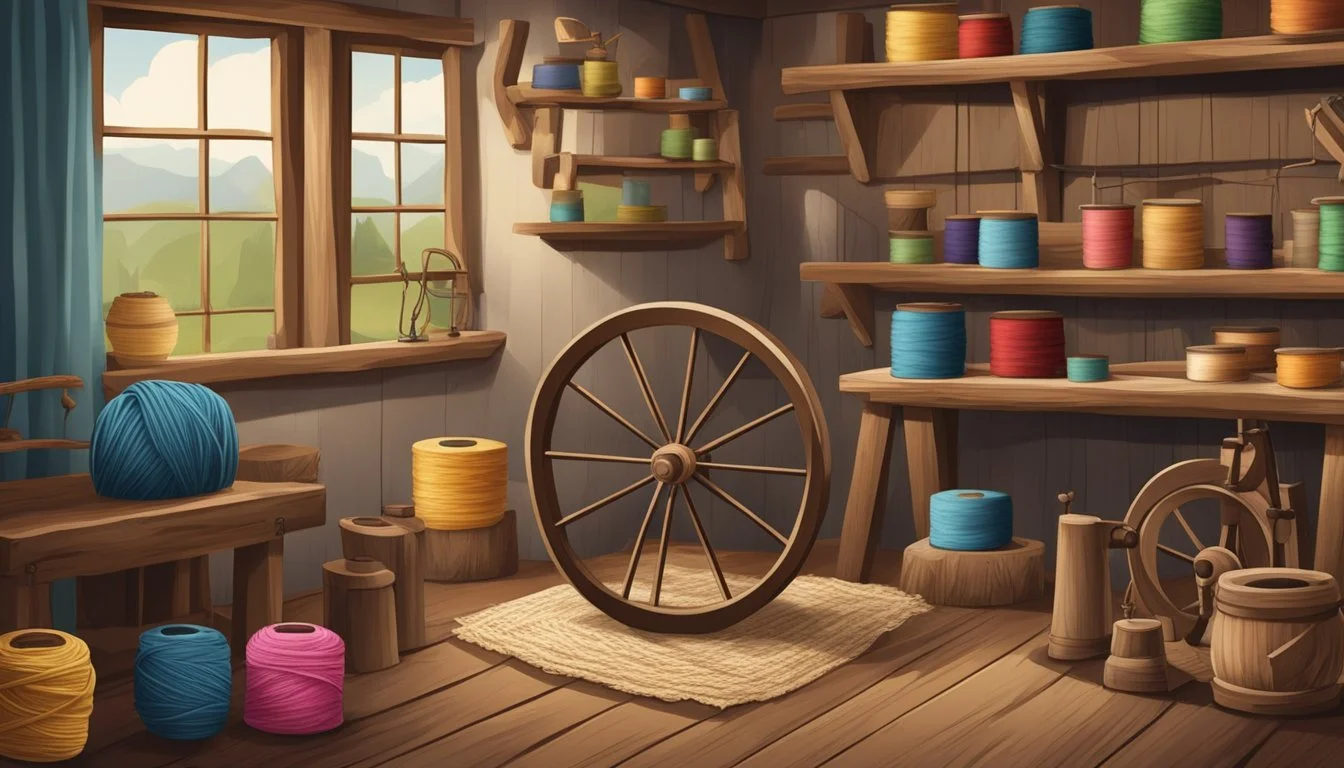
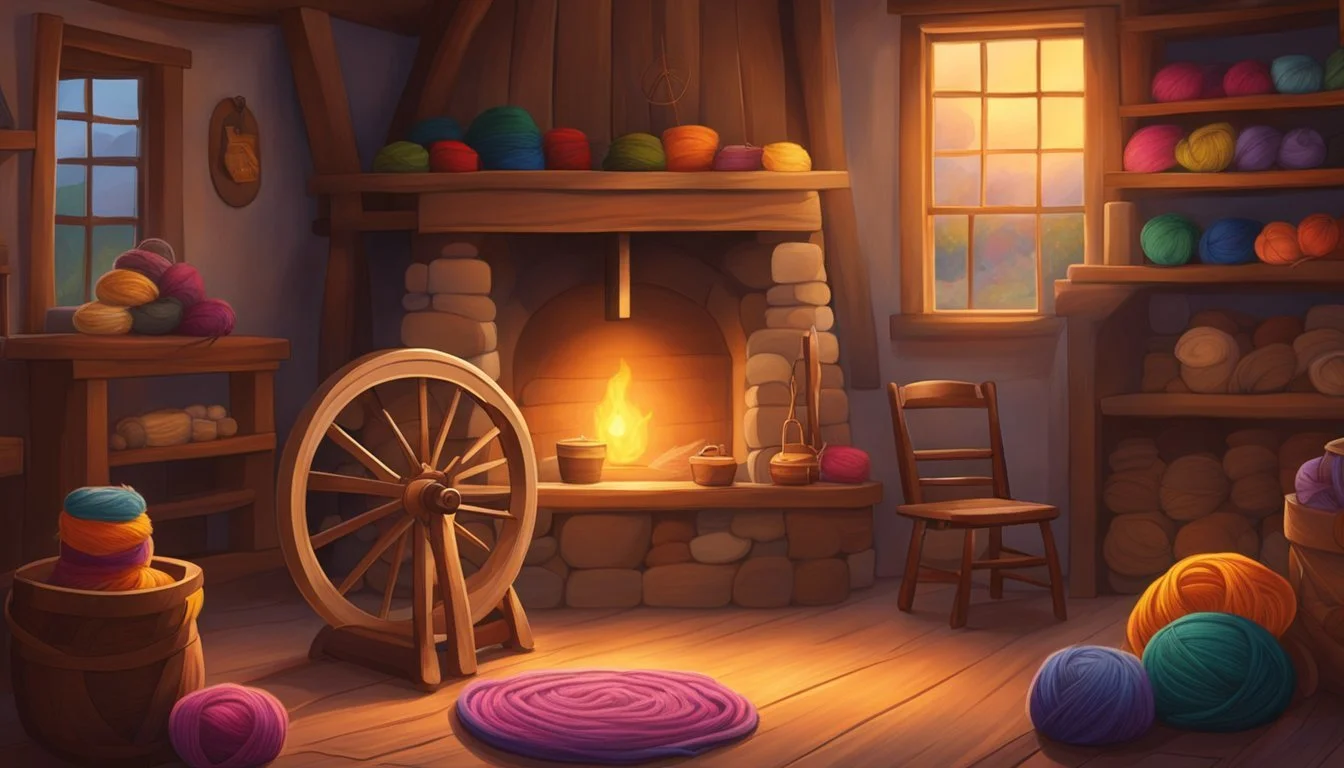
Saxony: The Saxony wheel is the traditional picture of a spinning wheel with its horizontal orientation. A distinguishing feature is its large, elegantly sloping wheel on one side and the flyer on the other, connected by a table-like structure.
Castle: These wheels are more vertical in design, saving space while offering functionality. The flyer and the wheel are stacked vertically, making it a good choice for those with limited space.
Modern Wheel: A modern spinning wheel focuses on convenience and portability, often showcasing innovative materials and design elements. Many models incorporate advanced features such as adjustable tension systems and collapsible frames for easier transport.
Comparing Drive Systems and Treadles
When comparing spinning wheels, the drive system and the number of treadles are significant factors.
Single Drive (Irish Tension): Uses a single loop of the drive band around the flywheel and flyer. Known for its simplicity and ease of use, particularly suited for beginners.
Double Drive (Scotch Tension): Has one continuous drive band looped around both the flywheel and the flyer whorl. This system allows for finer tension adjustment, preferred for spinning finer yarns.
Drive System: Single (Irish Tension); Features: Simpler system, easier learning curve
Drive System: Double (Scotch Tension); Features: More tension control, complex regulation
Treadles: The part of the spinning wheel that is operated by foot. Wheels may have one or two treadles; two treadles can provide a more comfortable and rhythmic experience.
Selecting the Right Spinning Wheel for You
Choosing the right spinning wheel involves considering your own spinning habits, the fibers you wish to spin, and the types of yarn you aim to create.
Fiber and Yarn Type: Coarse fibers might best be spun on a wheel with a slower speed, while finer fibers can benefit from a fast spinning ratio.
User Experience: A new spinner might start with a simple single treadle and Irish tension system for ease of use, while an experienced spinner might seek the precision of a Scotch tension system and multiple treadles.
Space and Portability: A castle wheel might be favourable for those with limited space, while a modern wheel is ideal for someone who needs to transport their equipment frequently.
Spinning Wheel Setup and Maintenance
Setting up a spinning wheel correctly and maintaining it well are critical to its performance and longevity. Ensuring each part is properly assembled and regularly cared for can significantly improve the quality of the yarn one produces.
Assembling Your Spinning Wheel
To assemble the spinning wheel, start by placing the wheel on a stable, flat surface to avoid any wobbling or imbalance during operation. Next, connect the footman to the treadle, allowing for smooth and even pedaling. Carefully attach the mother-of-all, which is the part holding the flyer and bobbin, to the wheel's frame. Make sure the drive band is finely adjusted to connect the wheel and the flyer, ensuring that the wheel can turn the flyer without slipping.
Ongoing Wheel Maintenance
A well-oiled spinning wheel is key to smooth operation:
Components to be oiled regularly:
Flyer
Bobbin
Treadle joints
Bearings
Use oil specifically formulated for spinning wheels, and apply it judiciously to avoid accumulating residue that can attract dirt and dust. Additionally, the drive band should be checked for the correct tension and wear regularly. It shouldn't be too tight, as it can strain the wheel, nor too loose, as it might slip.
Troubleshooting Common Wheel Issues
When facing issues with a spinning wheel, here are steps to troubleshoot:
Squeaking or Difficulty in Treadling:
Check if all parts are sufficiently oiled.
Make sure nothing is obstructing the movement of the treadle and wheel.
Slipping Drive Band:
Adjust the tension; it should give slightly under pressure but not be overly tight or loose.
Flyer Not Turning Properly:
Inspect the drive band for wear and replace it if necessary.
Ensure the connections between the drive band and flyer are secure.
By tackling these issues promptly, a spinner ensures their equipment remains reliable and extends its serviceable life.
Fiber Preparation for Spinning
Proper preparation of fibers is crucial for effective spinning. The spinner must consider the type of fiber and the desired end result to determine the best preparation method.
Choosing and Mixing Fiber Types
When selecting fibers for spinning, one has several options: wool, cotton, silk, alpaca, cashmere, and angora are common natural fibers, each with unique characteristics. Synthetic fibers may also be used, often blended with natural fibers to alter the yarn's properties. The mix should aim for a balance of softness, strength, and durability. It's essential to consider end-use, as some fibers, like cashmere, offer exceptional softness, while alpaca is known for its warmth and silk for its sheen.
Wool: Often the main choice for beginners due to its forgiving nature and elasticity.
Cotton: Requires a high level of skill to spin but is excellent for warm weather wearables.
Silk & Alpaca: Their luxurious feel makes them ideal for blends, adding a touch of elegance.
Synthetic Fibers: Can add resilience and variety to the yarn.
Using Hand Carders and Combs
Carding and combing are two methods used to prepare fibers for spinning, aligning them to make spinning easier and improving the consistency of the final yarn. Hand carders are tools equipped with small wire teeth used to brush fibers such as wool and cotton. This process separates and straightens the fibers while also removing debris. The fibers are carded until they form a uniform batt or rolag, which is then spun into yarn.
Carding: Aligns fibers in a somewhat random but parallel fashion, ideal for a fluffier yarn.
Combing: Aligns fibers strictly in parallel, resulting in a smoother and finer yarn.
Combing, on the other hand, is suitable for longer fibers like tops from wool, silk, or long-staple cotton. The combs are more precise, and the action removes shorter fibers, creating a sleek, consistent top that spins into a smoother and more uniform yarn.
Hand Combs: Produce a tightly aligned bundle of fibers known as tops.
Preparation: Combed fibers are denser and less airy than carded ones, leading to different spinning techniques.
By understanding the attributes of different fiber types and mastering carding and combing, spinners can create yarns tailored to specific applications and projects, whether it be for utilitarian homesteading needs or artistic and craft purposes.
Starting to Spin

In the art of creating yarn, a spinner's initial success revolves around setting up the spinning wheel correctly and mastering the primary techniques of drafting and treadling. Each step is critical to the yarn's consistency and strength.
Attaching the Leader and Preparing the Fiber
Before spinning can begin, a leader—a pre-yarn or commercial yarn—needs to be attached to the spinning wheel's bobbin. This leader acts as a bridge for the fiber to follow. Properly secure the leader by threading it through the orifice and tying it onto the bobbin's spindle.
Preparing the fiber involves pre-drafting the roving, which is essentially a long, continuous piece of processed fiber. Pre-drafting entails gently pulling the roving apart to thin it out, making the actual spinning easier. This step is important for managing the fiber's input and preventing clumping during spinning.
Mastering the Drafting Triangle and Treadling Rhythm
Drafting is the process of pulling and elongating the fibers before they are twisted into yarn. The drafting triangle is the shape formed by the fibers between the hand closest to the spinning wheel and the hand controlling the fiber supply. Maintain a consistent drafting triangle to ensure an even twist and thickness.
Treadling is what propels the spinning wheel. Maintaining a steady rhythm with the treadle creates the spin that turns fibers into yarn. Achieving a smooth treadling rhythm is essential for even spinning, as inconsistency can cause breaks or slubs in the yarn.
One should treadle with deliberate, steady motions while simultaneously maintaining control over the drafting triangle. This coordination is the essence of hand spinning and is pivotal in producing quality spinning yarn. Through a blend of careful drafting and rhythmic treadling, one learns how to use a spinning wheel effectively.
Plying and Finishing Yarn
Plying and finishing are crucial steps in transforming single spun fibers into strong and balanced yarns suitable for various projects. These processes stabilize the twist, blend the fibers, and prepare the yarn for use or sale.
Creating Plied Yarn
To create plied yarn, a spinner combines two or more strands of singles, using their spinning wheel to twist them together in the opposite direction of the original spin. This counter-twist enhances the yarn's strength and durability. Typically, the singles are loaded onto individual bobbins, which are then placed on a lazy kate. The spinner draws the singles through the orifice of the wheel, allowing them to twist together and wind onto an empty bobbin. Proper tension and speed management prevent over-twisting or breaking.
Tips for effective plying:
Use consistent tension to achieve an even ply.
Regularly check the twist by allowing the yarn to fold back on itself.
Removing the Yarn and Processing for Use
Once an adequate amount of yarn has been plied, it must be carefully removed from the bobbin. The most common method involves winding the yarn onto a niddy noddy, which helps to measure the length and create a skein. A yarn swift may also be used for skeining directly from the bobbin.
Steps to process plied yarn:
Winding: Wind the plied yarn from the bobbin onto a niddy noddy or yarn swift.
Tying: Secure the skein at various points to prevent tangling.
Soaking: Gently wash or soak the skein to set the twist.
Drying: Hang the skein with a weight or lay flat to dry.
Finalizing involves blocking the yarn, which sets its shape and evens out inconsistencies in the twist. A spinner may stretch the yarn slightly and pin it in place, or simply steam it for finer fibers. This process completes the transformation from fiber to a finished, plied yarn, ready for knitting, weaving, or any other fiber art.
Practical Applications for Spun Yarn
Handspun yarn offers a unique touch to various textile crafts, providing a personal and traditional element to the final product. Whether it’s for knitting a warm sweater or weaving a decorative tapestry, the applications of handspun yarn are diverse and rewarding.
Knitting and Crocheting with Handspun Yarn
Handspun yarn transforms knitting and crocheting projects into one-of-a-kind creations. The distinct textures and variations in the thickness of handspun yarn can enhance the tactile quality and aesthetic of handcrafted items.
Sweaters and Scarves: A single skein of spun yarn can be the foundation for a cozy scarf, while several skeins can create a sweater.
Hats and Mittens: Durable and warm, handspun yarn is ideal for cold-weather accessories.
Socks: Crafting socks using handspun yarn can result in comfortable, unique, and hard-wearing foot apparel.
The use of scrap yarn in knitting and crocheting can add color contrasts and patterns to the crafted items without wasting any material.
Weaving and Other Fiber Arts
Spinning yarn opens a world of possibilities in weaving and other fiber arts, where the texture and strength of the yarn can play a pivotal role.
Tapestries and Wall Hangings: Weaving handspun yarn can produce intricate, decorative pieces that showcase the spinner's skill.
Rugs and Mats: A spun yarn with a firmer twist gives rugs their needed durability.
Baskets: Sturdy handspun yarn can be utilized in basket weaving to create functional and artistic home storage solutions.
The crafting of these items celebrates the artisan's expertise in yarn spinning and demonstrates the yarn's adaptability across diverse fiber arts disciplines.
Advanced Techniques and Projects
In this section, we explore the intricacies of mastering spinning wheel techniques and embarking on sophisticated spinning projects. These advanced practices enhance spinning experience, elevating both the craftsmanship and the final quality of the yarn produced.
Exploring Different Spinning Techniques
A proficient spinner knows that different spinning techniques can dramatically affect the texture and strength of the yarn. One such technique is the long-draw spinning, which produces a lofty and light yarn ideal for warmer garments. This method requires a skilled hand to maintain an even tension, as the spinner draws the fibers out to an arm's length before allowing the twist to enter, creating a smooth and consistent yarn.
Worsted spinning, on the other hand, is ideal for creating a dense and durable yarn. The spinner focuses on keeping the fibers well aligned, using a comb or card to prepare the fiber and a controlled short-draw spinning technique that minimizes air pockets within the yarn.
Taking on Complex Spinning Projects
Once the spinner has mastered a range of techniques, they can apply this knowledge to complex projects. These advanced projects often involve multiple types of fiber, colors, and plying methods to create intricate patterns and textures within the yarn.
For example, a spinner might create a gradient yarn by carefully blending fibers of different colors before spinning. This requires meticulous planning and execution to ensure a seamless transition from one color to the next.
Another complex project could be the creation of art yarns that incorporate unconventional materials like beads or feathers. Such spinning projects demand a high level of skill with the spindle and spinning tool, as the spinner must maintain the integrity of the yarn while adding these embellishments.
Crafting cabled yarns is another sophisticated venture. This involves plying two or more plied yarns together, which results in a yarn with intricate textures and increased strength. This process challenges the spinner to maintain consistent tension and ply twist to achieve the desired effect.
By mastering such advanced techniques and taking on complex projects, spinners can expand their spinning tool kit and produce truly unique and high-quality yarns.
Community and Resources for Spinners
Embarking on the journey of yarn spinning can be a rewarding aspect of homesteading. Spinners have an array of community-led workshops and comprehensive literature available, ensuring knowledge is shared and skillsets expanded in the art of yarn making.
Joining Workshops and Classes
For hands-on learning, workshops and classes provide invaluable practical experience. Many local yarn shops and craft centers offer classes tailored to different skill levels, from beginners to advanced spinners. Homesteaders can benefit from these workshops by not only learning the craft but also by connecting with a community of like-minded individuals who share a passion for sustainability and traditional crafts. Participation in these workshops often leads to the development of local support networks that can be a rich resource for troubleshooting spinning challenges and sourcing materials.
Finding Books and Online Support
Real-world community engagement is complemented by a vast selection of books and online resources. Key titles to add to a spinner's library include classics like "Respect the Spindle" by Abby Franquemont and "The Spinner’s Book of Yarn Designs" by Sarah Anderson, which are filled with in-depth knowledge for yarn makers at any level. Online, homesteaders can find forums, YouTube tutorials, and social media groups dedicated to spinning. These platforms facilitate knowledge-sharing and provide ongoing support, allowing spinners to seek advice and share successes with a global community. Several well-regarded online sources also offer instructional videos, patterns, and e-books that cater to a homesteader's self-sustaining lifestyle.
Caring for Natural Fibers and Yarns

Proper care for natural fibers and yarns extends their lifespan and enhances the appearance of the final knitted or woven product. The following guidelines are essential for anyone who hand spins or uses natural fibers like wool in their crafting.
Washing and Storing Your Handmade Yarns
Washing: Before using or storing yarns, especially those made from raw wool, one should wash them to remove natural oils and dirt. This process is known as scouring. For handspun yarn, gentle hand washing is recommended. Use lukewarm water and a mild detergent, and avoid excessive agitation to prevent felting. Once washed, squeeze out excess water without wringing.
Blocking: After washing and before the yarn is completely dry, blocking can be done. This means laying out the yarn to set its shape and improve the evenness and appearance of the fibers. Lay the yarn flat on a clean towel, gently shaping it to its desired form.
Storing: Store yarn in a cool, dry place away from direct sunlight to prevent fading and degradation of fibers. It's advisable to keep them in breathable containers like cotton bags to avoid moisture buildup. For long-term storage, adding cedar blocks or lavender sachets can deter moths and other pests that could damage the yarn.
By following these specific steps, crafters can ensure their handmade yarns remain clean, vibrant, and ready for their next project.
