
The Ultimate Guide to Using an Egg Candler
Expert Tips for Tracking Incubation Progress
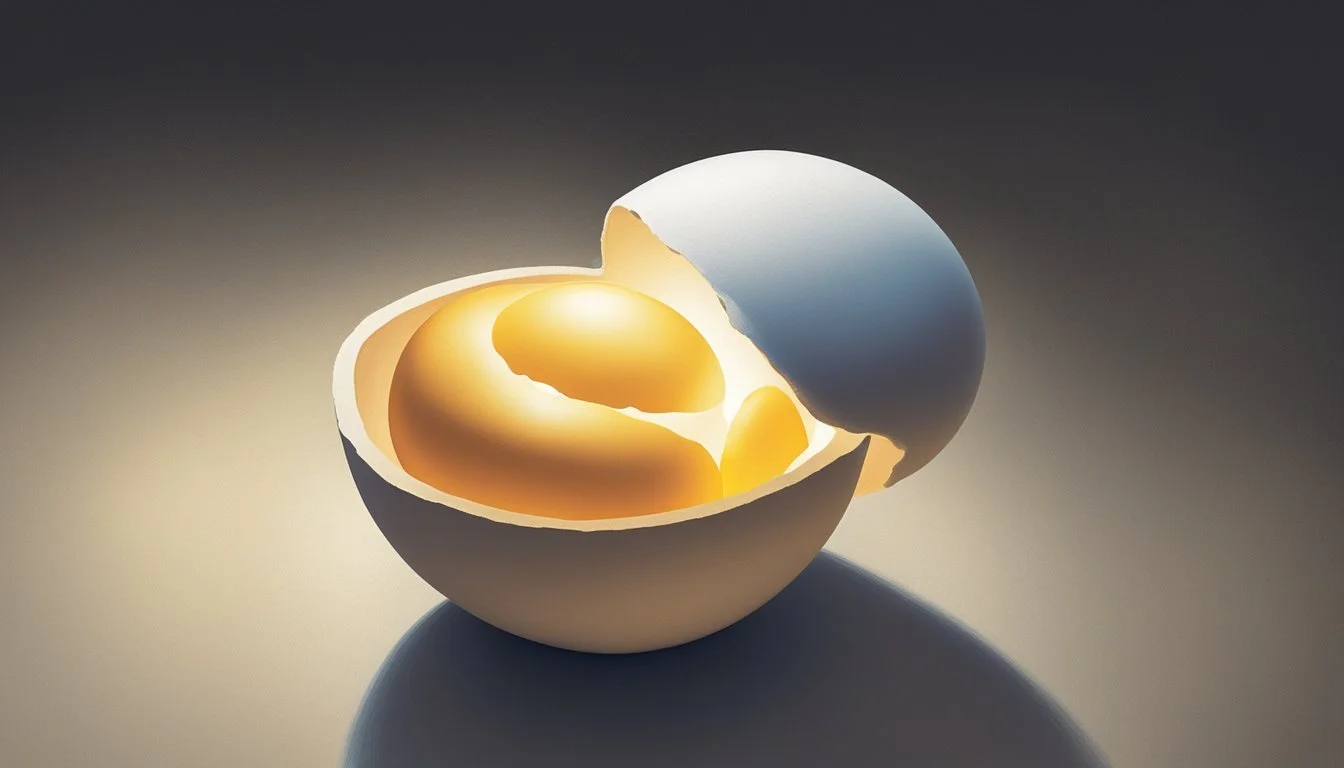
Using an egg candler is an essential practice for poultry keepers and aviculturists who incubate eggs to monitor the development of embryos. This non-invasive technique allows the observer to check the viability of eggs and track the growth progress throughout the incubation period. A candler provides a concentrated light source that when held against the eggshell, illuminates the interior, making it possible to see inside without cracking the egg open.
During the incubation process, candling eggs at various stages helps to identify infertile eggs or those with developmental issues, which can then be removed to maintain the health of the remaining embryos and avoid potential problems such as bacterial growth. Candling should be done in a dark room with a strong light to clearly observe the signs of a growing embryo, such as a network of blood vessels, the eye of the chick, and the development of the air cell at the blunt end of the egg.
It's important to handle eggs with care while candling to minimize disturbance to the developing chick. By day 18, the chick occupies most of the space within the egg and is getting into position for hatching, at which point candling is typically ceased to avoid any unnecessary stress. Handling of the eggs at this stage is minimized to set the stage for hatching, with the eggs being left undisturbed until the emergence of the new chicks.
Understanding Egg Candling
Egg candling is a vital process for monitoring the progress and viability of eggs during the incubation period. It involves using a light source to observe the development of the embryo within the shell.
Basics of Egg Candling
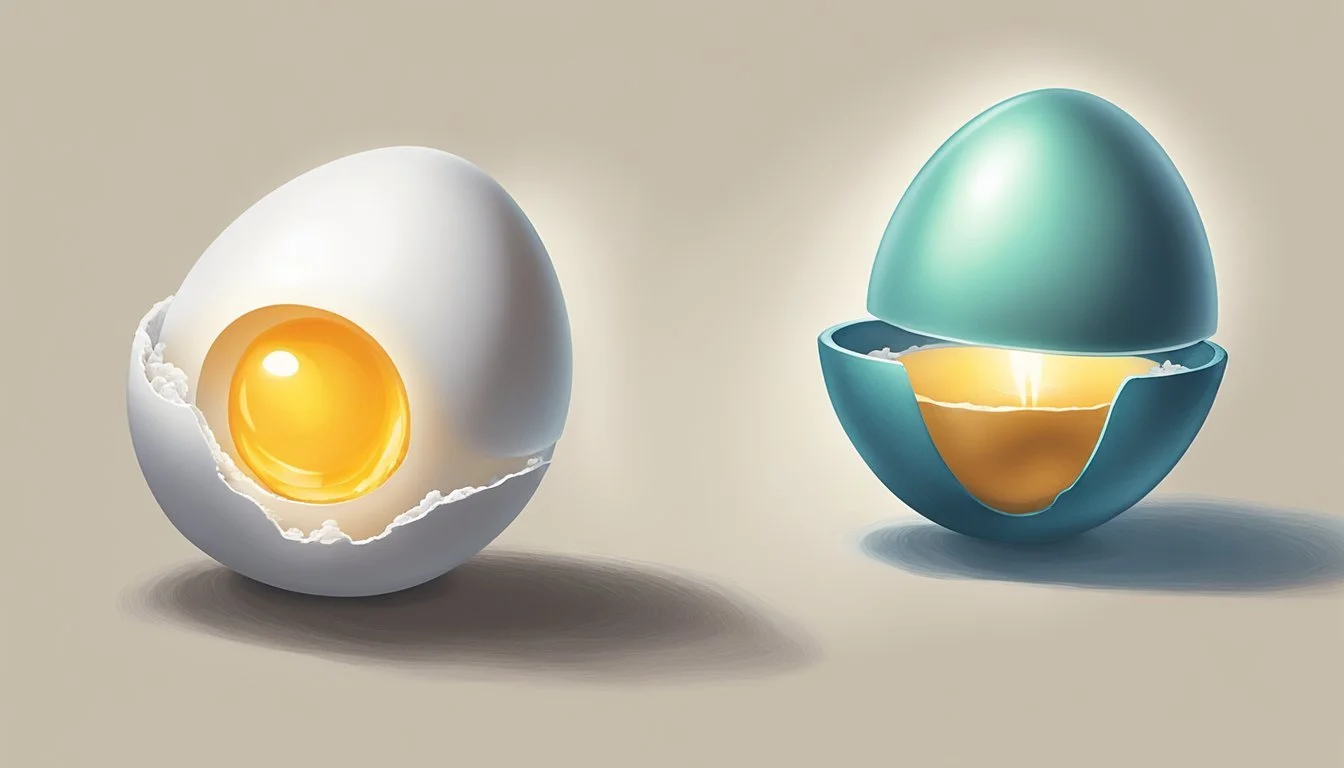
Egg candling is performed by shining a bright light beside an egg in a dark room. This is usually done with a candler or a flashlight with a focused beam. The candling process allows one to view the contents of the egg without cracking it open. It's a non-invasive method to check for essential signs such as the air cell, blood vessels, and movement, which are indicators of healthy embryo development.
The Purpose of Candling
The primary purpose of candling eggs is to determine their fertility and to monitor the embryo development. Fertile eggs will show signs of development like a web of blood vessels, whereas infertile eggs will not show such progress. It also helps identify non-viable eggs early in the incubation process, which can be removed to prevent any negative effects on the other developing eggs.
When to Candle Eggs
It's advised to candle eggs after 7 to 10 days of incubation, as any signs of development such as a dark spot (the developing chick) or blood vessels (indicative of a viable embryo) become more noticeable. However, eggs can be candled at various stages to assess their status. Early candling can determine initial fertility, while later candling ensures continuing development toward hatching. Frequent handling should be avoided to prevent disturbances in the incubation process.
By adhering to these practices, those tending to the incubation process can enhance the likelihood of a successful hatch by identifying and handling viable and non-viable eggs appropriately.
Setting Up for Candling
Before one begins candling eggs, it's critical to have the proper equipment and environment ready. Successful candling hinges on using a suitable light source and creating a dark space to observe embryo development within fertile eggs.
Choosing the Right Candler
When selecting a candling device, two attributes are paramount: brightness and safety. LED lights are often favored for their intense brightness and minimal heat emission. A good candler should provide ample, focused light to penetrate the eggshell without causing harm to the developing embryo. Options range from specialized egg candlers to powerful yet compact LED flashlights. Regardless of the choice, ensure that the light is bright enough to illuminate the interior of the egg while staying cool to protect the eggs.
Preparing a Darkened Room
For maximum visibility while candling, a darkened room is essential. The absence of ambient light improves the contrast and clarity of the image seen through the eggshell. Prepare by drawing curtains or using a room without windows. The darker the room, the easier it will be to spot developmental changes within the eggs. Having all necessary equipment, such as gloves and a notebook, within arm's reach can minimize disturbances to the eggs once the candling process begins.
Handling Eggs for Candling
Gentle handling is vital to avoid disrupting the embryo. It is recommended to:
Wash and dry hands thoroughly to minimize the transfer of bacteria to the fertile eggs.
Support the egg carefully, using a soft towel or cushioned surface to rest the egg on if needed.
Hold the egg gently against the candler, positioning the light source against the larger end where the air cell is located.
Tilt the egg marginally to better view its internal structures without rotating it excessively.
Throughout the process, it's crucial to handle the eggs as little as possible to not disturb the embryo's position or damage the delicate structures inside.
The Candling Process
Egg candling is a method used to monitor the development and viability of embryos inside eggs. This technique relies on light passing through the egg to reveal its contents without compromising the embryo's safety. Appropriate candling can distinguish between fertilized and infertile eggs, identify any developmental issues, and help in planning the incubation process accordingly.
How to Candle Eggs
To candle an egg, one needs to prepare a dark area to ensure the light from the candler is not diluted. A flashlight or a purpose-built candler can serve as the light source. It is important to handle eggs gently during this process:
Set Up: In a darkened room, place the larger end of the egg on the light source.
Candling: Look for clarity in the egg to find the air cell, veins, and the embryo itself.
Identifying Egg Contents
During candling, one can observe several distinct features that are indicative of normal development:
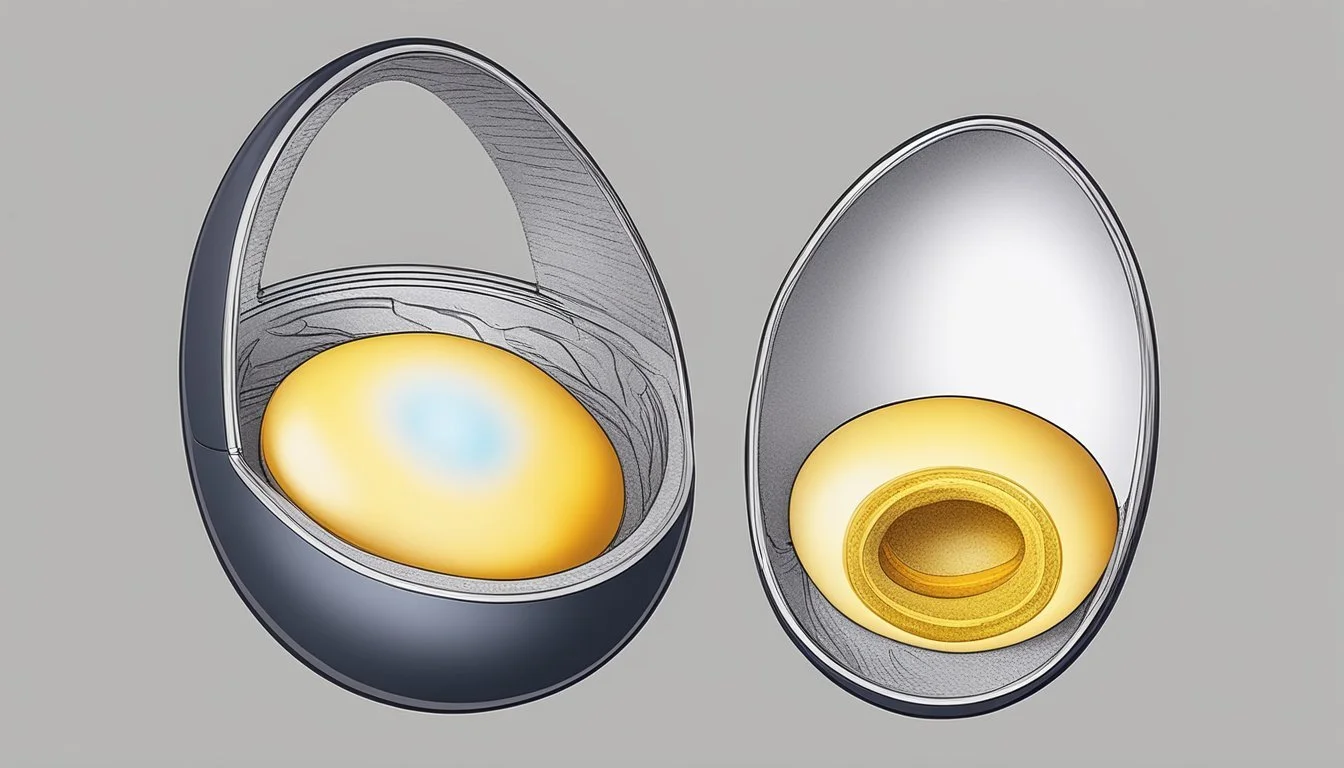
Fertilized Eggs: They should show a network of blood vessels emanating from a dark spot, which is the developing embryo.
Infertile Eggs: These typically lack a visible embryo or blood vessels and exhibit a clear yolk area.
Blood Rings: The presence of blood rings may indicate a ceased embryo development.
Recording Observations
Keeping a record of each egg's candling results is crucial for tracking development and outcomes:
Marking: Use a pencil to gently mark eggs with signs of life, and the date.
Notebook: Document observations in a notebook or use an egg incubation chart for reference.
Employing these methods and observations will help one accurately track the process and progress of egg incubation, ensuring the best outcomes for the embryos developing inside.
Interpreting Candling Results
Egg candling is a crucial process in determining the development and viability of eggs during incubation. One must understand the visual cues to effectively gauge whether an embryo is developing normally or if there are issues that require attention.
Determining Egg Viability
Viable eggs exhibit clear signs of embryo development, such as visible veins and a darkened area that will be the developing chick. In the early stages, one should look for a small dark spot surrounded by veins, often referred to as a spider. As the embryo grows, the chick becomes more defined, and by day 18, nearly the entire egg should appear dark with a distinct air cell.
Non-viable eggs or quitters often show no signs of development. An egg with a clear yolk or no visible veins is likely infertile and should be removed. If an egg has a dark mass without movement or a blood ring—a red circle inside the egg—it could indicate a dead embryo.
Troubleshooting Common Problems
Problems during incubation can be detected through candling. The following list details common issues and their visual indicators:
Bacteria / Rotten eggs: Unpleasant odor with a dark or cloudy appearance, often accompanied by gas bubbles.
Hairline cracks: Fine lines on the shell surface that can cause the egg to be more susceptible to bacteria.
Blood spots: Small red spots indicating a burst blood vessel, which are typically not a concern unless there is a large amount or other signs of trouble.
When candling, always handle eggs gently to prevent exacerbating any existing issues. Proper interpretation of candling results can inform decisions on managing incubation problems and ultimately improve hatch rates.
Advanced Candling Techniques
In advancing egg candling skills, it's imperative to tailor techniques to different egg types and understand the inherent limitations of candling. These refinements require attention to the nuances that can affect visibility and interpretation during the incubation monitoring process.
Candling for Different Egg Types
Colored Eggs: Candling colored eggs, especially those with dark or blue shells, necessitates a stronger light source. One should use a high-intensity candler to penetrate the pigmentation while being cautious not to overheat the eggs.
White Eggs: Contrarily, white eggs with their translucent shells allow for easier observation with standard candlers. One can easily detect veins and embryos due to the clear contrast.
Thin-Shelled Eggs: Extra caution is needed when handling thin-shelled eggs to avoid pressure-induced damage. A soft towel or cushion should be used for support during the candling process.
Key Considerations:
Ensure consistent darkness in the candling area to increase visibility across all egg types.
Adjust the light source's brightness and angle for optimal clarity, noting that different shell colors and thicknesses can obscure details.
Understanding the Limitations of Candling
Limitations:
Candling cannot reveal internal egg irregularities with a certainty. For instance, it may not always be possible to differentiate between a late-stage embryo and a yolk sac problem.
The technique may fail to detect hairline cracks or subtle defects in the eggshell.
Common Issues:
Dirty or Soiled Eggs: Dirt on the shell reduces candling effectiveness. It is advisable to clean the eggs gently without compromising the eggshell's integrity, although this is not always possible without risking damage to the egg.
False Yolkers: Candling can sometimes indicate the presence of double yolks, known as 'yolkers,' which typically do not yield viable chicks and thus can be removed from the incubator.
Candling Tips:
Regularly check for cleanliness, cracks, and other observable issues that might affect the development or candling outcome.
Use markings to note any concerns on the eggshell itself with a pencil; avoid pens or markers that can permeate the shell.
Advanced candling techniques enhance the accuracy of monitoring embryonic development, but they also remind us of the method's inherent limitations. It is crucial for those candling to maintain a careful and methodical approach, as well as to recognize when candling may not provide the needed insights.
Best Practices and Safety
Throughout the incubation process, maintaining optimal conditions for egg development is crucial, and using an egg candler correctly plays a significant role. Proper technique and safety measures ensure the health of the chicks and the success of hatching eggs.
Candling Best Practices
When it comes to candling eggs, meticulousness and gentle handling are key. Here are some specific practices to keep in mind:
Frequency: Limit candling to three key times during the incubation process: initially to check for viability, around day 7 to 10 to check embryo development, and finally at day 18 before eggs go on "lockdown".
Temperature Maintenance: Quickly return eggs to the incubator after candling to avoid significant temperature fluctuations that could harm the developing chicks.
Humidity Control: Handle eggs with care to prevent sweat from hands from affecting the shell's porosity, which is crucial for maintaining proper humidity levels inside the egg.
Candling Light: Use a high-intensity but cool light source to prevent heating the egg. Ensure it sufficiently penetrates the egg without being too harsh, potentially damaging the embryo.
Safety Precautions during Candling
Safety for both the embryonic chicks and the person handling the eggs should not be overlooked.
Gentle Handling: To prevent damage to the developing chicks, handle the eggs delicately, supporting the egg's entire weight.
Hygiene: Wash hands before handling eggs to reduce the risk of contamination. This maintains a safe environment for the embryos and the person.
Light Exposure: While candling, avoiding shining light directly into one's eyes or the eggs for extended periods to prevent damage to both the eyes and the developing embryo.
Beyond Candling
To effectively transition from the candling of fertilized eggs to the final stages of chick development, it is vital to understand the intricacies that follow the candling process. These include recognizing the transition from egg to hatchling, ensuring optimal chick health, and contributing beneficially to the realm of poultry farming.
From Candling to Hatching
After candling serves its purpose in determining the viability of a developing embryo, incubation continues uninterrupted. By Day 18 of incubation, eggs should no longer be turned and the humidity levels must be increased to facilitate the hatching process. Hatching is a delicate phase where the chick pips and gradually breaks through the shell, typically occurring around Day 21 for chicken eggs.
Raising Healthy Chicks
Once hatched, the chicks require a consistent and controlled environment to ensure a strong start. Optimal temperature, access to fresh water, and starter feed are essential in the first weeks of life. Observing the chicks for consistent growth and signs of good health—such as bright eyes, active behavior, and clean feathers—indicates successful development post-incubation.
Contributing to Poultry Farming
Knowledgeable raising of chicks strengthens poultry farming's sustainability and productivity. Adequate nutrition, disease management, and proper housing conditions turn fertilized eggs into either robust layers or broilers for meat. Each healthy chick contributes to the future of poultry farming, ensuring continued supply of chicken products and genetic diversity within the flock.
