
The Ultimate Guide to Using Anvils for Metalworking on Your Homestead
Essential Techniques and Tips

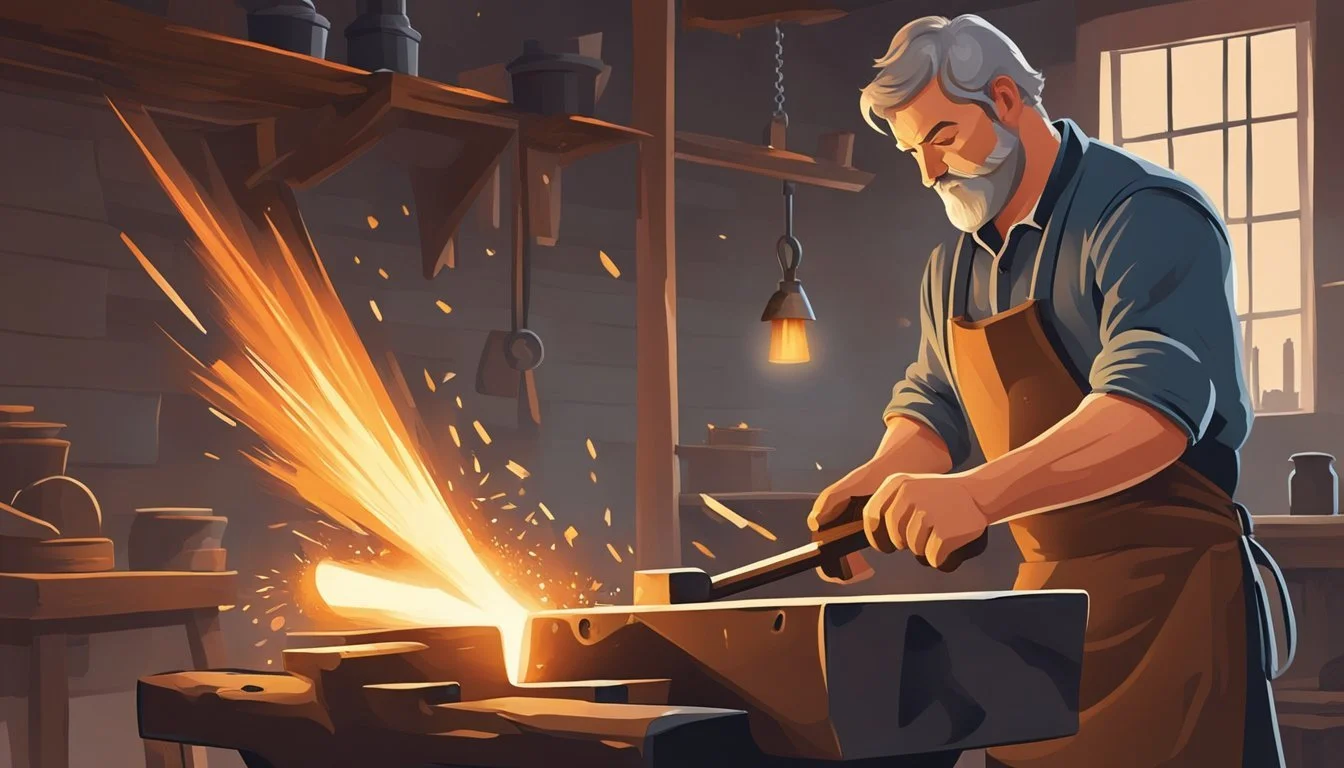
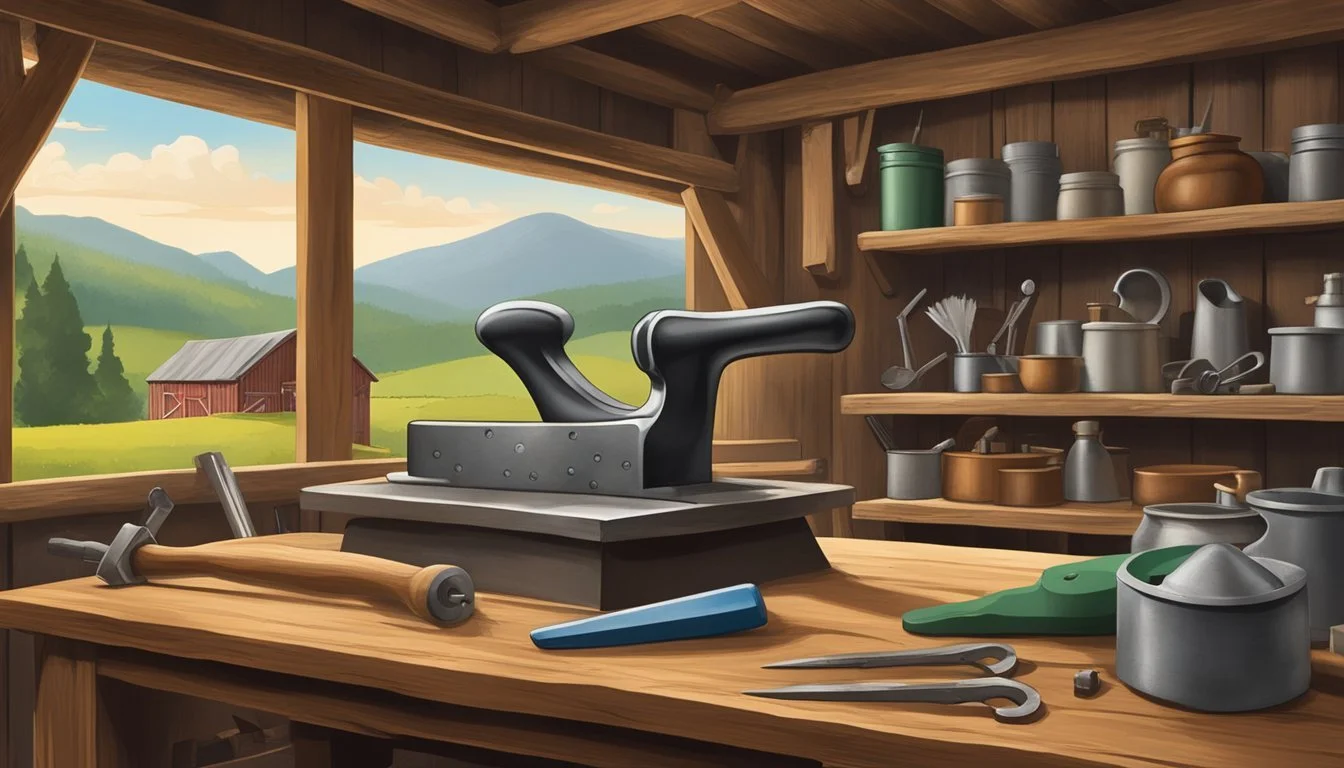
In the world of metalworking, the anvil is a foundational tool for any homestead blacksmith. This substantial piece of metal provides a stable surface on which to transform raw material into functional items or artistic pieces. Whether one is forging tools for agricultural use or crafting bespoke hardware, the anvil's surface endures repeated hammering while aiding in the molding and shaping of hot metal. Its design has endured over centuries, with a flat top surface for general work, a horn for curves and bending, and a hardy hole for specialized tools.
Anvils vary widely in size and weight, accommodating different types of blacksmithing projects. The more substantial and dense the anvil, the more effectively it absorbs the energy of the hammer blows, providing a more efficient working environment. Weighing anywhere from 75 to 500 pounds, shop anvils on a homestead typically reflect the blacksmith’s needs, striking a balance between portability and functionality. A well-selected anvil becomes the centerpiece of a homesteader’s forge, contributing to the success of their metalworking ventures.
As part of the blacksmith's craft, proper anvil use is key to achieving desired results in metalworking. Techniques such as bending metal over the anvil face, striking accurately, and using the anvil's features effectively are all critical skills. Seasoned blacksmiths often develop a rhythm, tapping the anvil to rest their arms and assess their work. Mastery of the anvil allows homesteaders to turn raw metal into well-crafted, durable goods that can serve a multitude of practical purposes.
Understanding Anvils
Anvils are the cornerstone of metalworking. They provide a multifaceted tool with specific features designed for shaping metal. Mastery of an anvil's functions is essential for effective metal crafting.
Anatomy of an Anvil
The anvil is a metalworking tool consisting of a large, solid block of metal with a flat face on top for hammering. A typical anvil contains several key features:
Face: This is the flat, smooth surface where most of the hammering takes place.
Horn: Extending from one end, the horn allows for the bending and shaping of metal.
Pritchel Hole: A round hole used for punching through metal.
Hardy Hole: A square hole that accommodates various tools like swages and fullers.
Types of Anvils
Anvils come in different styles to cater to various metalworking needs:
London Pattern: Characterized by a flat face with a horn and typically a pritchel and hardy hole.
European Pattern: It has a double horn with a more intricate design for specialized tasks.
Farrier Anvil: Designed specifically for horseshoeing, with features to assist in bending and shaping horseshoes.
Selecting Anvil Size and Weight
The size and weight of an anvil are chosen based on the work to be done:
Size: Small
Weight (Pounds): 50-100
Size: Medium
Weight (Pounds): 100-200
Size: Large
Weight (Pounds): 200-500+
A heavier anvil creates a more stable work surface. For most homestead metalworking tasks, anvils weighing between 75 to 200 pounds are adequate.
Materials: Cast Iron vs. Forged Steel Anvils
Anvils are typically made from two primary materials:
Cast Iron Anvils: Less expensive but not as durable as steel options. Suitable for light work and beginners.
Forged Steel Anvils: Made from high-carbon steel, these anvils are hardened and designed for heavy use. They offer superior resilience and longevity.
The foundation upon which the anvil rests, often a heavy stump or metal stand, also plays a pivotal role in the efficiency of the anvil's performance.
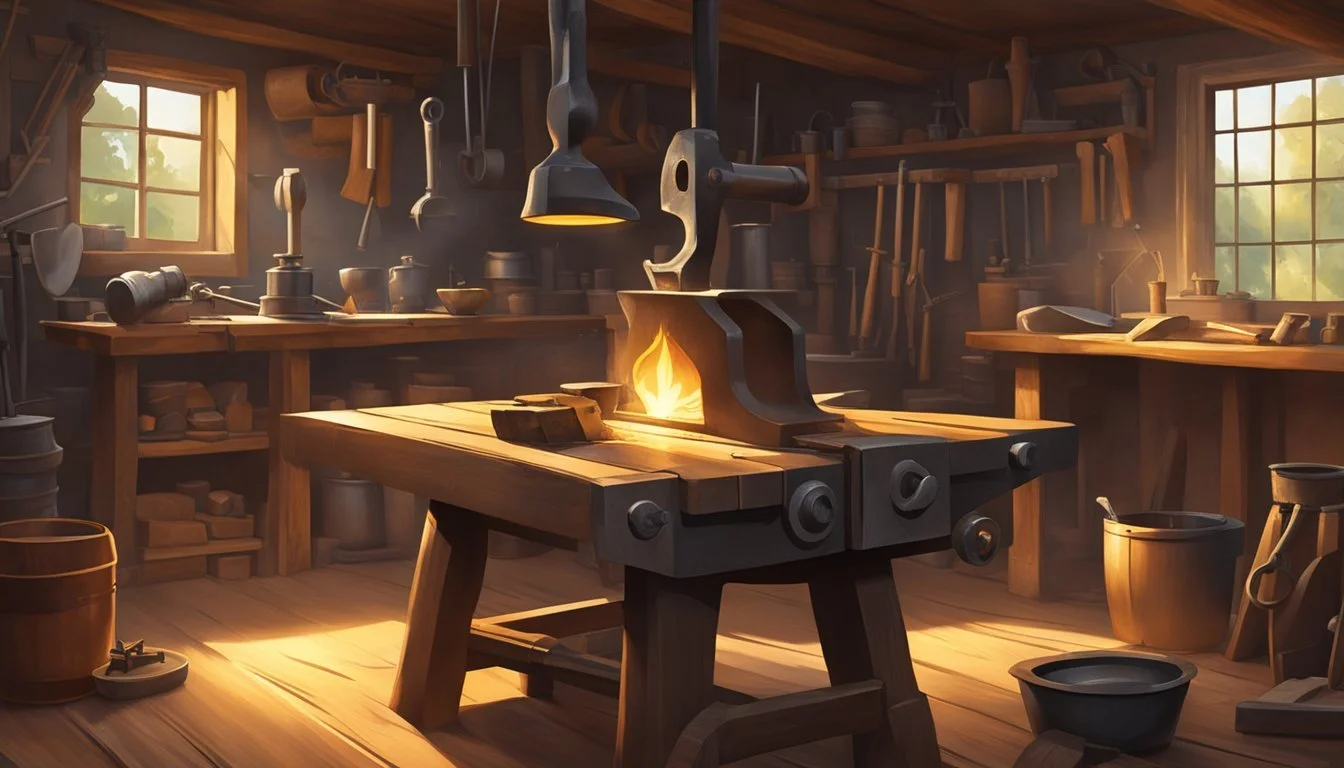
Setting Up Your Forge

When establishing a forge for metalworking on a homestead, the artisan must consider critical factors like location, anvil placement, and the assortment of tools necessary for various projects.
Choosing the Right Location
The choice of location for a forge is paramount. The space should be well-ventilated to dissipate fumes and smoke and must have ample room to move around safely. Ideally, it should be separate from living spaces to minimize noise and disturbance. One should ensure the workspace is fireproof, equipped with a proper fire extinguisher, and that all flammable materials are kept at a safe distance.
Anvil Placement and Stability
Securing the anvil is crucial to ensure stability and efficiency. Anvils range from 50 to 500 lbs—the right choice hinges on the metalworker's particular needs. A heftier anvil is preferred for larger projects due to its superior stability. It should be positioned so that its working surface is at the artisan's knuckle height when standing. The anvil must be on a stable base, often secured with chain or bolts, to prevent movement during work.
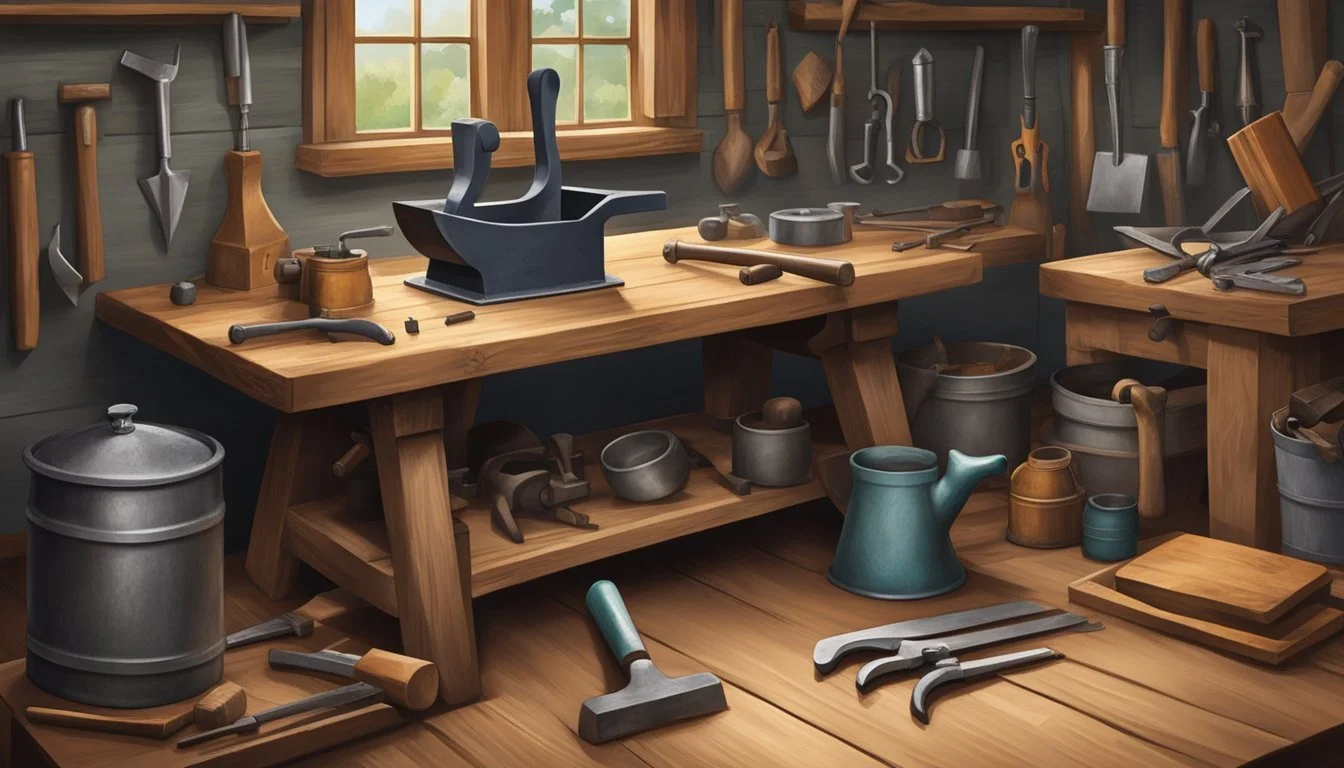
Tools and Equipment
The metalworker's toolbox should include the following essentials:
Hammer: To shape and manipulate metal.
Tongs: For gripping and holding hot metal.
Punch: For piercing holes in metal. Usually used in conjunction with the anvil's hardy hole, if available.
Protective Gear: Gloves, safety glasses, and an apron to ensure the blacksmith's safety.
Every tool should be organized within reach to maintain a smooth workflow. The forge itself must be reliable and suitable for the blacksmith's metalworking needs, with a temperature capable of adequately heating metals for forging.
Basic Techniques and Projects

When working with anvils in metalworking, understanding the core techniques of forging is essential. Mastery of metal heating, manipulation, and shaping is the foundation of any blacksmithing project.
Heating and Handling Metal
The blacksmith heats metal to make it malleable, typically using a forge. The heating temperature varies, but steel, for example, is often heated to a bright cherry red color, around 2,000°F. Proper handling is crucial for safety and precision. Blacksmiths use tongs to hold and manipulate the heated metal on the anvil.
Safety Tip: Always wear protective gear, including gloves and eye protection, when heating and handling metal.
Basic Forging Techniques
Fundamental forging techniques transform metal into desired shapes. Drawing out extends the metal by hammering along its length, while upsetting thickens it by hammering on the end. Bending and twisting reshape the metal, and punching creates holes:
Drawing Out:
Heat until malleable.
Hammer evenly along the metal's length.
Upsetting:
Heat the end of the material.
Hammer the end to make it thicker.
Bending:
Heat the area to be bent.
Use tools to bend the metal to the desired angle.
Punching:
Heat the targeted area.
Drive a punch through to create a hole.
DIY Metalworking Projects
For homesteaders starting in metalworking, some initial projects might include making simple tools or household items. They can start by crafting a basic hook or bracket, which involves heating, cutting, and bending the metal. More complex projects could involve forming shapes or making agricultural implements by performing a combination of the techniques mentioned above.
Project Example: Hook
Heat a steel rod.
Draw out one end to a point.
Bend into the desired hook shape.
Punch a hole for mounting.
Each project will build on the blacksmith's skill in heating, shaping, and finishing metal, ultimately leading to a comprehensive understanding of metalworking on the homestead.
Advanced Forging Skills
Mastering advanced forging skills allows a metalworker to manipulate metal with high precision, creating intricate designs and enduring artifacts. These techniques demand a deep understanding of metal properties and a steady hand, as they often involve complex shapes and delicate work.
Shaping Complex Forms
Complex forms in metalworking require a nuanced combination of hammer blows and anvil surfaces. Shaping involves heating the metal until it's malleable and then using the anvil's horn for curves or the flat surface for angles. Advanced techniques like bending and twisting require consistent hammering and rotating the metal to achieve the desired shape.
Techniques for complex shapes:
Scrolling: Creating elegant curves and spirals
Fullering: Smoothing or spreading the metal's surface
Jewelry Making and Precision Work
When it comes to jewelry making, precision is paramount. The anvil's face allows for delicate taps to configure small pieces, while specialized tools like miniature hammers and stakes facilitate the fine adjustments. Precision work in jewelry often involves intricate patterning and requires one to handle the metal lightly to avoid warping or unintended marks.
Essential tools:
Jeweler's hammer
Shaping stakes
Precision anvils
Upsetting, Punching, and Cutting Techniques
Advanced upsetting techniques involve thickening the metal's end by heating and striking it against the anvil, effectively shortening and widening it for stronger joinery or decorative mass. Punching creates holes or designs by driving a punch into the heated metal over a hole in the anvil. The cutting of metal, which is performed on the edge of the anvil's face or with a chisel and hammer, must be done with intention and control to ensure clean lines and preserve the metal's integrity.
Key processes:
Upsetting: Heating the end and striking it down to increase thickness
Punching: Driving a punch tool to create holes or design elements
Cutting: Shearing metal with a chisel on the anvil's edge or using cutting tools
Care and Maintenance of Anvils
Proper care and maintenance of an anvil are vital for its longevity and durability. These practices have stood the test of centuries, ensuring that this traditional tool can provide reliable service for metalworking projects.
Routine Anvil Care
Daily Maintenance: It is essential for an individual to keep the anvil clean and free from debris. After each use, one should wipe down the surface to remove dust, metal filings, or any buildup. Occasionally treating the anvil with light oil helps to prevent rust.
Seasonal Checks: Regularly inspect the anvil for signs of wear such as chips or cracks. Tightening anvil straps, when used, ensures the anvil remains secure and stable during operation.
Handling Wear and Tear
Surface Imperfections: Over time, an anvil's surface might develop marks or become uneven. Individuals can address minor surface imperfections with a fine file, but should avoid excessive filing as it could compromise the anvil's hardened surface.
Avoiding Misuse: She should never use the anvil as a cutting board or subject it to excessive heat, as these can cause damage. When pounding metal, one must use the appropriate part of the anvil to match the task at hand to distribute the wear evenly.
Restoration of Old Anvils
Rust Removal: For an anvil that has developed rust, a person can clean it using a wire brush or sandpaper. After rust has been removed, the application of oil will protect the anvil's surface from future rusting.
Professional Help: If an anvil is heavily damaged or worn, she may need to seek professional restoration. Experts can reface and repair anvils, restoring them to usable condition while retaining the anvil's integrity and value.
Choosing Tools and Accessories
Selecting the right tools and accessories is essential for efficient and safe metalworking. One's choice should factor in the specific tasks at hand to ensure precision and ease of work.
Hammers and Tongs
Hammers are the primary striking tools in metalworking. They come in different weights and sizes, tailored to the scale of work being done. Common hammer types used alongside an anvil include:
Cross Pein Hammer: Ideal for bending and shaping metal.
Straight Pein Hammer: Suited for metal fabrication tasks.
Sledgehammer: Used for heavy-duty forging.
Tongs are critical for a blacksmith's grip and handling of hot metal. They come in various shapes, such as flat-nose and round-nose, each offering a different grip suited to the piece of metal or the shape one is working towards.
Specialty Tools for Specific Tasks
Specialty tools enhance the blacksmith's ability to perform specific tasks. Some of these tools include:
Swages: For shaping metal into different profiles.
Fullers: To create grooves or stretch metal.
Chisels: For cutting or carving metal.
Each of these tools serves a unique purpose and should be chosen based on the task requirements.
Safety Equipment
Protective gear is non-negotiable in metalworking. The following safety equipment is vital:
Gloves: They provide a mix of protection and grip while handling hot materials.
Safety Goggles: Essential for eye protection from flying debris.
Hearing Protection: Necessary to guard against the loud noise of hammering metal.
Aprons: Heat-resistant leather aprons protect the body from sparks and hot metal.
Each piece of safety equipment is designed to mitigate specific risks associated with metalworking.
Tips for Beginners
For those new to metalworking on their homestead, it's imperative to start with manageable projects, seek guidance through mentorship, and invest wisely in quality equipment.
Starting with Basic Projects
Beginners should identify initial projects that are achievable and will reinforce fundamental blacksmithing skills. Basic hooks or brackets are excellent starting points as they require a set of straightforward techniques such as heating, hammering, and shaping metal. Project complexity can be increased gradually as a beginner's skill level advances.
Learning from a Blacksmith Mentor
Seeking the knowledge of an experienced blacksmith mentor can be invaluable. They offer real-time feedback and demonstrate techniques that are difficult to grasp from books or videos alone. Mentorship allows for a hands-on learning experience, providing beginners with a direct line to practical advice and troubleshooting tips that can greatly accelerate their learning curve.
Investing in Quality Equipment Early
While sticking to a budget is essential for hobbyists starting out, investing in quality equipment early on can be more economical in the long run. Beginners might consider a durable, mid-weight anvil between 50 and 150 pounds to balance cost and functionality. Similarly, a range of hammers from less than a pound to about 4 pounds will be necessary to work on different projects effectively.
Equipment: Anvil
Importance: Central to shaping metal; heavier anvils reduce bounce and improve efficiency.
Equipment: Hammers
Importance: Variety allows the smith to handle differing tasks appropriately.
Equipment: Forge
Importance: Must reach appropriate temperatures for differing types of metals.
Quality tools can withstand the rigor of blacksmithing and ensure both the safety and success of a beginner's projects.
The Metalworker's Environment
In metalworking, the environment encompasses more than just the physical workspace; it involves managing air quality, noise, and ensuring that the space is well-organized. These factors are crucial to maintain both the efficiency of work and the well-being of the metalworker.
Ventilation and Air Quality
Proper ventilation is essential in any metalworking environment. The process often involves fumes and particulates, which can be hazardous if not effectively managed. It is important to have a robust ventilation system that includes local exhaust ventilation at the source of fumes and particulate generation, as well as general ventilation throughout the workspace. Air filtration systems should also be in place to capture airborne contaminants, ensuring a safe breathing environment for the metalworker.
Noise Level and Acoustic Management
Metalworking is inherently noisy due to the use of hammers, anvils, and machinery. Prolonged exposure to high noise levels can lead to hearing damage. Acoustic management strategies should be employed, such as:
Installing sound-dampening materials around the workspace
Using ear protection such as earmuffs or earplugs
Enclosing particularly loud equipment.
Monitoring noise levels with decibel meters can help metalworkers stay aware and take timely corrective measures.
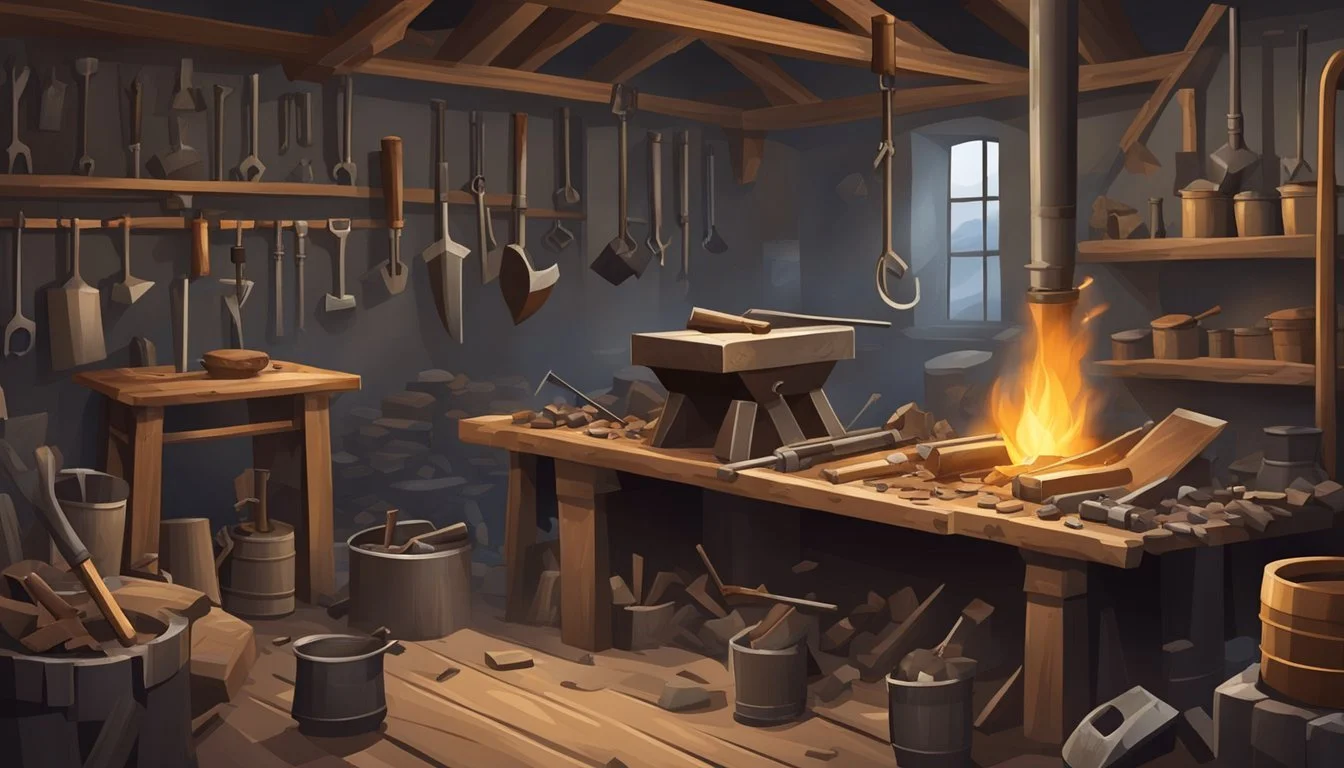
Workspace Organization
An organized workspace is the bedrock of efficient and safe metalworking. Proper organization encompasses:
Tool Storage: Adequately labeled and designated storage for tools prevents clutter.
Work Zones: Clearly defined zones for different tasks like cutting, welding, and finishing.
Accessibility: Ensuring that equipment and materials are within easy reach to minimize strain and movement.
An organized workspace not only boosts productivity but also significantly reduces the risk of accidents and misplacement of tools and materials.
Cultural and Historical Significance
The anvil has been an emblem of the resilience and innovation of craftsmen throughout history. Its presence has been pivotal in shaping cultures and has left an indelible mark on the craft of metalworking up to modern times.
Anvils in Historical Context
Historically, anvils have played a crucial role in the development of technology and infrastructure. They appeared as stone and bronze tools in ancient civilizations and evolved into iron forges pivotal during the Iron Age. The anvil is often cited as a catalyst to the Industrial Revolution, where it became symbolic of the forge and metalworking tradition. Its image has pervaded culture so deeply that it appears in legends such as the mythical Sword in the Stone, where it metaphorically signifies the convergence of destiny and capability.
Anvils in Modern Craftsmanship
In the contemporary era, anvils continue to be a central tool for blacksmiths and metal artists. Despite advances in technology that allow for new methods of metal shaping, the anvil remains a fixture in workshops due to its simplicity, reliability, and direct link to a rich artisanal heritage. Today, it also serves as a historical reference point, symbolizing the endurance of traditional craftsmanship in a modern context. Its consistent use by today's craftsmen underscores the anvil's ongoing cultural significance and the respect for the tried-and-true practices of historical blacksmiths.
