
The Ultimate Guide to Using Infrared Heat Lamps
Ensuring Warmth for Chicks and Small Animals on Homesteads
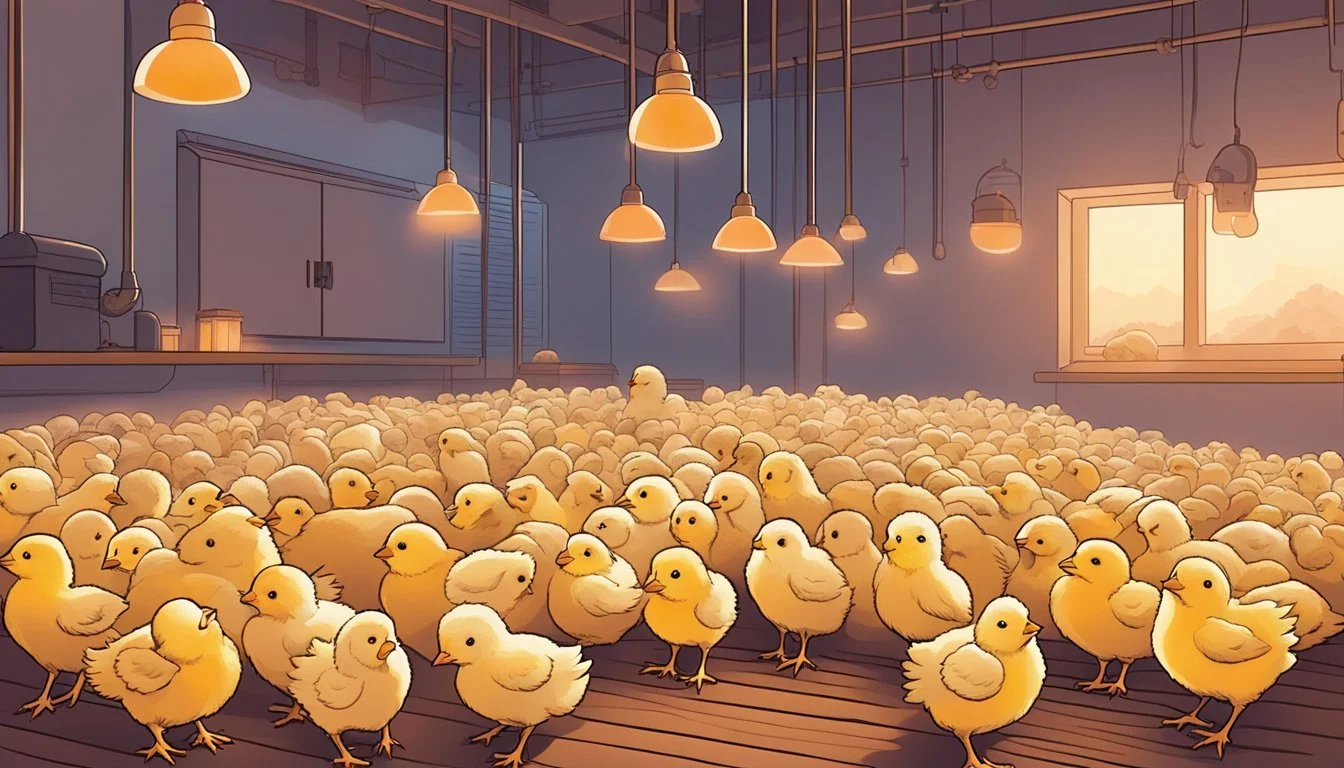
In the realm of poultry farming, providing an optimal heat source for brooding chicks is a critical aspect of their early development. The use of infrared heat lamps in chick brooders has gained popularity due to their ability to efficiently deliver warmth, akin to the soothing heat once provided by a mother hen. These lamps are designed to cater to the thermoregulatory needs of young chicks, promoting healthier growth by maintaining a consistent temperature within the brooding environment.
Ensuring the well-being of chicks during the brooding period sets the precedent for their future health and productivity. An infrared heat lamp offers a safer alternative to traditional heat sources, mitigating the risks associated with constant illumination and excessive heat. By radiating heat directly onto the brooding area, these lamps permit chicks to self-regulate their body temperature by moving in and out of the warmth as needed.
Selecting the appropriate heat lamp is a pivotal decision that can influence the success of raising chicks. Factors such as bulb type, positioning, and the regulation of temperature are integral to create a secure setting for the chicks. Homesteaders need to consider not only the initial setup but also the upkeep and energy efficiency of their chosen heat source to ensure a sustainable and cost-effective approach to brooding.
Understanding the Basics of Brooding
Brooding is critical for the survival and health of chicks, as it provides necessary warmth and a nurturing environment in the absence of a mother hen.
What Is Brooding?
Brooding refers to the process of maintaining the environmental conditions necessary for the survival of newly hatched chicks. This includes regulating temperature, humidity, and ventilation within a brooder. A brooder is an artificial setup designed to emulate the conditions provided naturally by a broody hen.
The Role of Mother Hen
A mother hen or broody hen naturally provides heat and protection to her hatchlings. She instinctively knows how to adjust the warmth for her chicks, maintain proper humidity, and keep them safe from predators. Her body heat and the warmth of her feathers create the ideal conditions for the baby chicks to thrive.
Brooding Chicks Without a Hen
When brooding chicks without a hen, it's essential to replicate the mama hen's role as closely as possible. The use of infrared heat lamps is common in this practice, as they provide consistent and controllable heat. The brooding area must be monitored closely, ensuring temperatures are maintained at proper leveling, decreasing by approximately 5 degrees Fahrenheit each week until the chicks are acclimated to the outside temperature or have developed enough feathers for insulation.
Choosing the Right Heat Lamp
When selecting a heat lamp for brooding chicks or heating small animals, one must consider the lamp type, bulb, and fixture. Ensuring safe positioning is vital.
Types of Heat Lamps
Heat lamps vary, with infrared heat lamps being preferred for their even heat distribution and therapeutic effects. Traditionally, heat lamps have been incandescent bulbs, but these can be less energy-efficient and produce a harsher light compared to their infrared counterparts.
Infrared Heat Lamps Versus Traditional Models
Infrared heat lamps emit heat without intense visible light, promoting a comfortable environment that doesn't disrupt sleep cycles. These lamps are superior for brooding due to the consistency of warmth provided and the minimal disturbance caused.
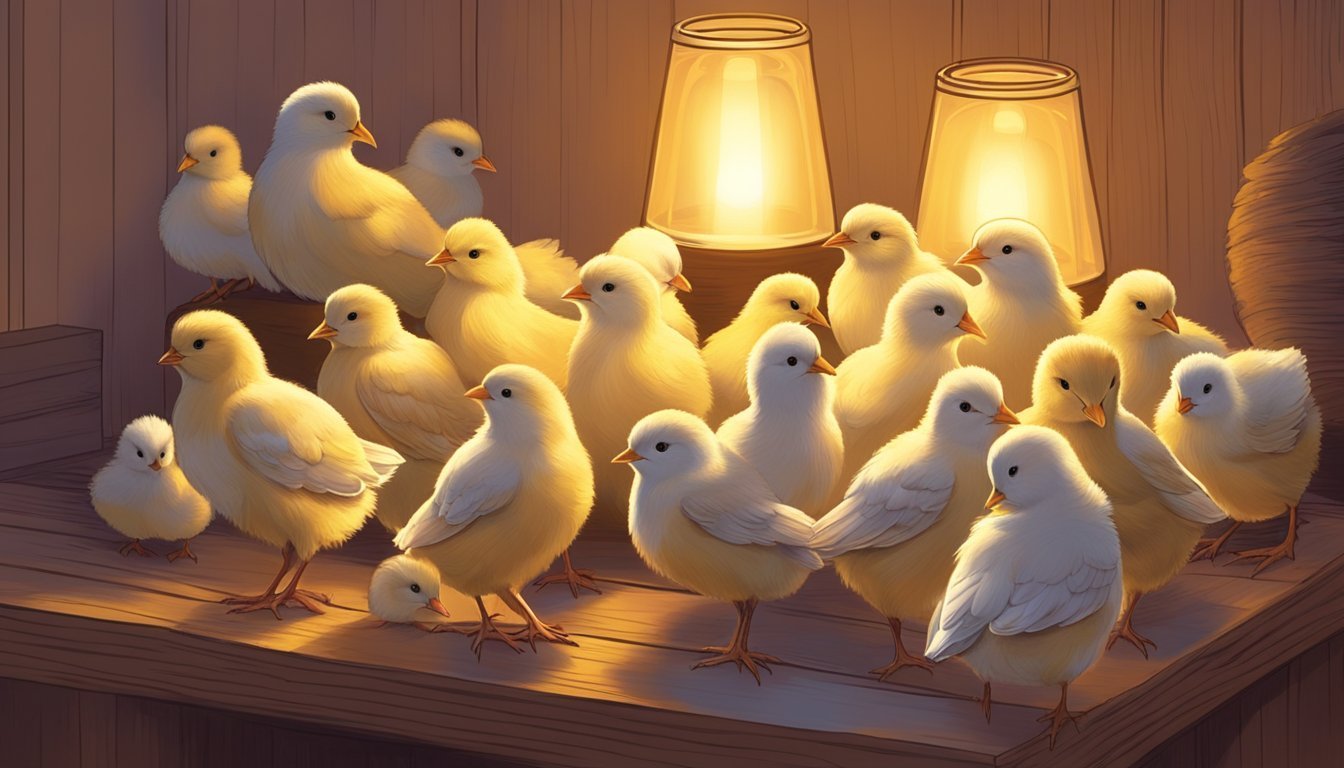
Heat Bulb Options
The choice of heat bulb impacts both efficiency and safety. Red bulbs are recommended for continuous use, as they emit a softer light which is less stressful to chicks and small animals. One must ensure to select a bulb designed to deliver appropriate warmth as per the space it is intended to heat.
Lamp Fixture and Clamps
A lamp fixture needs a reliable clamp or hook to secure it firmly. Screw-in fixtures are common and convenient, allowing for easy bulb changes. It's essential that the fixture is rated for the power of the bulb to prevent overheating.
Safe Positioning and Securing
Heat lamps should be positioned at a height that provides uniform warmth without the risk of overheating or burns. Lamps must be secured with strong clamps and positioned away from flammable materials to mitigate fire risks. Regular checks are necessary to ensure the setup remains safely in place.
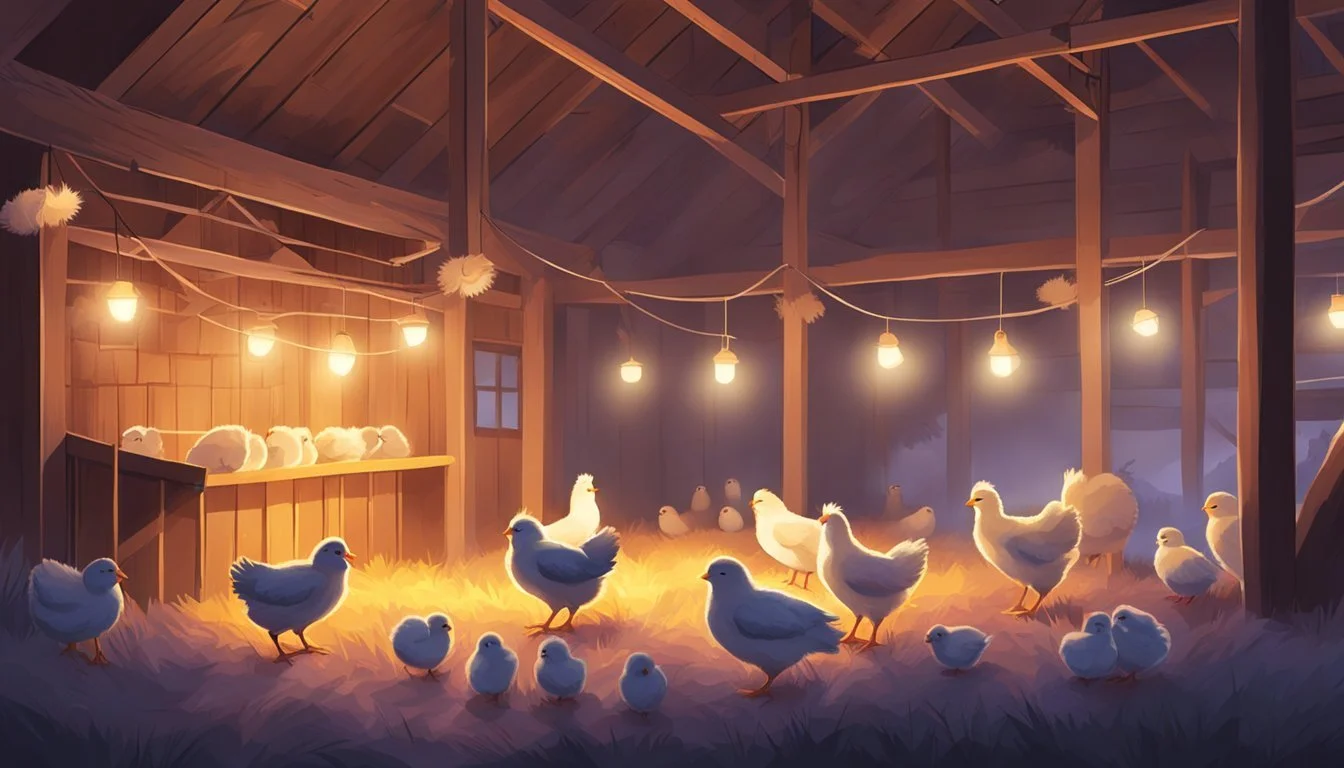
Setting Up Your Brooder
A properly set up brooder ensures that chicks and small animals have a safe, warm, and comfortable environment for their crucial early development stages.
Choosing a Brooder Container
When selecting a container for the brooder, one must consider size and durability. A brooder box should offer at least 6 inches of space per chick initially, expanding to 1 sq. ft per bird after 4 weeks. It can be made of plastic, metal, or wood, but it should be sturdy enough to keep the chicks inside and predators outside.
Bedding Material Choices
The bedding in a brooder plays a critical role in both comfort and cleanliness. Ideal materials include:
Shavings: Pine shavings are preferable as they are absorbent and do not have the dust associated with cedar.
Sand: A good choice for easy cleaning, though it might not be as warm as other materials.
Chopped Straw: Can be used, but it should be changed regularly to prevent mold and parasites.
Each material has its pros and cons, so homesteaders should choose based on what works best for their specific situation.
Brooder Cover and Protection
A brooder cover is necessary to protect the chicks from predators and prevent escapes. The cover can be made of wire mesh, which allows for proper ventilation while ensuring safety. One should regularly inspect the cover for damage or openings that could endanger the brooder’s inhabitants.
Temperature Regulation Equipment
Young animals cannot regulate their body temperature well, so a heat lamp for chicks or a brooder plate is essential in a well-set-up brooder. The ideal temperature under the heat source should start between 90-95°F in the first week and decrease each week thereafter. A heat plate provides radiant heat and can be a safer alternative to heat lamps while still maintaining the necessary temperature. Always have a thermometer on hand to monitor brooder temperatures accurately.
Health and Safety Considerations

When considering the use of infrared heat lamps for brooding chicks or keeping small animals warm, it is imperative to prioritize health and safety. Effective risk management not only ensures the well-being of the animals but also prevents potential accidents.
Preventing and Managing Fire Hazards
Heat lamps, if not managed properly, can become a significant fire hazard. To prevent such risks, ensure that:
Heat lamp installation is secure to prevent lamps from falling.
Electrical connections are inspected regularly to avoid malfunctions.
Heat sources are kept away from flammable materials and surfaces.
Creating a fire risk management plan is also advised, which includes:
Regular cleaning around the lamp to remove flammable debris.
Having a working smoke detector and fire extinguisher within reach.
Avoiding Overheating and Chilling
To maintain the optimal body temperature of the chicks and small animals, both overheating and chilling must be avoided:
Monitor ambient temperatures frequently using a reliable thermometer.
Adjust the heat lamp’s height and/or intensity to provide a gradient of warmth.
Reducing Disease Risks
Inadequate heating can lead to disease vulnerability. Follow these guidelines to reduce disease risks:
Ensure heat lamps provide consistent and evenly distributed warmth.
Prevent damp conditions as they can promote the growth of harmful bacteria.
Minimizing Stress and Feather Pecking
Stress in brooding environments, often caused by improper temperatures, can lead to feather pecking. To minimize these behaviors:
Create a stress-free environment by maintaining a steady ambient temperature.
Offer ample space to allow chicks to move away from the heat source as needed.
Monitor chick behavior frequently for early detection of stress signs.
Monitoring and Adjusting the Brooding Environment

Creating a stable brooding environment is critical for the survival and health of young chicks. It's essential to maintain proper heat levels, adjust settings as needed, and observe the chicks’ behavior to ensure their well-being.
Reading and Adjusting Temperature
Maintaining the correct temperature within the brooder is vital. A brooding area should start with a temperature between 90-95°F and reduce by approximately 5°F per week until it matches the ambient temperature. An adjustable height infrared heat lamp provides a convenient way to control the heat intensity. It is recommended to place a thermometer at the edge of the heat zone to monitor the actual temperature.
Week After Hatching: 1; Recommended Temperature (°F): 90-95
Week After Hatching: 2; Recommended Temperature (°F): 85-90
Week After Hatching: 3; Recommended Temperature (°F): 80-85
Week After Hatching: 4; Recommended Temperature (°F): 75-80
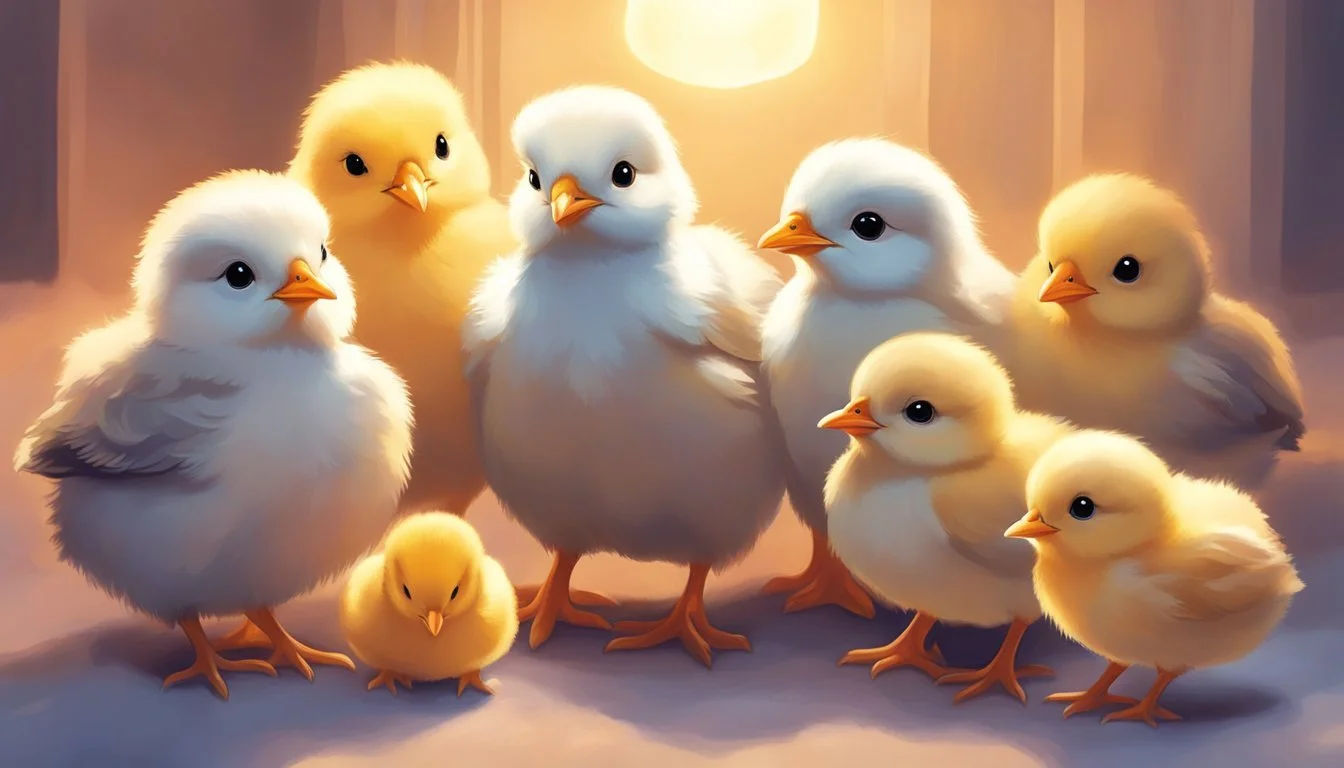
Observing Chick Behavior
Chick behavior is an invaluable indicator of their comfort levels. If chicks are huddled directly under the heat source, they may be too cold, suggesting the need for more heat or a lower lamp position. Conversely, if they are avoiding the heated area and spreading to the brooder's outer edges, the temperature may be too high. Chicks evenly dispersed and actively moving are signs of a comfortable environment.
Modifying the Brooder Setup
A brooder's setup should be both easy to set up and adjustable to cater to changing temperature needs and chick growth. Raise the infrared lamp higher to gradually decrease the heat as the chicks grow. Additionally, the brooding area should be free from drafts and have sufficient bedding to insulate and provide comfort. Adjusting the brooder size can be necessary as the chicks grow to ensure adequate space and access to proper heat.
Additional Heating Options and Alternatives
When brooding chicks and keeping small animals comfortable, ensuring controlled warmth is critical. This section explores reliable heat sources that are efficient and safe alternatives to traditional heat lamps.
Ceramic Heat Emitters
Ceramic Heat Emitters (CHEs) offer a long-lasting source of radiant heat without producing light, making them ideal for maintaining a natural day-night cycle. These devices attach to a standard lamp fixture and emit infrared heat to warm the surrounding air. CHEs are particularly effective for creating a consistent temperature, as they can last up to five years with proper usage.
Brooder Plates and Heating Pads
Brooder Plates are a modern solution for chick warmth, providing a consistent heat surface that mimics a hen's natural body heat. They are energy-efficient, reducing electricity usage compared to traditional heat lamps. Heating Pads can also be used beneath brooder areas to offer gentle, direct warmth, and can be adjusted for varying temperatures as chicks grow.
Heating Options for Small Animals
Small animals, such as rabbits and guinea pigs, benefit from environment-appropriate warmth. Radiant Heat Solutions, like heat plates, can be safely used in small animal habitats, ensuring animals stay warm without the risk of burns or overheating. When choosing heating options, it's important to consider the specific needs of the animals, including size and temperature requirements, to avoid any health risks associated with improper heating.
Cost Considerations and Energy Usage
When setting up infrared heat lamps for brooding chicks or providing warmth for small animals, understanding the financial and energy implications is crucial. They should evaluate both the initial investment and the ongoing energy costs to maintain a suitable environment.
Initial Setup Costs
The initial setup for using infrared heat lamps involves purchasing the lamps themselves and any necessary fixtures. The costs can vary:
Infrared Heat Lamps: Typically range between $20 to $40 each.
Fixtures and Accessories: Including clamps, guards, and reflective domes, can add $10 to $20 more to the cost per lamp.
In addition, they may also need to consider the expense for installation, especially if professional assistance is required for safe setup. The installation might add an additional $50 to $100 to the overall initial costs, depending on the complexity and number of lamps installed.
Long-Term Energy Consumption
Infrared heat lamps are known for their efficiency in directly warming animals without heating the entire space. However, energy consumption can accumulate over time, making it a key factor in long-term costs:
Wattage of Infrared Lamps: Commonly range from 100 watts to 250 watts.
Daily Usage: Assuming lamps are running an average of 8 hours per day.
Considering the energy prices in 2024, if a 250-watt infrared heat lamp operates for 8 hours daily, they can expect the following energy consumption costs:
Wattage (W): 250
Daily Use (Hours): 8
Cost per kWh: $0.15
Daily Cost: $0.30
Monthly Cost*: $9.00
*Assuming 30 days in a month.
The actual cost will vary based on local electricity rates and the number of lamps used. They must monitor their electricity usage to ensure the cost remains within their budget. Efficient usage, such as only using the lamps when necessary and during colder periods, can greatly reduce long-term energy consumption and costs.
Alternative Brooding Locations and DIY Ideas
Creating a warm and safe brooding space doesn’t require sophisticated equipment or expensive setups. With resourcefulness and a bit of DIY ingenuity, one can repurpose common household items and outdoor spaces into effective brooding environments for young poultry or small animals.
Repurposing Household Items as Brooders
Dog Crate: An unused dog crate can serve as an ideal brooder for small batches of chicks or ducklings. Line it with pine shavings or a similar substrate and cover the top with a mesh for ventilation while maintaining heat retention.
Rubbermaid Container: Sturdy and easily cleanable, a Rubbermaid container can be transformed into a makeshift brooder by cutting a window on the lid and covering it with a secure wire mesh. Ensure proper ventilation and temperature control inside the container.
Kiddie Pool: A shallow kiddie pool makes for an inexpensive and space-efficient brooder. Contain the area with a wire circle and a brooder lamp positioned overhead, allowing chicks to move closer or farther from the heat source as needed.
When building your DIY brooder, always prioritize the safety of the animals. Secure electrical connections and maintain a stable temperature to prevent overheating or fire hazards.
Utilizing Outdoor Spaces and Coops
Chicken Coops: An existing chicken coop can double as a brooding location, especially if a broody hen is present. A segregated section within the coop can ensure the safety of the chicks while allowing them to acclimate to their future home.
Outdoor Nooks: Protected outdoor spaces, like a shed or barn corner, can be set up for brooding, provided that the area is draft-free and temperature regulation is possible. Positioning a brooder lamp securely to avoid contact with flammable materials is crucial.
Turning an outdoor space into a brooding area can offer more room for growing chicks and can be particularly effective for brooding ducklings that will require more space as they grow. Always ensure the chicks have continuous access to food and water, and the area is protected from predators.
Raising Healthy Chicks Beyond Brooding

After chicks have grown beyond the initial brooding stage, their care doesn't stop there. The transition to adulthood and ongoing nutrition are critical for maintaining chicken health and promoting proper growth.
Transitioning to Adult Chicken Care
As chicks develop into adult chickens, it’s crucial to shift from the controlled environment provided by a heat lamp to the more varied conditions of the coop. They should be ready to leave the brooding area when they have fully feathered out, which typically happens by 5 to 6 weeks of age. At this point, they will be better equipped to regulate their body temperature. It's vital to ensure that the coop provides protection from predators, extreme weather, and that it has suitable roosting areas.
Ventilation is also key but must be balanced with avoiding drafts. Monitor the flock for signs of distress or discomfort, which could indicate that the transition is not going smoothly.
Feeding and Nutritional Advice
Proper nutrition is essential for healthy growth and development. As chicks grow, their dietary needs shift from a high-protein chick starter feed to a feed mix that's appropriate for their age and size. Here’s a quick guide to their nutritional journey:
Weeks 1-6: Serve a chick starter feed with 18-20% protein content to support rapid growth.
Weeks 7-14: Transition to a grower feed, slightly lower in protein, to continue steady growth without the excess calories that can lead to obesity.
Week 15 onward: Gradually switch to a layer feed or an adult chicken feed, which will typically have 16% protein and added calcium to support egg production for layers.
It’s important to always provide fresh water and to be mindful of each chicken's unique eating behavior. Make adjustments as necessary to ensure each bird is getting adequate nutrition without overfeeding or underfeeding. Regularly cleaning feeders and waterers is also crucial to prevent disease.
Additional Resources and Product Recommendations
When raising backyard chickens, selecting the right brooding equipment is crucial for the health and development of chicks. This section offers specific sources for purchasing supplies and presents a concise review of top brooding equipment, emphasizing best practices for setup and use.
Where to Buy Supplies
For purchasing brooder supplies, Amazon and Tractor Supply are two reliable outlets. They offer a wide range of products from basic brooder kits to advanced heating options. Both retailers are known for their availability and convenience. Those interested in setting up a brooder can find the following items:
Brooder Kits: Essential for starting off, including adjustable heat lamps and thermometers.
Brooder Supplies: Feeders, waterers, and bedding material to ensure a comfortable environment.
Products may be available through affiliate links, which can also support guides and forums dedicated to raising backyard chickens.
Reviewing the Best Brooding Equipment
The Brinsea EcoGlow is highly recommended for its safety and efficiency in keeping chicks warm without the risks associated with traditional heat lamps. Here are two top picks:
Brinsea EcoGlow Safety 600 Brooder for Chicks or Ducklings
Low energy use and safe radiant heat reduces the risk of fires.
Magicfly Chicken Coop Heater
Provides a gentle, radiant heat, and is another safe alternative to standard heat lamps.
For those setting up a brooder, these selections are known for their quality, reliability, and are considered best practices in terms of safe chick rearing.
