
The Ultimate Guide to Using T-Post Clips
Efficient Fencing Attachment Techniques

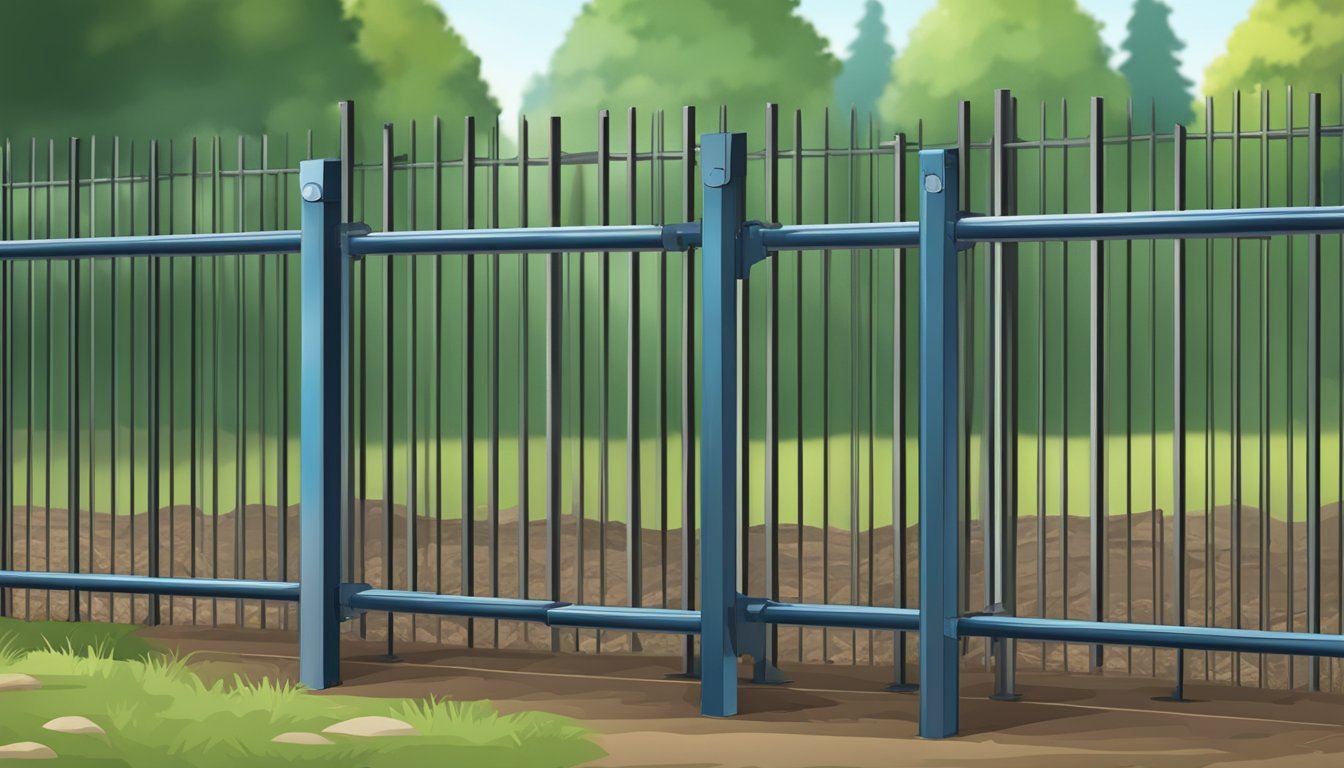
When installing wire fencing, the use of steel T-posts is a common and cost-effective strategy for creating sturdy perimeters. However, the challenge often lies in attaching the fencing securely to these metal posts. This is where T-post clips come into play. They are specifically designed to fasten the fencing material—whether wire, mesh, or any other type—to T-posts efficiently and robustly, ensuring that the fence remains taut and well-supported.
T-post clips, being small and somewhat unintuitive in design, can initially seem confusing to work with. Yet, their proper installation is critical to the integrity of the fence. By employing T-post clips, one can maintain the tension of the fence line, prevent sagging, and reduce the risk of the fence becoming loose or detached. This guide aims to demystify the process and provide clear instructions on how to utilize T-post clips effectively, enhancing the overall durability and longevity of fence installations.
Understanding T-Posts and Their Role in Fencing
T-Posts are essential components of fencing systems, offering a blend of durability and ease of installation for a range of applications.
Types of T-Posts and Material Properties
T-Posts are predominantly made of steel, imbuing them with the sturdiness and long-lasting qualities necessary for outdoor fencing solutions. The typical T-Post has a spine with studs to ensure fencing material is securely held in place. These posts vary in height and weight, with sizes ranging from 4 feet to 8 feet, accommodating different fencing requirements.
Material: High-grade steel.
Durability: Resistant to corrosion and bending.
Sizes Available: From 4 ft to 8 ft (commonly bundled in sets of 5).
T-Post Applications: Livestock, Property, and Beyond
T-Posts find extensive use both for demarcating property lines and in agricultural settings for containing livestock. They're an inexpensive and reliable option that can be adapted to various types of fencing, including electric, plastic, vinyl, and wire mesh. Their ease of installation makes them a practical choice for both temporary and semi-permanent fencing applications.
Fencing Varieties: Electric, plastic/vinyl, wire mesh.
Installation: Directly driven into the ground with a post driver.
Support: Ideal for snow fences, netting, and different types of mesh.
Preparing for Installation
Proper preparation is crucial for a successful T-post fencing installation. This phase involves selecting the appropriate tools, measuring and marking your fence line accurately, and ensuring the posts are properly spaced and placed for stability and strength.
Choosing the Right Tools and Materials
To begin, one must gather the necessary tools and materials to ensure the process moves smoothly. Essential tools include:
Post Driver: For driving T-posts into the ground with precision and ease.
Pliers: Necessary for attaching T-post clips to the posts and fencing.
Hammer: Used in case any adjustments or additional fixtures are needed.
Gloves: To protect one's hands during the installation process.
Materials needed are:
T-Post Clips: Required for securing the fence to the T-posts.
Measuring Tape: For accurate measurements between posts.
String Line and Stakes: To mark and ensure straight fence lines.
Measuring and Marking Fence Lines
Measuring and marking the fence line are critical steps to be undertaken before installation. Use a measuring tape to determine the position of the corner posts and establish the property boundaries precisely. Once measurements are taken, string lines should be stretched between stakes to provide a visible guide for a straight fence line.
Ensuring Proper Post Spacing and Placement
The spacing of T-posts determines the strength and rigidity of the fence. The standard spacing is about 8-12 feet apart. Measure the distance using a tape measure, and mark the ground using stakes or spray paint. When driving the T-posts into the ground with a post driver, ensure the posts’ knobs, which will hold the clips and fencing, are facing the direction where the fencing will be attached. Use a level to verify each post is plumb and make adjustments as necessary to achieve an optimal setup for the fence structure.
Setting Up T-Posts Securely
The successful installation of fencing relies heavily on the secure placement of T-posts. Proper driving into the ground and ensuring that the posts are stable and level form the backbone of a durable fence.
Driving Posts into the Ground
To install T-posts, one must use a post driver, a specialized tool that effectively pushes the post into the soil while minimizing damage to the post itself. The process begins by:
Assessing the Soil: Different terrains may require individual approaches. For instance, in rocky ground, a pilot hole may be beneficial.
Marking the Ground: Defining where each post will go, commonly spaced 8-12 feet apart.
Using the Post Driver: With its tube-shaped design, the driver is placed over the top of the T-post. It's then thrust down onto the post repeatedly until the desired depth is achieved—usually leaving 1-2 feet of post above ground.
It's imperative to ensure each post is driven into the ground at consistent depths for a uniform appearance and to achieve sufficient anchoring for stability.
Achieving Stability and Level Posts
Once the posts are in the ground, it's essential to evaluate their stability and alignment:
Checking for Plumb: Each post should be vertically level. A standard spirit level can confirm this. Adjustments are made by slightly tilting the post and compacting the soil around it.
Ensuring Stability: The soil should be firmly packed around the base of each post. For added security, especially at corner posts, concrete can be used to anchor the posts more solidly.
Tools such as pliers may be required to make minor adjustments to the T-posts to ensure they are properly aligned and secure. Achieving a well-aligned and stable fence line requires attention to detail and the use of appropriate tools and techniques.
Attaching the Fencing
When attaching wire fencing to metal t-posts, it is important to use t-post clips correctly to maintain the fence's strength and durability. Ensuring proper tension is also critical for a taut and secure fence line.
Selecting and Preparing the Wire Fence
Before attaching fencing, choose the appropriate wire type for your needs, whether it be welded wire, woven wire, or barbed wire. Each type provides different levels of strength and flexibility. To prepare the fence:
Unroll the wire fence: Unroll it along the fence line to make the installation process smoother.
Cut and adjust: Cut the fence to the required length and adjust to align with the posts.
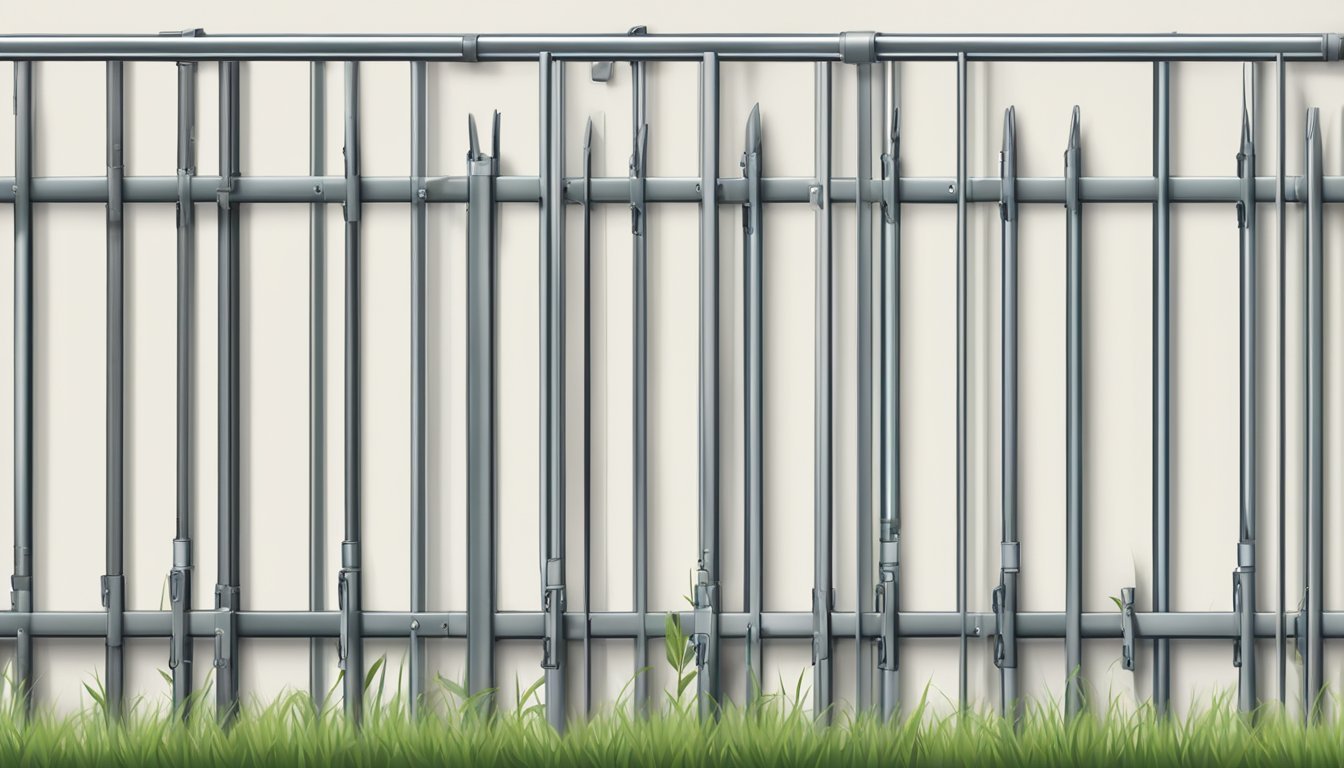
Using T-Post Clips for Attachment
T-post clips are designed to secure fencing to metal posts and are integral to the installation process. Here's a step-by-step process:
Position the clip: Place the t-post clip around the post and fencing wire.
Twist the clip: Use a clip bender tool or pliers to twist and secure the clip tightly.
Repeat: Attach a t-post clip every 12 inches for optimal support.
Achieving Optimal Tension and Support
A fence stretcher is essential to achieve the tension needed for a taut fence. It aids in evenly distributing strength and support along the fencing:
Attach the fence stretcher: Secure the stretcher to the fencing at one end.
Pull to tension: Stretch the fence to the desired tension avoiding overstretching as it can damage the wire.
Secure the wire: Once the ideal tension is achieved, attach the wire to the posts using the clips.
Finishing Touches and Additional Features
After the main structure of the fence is built, the finishing touches and additional features ensure the fencing system is fully functional and durable. These include installing gates for access, reinforcing corners for stability, and considering the implications for local wildlife visibility.
Installing Gates and Hinges
Installing gates is a critical step to ensure easy and secure access through the perimeter. Hinges must be robust and appropriately sized for the gate's weight. One should use heavy-duty hinges for larger gates, particularly if they will be used for cattle movement. For a secure attachment, both the gate posts and the gate itself should be reinforced, with the gate set at the correct height to allow for smooth opening and closing without dragging on the ground.
Reinforcement for Corners and Curves
Corners and curves in a fencing line experience the most tension and should be reinforced accordingly. It's standard to use heavier gauge T-posts and additional horizontal braces in these areas. For added strength, one can set corner posts in concrete, which not only secures the post but also helps maintain the integrity of the fence line over time.
Considerations for Visibility and Wildlife
While designing and finalising the fence, visibility should be a consideration. A fence that is too low might not be visible to wildlife, leading to potential damage and harm to both the fence and the animals. To prevent this, one can install visibility aids, such as flagging or reflectors, especially in areas with high wildlife traffic. Additionally, ensuring that the fence height is appropriate can deter animals from attempting to jump over and can protect the boundary from breach by wildlife.
Maintaining Your Fence for Longevity
Maintaining a fence using t-post clips ensures its longevity and durability. Regular upkeep can help prevent costly repairs and replacement down the line.
Regular Inspection and Tightening
Regular inspections are crucial to maintaining a sturdy fence. The property owner should monitor the t-post clips for any signs of loosening and tighten them as necessary. A bi-annual check is recommended, with additional checks following extreme weather events. Utilizing a fence plier or bender tool, one should:
Ensure that all clips are securely fastened.
Replace any that have been damaged or lost.
This routine not only reinforces the stability of the fence but also is cost-effective by addressing minor issues before they become major problems.
Dealing with Rust and Wear
Exposure to the elements can cause t-post clips to rust or wear. Regular maintenance must include:
Identifying any signs of rust or corrosion on the clips and t-posts.
Cleaning off surface rust with a wire brush.
Applying rust-inhibiting paint to the cleaned areas to prevent further corrosion.
By promptly dealing with rust and wear, the longevity of the fence is significantly increased, keeping the fencing system durable against environmental stress. This maintenance strategy protects the investment and keeps the fence functional for years to come.
Safety and Security Measures
When securing fencing with T-post clips, the focus on safety and security is twofold: protection against external threats and ensuring personal safety during the installation process.
Protecting Against Predators and Trespassers
Use of T-post clips:
They provide a strong and reliable attachment for fencing materials, reducing gaps and weak points that predators or trespassers could exploit.
Proper installation ensures that the fencing remains taut and sturdy, deterring animals and unauthorized access.
Fence Integrity:
Regular maintenance checks are essential to ensure that no clips have come loose and that the fence hasn't been compromised.
Personal Safety During Installation
Appropriate attire:
Wearing safety glasses protects the eyes from flying debris.
Durable gloves shield the hands from cuts and abrasions while working with T-post clips and metal fencing.
Handling tools and materials:
One should handle post drivers and clips with care to prevent injury.
Ensuring that tools are in good working condition before starting the job minimizes the risk of accidents.
Advanced Tips and Techniques
In this section, the reader will learn to navigate the intricacies of working with T-post clips across varied environments and understand efficient repair methods to maintain fence integrity.
Adjusting Fences for Different Terrain Types
One must consider the type of terrain to ensure the longevity and stability of the fence. A professional approach necessitates the use of leveling tools and land surveys to anticipate the natural shifts in the soil, which may vary from rocky slopes to sandy planes. For example:
Rocky Terrain: Here, they may need to reposition T-posts for optimal anchorage, taking care not to compromise the structure by forcing posts into unyielding ground.
Uneven Ground: Professionals often employ contour fencing techniques, adjusting the vertical alignment of posts to match the rise and fall of the land, thus maintaining tension and preventing sagging.
The DIY enthusiast should pay close attention to detail when mapping out the fence line, always considering natural water flow and potential erosion which could weaken post foundations.
Techniques for Efficient Fence Repair
When it comes to fence repair, time is of the essence, and efficiency is key. Here are some strategies for quick and effective fixes:
Visual Inspection: Regularly check for signs of damage, focusing on areas with high stress.
Spare Clips and Tools: Always keep an additional supply of T-post clips and a specialized fencing tool on hand to expediently attach and adjust wiring.
Identifying Weak Points: They should fortify fence sections that repeatedly need repair by adding extra T-post clips or supporting posts for increased flexibility and strength.
Systematic Approach: Tackling repairs in a methodical way and addressing the root cause, not just the symptoms, will result in a more durable fence line.
Professionals and DIY enthusiasts alike appreciate the value of a well-maintained fence and will benefit from these advanced techniques to ensure their work is both resilient and adaptable to the changing demands of the terrain.
Conclusion
Securing fencing to T-posts using clips is a task that homeowners and farmers can achieve with confidence. The process is cost-effective when approached methodically, and yields robust results which can withstand the test of time and elements. Users are advised to first establish a clear plan before beginning the installation, ensuring all materials are on hand.
The clips themselves are tools of simplicity yet great utility. They are fashioned to snugly grip the wire and post, stabilizing the fence without the need for complicated hardware. When installing, wear gloves to protect hands and use a clip bender or pliers to twist the clips securely.
This method is not only effective but also time-efficient, allowing large sections of fencing to be attached swiftly once the T-posts are in place. For those who manage large properties, this translates to significant savings in both time and resources.
In summary, T-post clips offer an ideal balance of strength and practicality for attaching fencing. They provide durability and peace of mind, and with the right technique, anyone can become adept at using them. It is this reliable simplicity that makes T-post clips a ubiquitous choice in fencing solutions.
