
Ultimate Guide to Using Peat Pots
Mastering Eco-Friendly Seedling Starters for Your Homestead
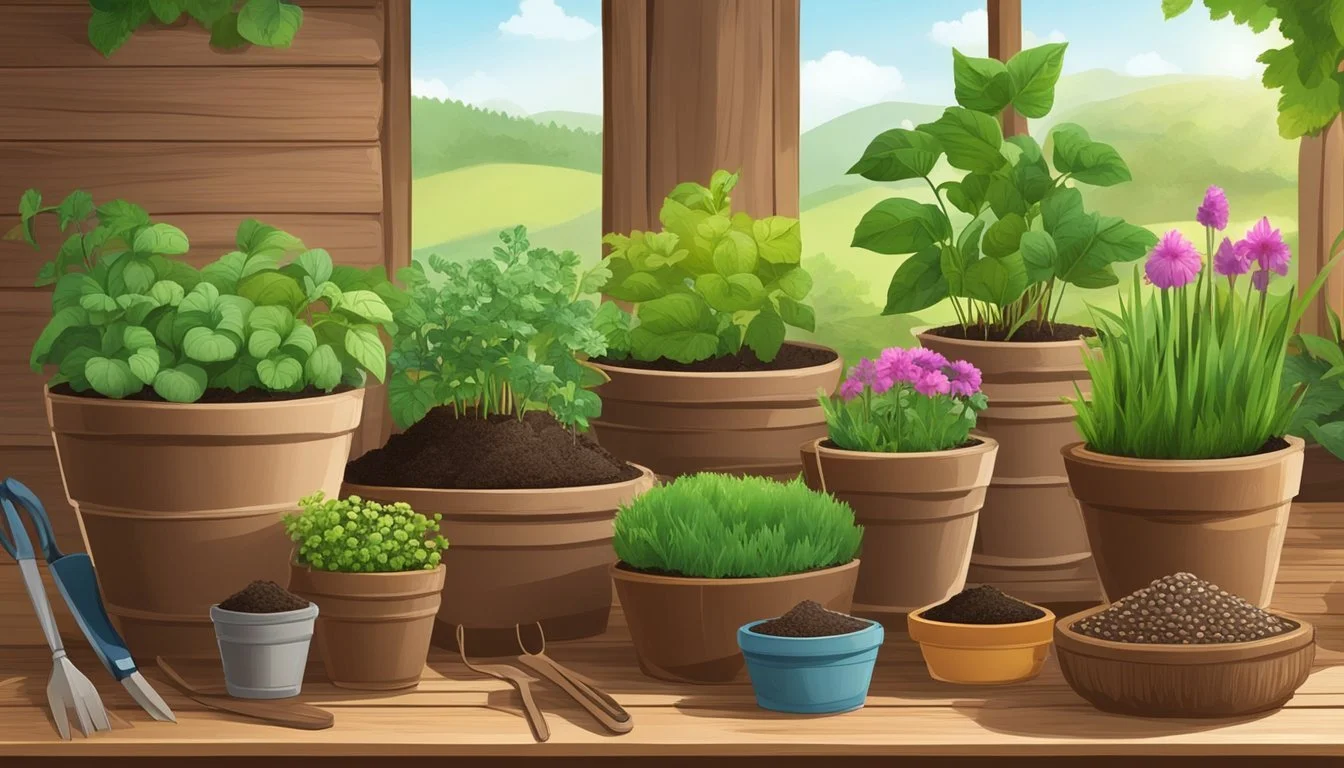
Peat pots offer gardeners a sustainable way to start seedlings. These pots, made from compressed peat, provide a biodegradable container that can be directly planted into the soil, minimizing root disturbance and transplant shock. Their use aligns with eco-friendly gardening practices, as they naturally break down in the soil, enriching it without leaving behind any plastic waste, unlike traditional seedling trays. As interest in sustainable living and homesteading grows, so does the popularity of peat pots among environmentally conscious gardeners.
Utilizing peat pots simplifies the seed-starting process. The pots hold moisture effectively, which is crucial for seed germination and seedling growth. It is essential to keep them consistently moist, as dry peat pots can absorb water from the potting mix, potentially dehydrating the plants. With proper moisture levels maintained, peat pots can create an ideal growing environment for developing seedlings.
Adopting peat pots into gardening routines can contribute positively to a homesteader's goal of maintaining an eco-friendly environment. They eliminate the need for plastic pots and reduce waste in the garden, as well as enhance soil quality once they decompose. For gardeners looking to reduce their footprint and promote a more sustainable form of cultivation, peat pots can be an excellent choice in starting a variety of plants.
Benefits of Peat Pots
Peat pots offer gardeners a sustainable option for seedling growth, balancing environmental considerations with the practical needs of plants. These pots provide an array of advantages, from promoting eco-friendliness to ensuring healthier plant development.
Eco-Friendly Material
Peat pots are made from peat moss, a renewable resource that is harvested from peat bogs. This material is a favorable alternative to plastic because it is environmentally friendly, adding to the sustainability of gardening practices. As peat moss is naturally occurring, peat pots contribute to an eco-conscious approach to seedling starters.
Biodegradability and Decomposition
One of the standout features of peat pots is their biodegradability. These pots naturally decompose over time when placed in the soil, eliminating the waste associated with traditional plastic pots. The decomposition process integrates the pot into the soil, contributing to the soil's overall health and fertility.
Reduced Transplant Shock
Transplant shock is a significant risk when moving seedlings from pot to garden. However, peat pots mitigate this risk as they allow for direct planting into the soil. Since there is no need to remove the plant from the pot, one avoids disturbing the delicate root systems, thereby reducing transplant shock.
Promotes Stronger Root Systems
The structure of peat pots encourages roots to grow through the pot walls, leading to stronger and more robust root systems. This process, known as "air pruning," causes the roots to branch out within the pot, which is beneficial when the plant is transferred to the ground, as it ensures a network of roots that are better developed and more capable of absorbing nutrients.
Starting Seeds in Peat Pots
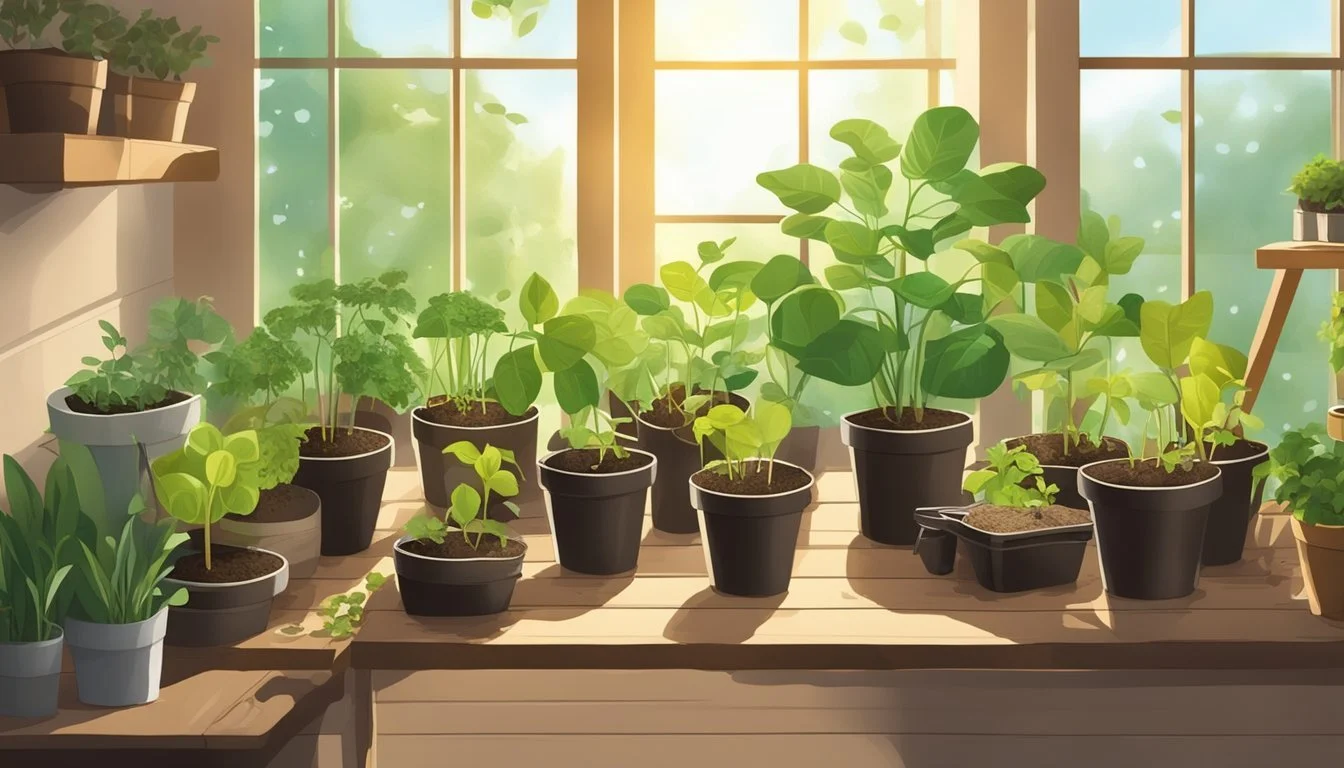
Peat pots offer an eco-friendly solution for starting seeds, ensuring they have a favorable environment for germination. Successfully growing seedlings in peat pots involves careful preparation, optimal seed selection, precise watering, and proper light and temperature conditions.
Preparation of Peat Pots
Before sowing any seeds, pre-moisten the peat pots by soaking them in water until they are damp but not waterlogged. This is crucial as it prevents the pots from pulling moisture away from the soil after planting. Once soaked, fill them with a soilless potting mix, leaving about a 1/4 inch of space at the top to promote adequate airflow.
Seed Selection and Sowing
Choose high-quality seeds that thrive in your current climate. Inspect the seed packet for specific instructions regarding soil depth and spacing requirements. Deposit the seeds into the peat pots according to these guidelines, and gently cover them with the soil mix. Label each pot for easy identification.
Watering and Moisture Control
Maintain consistent moisture in the peat pots without making the soil soggy. Employ a plant mister to lightly water the seedlings twice daily or as needed. Watering is best performed in the morning, allowing excess moisture to evaporate throughout the day, thus reducing the risk of fungal diseases.
Light and Temperature Requirements
Position the peat pots in an area that receives ample light, essential for healthy germination. If sunlight is insufficient, use grow lights to provide your seedlings with 12-16 hours of light per day. Maintain an ambient temperature of 65-75°F (18-24°C) to support optimal growth and prevent leggy seedlings.
Transplanting Seedlings
Transplanting is a critical stage in a seedling's life, ensuring the transition from peat pot to garden is successful. A careful approach minimizes transplant shock and promotes healthy growth.
When to Transplant
Seedlings are ready for transplant when they have developed their second set of leaves, known as true leaves. This indicates that the plants have grown sufficient roots to support themselves post-transplant. Ideally, seedlings should also be hardened off — gradually acclimated to outdoor conditions over a week — before the actual transplanting to reduce shock.
Transplanting Procedure
Transplanting should be done with care to protect the delicate roots of the seedlings. Here are the steps:
Prepare the new pot or garden bed with well-draining potting soil. Ensure the planting depth will accommodate the entire peat pot.
Moisten the soil in both the peat pot and the new location before transplanting to help roots establish more quickly.
Gently tear off the top edge of the peat pot to prevent it from sticking out above the soil, which could cause water evaporation away from the plant.
Make a hole in the potting soil large enough to bury the peat pot without bending the roots. The hole's spacing should respect the mature size of the plants.
Place the entire peat pot into the hole, ensuring it is completely covered with soil because any exposed peat can wick moisture away.
Caring for Transplanted Seedlings
After transplanting, the seedlings require consistent watering to help establish growth. Avoid disturbing the soil around the new transplant's roots, as they are quite delicate. Applying a layer of mulch can help maintain soil moisture and regulate temperature. It's also essential to monitor for pests and diseases, as transplanted seedlings can be more susceptible during this transition phase.
Peat Pot Alternatives
Exploring alternatives to peat pots is crucial for gardeners who seek sustainable methods for seedling germination. The following options are not only eco-friendly, but also facilitate successful plant growth by mimicking the nurturing environment that peat pots provide.
Other Biodegradable Options
Coconut Coir Pots: Coconut coir is made from the fibrous husks of the coconut shell. It is a renewable and biodegradable material that is often used in the form of pots or pellets. These pots promote strong root development and, like peat pots, can be planted directly into the soil, reducing transplant shock.
Pros:
Sustainable and renewable
Well-aerated for root health
Cons:
May dry out faster than peat pots
Wood Pulp Pots: Often manufactured from recycled paper and wood fibers, wood pulp pots provide an environmentally friendly alternative that will decompose after transplanting into the garden.
Pros:
Recycled materials help reduce waste
Encourage strong root systems
Cons:
Less moisture retention compared to peat moss
Jiffy Pots and Peat Strips: Similar to single peat pots, these products are made predominantly from sphagnum peat moss and provide a peat-based alternative that will degrade naturally once planted.
Pros:
Easy transplantation with minimal root disturbance
Cons:
Peat moss harvesting may pose environmental concerns
Eggshells: A homemade alternative for starting seeds is using eggshells. They are readily available, biodegradable, and even add calcium to the soil as they decompose.
Pros:
Cost-effective and natural calcium source
Cons:
Fragile and require careful handling
Reusable Seed Starting Systems
Plastic Seed Trays: Constructed for repetitive use, plastic seed trays are a non-biodegradable option that can be sanitized and reused year after year, offering a long-term solution for seed starting.
Pros:
Durable and washable for multiple seasons
Cons:
Require storage space and cannot be planted into soil
Soil Block Makers: Soil block makers compress a mixture, typically comprising a blend of soil and compost, into a firm block that holds its shape, eliminating the need for a pot of any kind.
Pros:
No waste; the entire block is plantable
Cons:
Learning curve to perfect block consistency
In selecting an alternative to peat pots, gardeners must balance ecological considerations with practical aspects of gardening to ensure both healthy seedlings and a healthy planet.
Troubleshooting Common Issues
When utilizing peat pots for starting seedlings, gardeners may encounter several common issues that can impede plant growth. This section provides targeted solutions to address overwatering, drainage problems, pest and disease management, and poor plant growth, to ensure healthy development of your seedlings.
Overwatering and Drainage
Symptoms: Seedlings exhibit a yellowish or pale complexion, and the pots feel excessively heavy and wet.
Assess Water Levels:
Check the moisture of the peat pots regularly.
Employ the touch test: The surface should be moist, not soggy.
Improve Drainage:
Ensure peat pots are in well-draining holders.
If overwatered, tilt the containers to drain excess water.
Consider making additional holes at the bottom of the pots if drainage is insufficient.
Pest and Disease Management
Symptoms: Visible pests, mold growth, or wilting, despite adequate care.
Prevention:
Keep the area around seedlings clean and free of debris.
Use sterile potting mix to fill peat pots.
Control:
For pests: Introduce beneficial insects or apply natural pesticides as necessary.
For diseases: Remove affected parts and implement proper air circulation.
Addressing Poor Plant Growth
Causes: Improper soil moisture, compromised root systems.
Root System Check:
Gently inspect for signs of root rot or underdeveloped roots.
If roots are circling the pot, score the sides before transplanting.
Environmental Adjustments:
Ensure plants have sufficient light for growth and development.
Adjust temperature and humidity levels to match specific plant requirements.
Practical Tips for Homestead Gardeners
To enhance the productivity of their homestead gardens, gardeners can employ a variety of methods that capitalize on the advantages of peat pots. These eco-friendly containers help to safeguard the delicate root system of seedlings and maintain optimal soil structure during the critical early stages of plant growth.
Maximizing Garden Space
For homestead gardeners, space efficiency is crucial. They can place the lightweight peat pots closely together to maximize their garden bed area during the early growing season. An ideal configuration ensures that each plant receives adequate air circulation and sunlight. Using peat pots also permits the gardener to start seeds indoors or in a greenhouse, freeing up space outside for mature plants.
Sunlight: Ensure each peat pot receives equal exposure
Air Circulation: Space pots to prevent fungal growth and strengthen seedlings
Timing and Seasonal Planning
Starting seedlings in peat pots allows gardeners to extend their growing season by beginning the germination process indoors before the last frost. Gardeners need to track local frost dates and plan to sow seeds such as tomatoes, peppers, and eggplants accordingly. Plants that thrive in loamy soils, like black-eyed Susan and various herbs, also benefit from the controlled environment that peat pots provide.
Early Start: Begin 6-8 weeks before the last expected frost
Loamy Soils: Select plants that will eventually transfer well to the garden's soil structure
Selecting the Right Plants for Peat Pots
Not all plants are suited for starting in peat pots. Homesteaders should focus on those with sensitive root systems that don't take well to transplantation, such as tomatoes, peppers, eggplants, and some flower varieties. Additionally, these containers are great for starting shrubs and perennial flowers. The gardener should ensure each peat pot has appropriate drainage holes and keep the soil consistently damp but not waterlogged, to promote healthy root development.
Ideal Plants: Tomatoes, peppers, eggplants, black-eyed Susan, select herbs, and shrubs
Soil Moisture: Keep it damp to avoid drying out the peat pot and leeching moisture from the plant
By adhering to these specific approaches, homestead gardeners can optimize the utility of peat pots and contribute positively to the growth of their seedlings and, ultimately, their garden's yield.
Beyond Germination: Next Steps in the Garden
After the successful germination of seedlings in peat pots, the focus shifts to reinforcing plant health and vitality as they continue to mature. This involves particular attention to soil conditions, structural support, and continuous care.
Soil Preparation and Fertilization
To ensure seedlings thrive beyond germination, gardeners must prepare the soil with nutrients and proper structure. The garden bed or larger pots destined for transplant should be rich in compost to provide ample nutrition. The potting mix should be:
Loamy: A balance of sand, silt, and clay, loamy soil ensures good drainage and aeration.
Fertilized: Natural fertilizers, such as compost, can be mixed into the soil to provide slow-releasing nutrients.
By using a tailored blend of ground components catered to the plant species, they promote robust growth and greater resilience against stress and disease.
Staking and Supporting Plants
As plants grow taller and produce more foliage and fruit, they may need additional support to prevent stem breakage. Staking methods include:
Bamboo or wooden stakes for individual plants.
Trellises or support cages for vining species.
Using soft ties that won't cut into growing stems is crucial. Adjusting support structures as the plant grows ensures it has the optimal support at every stage.
Long-Term Plant Care
Monitoring growing conditions is key to the long-term success of garden plants. Gardeners must:
Keep the soil consistently moist, but not waterlogged, as this can cause root rot.
Regularly inspect for pests and diseases, taking immediate action if any are detected.
Mulch around the base of the plants to retain moisture and regulate soil temperature.
Providing a stable environment that caters to the specific soil type and climate conditions of the region leads to a successful transition from peat pot to garden maturity.
Accessories for Using Peat Pots Effectively
To optimize seedling growth in peat pots, certain accessories can enhance the ecosystem for the young plants. They provide the right conditions and support for maintaining moisture, temperature, and organization.
Seedling Trays and Domed Containers
Seedling trays are essential for organizing peat pots. They typically come with holes at the bottom to facilitate proper drainage, ensuring that the seedlings are not overwatered. Most trays are plastic but biodegradable options are also available. A humidity dome can be placed over the trays to maintain consistent moisture and warmth. The domes create a greenhouse effect, which is crucial during the germination phase.
Materials: Usually plastic or fiber
Sizes: Vary to accommodate different numbers of peat pots
Features:
Drainage holes
Compatible humidity domes
Plant Labels and Markers
Plant markers or labels are indispensable for identifying seedlings in peat pots. Whether using simple wooden sticks or plastic labels, writing the plant name and sowing date avoids confusion as the seeds sprout and grow.
Materials: Wood, plastic, or metal
Importance: Tracking plant variety and sowing dates
Method: Write with a permanent marker for durability
To use these accessories effectively, gardeners should pre-moisten peat pots before placing them in the tray to prevent dehydration. When transferring to the garden, it's advisable to use scissors to remove any part of the pot protruding above soil level to prevent water wicking. Grow lights may be used in conjunction with seedling trays to provide adequate light if natural light is insufficient.
