
How to Craft Beautiful and Functional Beeswax Wraps at Home
A DIY Guide

Beeswax wraps have emerged as a sustainable alternative to single-use plastics in kitchens around the globe. Crafted from natural ingredients, these wraps offer an eco-friendly, reusable solution for food storage. They are created by infusing cotton fabric with a blend of beeswax, tree resin, and jojoba oil, which render the cloth water resistant and slightly adhesive. The malleability of beeswax wraps makes them versatile for covering bowls, wrapping sandwiches, or preserving produce, thereby playing a crucial role in reducing plastic waste.
Making beeswax wraps at home is a simple, satisfying DIY project that encourages a plastic-free lifestyle. The process begins with selecting pure cotton fabric and cutting it into desired sizes. The fabric then gets coated with an evenly distributed layer of melted beeswax, which can be achieved through various methods, such as using an oven or an iron. It is essential for individuals to approach this craft with patience and attention to detail, ensuring the wax penetrates the fabric thoroughly and the edges are well sealed.
As people become increasingly conscientious of their environmental impact, DIY beeswax wraps stand out as a prime example of how small, practical changes can contribute to a larger eco-friendly movement. They not only limit dependency on disposable products but also add a touch of handmade charm to the kitchen. Understanding the correct method to make and maintain these wraps will extend their lifespan, making them a valuable tool for anyone looking to make sustainable choices.
Understanding Beeswax Wraps
Beeswax wraps are a sustainable alternative to single-use plastic cling wrap, offering a reusable and environmentally friendly solution for food storage. These wraps utilize the natural properties of beeswax to keep food fresh.
History and Evolution
Beeswax wraps have roots in traditional practices where communities leveraged natural resources for food preservation. Initially, beeswax was used in various forms, but it wasn't until the early 21st century that beeswax wraps gained popularity in Western markets. This resurgence aligned with a collective drive to decrease reliance on single-use plastics. Through innovation, these wraps evolved in design and effectiveness, integrating ingredients such as jojoba oil and tree resin to enhance the beeswax's natural adhesive properties.
Environmental Benefits
Reusable beeswax wraps contribute significantly to environmental conservation efforts. By replacing single-use plastic, these wraps reduce the accumulation of plastic waste, which often ends up in landfills or oceans. Moreover, beeswax wraps have a longevity span, lasting up to a year with proper care, and can be composted after their lifecycle, thus joining a closed-loop system. The use of beeswax wraps aids in the reduction of the carbon footprint associated with the production and disposal of conventional plastics.
Materials and Tools Needed
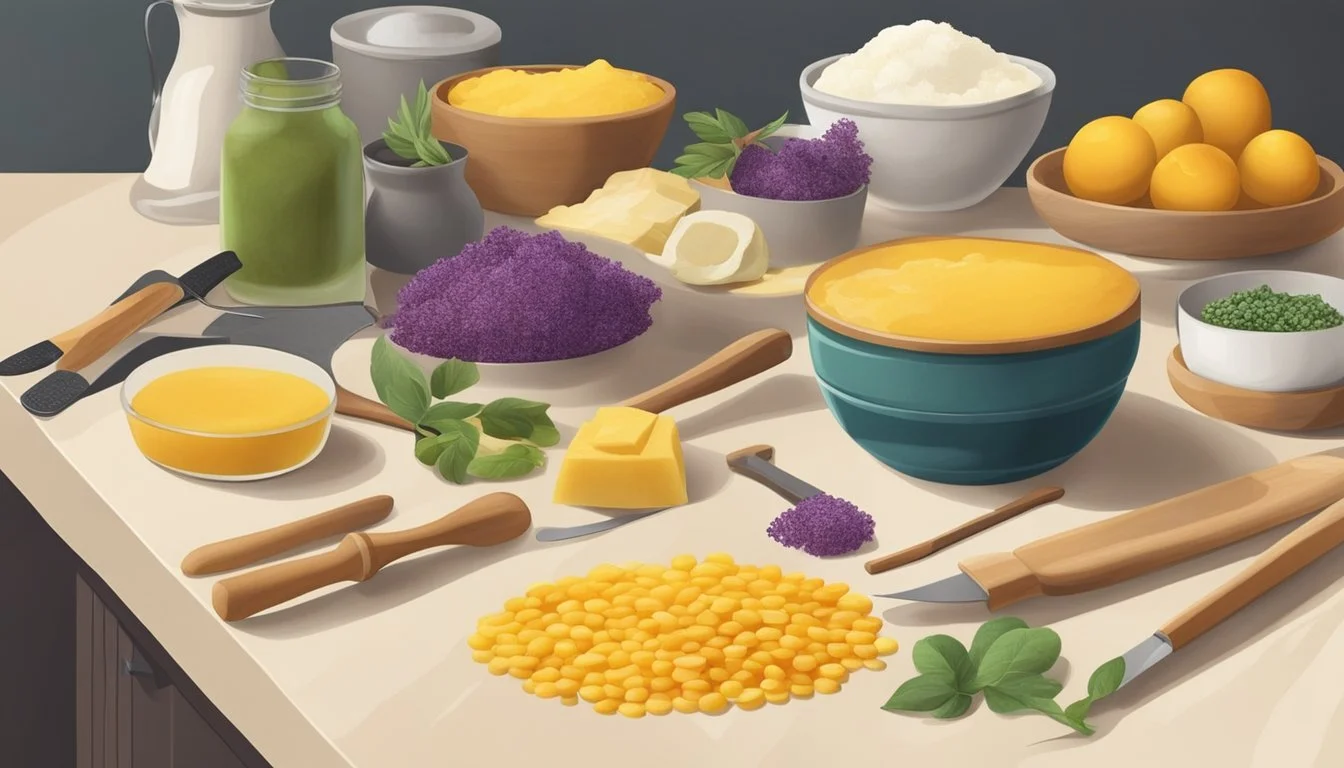
Before beginning the creation of beeswax wraps, one must gather specific materials and tools. The selection of high-quality fabric, pure beeswax and natural additives, along with the right set of tools, ensures the functionality and durability of the wraps.
Selecting the Right Fabric
Choosing the appropriate fabric is critical in making beeswax wraps. 100% cotton is preferred for its breathability and absorbency. Look for lightweight yet tightly woven cotton, like cotton muslin or cotton used in quilting. Pre-washed and dried fabric will prevent shrinkage after crafting the wraps.
Choosing Beeswax and Additives
For coating the fabric, one should use beeswax pellets for an even melt. To make the wraps more pliable and sticky, adding a mixture of pine resin and jojoba oil is recommended.
Beeswax Mixture:
Beeswax pellets: The primary ingredient providing a waterproof coating.
Pine resin: Enhances the wrap's stickiness and grip.
Jojoba oil: Adds flexibility to the fabric, preventing it from cracking.
Tools for Crafting Beeswax Wraps
To craft beeswax wraps, gather the following tools:
Pinking shears: To cut fabric and prevent fraying.
Double boiler or similar setup: For melting the beeswax mixture.
Brush: For spreading the melted wax mixture onto the fabric.
Baking sheet with parchment paper: Provides a surface for waxing the fabric in the oven.
Oven: Used to uniformly melt the beeswax onto the fabric.
Using these specified materials and tools will aid in creating effective and sustainable beeswax wraps at home.
Preparation of Materials
Crafting beeswax wraps requires precise preparation of materials to ensure functionality and durability. The process starts with the careful selection and cutting of cotton fabric, followed by creating a balanced mixture of beeswax, pine resin, and oil.
Cutting the Fabric
One needs to select a piece of 100% cotton fabric for its breathability and natural fibers. Using pinking shears, they should cut the fabric into the desired sizes, often squares or rectangles. Pinking shears help prevent fraying and give a neat zigzag edge to the fabric.
Recommended sizes:
Small: 7"x8" (snack size)
Medium: 10"x11" (sandwich size)
Large: 13"x14" (for covering bowls)
Mixing Beeswax, Pine Resin, and Oil
The mixture for coating the fabric consists of beeswax, pine resin, and jojoba oil in specific proportions.
Steps:
Create a double boiler by filling a pot with water and placing a smaller pot or heatproof bowl inside.
Add grated beeswax to the bowl since it melts evenly.
Incorporate pine resin for its stickiness, which helps the wrap cling.
Mix in a few drops of jojoba oil for flexibility, as it prevents the wraps from cracking.
Ideal proportions for the mixture:
60% beeswax
30% pine resin
10% jojoba oil
By adhering to these steps and proportions, one ensures the wraps will have the proper consistency and adhere effectively to themselves and various dishware.
Creating Your Beeswax Wraps
Making your own beeswax wraps involves melting a blend of natural substances and then applying it to fabric. Once coated, the fabric is shaped and left to dry, creating a reusable and sustainable alternative to plastic wrap.
Melting and Applying the Wax Mixture
To start, one needs to create the wax mixture that will coat the fabric. To do this, place 1 cup of beeswax pellets, 2 tablespoons of jojoba oil, and 6 tablespoons of pine resin into a double boiler. Stir this mixture occasionally as it melts, which should take about 30-40 minutes to fully incorporate. Meanwhile, preheat the oven to 185 °F (85 °C) and line a baking sheet with parchment paper.
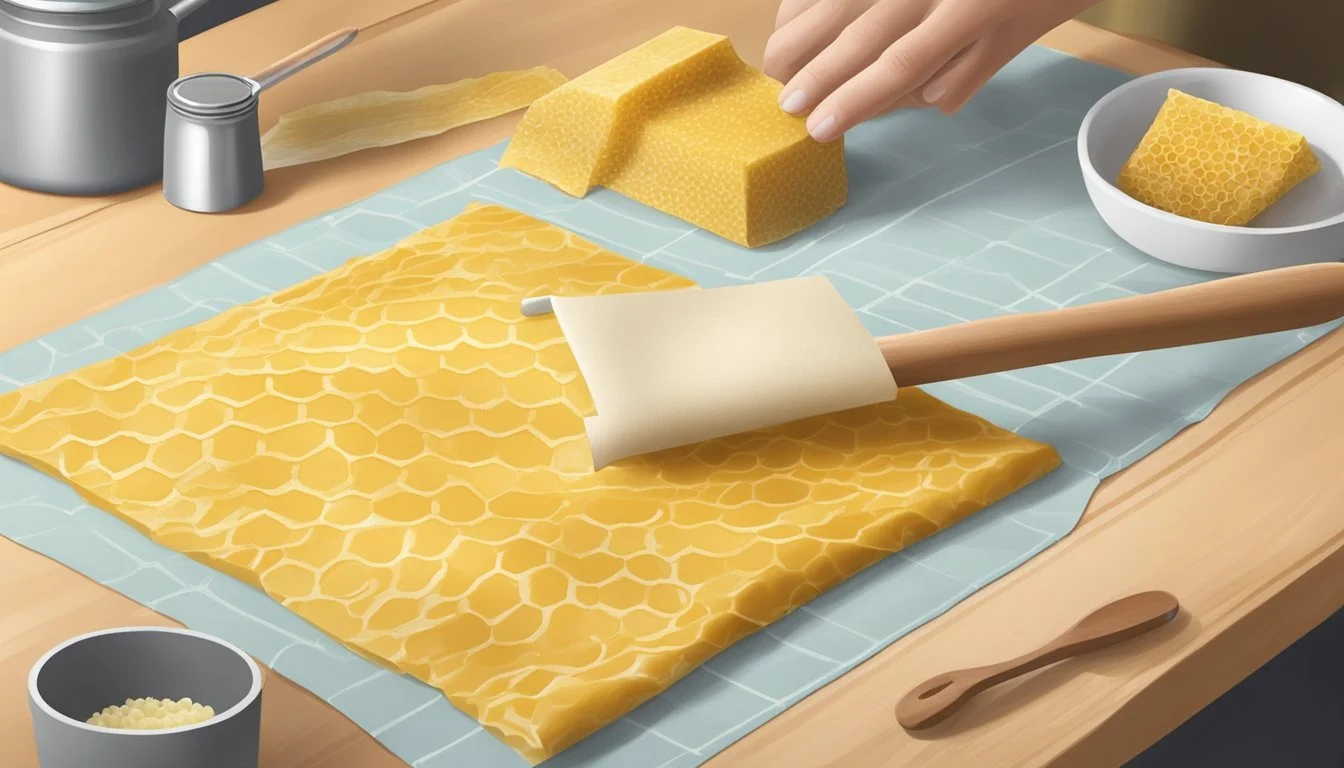
Once the mixture is melted and smooth, the fabric needs to be prepared. Cut the fabric into sizes that suit your needs, ensuring that each piece is slightly larger than the container it’s going to cover. Lay the fabric flat on the prepared baking sheet. Using a paintbrush, spread the melted wax mixture evenly across the fabric, ensuring all edges are covered.
Shaping and Drying the Beeswax Wraps
After the fabric is coated with wax, it should be placed in the oven. The heat will help the fabric absorb the wax evenly, preventing clumps and ensuring a smooth finish. Keep an eye on the fabric; it only needs a few minutes in the oven until the wax has been fully absorbed and appears to have melted into the fabric.
Once melted into the fabric, remove the baking sheet from the oven and carefully lift the fabric. It is suggested to wave it gently in the air or place it on a drying rack. The wax will cool and set quickly, forming a sealable and sticky covering perfect for wrapping food items. The wrap should be stiff yet pliable once cooled and ready for use.
Using Beeswax Wraps
Beeswax wraps provide an eco-friendly alternative to plastic cling film for food preservation. They are reusable, versatile, and with proper care, can last up to a year.
Wrap Varieties and Their Uses
Beeswax wraps come in various sizes suited for different food items. Small wraps are perfect for preserving unused vegetable halves or covering jars. Medium wraps can secure snacks like fruit or cheese, while large wraps are ideal for covering bowls of leftovers or wrapping sandwiches.
How to Seal and Store Food
To create a seal with a beeswax wrap, one should use the warmth of their hands. Place the wrap around the food item or over the edge of a dish and gently press and mold the wrap to create a secure closure. Foods like bread and cheese are ideally stored in the fridge wrapped in beeswax to maintain freshness.
Caring for Your Beeswax Wraps
Beeswax wraps are washable and require proper care to extend their life. They can be cleaned with cold water and a mild dish soap. Avoid hot water, as it can melt the wax. After washing, allow them to air dry completely before the next use. For storage, fold or roll wraps and keep them in a dry place away from heat sources.
Troubleshooting Common Issues
Crafting beeswax wraps at home can sometimes present a few challenges. This section aims to guide readers through resolving some common issues related to wax coating irregularities and maintaining the wraps.
Wax Coating Irregularities
When creating beeswax wraps, it's not uncommon to encounter issues with the wax coating. A frequent problem is uneven wax distribution, which can result in areas that are too thick or, conversely, spots where the fabric is not fully covered. If the wax is laid on too thickly, placing parchment paper over the wrap and using an iron on a low setting can help redistribute the excess wax. For patches with insufficient wax, adding a small amount of additional melted wax and reheating the wrap in the oven can achieve a more uniform coverage.
Sometimes, after several uses, wraps may develop a creased or cracked appearance. To resolve this, users can put the wrap between two sheets of parchment paper and reheat it with an iron to re-melt the wax. This process allows the wax to settle into a smooth, even layer upon cooling.
Maintenance Challenges
Proper maintenance is vital for the longevity of beeswax wraps. Users should clean the wraps using cold or warm water and mild detergent, then air dry them. It's essential to avoid hot water, as it can melt the wax. Over time, with regular use and washing, beeswax wraps may lose their malleability or stickiness. When this happens, refreshing the wraps by evenly sprinkling them with a new mixture of beeswax, and then warming them in the oven or with an iron, will restore their flexibility and adhesive properties.
By addressing these issues with care and following the troubleshooting steps, users can ensure their homemade beeswax wraps remain functional and aesthetically pleasing for a longer time.
Innovating with Beeswax Wraps
In the pursuit of sustainable living, crafting beeswax wraps opens up a world of creativity and functionality. They provide an eco-friendly alternative to single-use plastics, and by tailoring designs and purposes, one can enhance their daily routine while reducing waste.
Creating Unique Patterns and Designs
Crafters can infuse individuality into their wraps by selecting organic cotton or linen fabrics with diverse patterns and colors. The use of organic cotton is not only environmentally conscious, but it also ensures the wraps are composed of pure, natural fibers that are ideal for food storage. When crafting, they can experiment with different sizes and shapes to create a variety of wraps suitable for covering bowls, wrapping sandwiches, or even folding into snack bags.
One may employ techniques such as block printing or fabric painting to add personal artwork to the fabric. For a professional appearance, heed these steps:
Pre-wash and iron the fabric for a smooth canvas.
Apply designs using fabric paint or pre-made stamps.
After the paint dries, proceed with the beeswax application process.
DIY Projects and Gift Ideas
Beeswax wraps make for thoughtful and practical gifts that encourage sustainable living. Crafting a DIY snack bag or food bag is a simple project that showcases one's concern for both the recipient and the planet. Illustrated tutorials can guide beginners through the process, ensuring successful outcomes even for those new to crafting.
For gift-giving, consider assembling a beeswax wrap kit:
Materials: Pre-cut organic cotton squares, beeswax pellets, jojoba oil, and instructions.
Presentation: Package the kit in a handmade or reusable container, complete with a card detailing the environmental benefits.
For those looking to go a step further, homemade beeswax wraps can be incorporated into themed gift baskets, such as a picnic set with wraps, reusable utensils, and homemade treats, or a kitchen starter kit for someone embracing a zero-waste lifestyle.
Advancing Sustainability
Crafting beeswax wraps not only replaces single-use plastic wraps but also serves as a stepping stone toward a more sustainable lifestyle, both inside and outside the kitchen.
Beyond the Kitchen
In the quest for sustainability, beeswax wraps extend their impact far beyond kitchen use. Individuals may use them as sandwich wraps or snack bags during outdoor activities, reducing dependence on disposable plastics. They're also often employed as covers for personal care items, solidifying their role in a less wasteful daily routine. These reusable food wraps, with their antibacterial properties, provide a safe and eco-friendly alternative to plastic wraps.
Community and Education
Educating communities on the benefits of reusable food wrap promotes broader environmental conservation efforts. Workshops and school programs can highlight the ease of making these items from organic cotton and natural ingredients. Moreover, discussions about beeswax wraps' biodegradable features can encourage a communal shift away from cling wrap and toward products that respect the environment.
