
How to Pickle Vegetables at Home
Your Guide to Homemade Tangy Treats
Pickling vegetables at home is a simple and satisfying process that transforms fresh produce into tangy treats. It is a culinary practice with ancient roots, adored for the flavorful preservation it offers. The versatility of pickled vegetables (What wine goes well with pickled vegetables?) is immense; they can be served as a zesty snack, a unique topping, or a complementary side dish. Home pickling enables the customization of flavors, allowing individuals to create a recipe that caters to their personal taste preferences.
The art of pickling is not exclusive to experts; it's accessible to beginners as well. The basic ingredients required are readily available and the equipment needed is often already in most kitchens. The process involves immersing vegetables in a solution of vinegar and salt, often with added spices and herbs for additional complexity in flavor. The resulting pickles boast a balanced, tangy profile, enriched by the chosen seasonings.
Home pickling does not only enhance the taste of vegetables but also extends their shelf life. The acidic environment of the brine acts as a natural preservative, inhibiting the growth of food-spoiling microorganisms. This makes pickling a practical choice for those looking to reduce food waste and enjoy their favorite produce throughout the year. Whether aiming to experiment with different flavor combinations or simply looking to savor the classic tang of pickled vegetables, home pickling is a rewarding endeavor for any food enthusiast.
Benefits of Pickling at Home

Pickling at home offers a range of benefits from enhancing the nutritional value of vegetables to allowing for customization of flavors. It is an inexpensive way to preserve fresh produce while creating delicious snacks or accompaniments for meals.
Health Advantages
Pickling can boost the nutritional intake of any diet by preserving the fiber and vitamin C content of fresh vegetables. It also helps in the proliferation of good bacteria which can be beneficial for gut health. When one pickles at home, they can control the amount of sodium used, ensuring it aligns with their nutritional preferences and requirements.
Fiber: Preserved in the pickling process, aiding digestive health.
Vitamin C: Essential vitamin retained, beneficial for a healthy immune system.
Cost-Effectiveness
Preserving vegetables through pickling can be extremely cost-effective. Individuals can buy vegetables in bulk or use excess homegrown produce, reducing food waste and saving money. The process doesn't require expensive equipment; with just a few simple tools and ingredients, one can create a variety of pickled goods at home.
Bulk Purchase: Save by buying large quantities of fresh produce.
Reduced Waste: Utilize excess vegetables from the garden or market.
Flavor Customization
Home pickling allows for complete control over the flavors achieved. From deciding on the level of spiciness to the herbal notes desired, one can personalize their pickles to their taste preferences. This customization makes it easy to cater to dietary restrictions or experiment with unique flavor combinations.
Spiciness: Add chili peppers or peppercorns as desired.
Herbal Notes: Incorporate dill (how long does dill last?), garlic, or other herbs for a personal touch.
Essential Pickling Ingredients
To master the craft of pickling at home, one must stock up on specific ingredients that serve as the foundation for creating tangy treats. These components work in tandem, allowing the transformation of fresh produce into flavorful, preserved vegetables.
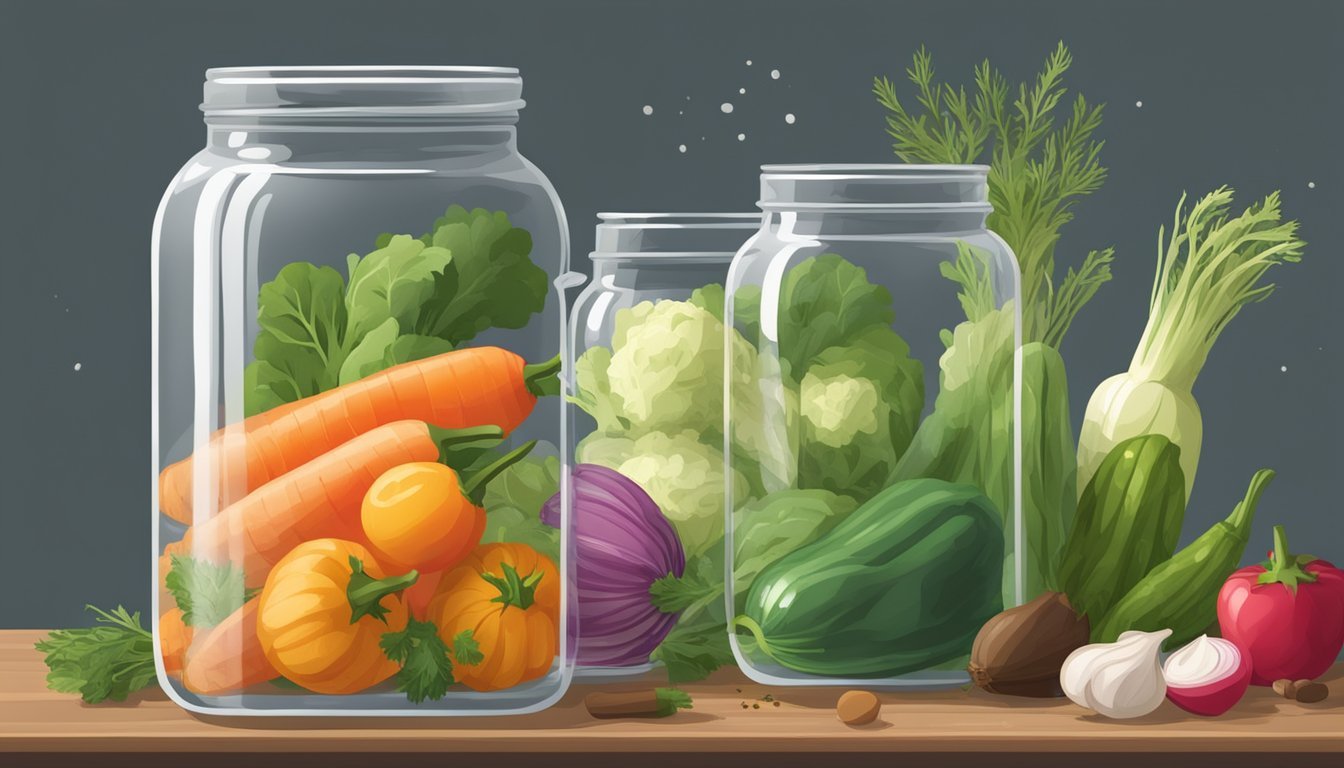
Choosing the Right Vegetables
The selection of vegetables is paramount for pickling. Crisp, fresh vegetables are the best candidates, as they maintain texture after the pickling process. Commonly used vegetables include:
Carrots (how long do carrots last?): Provide a sweet, earthy flavor and retain a firm texture.
Cauliflower: (how long does cauliflower last?) Known for its ability to soak up flavors while remaining crunchy.
Cucumbers: (how long do cucumbers last?) A classic pickling choice, lending a refreshing bite.
Radishes: Offer a peppery kick and vibrant color.
Onions: Give sweetness and aromatic sharpness to the pickling liquid.
Salt and Sugars
Balancing salt and sugar is crucial for both flavor and preserving properties.
Salt: Use non-iodized salts like sea salt or kosher salt to avoid clouding the brine.
Sea Salt: Contains trace minerals and provides a clean salting flavor.
Sugars:
Granulated Sugar: Helps to mellow out the acidity of the vinegar.
Honey or Brown Sugar: Can offer a richer, more complex sweetness (optional).
Vinegars and Acids
Vinegar and acids give pickles their characteristic tang and act as preservatives.
Vinegars:
White Vinegar: Has a sharp, clear acidity and does not affect the color of vegetables.
Apple Cider Vinegar: Offers a milder taste with a slight fruitiness.
Acids:
Citric Acid: Sometimes used to maintain pH levels for food safety (optional).
Spices and Herbs
Spices and herbs infuse the pickles with distinctive flavors and aromas. Typical spices and herbs include:
Mustard Seed: Adds a mild heat and depth of flavor.
Black Pepper: Provides a universal spice that complements the tanginess.
Dill: Often paired with cucumbers for a fresh, green note.
Bay Leaves: Impart a subtle, herbal essence.
Garlic: A few cloves can bring a robust aroma and pungency.
The blend of these ingredients can be adjusted to suit personal taste preferences or to experiment with new flavor combinations.
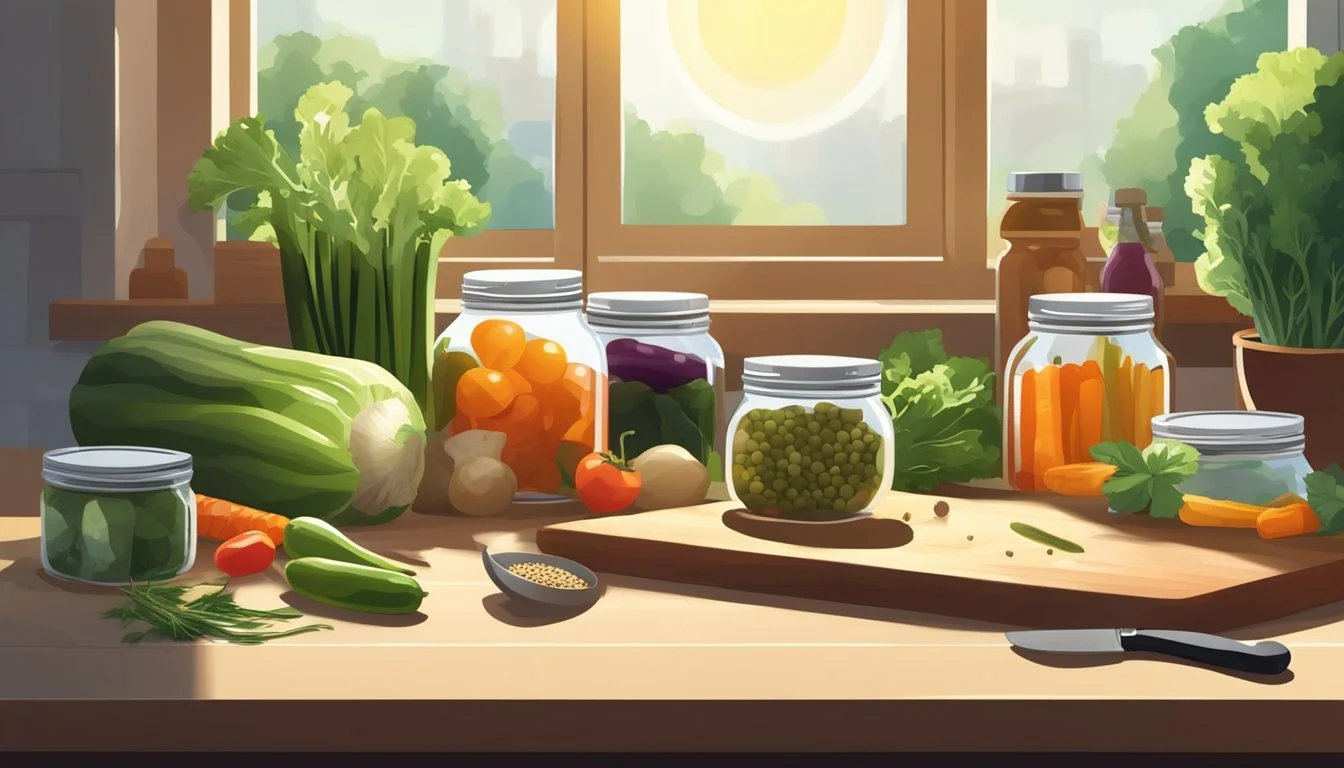
Preparing Vegetables for Pickling
Proper preparation of vegetables is critical to achieving the desired crunch and flavor in pickled goods. The following two steps are essential to ensure the vegetables not only taste great but also remain safe to consume.
Cleaning and Cutting
Before any vegetables are pickled, they must be thoroughly cleaned to remove any dirt and bacteria. Fresh produce should be washed under cold running water. Using a vegetable brush on firm vegetables like carrots can help scrub away any residual soil. Once cleaned, the vegetables need to be cut. Consistency in size and thickness ensures even pickling, so one should slice them according to the recipe's specifications. For example, green beans may be left whole if they fit in the jar, while florets from cauliflowers or carrots should be cut into uniform pieces to allow the pickling brine to penetrate effectively.
Blanching Techniques
Blanching is a technique that can help preserve the color and crunch of the vegetables. This involves a brief plunge into boiling water followed by an immediate transfer to ice water to halt cooking. Blanching time is crucial and varies depending on the vegetable; green beans may require around three minutes, while carrot slices might take slightly less. This step is generally optional but can greatly improve texture and can reduce the prep time required since blanched vegetables pickle faster.
Vegetable Blanching Time Green beans 2-3 minutes Carrot 1-2 minutes Cauliflower 3 minutes
After blanching, one should drain the vegetables well, as excess water can dilute the pickling brine. If the recipe calls for it, vegetables can be blanched before cutting, especially if they are to be cut into very small pieces.
Creating the Perfect Brine

Preparing an ideal brine is a foundational step in pickling vegetables. The brine not only preserves the produce but also infuses it with flavor, resulting in a tangy condiment that can elevate many dishes.
Basic Brine Ratios
To create a basic brine, one needs a combination of water and vinegar. The typical ratio is:
2 parts water
1 part vinegar (white vinegar or apple cider vinegar)
For example, for a small batch of pickles, one might combine 2 cups of water with 1 cup of vinegar. This amount is sufficient to submerge a standard jar of sliced vegetables.
Flavor Enhancements
While the basic brine will preserve vegetables, adding flavor enhancers can tailor the taste to personal preference. Common additions include:
Salt: Essential for the pickling process, usually about 1 tablespoon per cup of vinegar.
Sugar or Honey: To balance the tartness, a sweetener like sugar or honey can be added. A common starting point is 1 tablespoon per cup of vinegar, adjusted to taste.
Herbs and Spices: To introduce a variety of flavors, one can add herbs such as dill or bay leaves, and spices like peppercorns or red pepper flakes. A generous pinch of each spice per batch is a good beginning.
Boiling and Cooling
Once the brine ingredients are measured and combined, follow these steps:
Saucepan: Place the mixture in a saucepan.
Heat: Set over medium heat and stir until the salt and sweeteners are fully dissolved.
Boil: Bring the brine to a slight boil to ensure all flavors meld together.
Cool: Allow the brine to cool completely before pouring it over the prepared vegetables. Hot brine can cook the vegetables, making them too soft.
Methodically measuring ingredients and being patient with the process are crucial to ensuring the brine's quality. Each component plays a role in the final product's preservation and flavor, from the crisp tanginess bestowed by vinegar to the depth created with spices and sweeteners.
Pickling Process
The pickling process transforms fresh vegetables into tangy snacks through a balance of vinegar and spices. It involves sterilizing jars, filling them with vegetables and pickling brine, and ensuring proper sealing and storage. Precision and cleanliness are vital to guarantee safety and the best flavor profile.
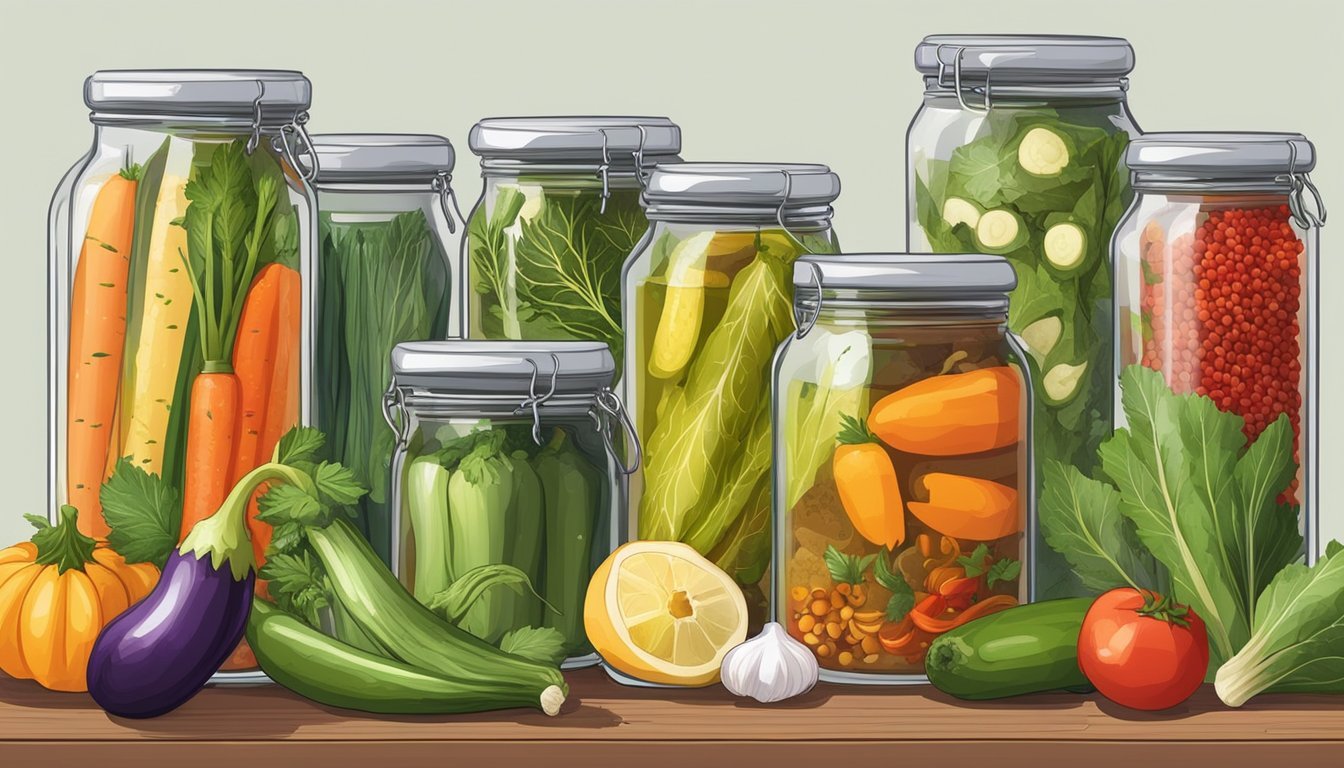
Filling the Jars
To begin, one should select glass jars that have been thoroughly cleaned and sterilized. It is essential to maintain a clean environment to prevent contamination. Vegetables should be washed, cut into desired shapes, and tightly packed into the jars leaving a bit of headspace. The pickling brine, typically a mixture of vinegar, water, salt, and sugar, is brought to a boil and then poured over the vegetables until they are completely covered. Spices and herbs can be added for flavor.
Equipment needed:
Glass jars with tight-fitting lids
Large pot for boiling brine
Tongs or jar lifters
Funnel (for cleanly pouring brine)
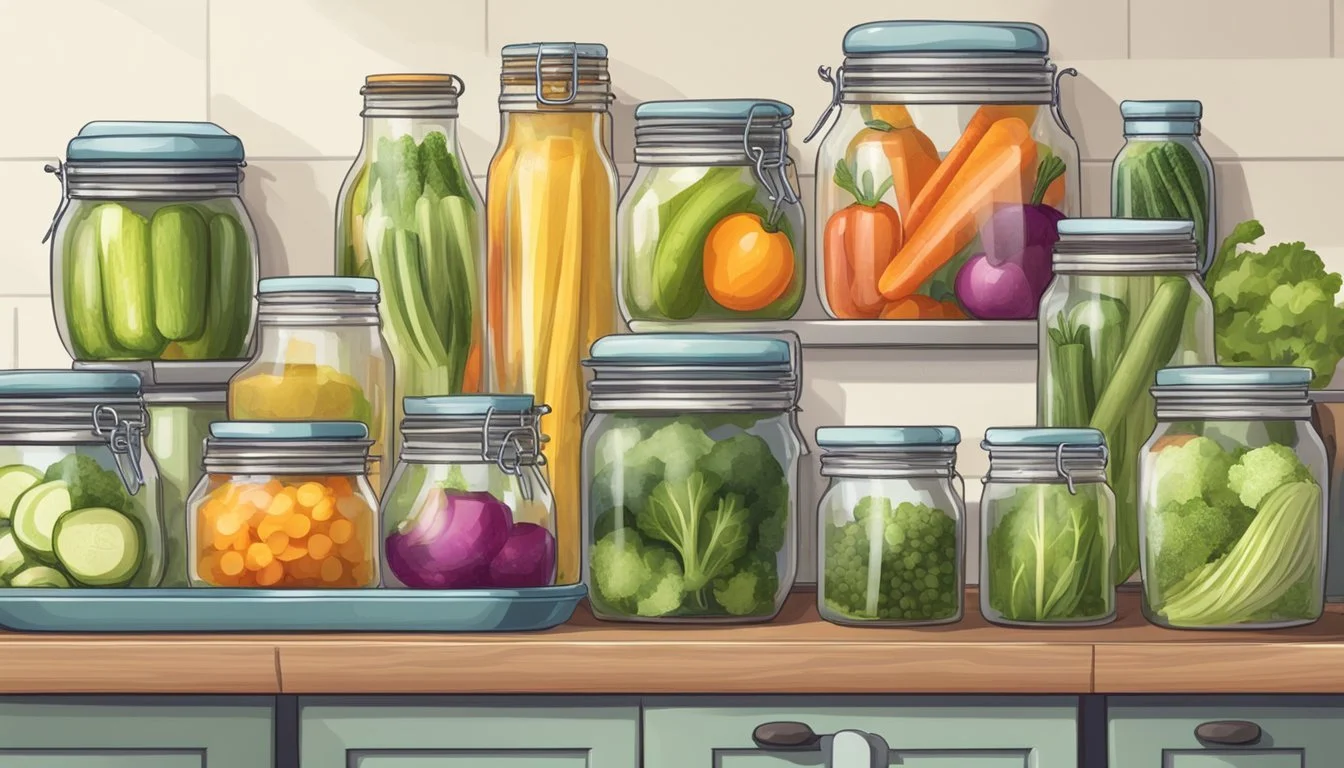
Sealing and Storage
Once the jars are filled, one should wipe the rims to ensure a clean seal. The lids, often pre-warmed to make the rubber more pliable, are placed on the jars and secured with bands. For long-term storage, the jars may undergo a water bath canning process where they are submerged in high heat water for a specific time to create a vacuum seal. This procedure is crucial as it inhibits the growth of bacteria. After canning, the jars should be checked to ensure they are sealed by pressing the middle of the lid; if it pops back, it's not sealed properly. Sealed jars are stored in a cool, dark place like a pantry. Unsealed or open jars should be kept in the refrigerator and consumed within a few weeks.
Different Pickling Methods
Pickling vegetables at home is a rewarding process that offers a variety of methods to suit different preservation needs and time constraints. These methods range from speedy options that create quick snacks to longer-term storage through canning.
Quick Pickling
Quick pickling is a process that allows the creation of tangy treats in a relatively short amount of time. The vegetables are submerged in a hot vinegar brine, often consisting of a mixture of vinegar, water, salt, and sugar. This hot brine is typically brought to a boil before being poured over the prepared vegetables. The key to quick pickling is letting the vegetables sit in the brine for at least 20 minutes, though the flavors deepen the longer they marinate. Quick pickled vegetables are not intended for long-term preservation but make flavorful additions to meals shortly after preparation.
Refrigerator Pickling
Refrigerator pickling also bypasses the traditional canning process and is designed for consumption within a few weeks. In this method, the vegetables are placed in a jar with the pickling brine and stored in the refrigerator. Throughout the refrigeration, the vegetables absorb the flavors of the brine, becoming fully pickled within a few days. Refrigerator pickles offer a crisp, tangy result with an easy, no-fuss approach to homemade pickling that doesn't require servings to be processed in boiling water.
Traditional Canning
For long-term preservation, traditional canning involves packing the vegetables and hot brine into sterilized canning jars and processing them in boiling water. This method ensures that the jars are sealed airtight, allowing the pickled vegetables to be stored at room temperature for extended periods. Traditional canning requires more time and specific equipment, such as a canner or large pot, jar lifters, and canning jars with new lids. The sealed jars are placed in boiling water for a set time which varies based on the type of vegetable and size of the jars. The result is shelf-stable jars full of flavorful pickled creations that can be enjoyed over time.
Serving Suggestions and Pairings
Pickled vegetables offer a zestful accent to a variety of dishes, transforming ordinary meals into gourmet experiences. They are versatile, adding a pop of flavor and a tangy twist when paired correctly.
Accompaniments for Meals
Sandwiches: Layer pickled vegetables like giardiniera on Italian subs or grilled cheese sandwiches to introduce a crunchy, vinegary bite.
Italian Delights: Incorporate giardiniera into antipasto platters or serve alongside Italian cured meats (What wine goes well with cured meats?) for a traditional pairing.
Salads: Toss pickled vegetables into fresh green salads, potato salads, or grain bowls to elevate the flavor profile.
Cheese Boards: Arrange them next to an assortment of hard and soft cheeses to complement the creamy textures with their tangy taste.
Creative Uses for Pickled Vegetables
As a Side Dish: Serve them straight as a side to savory dishes like roasted meats or grilled fish.
Dips and Spreads: Chop them finely and mix into cream cheese or hummus for a zesty spread.
Cooking Ingredient: Use the pickling liquid as a marinade or incorporate chopped pickled vegetables into cooked dishes for added complexity.
Innovative Pairings: Experiment with placing pickled vegetables on top of pizza or into tacos for a distinctive flavor contrast.
Safety and Storage Tips
When one embarks on the journey of home pickling, safety and storage are critical factors to ensure the longevity and enjoyment of their tangy treats. Properly pickled vegetables can add a delicious and vibrant touch to meals and snacks.
Preparing for Pickling:
Always start with fresh vegetables. Inspect for spoilage to avoid contaminating your batch.
Use a vinegar solution with at least 5% acidity for effective preservation.
Sterilize jars and lids by boiling them for 10 minutes to eliminate any harmful bacteria.
Pickling Process:
Ingredients such as garlic cloves should be fresh and free of bruises.
Follow the recipe precisely, ensuring consistent vinegar to water ratios.
Heat the pickling solution to a boil to integrate flavors and guarantee safety.
After Pickling:
Let the jars cool undisturbed to create a proper seal.
Storage Location Temperature Duration Refrigerator 35-38°F Up to 2 months for best quality Pantry Below 70°F Check for seal before storing
Ensure the seal is intact; jars should be stored in a cool, dark place if they have been properly canned.
"Canned" here denotes a sealed environment brought about by proper canning methods, not the simple act of placing in a container.
Refrigerator storage for quick pickles keeps them crisp and ready to serve.
Serving Tips:
Always use clean utensils when handling pickles to prevent contamination.
Store opened jars in the refrigerator to maintain quality and enjoy crisp, tangy servings every time.
By adhering to these safety and storage tips, one can confidently relish the homemade pickles without any concerns over spoilage and foodborne illnesses.
Recipe Ideas and Variations
Exploring the art of pickling vegetables opens up a world of flavors and allows one to create both classic and novel taste experiences. These home-prepared tangy treats can offer a balance of carbohydrates, protein, and vitamins while keeping the fat content minimal.
Classic Recipes
Classic Dill Pickles:
Ingredients: Cucumbers, dill, garlic, water, vinegar, salt
Prep Time: 20 minutes
Total Time: 48 hours for fermentation
Instructions: Slice cucumbers and pack them with dill and garlic into clean jars. Boil water, vinegar, and salt to create a brine and pour over the cucumbers. Seal and let sit at room temperature for two days before refrigerating.
Nutritional Notes: Low in calories and fats, cucumbers provide vitamins such as vitamin K. Dill adds a punch of flavor without extra carbohydrates or saturated fats.
Sweet and Tangy Carrots:
Ingredients: Carrot slices, sugar, vinegar, water, mixed pickling spices
Prep Time: 15 minutes
Total Time: 12 hours for marination
Instructions: Bring vinegar, water, sugar, and spices to a boil in a saucepan. Pour the hot brine over carrot slices in jars. Once cool, refrigerate overnight to meld the flavors.
Nutritional Notes: Carrots are high in vitamin A and potassium, and the pickling process doesn’t significantly alter their nutritional profile.
Innovative Combos
Spicy Red Pepper Mix:
Ingredients: Red bell pepper, red onion, serrano peppers, water, vinegar, salt
Prep Time: 15 minutes
Cook Time: 5 minutes
Total Time: 4 hours for flavors to mix
Instructions: Julienne red bell pepper and red onion, then slice serrano peppers. Simmer ingredients in a mixture of water, vinegar, and salt. Cool and refrigerate for a few hours before serving.
Notes: The peppers not only add flavors but also offer vitamin C and iron. Adjust the amount of serrano peppers based on preferred spiciness.
Garlic & Herb Cauliflower:
Ingredients: Cauliflower florets, garlic cloves, mixed herbs, peppercorns, white wine vinegar, water, salt
Prep Time: 10 minutes
Cook Time: 10 minutes
Total Time: 1 day for maturing
Instructions: Mix small cauliflower florets with garlic, herbs, and peppercorns in jars. Boil water, vinegar, and salt, then pour over the ingredients. Seal jars and refrigerate for a day before consuming.
Notes: This pickled treat is rich in vitamin C and K and can be a simple addition to any meal. The herbs boost flavor without added fat or carbohydrates.
These recipes offer a straightforward and cost-effective option to enhance one's diet with flavorsome, homemade pickled vegetables. They don’t require expensive equipment; a simple saucepan and some jars suffice. Pickling is a versatile process that yields food rich in flavor and nutrients.
Additional Resources
To enhance their pickling journey, readers can explore a curated selection of supplementary articles and instructional videos. These resources provide a deeper dive into the methods and nutrition behind pickling vegetables at home.
Supplementary Articles
Home pickling enthusiasts will find a wealth of detailed instructions and recipe variations in articles such as "DIY Pickled Vegetables: Tangy and Tasty Snacks" and "How to Pickle Vegetables for Beginners: A Step-by-Step Guide to Tangy..." which offer guidance on the pickling process, from selecting the right vegetables to mastering the brine.
For readers interested in the health aspects of pickling, such as the content of polyunsaturated and monounsaturated fats, or comprehensive nutrition information, articles like "The Nutritional Value of Pickled Vegetables" can be invaluable.
Instructional Videos
Visual learners can benefit from instructional videos that demonstrate the pickling process step by step, from prepping the vegetables to filling the jars. Videos such as "Pickling Perfection: A Visual Guide" are excellent for grasping the finer points of technique.
Advanced pickling videos go beyond the basics, delving into topics like maintaining the ideal balance of flavors and exploring the impact of pickling on nutrition, helping viewers to understand not just how, but why certain methods are used.
