
Best Way to Reheat a Slice of Cheesecake
Achieving Creamy Perfection Every Time

Reheating a slice of cheese (how long does cheese last?)cake to achieve creamy perfection requires a gentle approach to preserve its texture and flavor. Cheesecake, a dessert known for its rich and smooth consistency, can become dense and dry if not reheated properly. Preserving the delicate balance between the creamy filling and crumbly crust is paramount when warming up a previously chilled slice.
An ideal method involves bringing the cheesecake to room temperature first before applying any heat. This step is crucial as it allows for even warming throughout, avoiding a situation where the edges might become too soft while the center remains cold. Taking this initial step also prevents the cheesecake from losing its structural integrity, ensuring that each bite has the right blend of creamy and crumbly textures.
Once at room temperature, the cheesecake should be warmed up at a low heat setting in an oven or a microwave with careful timing. The goal is to just take the chill off, not to cook it further. Gentle warming helps in reviving the cheesecake's creamy texture, making it as enjoyable as when it was first served. Each reheating method has its nuances, and understanding these can make the difference between an enjoyable dessert and a disappointing one.
Understanding the Cheesecake

Before delving into reheating cheesecake, it's essential to understand the dessert's composition and why it requires careful handling. This section covers ingredients and their specific functions, and the significance of proper cooling and setting.
Ingredients and Their Roles
Cheesecake is a rich dessert that hinges on the harmonious blend of its core ingredients. At its foundation, cream cheese (how long does cream cheese last?) provides the luscious body and creamy texture. Eggs act as a binding agent, giving structure to the cheesecake so that it sets properly. Sour cream contributes to the richness and slight tang, enhancing the overall flavor profile. Granulated sugar sweetens the mixture, while vanilla extract and lemon lend depth and subtle undertones that round out the taste. The crust, typically made from crushed cookies mixed with butter, offers a contrasting crisp texture to the smooth filling.
Ingredient Role in Cheesecake Cream Cheese Provides creamy texture Eggs Acts as binding agent Sour Cream Enhances richness and flavor Granulated Sugar Sweetens the dessert Vanilla Extract Adds depth of flavor Lemon Gives subtle tang and freshness Butter Binds the crust ingredients
The Importance of Cooling and Setting
A cheesecake's texture and richness are partially reliant on how it cools and sets after baking. Cooling slowly at room temperature helps prevent cracks and ensures a smooth top. Once at room temperature, transferring the cheesecake to the refrigerator allows it to set completely, which can take several hours. The setting process is crucial, as it solidifies the filling, creating the dense, creamy consistency that is characteristic of a well-made cheesecake. Skipping this step can result in a cheesecake that has not fully formed, affecting both its texture and structural integrity. A cheesecake recipe usually includes specific cooling and setting instructions which should be followed for optimal results.
Equipment Essentials
To reheat a slice of cheesecake to creamy perfection, one must pay attention to both the reheating vessel and the utensils employed. The right equipment ensures the cheesecake warms evenly without compromising texture.
Selection of a Proper Pan
For reheating, it's imperative to employ a pan that can evenly distribute heat. Springform pans are not just ideal for baking but also for reheating, thanks to their removable sides that make it easy to release the cheesecake without damage. When reheating in an oven, one should opt for a pan that fits the size of the slice to avoid uneven heating.
Using the Right Cutting Tools
A sharp knife is crucial when planning to cut a cheesecake slice before or after reheating. One should utilize a flat-edged knife, running it under hot water beforehand, to ensure clean slices that maintain the structure of the cheesecake. Alternatively, dental floss can be used for cutting, providing a non-stick solution for even, delicate slices. For serving, a spatula should be on hand to safely transfer the slice from pan to plate without any loss of that creamy texture.
Preparing for Reheating

Proper preparation is crucial for achieving a creamy texture when reheating a slice of cheesecake. Each step ensures that the cheesecake warms evenly without altering its original flavor and consistency.
Bringing Cheesecake to Room Temperature
It's important to let the cheesecake stand at room temperature before reheating. This allows the cheesecake to heat more evenly, preventing the edges from becoming too warm while the center remains cold. A cheesecake slice should be removed from the refrigerator and left to sit for approximately 20 to 30 minutes before reheating.
Step 1: Remove the cheesecake slice from the refrigerator.
Step 2: Place the slice on a clean surface.
Step 3: Allow it to stand for 20 to 30 minutes, until it reaches room temperature.
Prep Steps Before Reheating
Once the cheesecake is at room temperature, some preparations are necessary to ensure it heats properly.
Covering with Foil or Towel: To avoid drying out, you can cover the cheesecake with foil or a damp towel. This helps to retain moisture during the reheating process.
Using the Right Tools: Ensure you have a microwave-safe or oven-safe plate if you choose to reheat using these appliances. For the oven method, a baking sheet may be needed.
Ingredient Check: If the cheesecake has any toppings or add-ons that may not reheat well (such as whipped cream), remove them before reheating.
Microwave Method:
Place the cheesecake slice on a microwave-safe plate.
Cover lightly with a microwave-safe towel.
Oven Method:
Preheat the oven.
Place the cheesecake slice on a baking sheet lined with foil.
Taking these preparatory steps will help maintain the quality of the cheesecake throughout the reheating process, resulting in a desirably creamy and delicious slice.
Reheating Techniques
Proper reheating is essential to maintaining the cheesecake's creamy texture and preventing dryness. Various methods can be used, each with specific steps to ensure even and gentle warming.
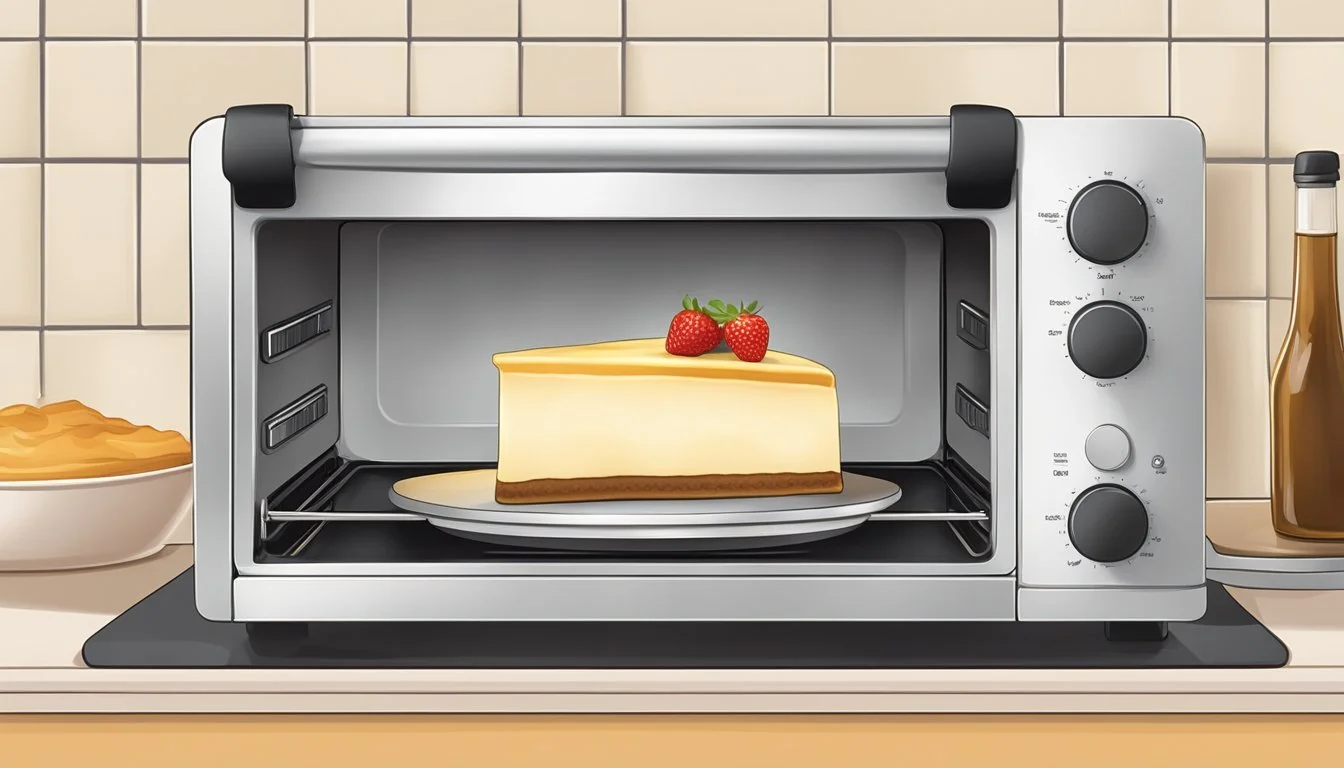
Oven Method
For individuals who prefer gradual reheating, the oven method is ideal. To begin, preheat the oven to a low temperature, around 325°F (163°C). Wrap the cheesecake slice in foil to protect it from direct heat and preserve moisture. Place the wrapped slice on a baking sheet and insert it into the oven. Heat for approximately 10-15 minutes, checking periodically to avoid overheating.
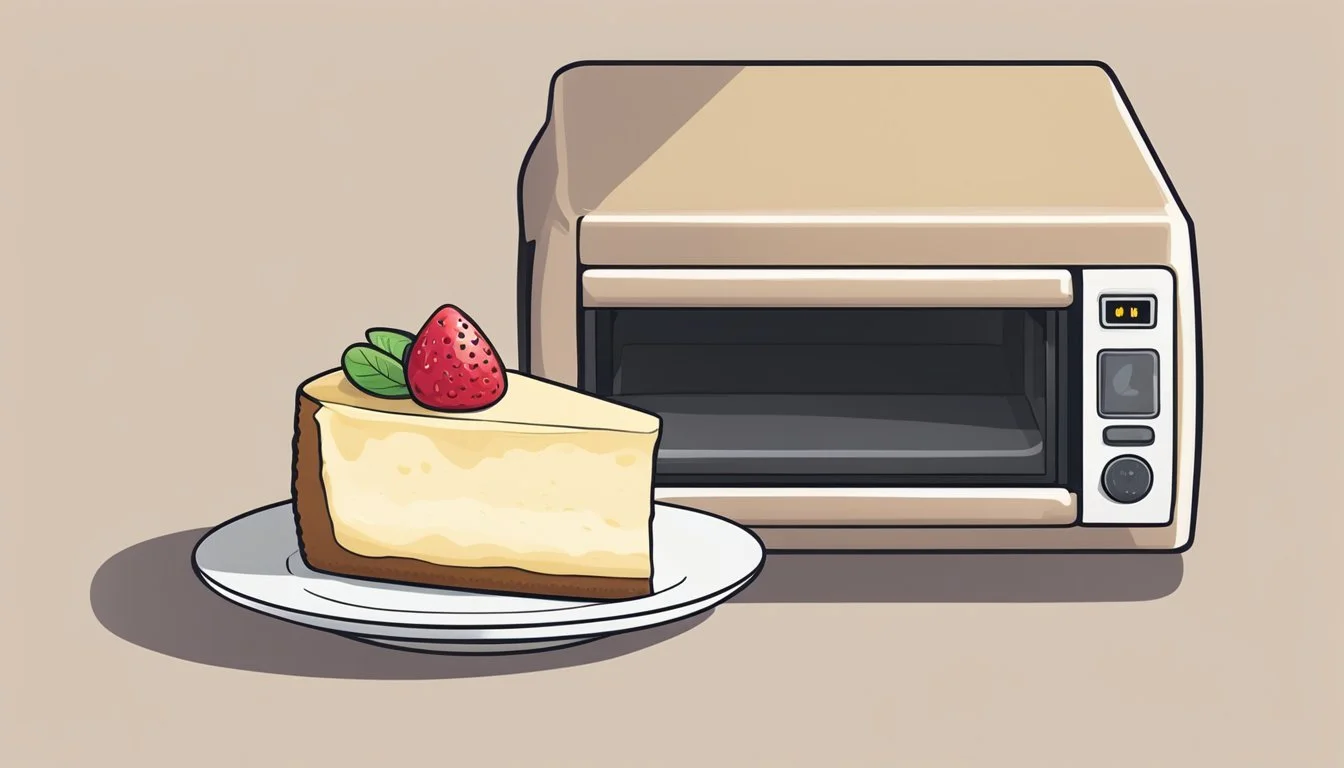
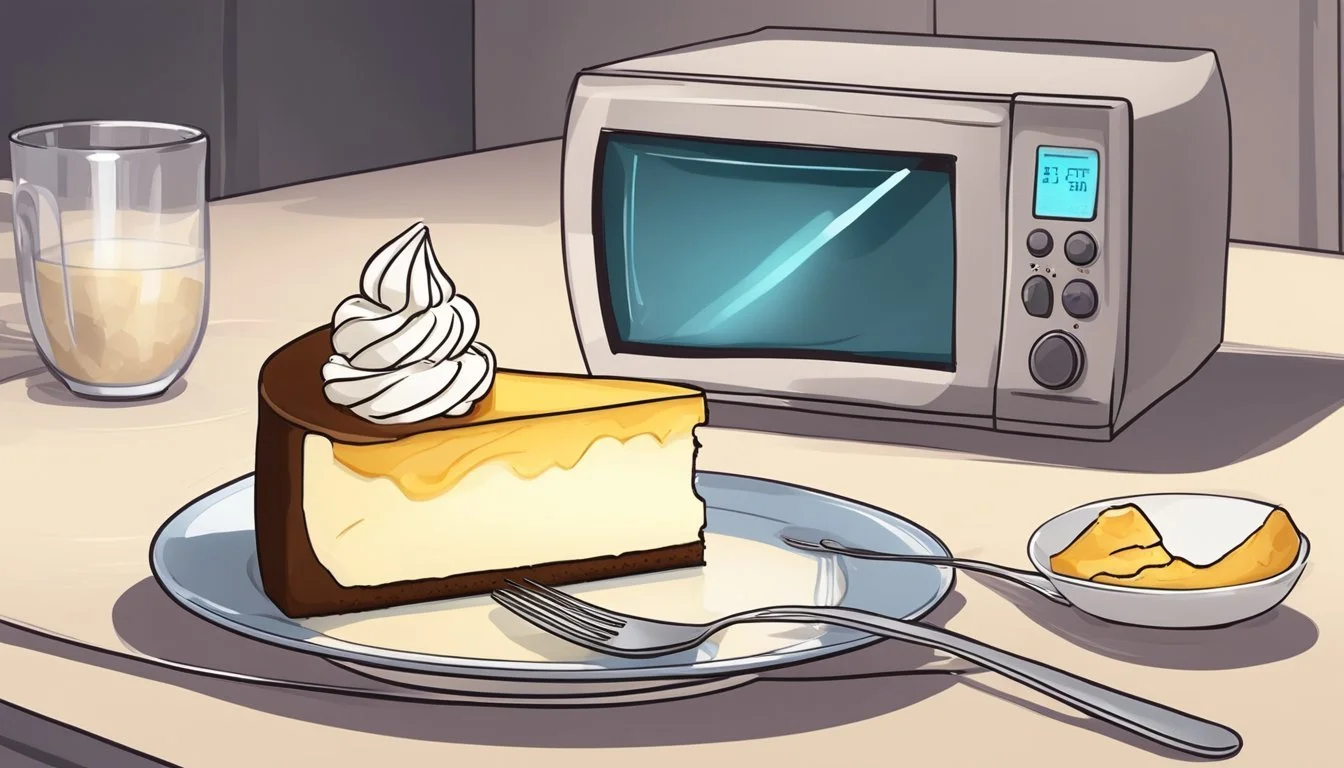
Microwave Method
The microwave offers a quicker reheating solution. Place the slice of cheesecake on a microwave-safe plate. Heat the slice in 10-second intervals at medium power, checking the consistency after each burst to avoid melting the cheesecake. Typically, it should take no more than 30 seconds to sufficiently warm a single slice.
Hot Water Bath Technique
This technique ensures a gentle reheating process that can be especially useful for larger portions or if precision is paramount. Preheat the oven to 325°F (163°C). Place the cheesecake slices in an oven-safe dish. Fill another, larger baking dish with hot water to create a water bath, ensuring the water level is about halfway up the side of the cheesecake dish. Bake for about 15 minutes, checking to ensure the cheesecake is heated through but not overbaked. This method helps the cheesecake retain its creamy texture.
Slicing and Presentation

Before diving into reheating, it's crucial to master the subtle nuances of slicing and presenting a cheesecake. Well-executed slices paired with an immaculate presentation can elevate the overall experience of enjoying this dessert.
The Art of Slicing Cheesecake
The key to a perfect slice is a clean, accurate cut which prevents the cheesecake from crumbling. One should use a sharp flat-edged knife that has been heated in hot water and then dried. After each cut, it is imperative to wipe the blade with a clean towel to maintain a pristine edge, thus ensuring each slice is as perfect as the last. This method not only enhances presentation but also respects the texture and integrity of the cheesecake.
Step-by-Step Guide:
Heat the knife in hot water.
Dry the knife thoroughly.
Slice with a single, smooth motion.
Wipe the knife after each cut.
Serving Perfection
After the cheesecake has been sliced, presentation is the next focus. For those seeking an alternative to the hot knife method, the dental floss technique offers precision—ideal for softer cheesecakes. This involves stretching a length of unflavored dental floss and pressing it down through the cheesecake for a non-disruptive cut. Serving the cheesecake without excess crumbs and with clean edges is crucial. The pairing of meticulously cut slices with the correct plateware contributes to a visually appealing dessert that invites the eater to indulge.
Common Cheesecake Issues and Fixes
Cheesecake enthusiasts know that achieving the perfect slice can be tricky. This section will discuss strategies to prevent common problems such as cracks and inconsistencies in texture, as well as how to make repairs when needed.
Preventing and Repairing Cracks
Preventing Cracks:
To avoid cracks in the first place, ensure a smooth batter by incorporating ingredients gradually and at room temperature.
Add cornstarch or flour to stabilize the batter; this can help in reducing the risk of cracks.
Bake the cheesecake in a water bath to distribute heat evenly and create a gentle cooking environment.
Repairing Cracks:
If cracks do appear, gently push the cracked surface back together while the cheesecake is still warm.
A thin sour cream layer, spread over the top, can mask minor surface imperfections after the cake has cooled.
Ensuring Creamy Consistency
Achieving Creaminess:
Use full-fat cream cheese and mix it until just smooth to maintain a rich, creamy consistency.
Include egg yolks in the batter, as they contribute to creaminess and act as an emulsifier.
Texture Check:
Perform the wobble test to gauge doneness: The center should jiggle slightly, indicating that it isn't overbaked.
If undercooked, a low temperature oven—around 200°F (93°C)—can help to finish it off without drying the cheesecake out, resulting in creamy perfection upon cooling.
Remember, patience and attention to detail are key to solving and preventing issues with cheesecake.
Variations and Flavors

The versatility of cheesecake allows for a plethora of variations, each delivering a unique taste experience. From the revered classic to imaginative blends, one can find a cheesecake flavor to satisfy any palate.
Classic New York Cheesecake
The Classic New York Cheesecake is the epitome of creamy decadence. It typically features a rich mixture of heavy cream, cream cheese, and eggs, which gives it a dense yet smooth texture. The base is often a simple crust made from digestive biscuits or graham crackers, complementing the velvety filling. To enhance this classic, a dollop of whipped cream or a drizzle of caramel sauce can serve as the perfect topping.
Creative Cheesecake Choices
Stepping beyond tradition, Creative Cheesecake Choices abound for those seeking something different. Seasonal varieties might include a Pumpkin Cheesecake topped with a spiced whipped cream. For chocolate lovers, imagine a Chocolate Ganache Cheesecake with a thick layer of ganache over a crunchy chocolate crust. Then there's a zesty twist with a Lemon Curd Cheesecake, its top brightened by a tart lemony spread. Adventurous palates might gravitate towards a Peanut Butter Cheesecake, enriched with the nutty intensity of peanut butter and often paired with a chocolate component to elevate its flavor profile.
Advanced Tips and Techniques

This section delves into the more nuanced aspects of reheating cheesecake, with a focus on maintaining its creamy texture. It addresses methods that go beyond simple reheating, taking into account the environment and texture of the cheesecake.
Mastering the Water Bath
Technique: A water bath technique during reheating can prevent the cheesecake from drying out. The presence of hot water around the cheesecake container creates a humid environment, allowing gentle heat to penetrate evenly.
Steps for a Water Bath:
Place the cheesecake slice in an oven-safe dish.
Fill a larger baking dish with hot water to create a steamy environment (about an inch deep).
Carefully set the dish with the cheesecake inside the water-filled baking dish.
Reheat in an oven preheated to a low temperature, around 250°F (120°C), checking after 10 minutes.
Note: The key here is to use a gentle and steady heat to bring the cheesecake to the perfect temperature without over-baking or causing it to lose moisture.
Achieving the Perfect Surface
Cooling Method: After reheating the cheesecake, cooling it properly is essential to achieving a smooth surface without cracks.
Guidelines for Cooling:
Avoid abrupt temperature changes by letting the cheesecake rest in the turned-off oven with the door slightly ajar.
Once the cheesecake reaches room temperature, transfer it to the refrigerator to cool completely.
Note: Mastering the cooling process is as critical as the reheating itself, ensuring the slice retains its creamy texture and visual appeal.
Bonus: Homemade Cheesecake Tutorial
Before diving into reheating, mastering the basics of homemade cheesecake creation ensures every slice is worth savoring. This tutorial provides a thorough step-by-step guide coupled with creative topping suggestions to elevate the final product to creamy perfection.
Step-by-Step Guide to Baking a Cheesecake
To start a classic cheesecake, the chef needs the following ingredients:
1 1/2 cups graham cracker crumbs
1/4 cup unsalted butter, melted
1 cup sugar, for the filling
24 oz cream cheese, room temperature
1 tsp vanilla extract
**Sour cream_, as required by the recipe
Firstly, combine the graham cracker crumbs with melted unsalted butter, then press the mixture into a lined springform pan. A common approach is to bake the crust at 325ºF for 8-9 minutes before cooling.
Secondly, in a stand mixer equipped with a paddle attachment, beat the room-temperature cream cheese and sugar until smooth, typically for about 5 minutes. The filling should achieve a velvety consistency without lumps.
Next, add vanilla and sour cream to the cream cheese mixture and continue to mix until all ingredients are homogeneously combined.
Then, pour the cheesecake filling over the cooled crust and prepare for a water bath by wrapping the pan with heavy-duty aluminum foil. This method helps the cheesecake bake evenly and remain creamy.
Finally, bake the cheesecake following the chosen recipe's temperature guidelines, often involving an initial high temperature and then a reduced one until the cheesecake is set but still slightly wobbly in the center. Patience is vital, as rushing any step can lead to cracks or overbaking.
Decoration and Topping Ideas
Once the cheesecake has baked and cooled, topping it with various garnishes can enhance its flavor and presentation. Here are a few ideas:
Fresh Fruits: A visually appealing and refreshing option is to top the cheesecake with an assortment of fresh berries or fruit slices.
Sauces: Drizzle with caramel, chocolate, or fruit sauces for added richness and a pop of color.
Whipped Cream: A dollop of homemade whipped cream adds a light and airy contrast to the dense cheesecake.
Nuts & Chocolate: Crushed nuts or chocolate shavings can deliver an extra crunch and flavor dimension, pleasing both the palate and the eye.
With a comprehensive tutorial and an array of decorative options, the reader is well-equipped to craft an impeccable homemade cheesecake that is sure to impress.
Conclusion

Reheating a slice of cheesecake to achieve creamy perfection is a simple process that requires attention to detail. The preferred method involves:
Bringing the cheesecake to room temperature for about 15 to 20 minutes.
Heating it in a microwave in short intervals, about 15 seconds each, to avoid overheating.
Microwave Method:
Place the slice on a microwave-safe dish.
Heat at 50% power in 15-second intervals, checking for desired temperature.
Alternatively, an oven can be utilized:
Oven Method:
Preheat the oven to a low temperature, around 200°F (93°C).
Place the cheesecake slice on an oven-proof dish.
Warm it in the oven for about 10 minutes.
One must remember not to overheat the cheesecake to maintain its texture and flavor. Each slice should be warmed individually to ensure even reheating. Lastly, it's important for consumers to enjoy their dessert with the confidence that they've taken steps to optimize the taste and consistency of their cheesecake experience.
Credits and References

In crafting an informative guide on reheating a slice of cheesecake to creamy perfection, the author utilizes a blend of personal expertise and insights informed by credible culinary sources. These external references, cited herein, comprise a collection of techniques and tips from respected food enthusiasts and baking experts.
The methods for rejuvenating a refrigerated or frozen slice of cheesecake mentioned in this article adhere to the standards proposed by:
Conscious Eating: For advising slow cooking as a method to gently bring a cheesecake to the right temperature.
Baking Nook: For highlighting the importance of a chilled cheesecake and a hot, dry knife to achieve seamless slices.
BakingHow: For outlining a meticulous five-step process to cut cheesecake perfectly.
What Kate Baked: For suggesting the hot knife method to ensure a smooth cut through cheesecake.
Baking Nook: Acknowledged for their guide on creating a successful slice.
This section confers gratitude to all the contributors of the culinary community whose experiences have been pivotal in distilling the essence of this guide. Their collective wisdom elevates the advice provided to readers seeking to recapture the indulgent texture and warmth of a delectably reheated cheesecake slice.
