
Best Way to Reheat Breadsticks
Achieving Oven-Fresh Crispness Again

Breadsticks, with their delightful crunch and warm, soft interior, are a favored accompaniment to a variety of meals. However, the challenge of restoring their crispiness once they've cooled down or gone stale is a common dilemma. The key to rejuvenating leftover breadsticks lies not just in warming them, but in reviving their texture to replicate that fresh-from-the-oven quality.
When it comes to reheating breadsticks, the best method involves a combination of the right temperature and technique to ensure they emerge crispy on the outside and soft on the inside. While the microwave might be a quick fix, it often leaves breadsticks soft and chewy rather than crisp. To restore the crunch, using an oven or an air fryer is the more effective approach.
The oven method typically requires preheating to a moderate temperature and, sometimes, wrapping the breadsticks in foil or employing a light application of moisture to prevent drying out. Conversely, for those who prefer a quicker method without sacrificing crispiness, an air fryer accomplishes the task efficiently, as it circulates hot air around the breadsticks, crisping them evenly in a shorter amount of time. Both these methods, when executed properly, can yield deliciously revitalized breadsticks, restoring them to their original splendor.
Understanding the Basics of Breadstick Reheating
Reheating breadsticks effectively requires grasping the underpinning science of crispness, recognizing different types of breadsticks, and confronting the common challenges to restore their original texture and warmth.
Science of Crispness
When heated, the remaining moisture within breadsticks turns to steam, expanding within the crust to restore crispness. However, achieving this without further drying out the breadsticks is a delicate balance that hinges on temperature and technique to preserve freshness and texture.
Types of Breadsticks
Breadsticks come in various forms, from the buttery, garlicky variety often served at restaurants like Olive Garden, to simpler, more rustic iterations that may lack additional flavors. Each type responds differently to reheating, hence understanding their unique composition is crucial.
Restaurant Style: Often softer, seasoned, and contain more moisture.
Homemade or Artisan: Likely denser, with a tougher crust and less inherent moisture.
Reheating Challenges
Successfully reheating breadsticks involves overcoming issues like moisture loss and uneven heating. Strategies vary depending on the tool available—whether it’s an oven, microwave, or air fryer. Each tool must be carefully managed to revive the breadsticks' crisp exterior without sacrificing freshness.
Oven: Circulates heat evenly but may require foil to prevent excess crispness.
Microwave: Quick but can easily lead to a chewy texture due to rapid moisture loss.
Air Fryer: Efficient at achieving a crisp texture but requires constant monitoring to avoid over-drying.
Preparing Breadsticks for Reheating
To ensure optimal crispiness, breadsticks must be prepped correctly before reheating. The preparation process differs depending on whether the breadsticks are frozen or have been stored at room temperature.
Thawing Frozen Breadsticks
Frozen breadsticks require thawing to achieve even reheating and restore their freshness. They should be taken out of the freezer and left in their original packaging or transferred to an airtight container to thaw slowly in the refrigerator, ideally overnight. This gradual thaw helps to maintain moisture and prevent the breadsticks from drying out. If time is limited, they can be thawed at room temperature for a few hours before the reheating process begins.
Bringing to Room Temperature
Breadsticks stored at room temperature or refrigerated should be brought to a ambient temperature before reheating to ensure even warmth throughout. This can be done by placing them outside of the fridge for about 30 minutes prior to reheating. Taking the time to bring them to room temperature can prevent the outside from becoming too crispy while the inside remains cold. It also reduces the total reheating time needed for the breadsticks to reach the desired temperature and texture.
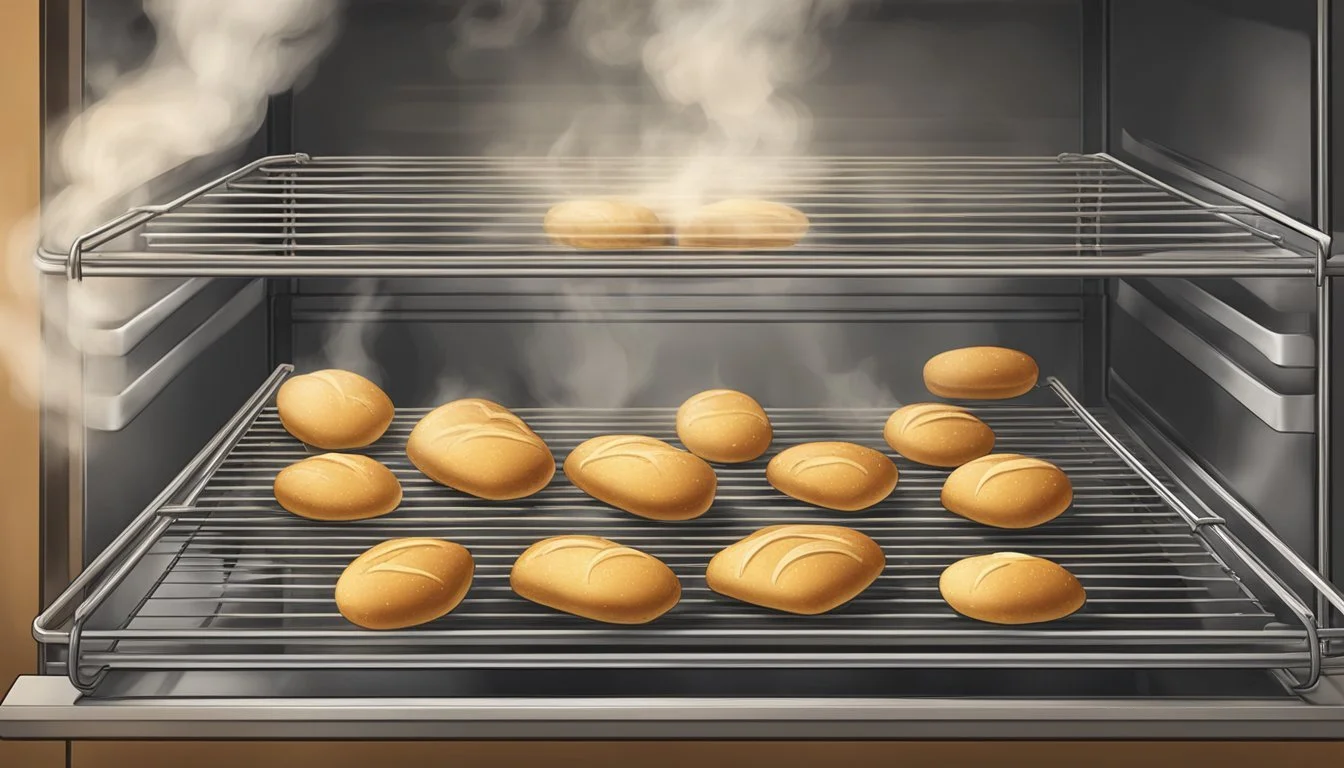
Oven Reheating Method
The oven reheating method stands out for its ability to revitalize breadsticks by restoring their crisp exterior while maintaining a tender interior. This technique is straightforward and effective, provided the oven is properly preheated and the breadsticks are arranged optimally on a baking sheet.
Preheating the Oven
One should always begin by preheating the oven to the recommended temperature. This ensures a consistent and hot environment for the breadsticks to reheat evenly. It is generally advised to set the oven to 350°F (175°C). The preheating process typically takes about 10 to 15 minutes, depending on the oven model. Ensuring the oven has reached the correct temperature is crucial, so using an oven thermometer for accuracy is beneficial.
Using a Baking Sheet
Once the oven is preheated, the breadsticks should be placed on a baking sheet in a single layer to maximize heat distribution. For added crispiness, it's optional to:
Lightly dampen a paper towel and wrap it around the breadsticks before placing them on the baking sheet.
Thaw frozen breadsticks prior to reheating or adjust time accordingly if reheating from frozen.
The breadsticks should then be reheated for approximately 5-10 minutes. Using oven mitts, one should check for doneness; the breadsticks should be hot to the touch and crisped to preference. It's recommended to monitor the breadsticks to prevent over-baking which can lead to drying out or burning.
Alternative Reheating Techniques
When restoring the crispiness of breadsticks, one needs to be aware of the heat distribution and the receptiveness of the breadsticks to different cooking environments. The methods discussed here utilize different kitchen appliances to revive the texture and warmth of the breadsticks.
Air Fryer Option
Air Fryer Reheating: The air fryer offers a rapid and efficient technique thanks to its convection capabilities that circulate hot air around the breadsticks.
Preheat the air fryer to 350°F (175°C).
Arrange the breadsticks in the fryer's basket in a single layer to ensure even heating.
Heat them for about 3-5 minutes, shaking the basket halfway through. Check for desired crispiness before serving.
Skillet Method
Reviving Breadsticks in a Skillet: A skillet can mimic the original cooking process, providing direct heat that crisps the breadsticks up.
Place a skillet or pan on medium heat on the stove.
Add the breadsticks to the pan without overcrowding.
For optimal results, cover the pan with a lid to trap steam which keeps the interior soft while the outside becomes crisp.
Flip the breadsticks every 30 seconds until they're warmed through and crispy.
Toaster Oven Usage
Toaster Oven for Reheating: A toaster oven serves as a mini oven with a more concentrated space, which can be ideal for getting breadsticks crispy on the outside and keeping them soft on the inside.
Set the toaster oven to 350°F (175°C).
Spread out the breadsticks on the toaster oven's rack or baking sheet.
Bake for 3-5 minutes, watching to ensure they don't burn. They should be turned over once for uniform crispiness.
Microwave Reheating Tips
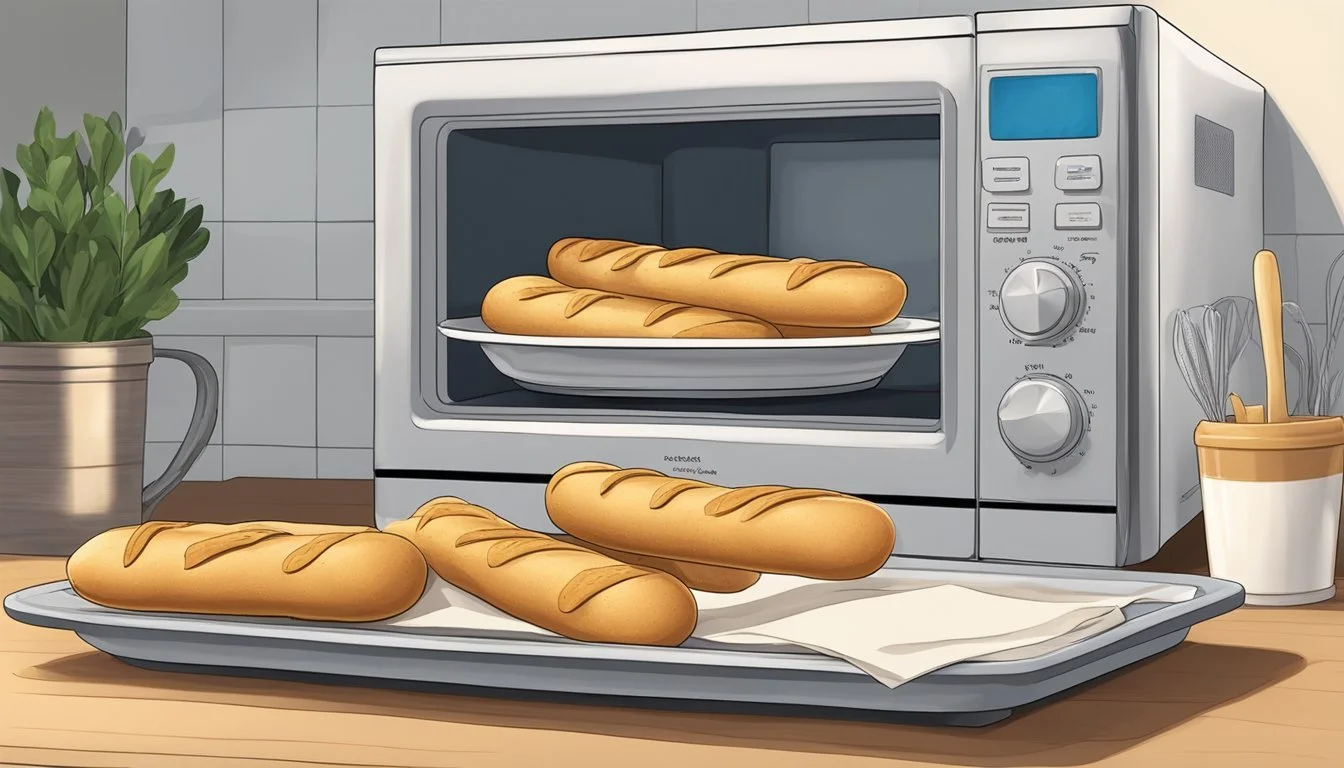
When reheating breadsticks in the microwave, the goal is to retain the original texture while ensuring they are warmed evenly. This section covers how to manage moisture and prevent sogginess to achieve the best results using the microwave method.
Dealing with Moisture
One can cover the breadsticks with a dry paper towel to absorb excess moisture during microwaving. Breadsticks should be placed in a single layer on a microwave-safe plate to promote even heating. The paper towel acts as a barrier, minimizing the steam trapped around the breadsticks, which can make them soft.
Single Layer: Place breadsticks in a single layer.
Dry Paper Towel: Cover with a dry paper towel to absorb moisture.
Avoiding Sogginess
To prevent breadsticks from turning soggy, they can be microwaved in short intervals. Heating for 30 seconds to 1 minute on high power is typically sufficient. If additional warmth is needed, they can be heated in bursts of a few seconds. A damp paper towel can be used underneath the breadsticks to add a slight steam, which can help maintain their interior softness without making the outer layer soggy.
Short Intervals: Heat in 30 seconds to 1-minute intervals.
Damp Paper Towel: Optionally, place a damp paper towel under the breadsticks.
Using these techniques, reheated breadsticks should come out warm and maintain their desirable texture.
Enhancing Reheated Breadsticks
To elevate the quality of reheated breadsticks, one can apply flavor-enhancing butters or oils and select complementary toppings. The goal is to enrich both the texture and taste, ensuring a pleasant contrast between the crisp exterior and the soft, moist interior.
Applying Butters and Oils
Properly applying butters and oils not only prevents the breadsticks from drying out but also adds a flavorful dimension. Here are two excellent options:
Garlic Butter: Melt butter and infuse it with finely minced garlic or garlic powder. Brushing this mixture on breadsticks before reheating will impart a savory garlic flavor.
Olive Oil: For a subtle, rich note, lightly brush breadsticks with olive oil. It can enhance the crispiness of the crust while keeping the interior moist.
Applying these dressings should be done prior to reheating for optimal absorption and flavor distribution.
Choosing Toppings
After reheating, complementing the breadsticks with a sprinkle of cheese or serving them with a dipping sauce can further intensify their appeal. Consider these suggestions:
Parmesan Cheese: A light dusting of grated parmesan cheese adds a salty, umami flavor and a slightly crunchy texture.
Dipping Sauce: Offer a side of marinara sauce for dipping to add moisture and a robust, herby accent to each bite.
The addition of these toppings post-reheating ensures that the cheese melts adequately and the sauces retain their intended flavor profiles.
Serving and Presentation

Once breadsticks are reheated to their optimal crispiness, the way they are served can significantly impact the dining experience. Attention to the type of accompaniments and the final touches before serving is key to enhancing the flavors and presentation of the breadsticks.
Accompaniment Selection
Sauces: Offer a variety of dipping sauces such as marinara, garlic butter, or alfredo sauce to cater to different tastes.
Cheeses: Provide grated parmesan or a side of soft spreadable cheese to complement the warm breadsticks.
Salads: Serve alongside a fresh Caesar or garden salad as a refreshing contrast to the warm, crisp texture.
Final Touches Before Serving
Plating: Arrange the breadsticks in a clean, visually appealing manner on a serving platter or bread (What wine goes well with bread?) basket.
Garnishing: Consider a light sprinkling of finely chopped parsley or additional grated cheese to enhance the aesthetic and flavor just before serving.
Temperature: Serve immediately while they are still warm to ensure the crispiness is experienced at its best.
Storing Leftover Breadsticks
Proper storage methods are essential to maintain the quality of leftover breadsticks, whether one plans to consume them in the near future or preserve them for a later date.
Airtight Storage Methods
For short-term storage, placing breadsticks in an airtight container is crucial to prevent them from becoming stale. One should ensure that the container seals properly to mitigate exposure to air. If a container is not available, one could use a plastic bag with a zip-top closure, making sure to squeeze out as much air as possible before sealing.
Freezing for Long-Term Preservation
If the breadsticks are not expected to be consumed within a few days, it is advisable to freeze them for long-term preservation. Breadsticks should be wrapped individually in aluminum foil or plastic wrap, and then placed inside a freezer bag or airtight container before being frozen. This method prevents freezer burn and flavor loss. To consume, one does not need to thaw the breadsticks; they can be reheated directly from the freezer, which will help preserve their crispiness and flavor.
Troubleshooting Common Issues
When reheating breadsticks, maintaining a crispy texture while avoiding sogginess and uneven heating can be challenging. The following subsections provide targeted solutions for these common issues that can arise during the reheating process.
Dealing with Soggy Breadsticks
If breadsticks become soggy during reheating, it often results from excessive moisture. To resolve this:
Before reheating: Wrap the breadsticks in a paper towel that's lightly dampened to prevent steaming.
After reheating: Place them in the oven for an additional 1-2 minutes at a higher temperature to help crisp up the exterior.
Uneven Heating Solutions
Uneven heating can lead to hot spots and an inconsistent texture. For even heating:
Rotate or stir the breadsticks halfway through the reheating process if using a microwave or air fryer.
Ensure the oven rack is centered and there is enough space between the breadsticks to allow for proper heat circulation.
Olive Garden Breadsticks Special
Olive Garden breadsticks, known for their warm, fluffy interior and garlicky exterior, are a fan favorite. When reheating leftovers, it's crucial to restore their original texture and flavor.
Reviving Olive Garden's Signature Breadsticks
To reheat Olive Garden breadsticks while maintaining their signature taste and crispiness, one can employ various methods like the oven or microwave. Each method aims to strike the perfect balance between reinvigorating the breadsticks' warmth and preserving their moisture.
Oven Method:
Preheat your oven to 350°F (175°C).
Arrange the breadsticks on a baking sheet.
Bake for approximately 5-10 minutes.
Note: Wrapping the breadsticks in aluminum foil can trap the moisture and prevent drying.
Microwave Method:
Moisten a paper towel and wrap it around the breadstick(s).
Set the microwave power between 30-50%.
Heat for 30-60 seconds, checking halfway through and adjusting the time as necessary.
Employing these techniques will help ensure that leftover Olive Garden breadsticks retain the qualities that make them special when served fresh.
Health and Energy Considerations
When reheating breadsticks, it's important to consider both health and energy efficiency. The goal is to restore crispiness without compromising on nutritional value or consuming excessive electricity.
Minimizing Energy Use
To minimize energy use when reheating breadsticks:
Use a Toaster Oven: A toaster oven heats up more quickly than a conventional oven and uses less energy for small batches.
Heat Only What You'll Eat: By reheating only the amount needed, one conserves energy and avoids unnecessary waste.
Healthy Reheating Practices
For healthy reheating practices:
Avoid Excessive Oils: Reheat breadsticks on a dry baking sheet or in an air fryer to eliminate the need for added oils.
Consider Cooking Duration: Overheating can lead to charred breadsticks, which may contain harmful compounds. Monitor the reheating process closely to maintain both health and quality.
Step-by-Step Reheating Guide
To rejuvenate leftover breadsticks and restore their crisp exterior, reheating correctly is vital. This guide provides structured steps and detailed temperatures to achieve that satisfying crunch.
Simple Steps to Reheat Breadsticks
Preheat: Preheat the oven to 350°F (175°C) to ensure a stable cooking environment.
Prepare: If stored in a plastic bag, transfer the breadsticks to a baking sheet. If the original bag is available and oven-safe, leave them inside.
Wrap: For those without the original bag, wrapping breadsticks in foil can prevent them from drying out.
Reheat: Place the prepared breadsticks in the oven for about 5-10 minutes, depending on their size and quantity.
Ensuring Desired Level of Crispness
Foil Method: Wrapping breadsticks in foil will keep them moist inside while slightly crisping the exterior. If a softer texture is preferred, one can lightly dampen a paper towel and wrap it around the breadsticks before encasing in foil.
Uncovered Method: For those craving a crispier result, placing the breadsticks directly on the rack or a perforated pan without foil will provide more crunch. One should keep a keen eye on breadsticks reheated this way to prevent over-browning.
Temperature Monitoring: It is crucial to maintain a medium oven temperature of 350°F (175°C) to evenly warm the breadsticks without burning them.
