Best Way to Reheat Coconut Shrimp
Ensuring Crispiness and Juiciness Restoration
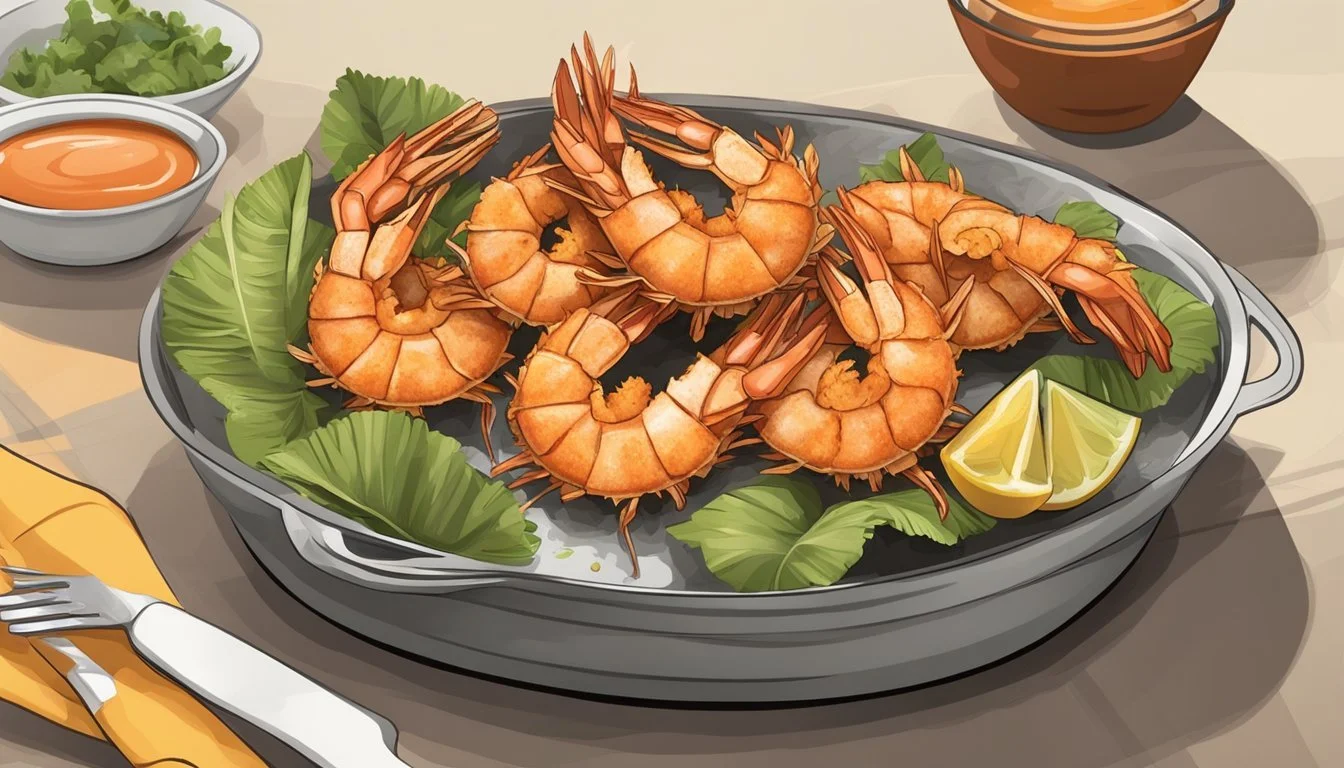
Coconut shrimp (What wine goes well with shrimp?) serves as a popular appetizer and entrée, praised for its crunchy exterior and succulent interior. However, preserving these textures during reheating can be challenging. To achieve the best results, it is important to employ a method that restores the dish's signature crispiness without compromising the moisture and tenderness of the shrimp.
Reheating coconut shrimp effectively requires a balance of temperature and time. An air fryer provides a quick and efficient way to recrisp the coating while ensuring the shrimp remains juicy. Alternatively, using an oven can evenly reheat the shrimp and recuperate the delightfully crisp texture. It's crucial to avoid methods that introduce excess moisture, such as microwaving, which can result in a soggy exterior and compromise the quality of the dish.
Understanding Reheating Basics
When reheating shrimp, it’s essential to consider the delicate nature of this protein. The goal is to restore the shrimp's crispiness without overcooking and drying it out. Following proper reheating instructions is key.
Room Temperature: Starting with shrimp that's near room temperature can promote even reheating. It’s advisable to let the shrimp sit outside the fridge for a few minutes before cooking.
Cooking Temperature: A moderate heat is important to avoid toughening the shrimp. An oven preheated to 350°F (175°C) or an air fryer at 375°F offers efficient warming while preserving moisture.
Reheating Instructions for Crispiness:
Oven Method:
Preheat to 350°F.
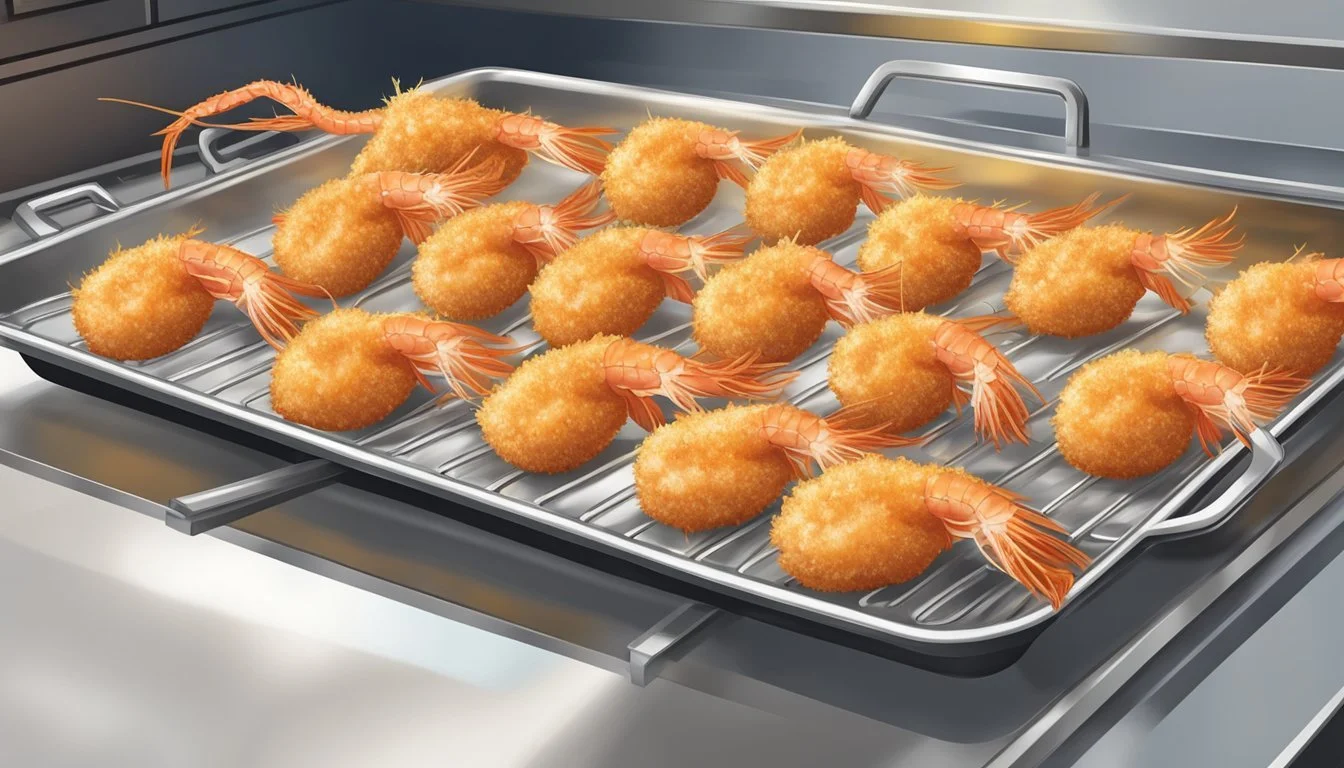
Space shrimp evenly on a baking sheet.
Reheat for 8-10 minutes.
Air Fryer Method:
Preheat to 375°F.
Arrange shrimp in a single layer.
Cook for 4-5 minutes.
Skillet Method:
Heat a small amount of oil.
Place shrimp in a single layer.
Cook each side for 2-3 minutes.
By reheating shrimp carefully, its juiciness and crisp exterior can be maintained. Whether using an oven, air fryer, or skillet, managing the temperature and time is critical to the success of reinvigorating the shrimp without compromising its flavor or texture.
Preparation and Initial Steps
Ensuring that leftover coconut shrimp regain their crispy texture and remain juicy requires attention to detail. The preparation process sets the stage for the final taste and quality of the reheated shrimp.
Arranging Shrimp for Reheating
One must arrange the leftover coconut shrimp in a single layer on the chosen reheating surface. Whether using a baking sheet for the oven, a basket for the air fryer, or a skillet, spacing is crucial. Arrange the shrimp so they do not overlap to enable even heat distribution.
Choosing the Right Temperature
The temperature for reheating must be carefully selected to ensure the coconut shrimp do not become overcooked or dry out. An oven should be preheated to around 350°F (175°C), while an air fryer typically requires a temperature setting of 350°F (175°C) to 375°F (190°C).
Reheating Techniques Compared
Oven: Use a preheated oven for a consistent and even heat source.
Air Fryer: Good for a quicker reheating process and crispy results.
Skillet (Stovetop Method): Ideal for those preferring a sautéed texture and can control the heat closely.
Microwave: Generally not recommended as it may result in a soggy texture.
Each method has its merits, with the oven and air fryer being the most effective in maintaining crispiness.
Sides and Accompaniments
A variety of sides and dipping sauces complement reheated coconut shrimp. Common options include:
Sides: A fresh salad, steamed vegetables, or rice.
Dipping Sauces: Classics such as sweet chili sauce or a citrus-infused mayonnaise.
One can experiment with different sides and sauces to enhance the overall flavor experience.
Oven Reheating Method
Reheating coconut shrimp in an oven can ensure that they regain their crispiness without losing their inner juiciness. Here is a step-by-step method to achieve the best results.
Preparation:
Preheat the oven to 350°F (175°C), which is an ideal temperature to warm the shrimp without burning them.
A baking sheet should be lined with aluminum foil or parchment paper, aiding in cleanup and preventing sticking.
Reheating Process:
The coconut shrimp should be arranged in a single layer on the baking sheet, allowing space between them for even heating.
It's advisable to lightly spray the shrimp with cooking oil to prevent drying out. Alternatively, a small drizzle of oil can serve the same purpose.
Cooking Time:
Place the baking sheet into the preheated oven.
Allow the shrimp to heat for about 5-7 minutes.
To ensure even crispiness, flip the shrimp halfway through the heating process.
Final Touch:
Monitor the shrimp closely to avoid overcooking, which can lead to dryness and toughness.
Once heated through and crispy, remove from the oven and serve immediately.
By following these instructions, one should revive the coconut shrimp to its original state, crispy on the outside while still moist inside. The oven method is effective and simple, ensuring that the coconut shrimp's quality is maintained.
Skillet Reheating Method
When reheating coconut shrimp on the stovetop, using a skillet is advantageous for restoring the food's crispiness. One should opt for a non-stick skillet to prevent the shrimp from sticking and tearing, which ensures even reheating and maintains the crust's integrity.
Steps for Skillet Reheating:
Preparation: Heat the skillet over a medium setting before adding the shrimp to avoid a sudden temperature change that could make the shrimp rubbery.
Oil Application: To guarantee a crisp exterior, lightly coat the skillet with a thin layer of cooking oil. This will mimic the original cooking process and provide that desirable crunch.
Arrange Shrimp: Once the skillet is warm, carefully place the coconut shrimp in a single layer. Ensuring they have adequate space between them allows for even heat distribution.
Reheating Process:
Initial Cooking: Allow the shrimp to cook undisturbed for 2-3 minutes.
Flip: Gently flip each shrimp to the other side with tongs or a spatula. This step is crucial as flipping them too early can cause the breading to fall off.
Final Touches: Assess the shrimp after another 2-3 minutes on the other side. They should be piping hot, crispy on the outside, and cooked to perfection on the inside.
Using this approach, one can proficiently reheat coconut shrimp, achieving a balance between retaining moisture within and ensuring a crispy exterior. Remember, the key is a moderate heat setting, attentiveness to prevent overcooking, and minimal flipping to avoid a rubbery texture.
Air Fryer Reheating Method
Reheating coconut shrimp in an air fryer is a superb method for restoring its crispiness and juiciness. The air fryer's convection mechanism circulates hot air around the shrimp, reheating it evenly while recovering its original texture.
Steps for Reheating Coconut Shrimp in the Air Fryer:
Preheat the Air Fryer: Set the air fryer to a temperature of 350°F to 375°F to achieve optimal reheating conditions.
Prepare the Shrimp: If desired, one may lightly spray the shrimp with cooking oil to enhance crispiness, though this step is optional.
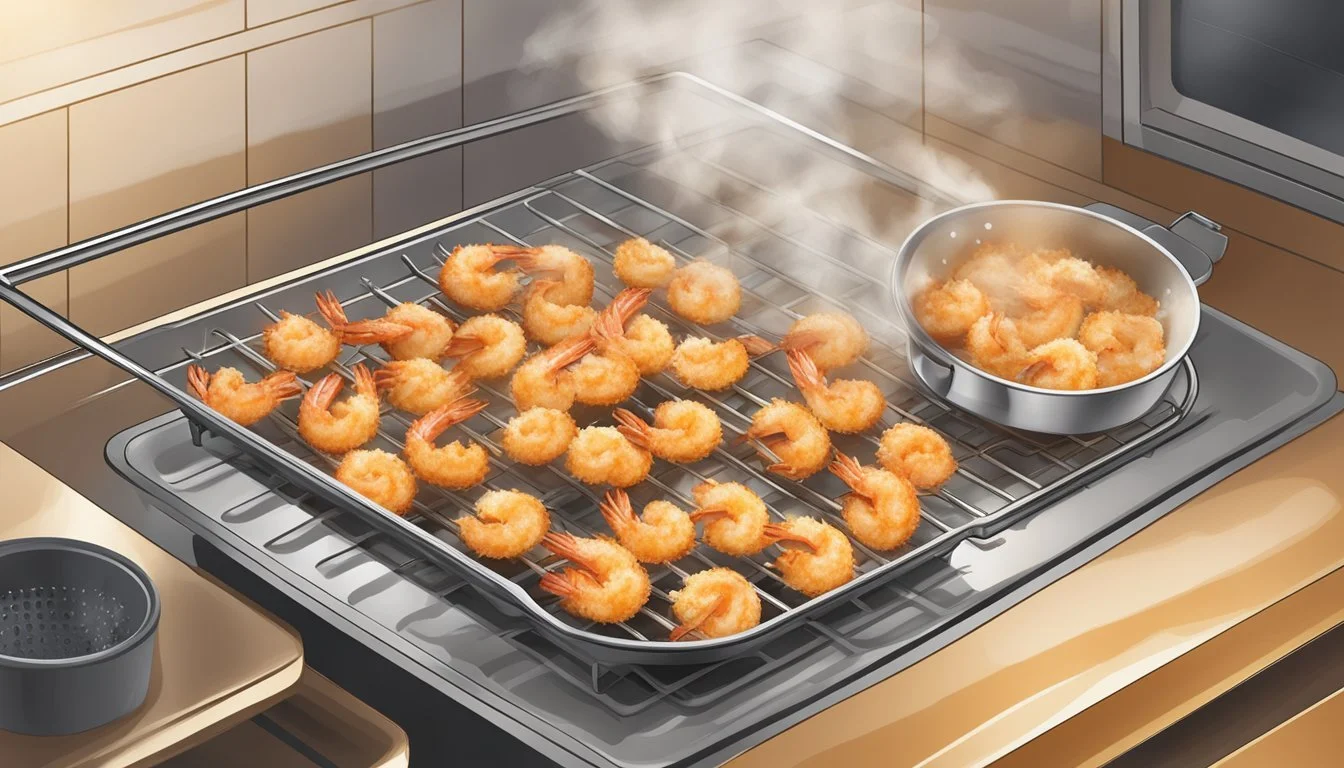
Arrange in Basket: Place the coconut shrimp in the air fryer basket in a single layer to prevent overcrowding, which ensures even reheating and crispiness.
Don't Do Overcrowd the basket Allow space between shrimp
Reheating: Cook the shrimp for 3 to 5 minutes. If the air fryer recommends it, flipping halfway through can assist in even reheating.
Check for Doneness: Ensure the shrimp are heated through and the exterior is crispy to the touch before removing them.
Using an air fryer for reheating retains the quality better than other reheating methods. By following these simple steps, one will likely enjoy coconut shrimp that is as close to freshly cooked as possible.
Avoiding Common Reheating Mistakes
When reheating coconut shrimp, it's crucial to maintain the perfect balance between achieving a crispy texture and preserving the succulent interior. This section covers practical strategies to avert common reheating pitfalls.
Preventing Overcrowding
Overcrowding the air fryer or baking sheet can lead to uneven heating and cause the shrimp to steam rather than crisp up. Always arrange the coconut shrimp in a single layer with some space between each piece to ensure hot air circulates evenly, restoring their desirable crispy texture.
Avoiding Overcooking
Reheating coconut shrimp requires a delicate touch to avoid overcooking which results in a rubbery texture. Whether using an air fryer or oven, heating for a short time — typically between 3-6 minutes — is sufficient. It's imperative to monitor the shrimp closely and remove them as soon as they are heated through.
Reheating Frozen Shrimp
For frozen coconut shrimp, it's recommended to thaw them first to prevent the exterior from burning before the inside warms up. If reheating straight from the freezer, adjust the cooking time and temperature accordingly, heating at a lower temperature for a longer period.
Ensuring Even Cooking
To achieve uniform heat distribution, flip the shrimp halfway through the reheating process. This simple step avoids uneven cooking and helps preserve the crispy texture on all sides. Whether in an air fryer, oven, or skillet, turning the shrimp ensures each piece reaches the ideal temperature without sacrifice to quality.
Serving Suggestions
After reheating coconut shrimp to its crispy and juicy perfection, serving it with the right accompaniments can elevate this already delectable dish from a simple appetizer to an irresistible main course. The following suggestions will guide readers on how to create a memorable dining experience with these tropical-flavored delights.
Selecting Dipping Sauces
The choice of sauce can define the flavor profile of coconut shrimp, making it vital to pair them with dips that complement their sweetness and texture:
Sweet Chili Sauce: A popular choice, sweet chili sauce adds a spicy kick that contrasts the shrimp's sweetness.
Mango Salsa: For a fruitier twist, mango salsa brings a tangy and fresh dimension to each bite.
Tartar Sauce: A classic option, tartar sauce offers a creamy consistency with a mild tanginess.
One should consider the personal preferences of the guests or family when selecting dipping sauces, ensuring there is a range that caters to different tastes.
Pairing with Sides
Coconut shrimp can be transformed from a celebrated appetizer into a fulfilling main course by selecting sides that complement its flavors:
Side Option Description Jasmine Rice Light and fragrant, it serves as a neutral base that highlights the shrimp’s tropical taste. Vegetable Stir Fry A colorful medley of vegetables provides a nutritious boost and a crunch that mirrors the shrimp. Slaw A citrusy or tangy coleslaw can cleanse the palate between bites of the rich, coconut-laden shrimp.
When choosing sides, one should aim for balance, pairing the rich shrimp with lighter sides that will not overpower the dish's delicious flavor.
Additional Tips
Ensuring coconut shrimp retains its delicious flavor and crispiness when reheated involves more than just the reheating method. Storage, oil choice, creative use of leftovers, and accommodation of special diets play essential roles.
Using Proper Storage Techniques
The key to maintaining the integrity of leftover coconut shrimp starts with proper storage. They should be stored in an airtight container or wrapped tightly in plastic wrap to prevent moisture loss. This helps preserve the texture of the coconut flakes and maintains the shrimp's quality until they're ready to be reheated.
Choosing Oils for Reheating
When it comes to frying or reheating, selecting the right oil can make a significant difference. For reheating coconut shrimp, it's advisable to use oils with a high smoke point, such as canola or peanut oil. The oil temperature is crucial—heat it to just the right level before adding the shrimp to prevent sogginess and achieve a crispy exterior.
Utilizing Leftovers Creatively
Leftover coconut shrimp can serve as more than just a reheated dish; they can be a delicious addition to other shrimp recipes. Consider chopping them up and adding them to salads or stuffing them into tacos. These approaches not only diversify meals but also prevent waste.
Adapting to Special Diets
For individuals following a gluten-free diet, reheating shrimp while maintaining dietary restrictions is vital. Ensure that shrimp are coated in gluten-free alternatives such as gluten-free Panko breadcrumbs, almond flour, or crushed gluten-free crackers instead of traditional flour and breadcrumbs. Always use separate cooking utensils to avoid cross-contamination when reheating to cater to special diets.
Conclusion
For those seeking to savor their coconut shrimp with a return to its initial taste and texture, the various reheating methods offer a practical means to achieve that goal. The air fryer emerges as the quick and convenient option, uniformly reheating the shrimp while reinstating the crispiness. A temperature setting of 350°F (175°C) and a brief cook time of 4-5 minutes should suffice.
The oven is another excellent avenue, especially when heating larger batches. Shrimp lined on a baking sheet and warmed at 350°F (175°C) for about 8-10 minutes are typically restored to their delectable state. It's important to remember that shrimp should be placed in a single layer to ensure consistent heating.
Using a skillet can be effective as well, although it demands vigilant monitoring. A touch of oil on medium heat and a few minutes per side can renew the crunchy exterior while preserving the juiciness inside.
Here is the summary of recommended settings for reheating:
Method Temperature Time Air Fryer 350°F (175°C) 4-5 Minutes Oven 350°F (175°C) 8-10 Minutes Skillet Medium Heat Until Crispy
Each method has its place, and individuals should choose based on their preference for speed, the tools at their disposal, or the quantity of shrimp they plan to reheat. These techniques ensure the coconut shrimp remain as delightful as when they were first served.


