
Best Way to Reheat Farinata for Crispy Edges
Expert Tips Revealed
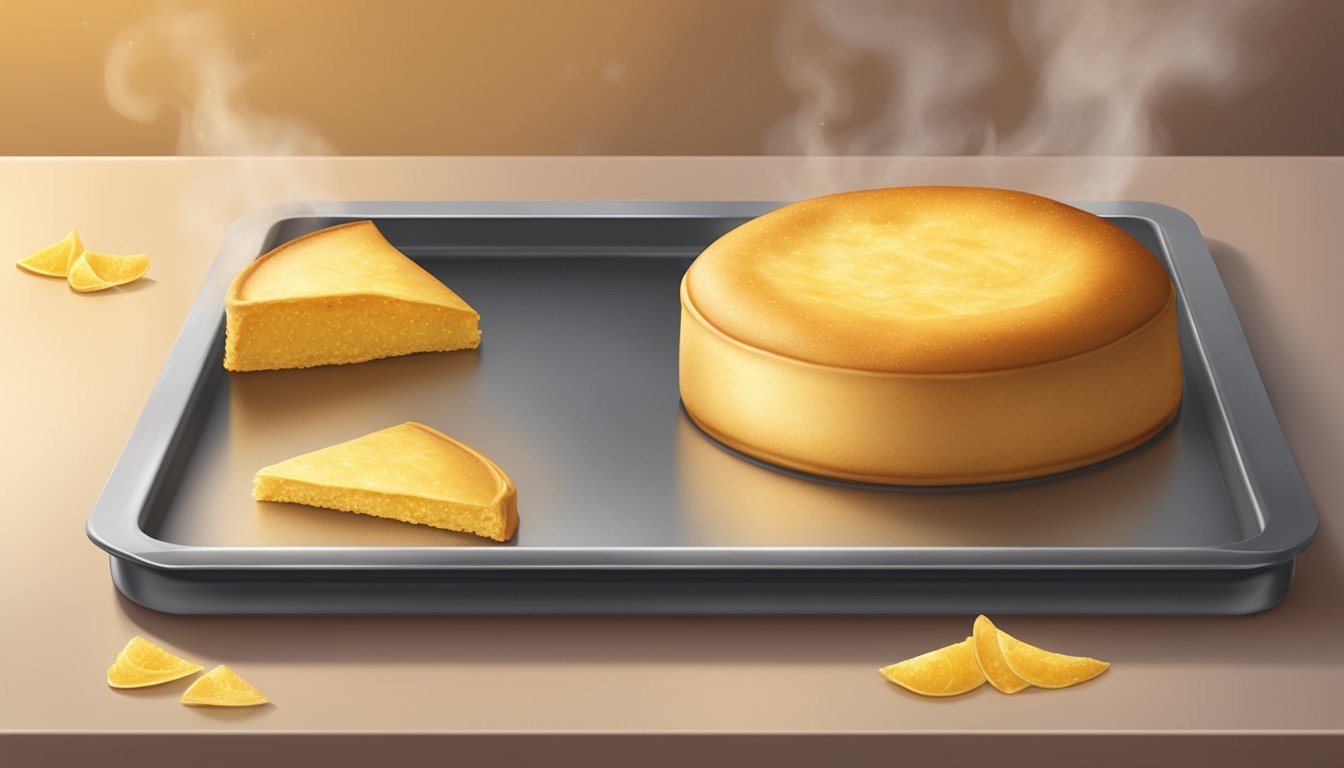
Farinata, a beloved Italian street food, is a savory pancake hailing from the Liguria region. Made from a simple batter of chickpea flour, water, olive oil, and salt, this dish is inherently gluten-free and vegan, making it a popular choice for those with dietary restrictions. Its signature feature is the deliciously crispy edges that contrast with a soft, warm center. When freshly made, farinata’s texture is perfect, but maintaining this delicate balance of crispness upon reheating poses a challenge.
As with any dish that boasts a particular texture, the method of reheating farinata can significantly affect its quality. The goal is to preserve its crisp edges while ensuring the pancake is heated through, without becoming dry or losing its flavor. Considering that farinata is often enjoyed beyond the boundaries of its place of origin, finding the best reheating technique is essential for both connoisseurs and novices alike to enjoy an authentic experience.
An optimal reheating process begins with understanding the composition of farinata. The absence of gluten in the chickpea flour requires gentle handling to maintain structure and taste. To recreate the fresh-from-the-oven quality, attention needs to be given to the reheating temperature and method. Several kitchen appliances can do the job, but choosing the right one is key to achieving the characteristic crispness without overcooking.
Understanding Farinata

Farinata is a traditional Italian dish deeply rooted in the culinary history of the Liguria region, particularly in the coastal city of Genoa. This savory pancake, known as 'cecina' in Tuscany and 'socca' in France, showcases the versatility of chickpea flour, its primary ingredient.
The simple batter for farinata is made by combining chickpea flour with water, olive oil, and salt, resulting in a mixture that is left to rest before being baked. The dish is celebrated for its golden crust, which contrasts delightfully with its soft interior.
Historical Context:
Origin: Liguria, Italy
Also Known As: Cecina, Socca
Primary Ingredient: Chickpea Flour
The preparation involves a high-temperature oven, which crisps the edges of the pancake, creating the characteristic texture that aficionados cherish. The pancake is heated until the top begins to brown, presenting a rustic appearance coupled with a nutty flavor profile.
Key Characteristics:
Texture: Crispy edges with a soft center
Flavor: Nutty, with olive oil nuances
Color: Golden brown surface
Traditionally served as street food or as an appetizer, farinata has become a versatile component of Italian cuisine. Its simplicity allows it to be customized with various toppings, such as rosemary or onions, catering to a range of palates.
Understanding the nature of farinata is essential when considering the best methods to reheat it, as maintaining the crispy edges and the soft interior is crucial to preserving the integrity of this cherished Italian dish.
Essential Ingredients
The success of reheating farinata to maintain its crispy edges hinges on the initial selection of quality ingredients. Ensuring that these components are at their best will pay dividends in both flavor and texture upon reheating.
Chickpea Flour and Its Alternatives
Chickpea flour, the main ingredient, provides farinata with its distinctive taste and texture. Favored for its high protein content and gluten-free nature, it should be fine and fresh for the best results. While its alternatives, such as fava bean flour, can be used, they may alter the flavor profile and are not commonly recommended for authentic farinata.
Oils: From Olive to Others
Olive oil: A traditional choice that imparts a rich flavor and assists in achieving a crispy finish.
Extra virgin olive oil: Offers a robust taste and is preferred for its higher quality, but one should balance its pronounced flavor not to overpower the other ingredients.
While different oils like canola or vegetable oil could be used for reheating, they may not provide the same depth of flavor or traditional character associated with farinata.
Herbs and Spices
Herbs and spices enhance the farinata both in taste and aroma:
Rosemary and sage: These are often added for their aromatic qualities that complement the nutty flavor of chickpea flour.
Black pepper: Freshly ground black pepper adds a subtle heat and piquancy.
Salt: Coarse or fine, salt is essential for seasoning and should be used judiciously to highlight the flavors without overwhelming them.
Selecting the right combinations of these will ensure that upon reheating, the farinata's beloved crispy edges and savory taste are preserved and accentuated.
Farinata Recipe: Step by Step
To make authentic farinata, one commonly starts by whisking chickpea flour with water and salt to create a smooth batter. The consistency is key; it should be lump-free and similar to that of heavy cream. For the best texture, it's essential to allow the batter to rest. A rest period of at least 2 hours, and ideally 4 to 5 hours, is recommended for the flavors to meld and the flour to fully hydrate.
Ingredients:
Chickpea flour
Warm water
Extra-virgin olive oil
Salt
Optional: Fresh rosemary
Instructions:
Prepare the Batter: Combine chickpea flour with warm water and a generous pinch of salt. Mix until it achieves a smooth, lump-free consistency.
Let It Rest: Cover the batter and let it sit at room temperature. This rest period allows the flour to hydrate and results in a smooth final product.
Skim Off Foam: If foam forms on the surface during the resting time, skim it off to avoid affecting the farinata's texture.
Add Oil: Incorporate a good quality extra-virgin olive oil into the batter. This will contribute to the farinata's flavor and help achieve crispy edges.
Bake: Heat a cast-iron skillet in an oven preheated to 475 degrees Fahrenheit. Pour the batter into the hot skillet and bake until the farinata is firm and golden, about 15-20 minutes.
Broil for Crispness: To enhance the crispiness, transfer the skillet to a higher rack and broil for a few minutes until the edges are crisp.
By following these steps, one can make a farinata that is true to its Ligurian roots, with a crispy exterior and soft, warm center.
Reheating Farinata for Maximum Crispiness
To preserve the unique crispy edges and texture of farinata, the chosen reheating method is crucial. These methods will ensure not just warmth, but also that delightful crisp factor.
Oven Method
One should preheat their oven to 350 degrees Fahrenheit for optimal heat distribution. The farinata should be placed on a baking tray, and if it's particularly dry, a light brushing of olive oil can help restore moisture and crispness. The oven method typically takes about 10-15 minutes, carefully monitored to prevent over-baking.
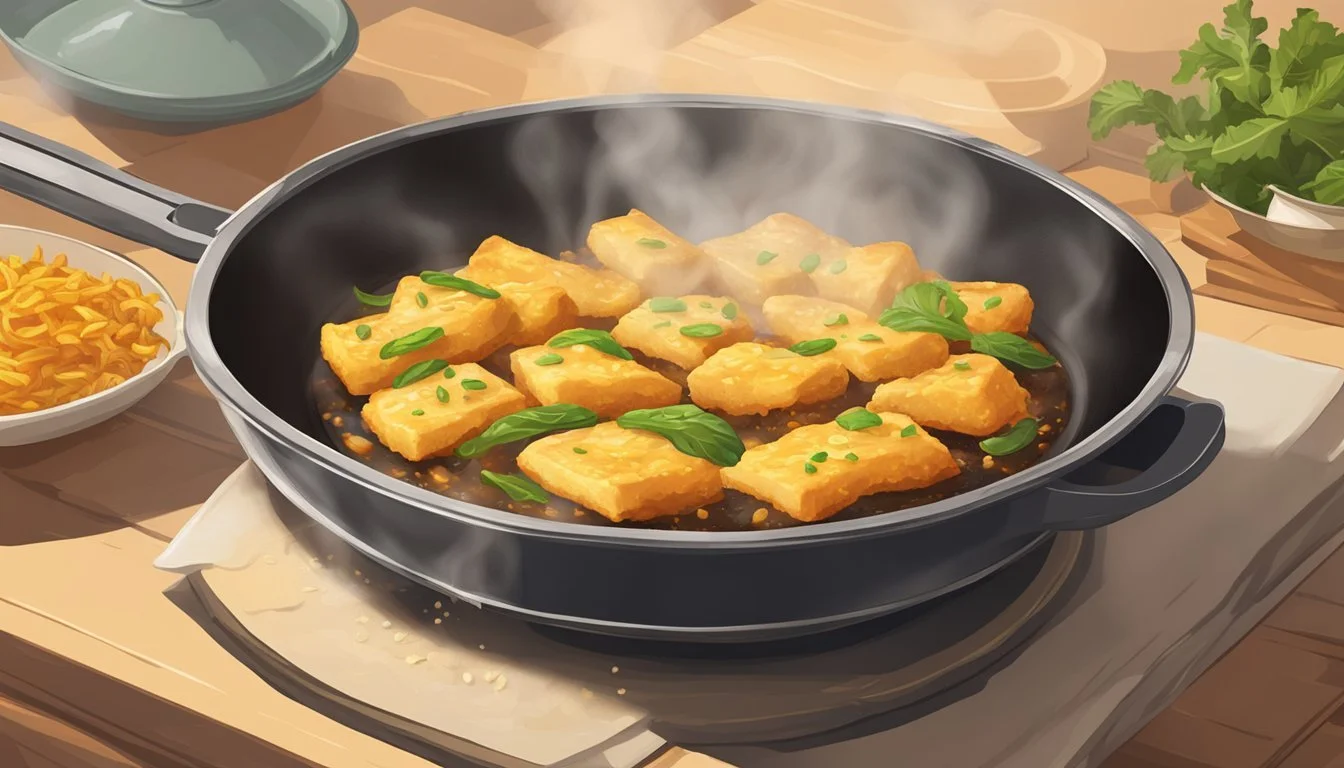
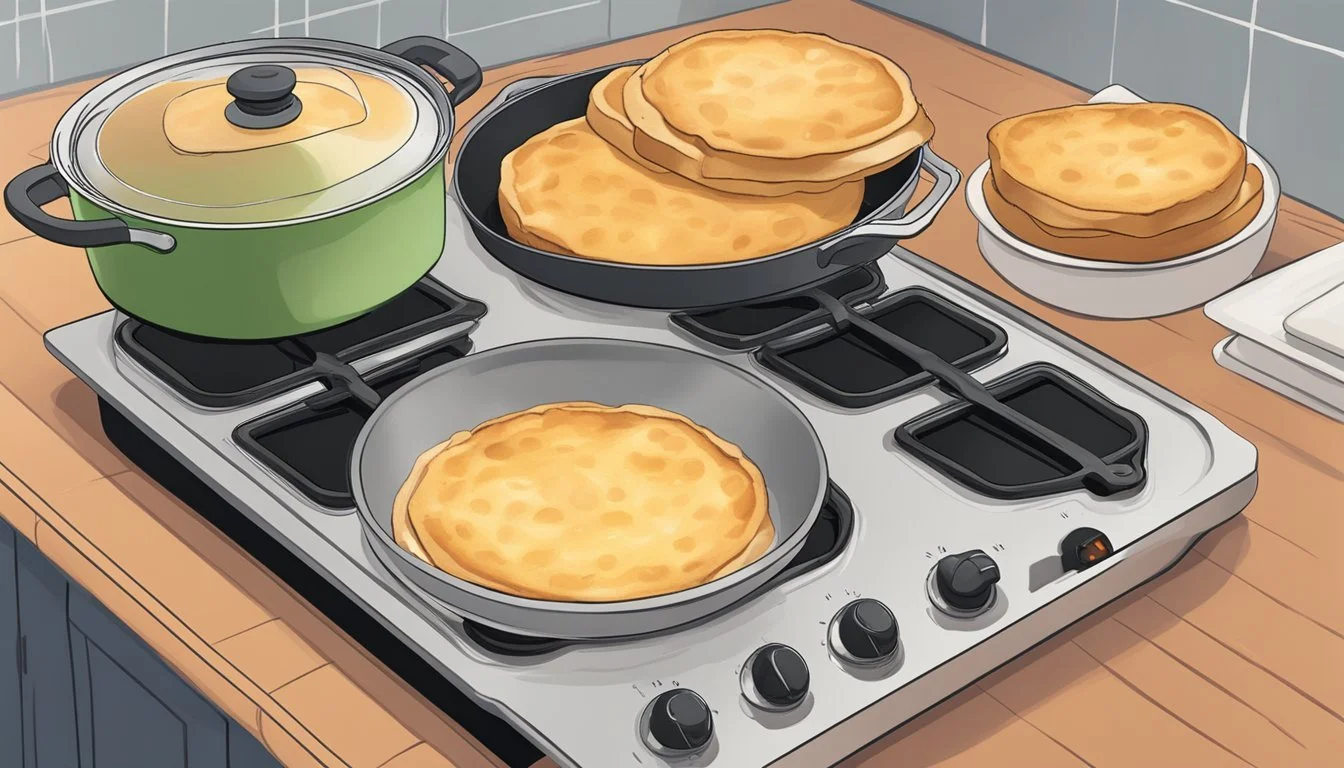
Skillet Method
Reheating farinata in a pan over medium heat can restore its crunchy texture effectively. It's essential to use a non-stick skillet and a drizzle of olive oil. The farinata should be cooked for a few minutes on each side until the desired crispness is achieved.
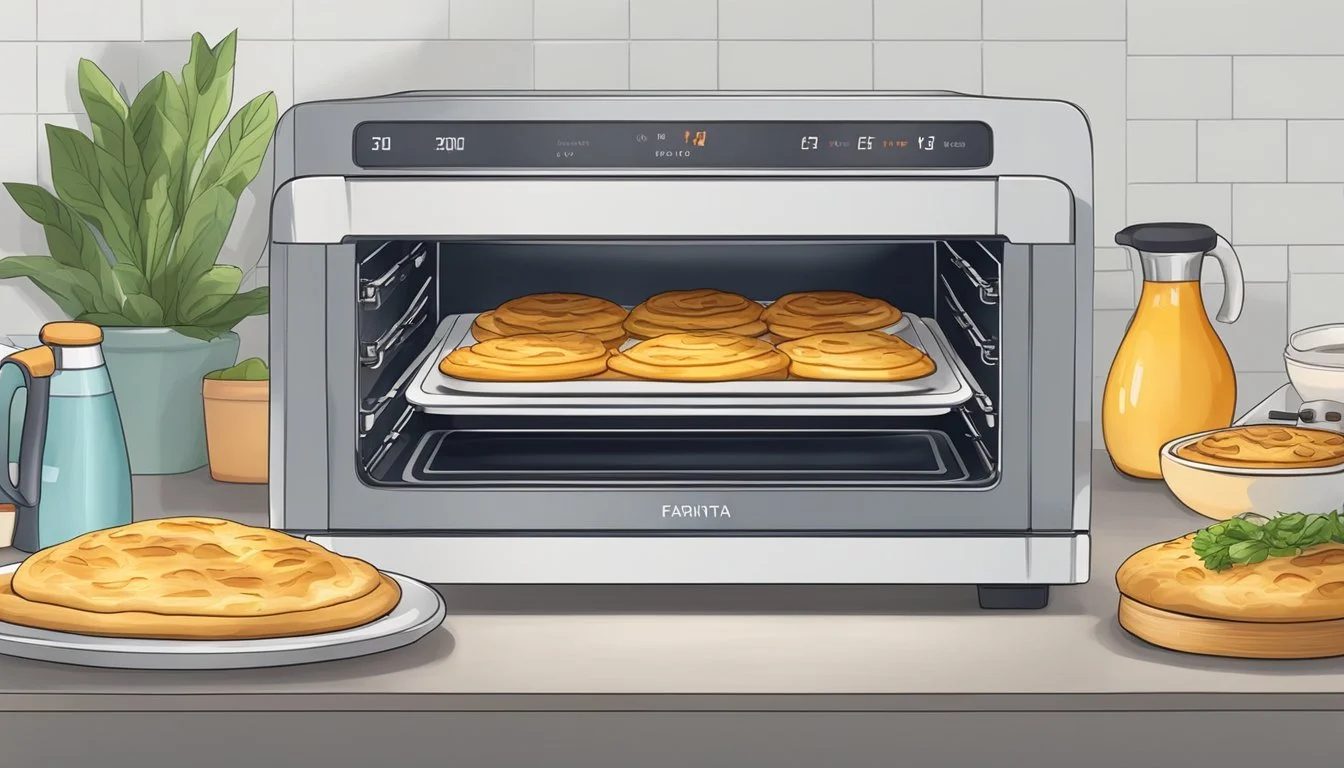
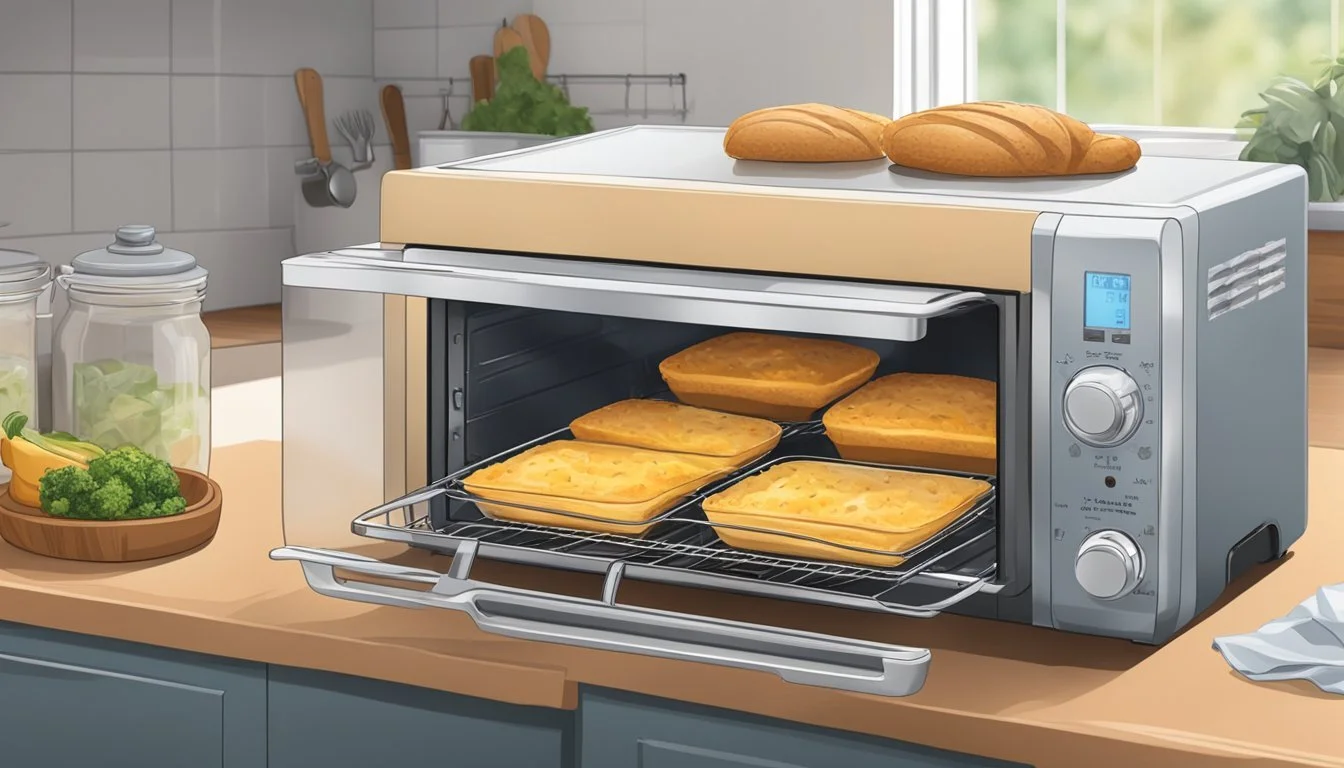
Toaster Oven Technique
For a compact alternative, the toaster oven is ideal. One should preheat it to 350 degrees Fahrenheit and place the farinata directly on the rack or on a small baking sheet if available. Monitor closely to prevent burning, which should take approximately 8-10 minutes.
Using an Air Fryer for Reheating
An air fryer can be set to 350-400 degrees Fahrenheit, and the farinata can be placed in the basket without overcrowding. It generally requires about 3-4 minutes to heat through, while also enhancing its crispy texture. This method proves efficient in maintaining a convincing fresh-made feel.
The Microwave Debate
While a microwave is the quickest option, it often results in a soft texture, lacking the crispness farinata is known for. If one must use a microwave, a short burst of 30 seconds to a minute on high power is the limit to avoid sogginess, but the crispy edges will likely not be preserved using this method.
Modifying Farinata for Different Diets

Farinata, an Italian chickpea pancake, is inherently versatile and caters to various dietary restrictions. By making simple adjustments, one can tailor this dish to suit vegan, gluten-free, or dairy and egg-free diets without compromising on its delightful taste and crispy texture.
Vegan Variations
For those adhering to a vegan diet, farinata is naturally appealing as its basic ingredients—chickpea flour, water, and olive oil—are plant-based. However, variations often include toppings or fillings that may contain animal products. To maintain a vegan version, chefs should ensure that all added ingredients, including toppings like cheese and meats, are replaced with vegan alternatives. Options include:
Toppings: Vegan cheese, tempeh, or mushrooms
Herbs: Rosemary, thyme, or basil
Making Farinata Gluten-Free
Farinata is inherently gluten-free, given its primary ingredient is chickpea flour, which does not contain gluten. Individuals with celiac disease or gluten intolerance can enjoy farinata without any modifications to the batter. However, it is critical to prevent cross-contamination by using clean utensils and cookware, especially if sharing a kitchen where gluten-containing products are also prepared.
Non-Dairy and Egg-Free Options
Traditional farinata does not include dairy or eggs, making it a suitable option for those avoiding these ingredients. The base mixture of chickpea flour, water, and olive oil is free from dairy and eggs. For toppings or added flavours that generally contain dairy, like pesto or creamy sauces, one must opt for dairy-free versions. Cooks should always double-check labels on store-bought ingredients to ensure they don't contain hidden dairy-derived components.
Serving Suggestions

When serving reheated farinata, one has an array of options to complement its savory flavor and crispy texture. The key is to choose accompaniments that enhance the experience while providing a balanced plate.
Appetizer Pairings:
As an appetizer, farinata can be cut into small triangles and served with a variety of dips such as hummus or a tapenade.
To add a refreshing touch, one can pair it with a simple salad dressed in a light vinaigrette.
Side Dish Selection:
Farinata can also feature as a side dish to a main course. Here are some serving suggestions:
Side Dish Attributes Roasted Veggies Adds color and a tender textural contrast Mixed Salad Provides a fresh, crisp component Marinated Olives (What wine goes well with olives?) Offer a bold, salty flavor that pairs well
Toppings for Appeal:
If one prefers to serve farinata more as a main dish, toppings turn it into a canvas for flavors and textures.
Gratifying choices include cheese—shavings of Parmesan or dollops of ricotta—and seasoned veggies like caramelized onions or sautéed bell peppers.
A drizzle of good-quality olive oil and a sprinkle of fresh herbs before serving can also elevate the dish significantly.
Appetizer Recipes to Consider:
For those seeking to craft an elaborate appetizer menu, farinata can be the centerpiece surrounded by small bowls of olives, an array of cheeses, and some charcuterie (What wine goes well with charcuterie?). These selections allow guests to create their own perfect bite.
The versatile nature of farinata makes it the ideal platform for a range of flavors, from the rich and robust to the light and fresh. With these serving suggestions, anyone can confidently present it in a way that tantalizes the palate and satisfies culinary preferences.
Customizing Your Farinata

Farinata’s mild flavor and crispy texture make it an ideal canvas for a wide range of customizations. By incorporating specific toppings or infusing the base with vegetables and herbs, one can elevate the traditional Italian chickpea pancake to new heights of flavor and texture.
Creative Toppings
For those looking to add a burst of flavor and texture to their farinata, selecting the right toppings is key. After baking, one might consider the following options:
Cheese: Sprinkle with grated Parmesan or Pecorino for a salty, umami kick.
Fresh Veggies: Top with arugula or spinach for a fresh contrast to the crispy base.
Sauces: A drizzle of pesto or a spoonful of marinara sauce can add vibrant flavors.
Consider arranging a selection of toppings for guests to choose from:
Topping Type Suggestions Cheese Parmesan, Pecorino Vegetables Arugula, Spinach Sauces Pesto, Marinara Sauce
Herb and Vegetable Infusions
Infusing the batter with herbs and vegetables before baking can provide a subtle aromatic quality and additional nutrients. Here are concrete suggestions for infusions:
Rosemary: Finely chop fresh rosemary and fold it into the batter to impart a piney aroma.
Onions: Caramelized onions can be swirled into the mix for a hint of sweetness.
Zucchini: Grate zucchini into the batter for added moisture and a subtle, earthy flavor.
Tomatoes: Chopped sun-dried tomatoes offer a concentrated burst of tanginess.
For a more robust flavor profile, incorporating roasted vegetables gives farinata an irresistible depth:
Infusion Type Vegetables Suggested Fresh Herbs Rosemary Sweet Additions Caramelized Onions Moisture & Flavor Grated Zucchini Tartness Sun-Dried Tomatoes
By adding these toppings and infusions, one can transform the simple farinata into a gourmet treat that caters to various palates.
Storing and Preserving Farinata
Proper storage is crucial for maintaining the quality and extending the lifespan of farinata. To ensure that the chickpea pancake retains its texture and flavor, attention should be paid to both short-term storage and the freezing and thawing processes.
Short-Term Storage
For those planning to consume farinata within a few days, short-term storage requires keeping it in an airtight container at room temperature. This approach minimizes exposure to air and moisture, preventing sogginess and preserving the pancake's crispiness. To store farinata:
Allow the farinata to cool to room temperature.
Place it in an airtight container to prevent air from entering and causing it to stale.
Farinata should be enjoyed within 2 to 3 days when stored this way to ensure optimal taste and texture.
Freezing and Thawing
Freezing farinata is a viable option for long-term preservation. To freeze farinata:
Allow the pancake to completely cool after baking.
Cut it into portions or keep it whole, depending on preference and space.
Wrap the farinata securely in plastic wrap or aluminum foil.
Place the wrapped farinata in a freezer-friendly airtight container or a heavy-duty freezer bag to prevent freezer burn.
To thaw frozen farinata:
Remove the farinata from the freezer.
Leave it to thaw in the refrigerator for several hours or overnight, ensuring it maintains its structure.
Once thawed, farinata can be reheated to revive its warmth and crisp edges. It's important not to refreeze thawed farinata, as the texture could be negatively affected. Farinata stored in the freezer can last up to 3 months without losing its quality.
Troubleshooting Common Farinata Issues
Reheating farinata while maintaining its signature crispiness can be challenging. This section provides targeted strategies for dealing with common issues such as sogginess, burnt edges, and uneven cooking.
Preventing Soggy Farinata
Sogginess is a common problem when reheating farinata. To preserve the crispy texture:
Use a Baking Tray: Reheating on a preheated baking tray in an oven allows heat to circulate evenly.
Avoid Microwaving: Microwaving can steam the farinata, making it soft and soggy.
Avoiding Burnt Edges
The edges of farinata can burn if not monitored closely. To avoid this:
Monitor Temperature: Keep the oven at a medium temperature and check the farinata frequently.
Foil Edges: If the edges are cooking faster than the center, cover them with foil.
Ensuring Even Cooking
For a crunchy crust and even cooking:
Flat Baking Tray: Choose a heavy, flat baking tray to ensure even heat distribution.
Rotate the Tray: Halfway through reheating, rotate the tray to promote consistent crispiness.
