Best Way to Reheat Pierogies
Ensuring Tender Dough and Piping Hot Filling
Finding the best way to reheat pierogies is essential for preserving their satisfying texture and ensuring the filling remains hot and delicious. As half-moon shaped dumplings originating from Eastern Europe, with a doughy outside enveloping a variety of fillings such as potato, cheese or meats, pierogies demand careful reheating to maintain their distinctive taste and texture. The key to reheating lies in achieving a tender dough on the outside while warming the filling thoroughly without overcooking or drying out the delicate pockets.
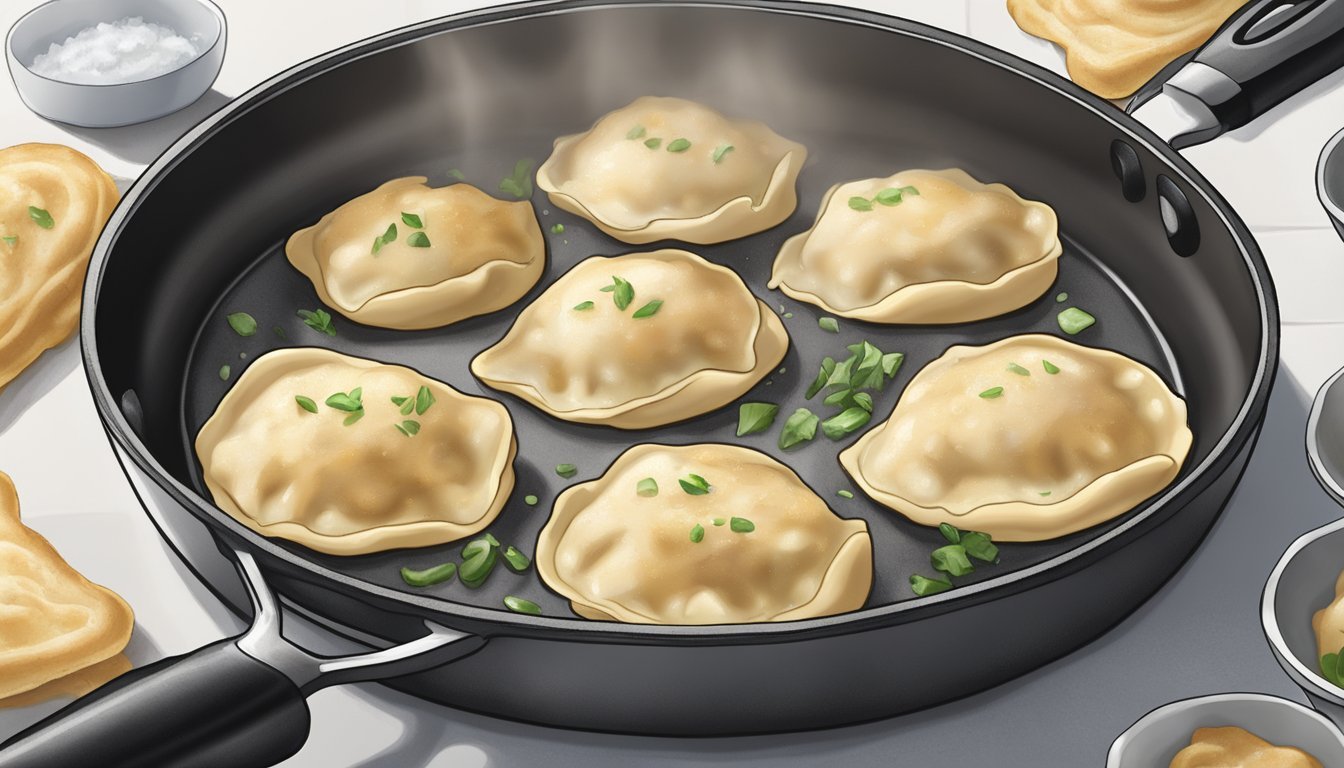
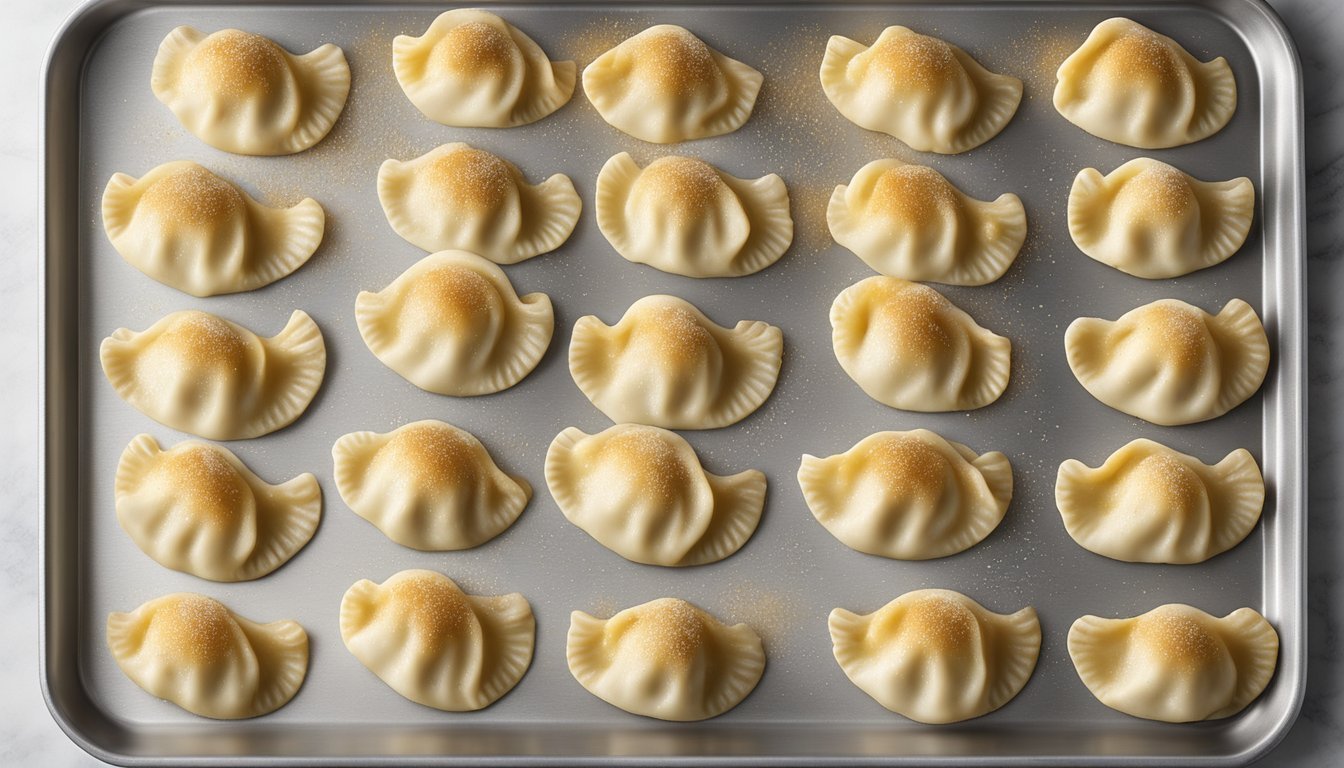
Heat application must be gentle and evenly distributed. The oven method involves preheating to 350 degrees Fahrenheit, placing the pierogies on a baking sheet, and covering them with foil. They should be baked for roughly 20 minutes, ensuring they warm all the way through without cracking or splitting. For those preferring a stovetop approach, using a non-stick skillet with a bit of oil or butter over medium heat can reheat the pierogies effectively, usually taking about 4-5 minutes to reach the perfect temperature and tenderness.
The microwave may offer the quickest method and is considered ideal for boiled pierogies, laying them flat on a microwave-safe plate, and heating for approximately 3 minutes, with intermittent checking and turning. Whichever method one chooses, it’s important to ensure that the dough remains soft and pliable, and the filling emerges piping hot, ready to be enjoyed with your favorite toppings.
Different Reheating Methods
To ensure pierogies are reheated properly, it is important to choose a method that will keep the dough tender and the filling hot without drying out or becoming soggy.
Oven Reheating
Oven reheating is an excellent method to ensure that pierogies are heated evenly while preserving their texture. To reheat pierogies in the oven:
Preheat the oven to 350°F (175°C).
Arrange pierogies in a single layer on a baking sheet.
Cover with aluminum foil to prevent drying.
Bake for 20 minutes or until they are warmed through.
Stovetop Method
The stovetop method can be used for a quick reheating process while maintaining the pierogies' softness. Steps for stovetop reheating include:
Fill a pot with hot, salted boiling water.
Gently add pierogies, ensuring not to overcrowd.
Boil for 4-5 minutes until pierogies are hot throughout.
Microwave Technique
For a faster alternative, the microwave can be used to reheat pierogies effectively:
Place pierogies in a microwave-safe dish.
Cover with a microwave-safe lid or plastic wrap to trap steam.
Heat on high for about 2 minutes, or until the center is hot.
Steaming and Boiling
Steaming and boiling are gentle on the pierogies, making them soft and hot without risking the filling spilling out:
Steaming:
Using a double boiler, place pierogies in the steamer insert.
Steam for 4-5 minutes until thoroughly heated.
Boiling:
Bring a pot of salted water to a boil.
Add pierogies and boil for 4-5 minutes or until they float to the surface, indicating they are warmed through.
Preparing Pierogies for Reheating
Proper preparation of pierogies for reheating is crucial to maintain the texture of the dough and ensure the filling is heated through. Whether they are coming from the fridge or the freezer, careful handling and suitable methods will lead to the best results.
From the Fridge
Pierogies from the fridge should be refrigerated in airtight containers to prevent them from drying out. Before reheating, they do not require thawing and can be reheated directly. This aids in preserving the dough’s tenderness while ensuring the filling is heated evenly.
Steps:
Ensure pierogies are stored in an airtight container in the fridge.
Remove them just before reheating to keep the dough supple.
From the Freezer
Leftover pierogies are often stored in the freezer for longer preservation. Proper storage involves sealing them in airtight containers or tightly wrapped with plastic cling film to prevent freezer burn, which is detrimental to flavor and texture.
When reheating frozen pierogies, they should be thawed first to ensure even warming throughout.
Method:
Transfer pierogies from the freezer to the fridge several hours before reheating, preferably overnight.
Once thawed, proceed with reheating using the preferred method, be it baking or boiling.
Preventing Dough from Hardening
When reheating pierogies, ensuring that the dough remains tender is vital. The goal is to have a soft, pliable outer layer that encases the hot filling without becoming tough or chewy. The key to this lies in the gentle handling of the pierogi dough, both during the initial preparation and the reheating process.
Initial Preparation
Kneading: While preparing pierogi dough, one should avoid over-kneading. Just like with pasta dough, overworked pierogi dough can develop too much gluten, leading to a tough texture once cooked.
Recipe: Follow a pierogi dough recipe that calls for the right balance of ingredients to ensure tenderness. Ingredients such as milk or sour cream can help in achieving a soft dough.
Reheating Process
Preheat the oven to 350°F (180°C).
Place pierogies on a baking sheet.
Cover with foil to keep the moisture in and prevent the dough from drying out.
Heat for about 20 minutes, checking to ensure they do not crack or split.
Place pierogies in a microwave-safe bowl.
Cover with a microwave-safe lid or plastic wrap to trap steam.
Microwave in short intervals to heat evenly without hardening the dough.
By carefully monitoring the heating time and temperature, one can avoid the common pitfall of turning tender pierogi casings into hardened shells. Additionally, by introducing moisture through either a foil cover in the oven or a lid in the microwave, the pierogies reheat without losing the softness of their dough.
Maintaining Filling Temperature and Moisture
When reheating pierogies, one must pay close attention to maintaining the ideal temperature and moisture levels to ensure that the fillings, whether they are potato and cheese, sauerkraut and mushroom, or various fruit fillings, stay hot and moist.
Methods for Different Fillings
For potato and cheese or sauerkraut and mushroom fillings, gentle methods work best to preserve the integrity of flavors and textures:
Boiling: Submerging pierogies in boiling water for 4-5 minutes heats them thoroughly without drying out the dough or fillings.
Steaming: A double boiler can efficiently reheat pierogies, keeping the cheese succulent and fillings moist.
For sweet fillings, which may be more delicate:
Oven baking: Covering pierogies with foil and baking at a moderate temperature, such as 350°F for around 10 minutes, gradually warms the sweet filling without causing it to dry out or become overly sticky.
Tips For Best Results
Reheat in Batches: To ensure even heating, do not overcrowd the pot or baking sheet.
Cover to Retain Steam: When using the oven, always cover pierogies with aluminum foil to trap steam and prevent the dough from becoming tough.
Avoid High Heat: Excessive heat can cause cheese to separate and fruit fillings to burst, so medium heat is advisable for methods like stovetop reheating.
By following these recommendations, one can successfully reheat pierogies in a way that keeps the dough tender and the fillings pleasantly hot and moist.
Best Practices for Pierogi Reheating
Reheating pierogies properly ensures the dough stays tender and the filling hot without compromising their texture or taste.
Proper Equipment Use
The right tools are paramount for reheating pierogies effectively. For oven-based methods, parchment-lined baking sheets are recommended to prevent sticking and allow for easy cleanup. To reheat on the stove, a non-stick skillet lightly coated with olive oil is ideal for achieving a crisp exterior while maintaining interior moisture.
Oven: Preheat to 350 degrees F; cover pierogies on a baking sheet with foil.
Skillet: Medium heat; add a small amount of olive oil before adding pierogies.
Optimal Cooking Timing
Paying attention to cooking time is critical to avoid overcooking or drying out the pierogies.
Oven: Approximately 20 minutes, checking to prevent cracking.
Boiling: In a pot of hot, salted water for 4-5 minutes using a slotted spoon to remove them.
Skillet: Few minutes on each side until golden brown and heated through.
Cooking times will vary based on the size and quantity of pierogies, so one should always check doneness periodically.
Flavor and Topping Considerations
When reheating pierogies, maintaining the delicate balance between the dough's tenderness and the filling's warmth is a key concern. For optimal flavor, butter and oil are often employed. They serve not only to prevent sticking but also to add a rich, savory note to the dish. A light brushing of butter or a drizzle of oil ensures the pierogies do not dry out.
Salt and pepper are the basic seasonings recommended to enhance the taste without overpowering the pierogies' natural flavors. They should be used judiciously to season both the water in which they're boiled and the final product during or after reheating.
Sour cream is a traditional accompaniment for pierogies, providing a creamy complement to both the dough and the filling.
Diners can add various toppings post-reheat for additional texture and taste. These typically include:
Caramelized onions: for sweetness and complexity
A dollop of honey or a sprinkle of sugar: for those preferring a hint of sweetness
These toppings should be prepared separately and added after reheating to ensure both the integrity of the pierogy and the freshness of the garnishes.
Topping Flavor Profile Note Butter Rich and savory Brush on after reheating Oil Neutral enhancement Drizzle before reheating Sour Cream Creamy and tangy Serve on the side Caramelized Onions Sweet and savory Add after reheating Honey Sweet Drizzle lightly if desired Sugar Sweet Sprinkle sparingly according to preference
These options allow diners to tailor the taste of pierogies to individual preferences, ensuring a satisfying and comforting meal.
Serving and Presentation
When presenting pierogies, whether they are served as appetizers, finger foods, or side dishes, efficient plating plays a key role in enhancing the dining experience. One should aim for the pierogies to be not only tasty but also visually appealing.
For easy handling, pierogies served as appetizers can be placed on a platter with a side of toothpicks.
A small bowl of sour cream or applesauce can complement the pierogies for dipping, adding a visually pleasing and flavorful touch.
Side Dishes:
When served as a side, place a portion of 3-5 pierogies neatly on a plate alongside the main course, ensuring they are spaced apart to prevent sogginess.
A drizzle of melted butter or a sprinkle of freshly chopped herbs can enhance both the presentation and the taste.
For a traditional Polish serving, one could present pierogies on a ceramic or wooden platter, paying homage to the dish's roots as a staple in Polish cuisine.
Additionally, when serving pierogies, it's crucial to ensure they remain tender in the dough and hot in the filling to deliver the best taste and texture.
Here’s a simple serving guide:
Pierogy Serving Style Presentation Suggestion Appetizers/Finger Foods Platter with toothpicks and dipping sauces Side Dishes Individual plates with garnishing
Serving hot, tender pierogies requires a balance of a visually appealing presentation and maintaining the warmth and gentle texture that makes Polish dumplings a delightful treat.


