How to Reheat Baklava for Optimal Flavor and Texture
Reheating baklava can seem like a challenge, especially when you want to maintain its flaky phyllo layers and rich flavors. This beloved Middle Eastern dessert, famous for its sweet syrup or honey drizzle and crunchy nut mixture, requires proper technique to ensure every bite remains just as delightful as when it was first made. To reheat your baklava to perfection, simply thaw the frozen pieces for several hours in the refrigerator and then warm them in a preheated oven at 300°F for about 10-15 minutes.
Homemade baklava is a true crowd-pleaser, whether you're sharing it at a family gathering or enjoying it for a special occasion. This Mediterranean and Turkish dessert not only tastes amazing but also stands the test of time as a make-ahead dessert that freezes well. Serving a warm piece of baklava, with its balanced combination of crisp pastry and succulent filling, can elevate any dessert experience.
With just a bit of effort, you can ensure your baklava retains its signature crunch and intricate flavors. Whether you’re working with freshly made or frozen baklava, reheating it with care will make sure your dessert shines with every serving.
Understanding Baklava's Composition
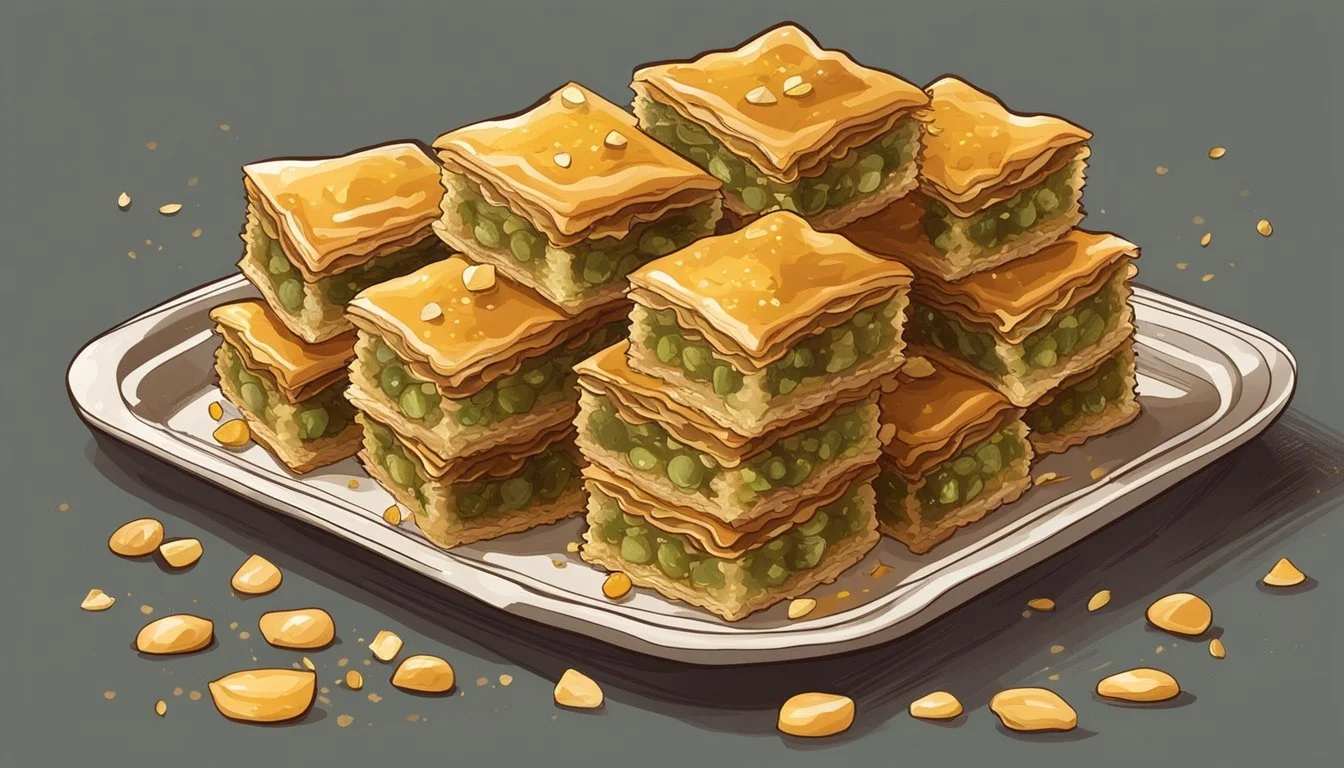
Baklava is a rich and layered pastry celebrated for its intricate texture and flavor.
Phyllo Dough: The foundation of baklava is phyllo dough (also known as filo). Phyllo is extremely thin, flaky, and typically brushed with unsalted butter, creating a buttery and crispy texture when baked.
Nut Filling: The nut filling usually consists of pistachios, walnuts, or a mix of other ground nuts. These nuts are often combined with sugar and spices such as cinnamon and cardamom, enhancing the dish's aromatic profile.
Honey Syrup: A defining feature of baklava is the honey syrup which is poured over the baked pastry. This syrup is typically made with honey, sugar, and sometimes spices. It soaks into the layers, adding sweetness and moisture.
Common Ingredients:
Phyllo Dough
Unsalted Butter
Ground Nuts: Pistachios, Walnuts
Sugar
Spices: Cinnamon, Cardamom
Honey Syrup
Tools and Supplies:
Parchment Paper
Baking Sheet or Oven-Safe Dish
The combination of flaky phyllo, nut filling, and honey syrup results in baklava's unique taste and texture.
Proper Storage Techniques
Storing baklava correctly helps maintain its texture, flavor, and freshness over time. Key methods include short-term storage for immediate use and long-term freezing for extended preservation.
Short-Term Storage Methods
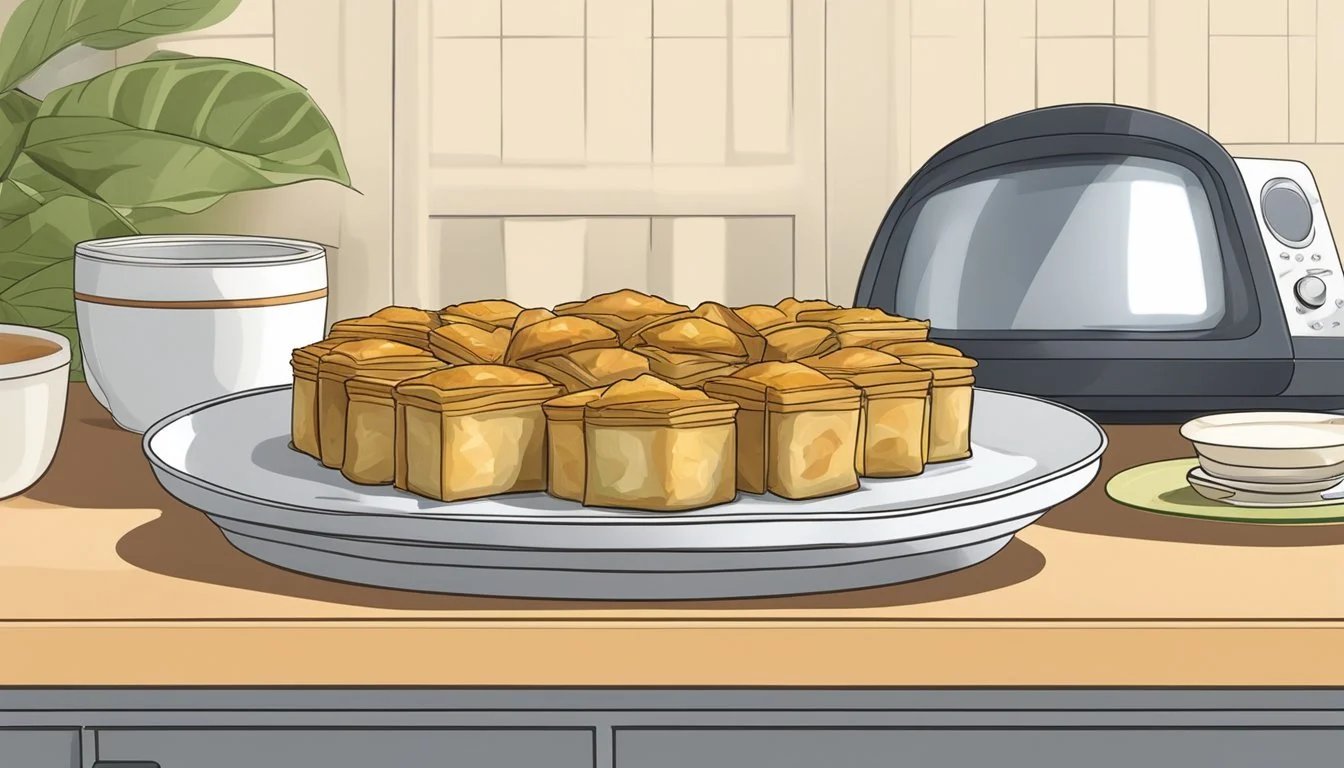
For short-term storage, keeping baklava at room temperature or in the fridge works best. Use an airtight container to prevent moisture from making it soggy. Place the baklava in a single layer, if possible.
Cover with aluminum foil if using a baking dish, ensuring minimal exposure to air. If storing in the fridge, the baklava should last up to a week. Before serving, allow it to return to room temperature for optimal taste and texture.
This approach preserves the crispiness and prevents the baklava from becoming stale quickly.
Long-Term Freezing Strategies
To freeze baklava for long-term storage, start by cutting it into individual servings. This makes reheating easier. Wrap each piece in multiple layers of plastic wrap to protect it from freezer burn and moisture.
Next, place the wrapped pieces in an air-tight container or freezer bag. Remove as much air as possible from the container. Label the container with the date for easy tracking.
When ready to enjoy, thaw the baklava in the fridge overnight. Reheat in the oven at 300 degrees Fahrenheit for 10-15 minutes. This method ensures the baklava retains its flavor and texture even after freezing.
Preparing for Reheating
Proper preparation will ensure the best texture and flavor when reheating baklava. Key steps include thawing frozen baklava and ensuring it is at room temperature before reheating.
Thawing Frozen Baklava
For frozen baklava, start by transferring it from the freezer to the refrigerator. Let it thaw for at least 6 hours.
Once thawed, allow the baklava to rest at room temperature for 1-2 hours. This step prevents the pastry from becoming soggy during reheating.
If using an air fryer, place the thawed baklava in the basket and cook at 350°F for 3-4 minutes.
For oven reheating, set the temperature to 300°F and heat the baklava until it achieves a crispy texture and warm filling.
Choosing the Right Reheating Method
Choosing the right method to reheat baklava is essential to maintain its crispy texture and delicious flavor. Here’s how to use various methods effectively for the best results.
Oven Reheating for Optimal Crispiness
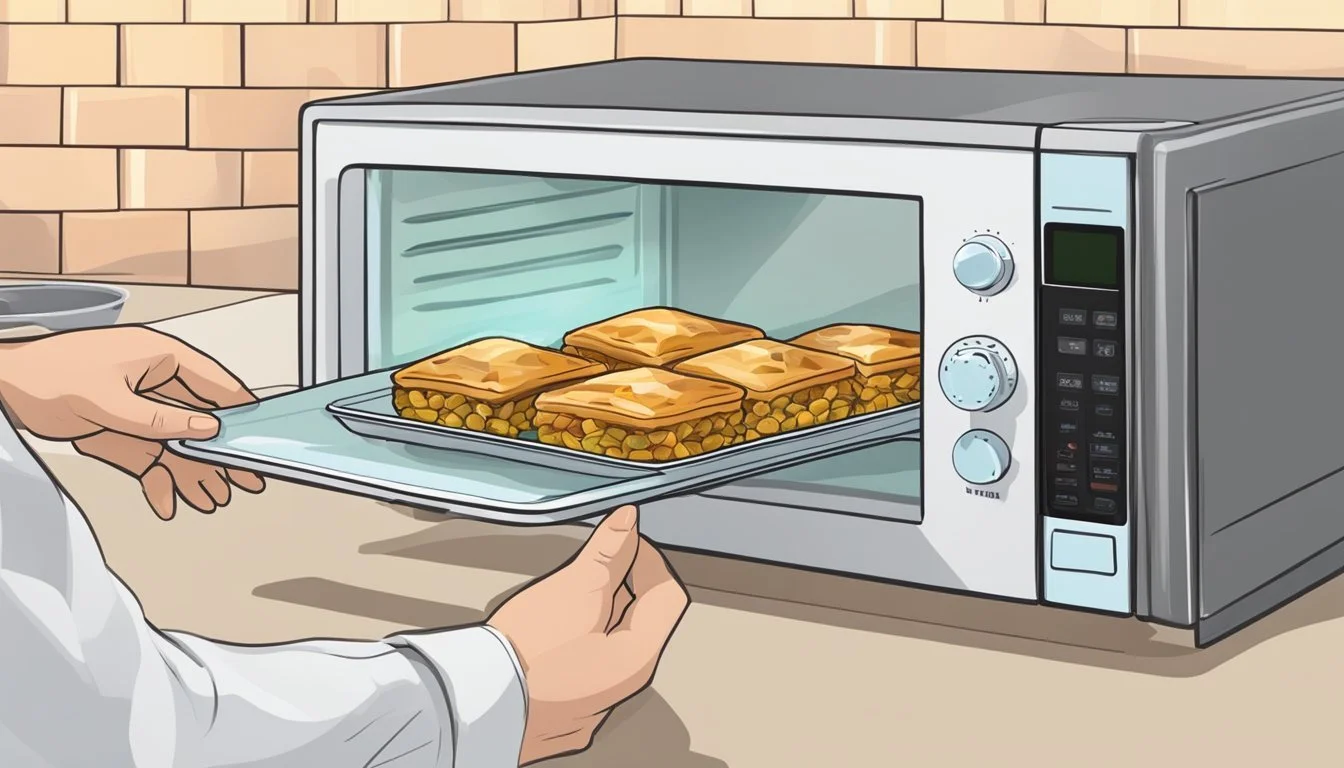
Reheating baklava in an oven ensures a crispy texture. Preheat the oven to 300°F (150°C). If using frozen baklava, thaw it in the refrigerator for at least six hours before reheating. Place the baklava on a baking sheet lined with parchment paper. Put the baking sheet in the oven and bake for 10-15 minutes.
To avoid soggy pieces, space them out evenly. If you prefer a slightly crispier texture, consider removing the foil during the last few minutes of baking. Use a food thermometer to check that the filling is warmed to an appropriate temperature.
Microwave Reheating for Speed and Convenience
For a quicker solution, use a microwave. Place a piece or two of baklava on a microwave-safe plate. Cover the baklava with a damp paper towel to prevent it from drying out. Microwave on medium power for 20-30 seconds.
While this method is fast, it may result in a softer, slightly chewy texture. It’s not ideal for those who prefer the crispiness of freshly baked baklava. Be careful not to overheat, as this can make the sugar syrup too runny.
Alternative Reheating Methods
If an oven or microwave isn't available, an air fryer or stovetop can be used. For the air fryer, set it to 350°F (175°C) and cook the baklava for 3-4 minutes. This method provides a crunchy, golden-brown finish.
On the stovetop, use a non-stick pan. Heat the pan over low to medium heat. Place the baklava in the pan and cover with a lid. Heat for 5-7 minutes, checking frequently to avoid burning the pastry. This method can give the baklava a slightly toasted flavor.
Regardless of the method, using a sharp knife to cut large pieces into smaller servings can help in even reheating, ensuring consistent flavor and texture throughout.
Serving and Presentation
When serving baklava, focus on garnishments and plating to elevate its appearance and enhance flavors. Proper presentation can make a delicious dessert even more irresistible.
Selecting the Proper Garnishments and Accompaniments
Garnishing baklava can greatly enhance its visual appeal and taste. Common options include a sprinkle of powdered sugar or a light drizzle of honey.
Nuts such as chopped pistachios, almonds, or hazelnuts can add a delightful crunch. For a vibrant touch, consider adding edible flowers like rose petals.
Accompaniments such as vanilla ice cream or Greek yogurt with a hint of honey can complement the nutty filling and crispy texture. For a unique flavor twist, add a splash of rose water or orange blossom water to the garnish.
Cutting and Plating Techniques
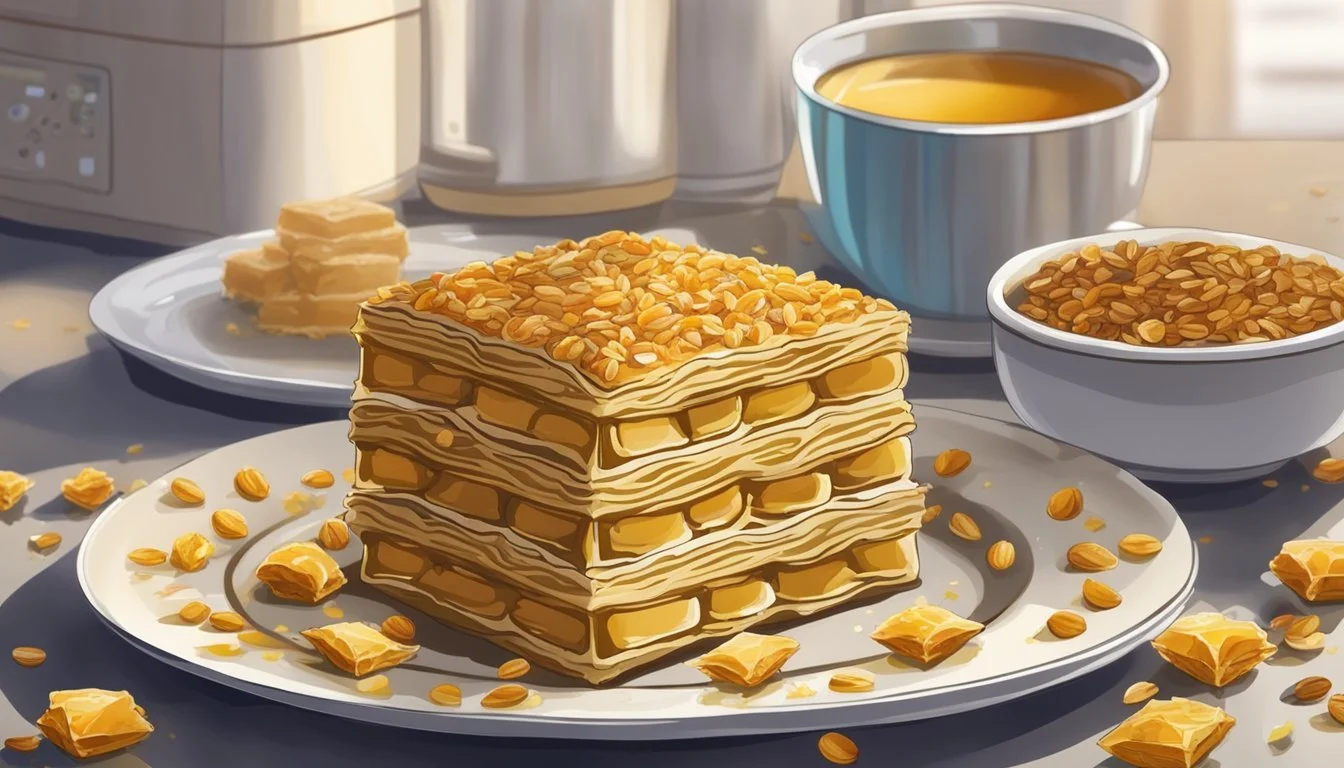
When cutting baklava, ensure each piece is uniform. Traditional shapes include small squares or triangles. Carefully use a sharp knife for clean cuts to avoid breaking the flaky pastry. Allow the baklava to cool before cutting to maintain its structure.
Plating is equally important. Arrange the pieces neatly on a serving platter. For added elegance, place a small dollop of vanilla ice cream beside each piece or scatter pistachios around the plate.
Garnish individual servings with a dusting of powdered sugar or a light shaving of lemon zest for a zesty touch.


