
How to Reheat Garlic Bread
Best Methods for Perfect Results
Garlic bread is a beloved side dish, but reheating it can be tricky if you want to maintain its delicious flavor and texture. Whether you use an oven, microwave, stovetop, or air fryer, the key is to choose a method that ensures the bread remains soft and the garlic butter retains its richness.
For the best results, preheat your oven to 425°F and place the slices of garlic bread on a baking sheet with the buttered side facing up. This method usually takes about five minutes and helps the bread stay crisp and delightful. For those in a hurry, the microwave can heat garlic bread in mere seconds, but be cautious as it can turn rubbery if overdone.
The stovetop and air fryer also present viable options. These methods can provide a quick fix without compromising too much on quality. By understanding how to correctly reheat garlic bread, anyone can enjoy their leftovers just as much as when they were fresh out of the oven.
Understanding Garlic Bread
Garlic bread is a popular side dish known for its distinctive, savory flavor that pairs well with various meals. It can be made using different types of bread and various ingredients to enhance its taste and texture.
Types of Garlic Bread
1. Traditional Garlic Bread:
Traditional garlic bread uses a simple baguette or crusty bread. The bread is sliced and spread with a mixture of garlic, butter, and sometimes oil.
2. Cheesy Garlic Bread:
Cheesy garlic bread includes an additional layer of cheese. Mozzarella or parmesan are commonly used, melted on top to create a gooey, rich layer. The bread is usually baked until the cheese turns golden and bubbly.
3. Herb-Infused Garlic Bread:
This type integrates herbs such as parsley or oregano. The herbs are mixed with garlic and butter to add an aromatic depth to the bread.
4. Specialty Garlic Bread:
Variations include stuffed garlic bread, which might be filled with ingredients like cheese and meats, or vegan garlic bread using alternatives like vegan butter and cheese.
Components of Garlic Bread
1. Bread Base:
A baguette or similar crusty bread often serves as the base. The choice of bread affects the texture, with a crisp outer crust and a soft inside being ideal.
2. Garlic Mixture:
Garlic is the primary flavor. It is typically minced or crushed, then mixed with butter or oil. Garlic powder can be used as a substitute but offers a less intense flavor.
3. Butter and Oil:
Butter or olive oil is essential for spreading the garlic over the bread. Butter provides a rich, creamy texture, while oil can create a slightly lighter, crisper finish.
4. Additional Toppings:
Cheese, especially mozzarella or parmesan, can be added to enhance flavor and creaminess. Herbs, like parsley, add freshness and color.
5. Seasonings:
Seasonings such as salt, pepper, and occasionally red pepper flakes can be used to intensify the flavors.
This section details how garlic bread varies based on the ingredients and techniques used, providing insight into its diverse forms and makeup.
Storing Garlic Bread
Properly storing garlic bread can help maintain its freshness and flavor. Different methods are appropriate for short-term and long-term storage, using techniques that keep the bread from becoming stale or soggy.
Short-Term Storage
For short-term storage, garlic bread can be kept at room temperature or in the refrigerator. If the bread is going to be consumed within a day or two, wrapping it in aluminum foil and storing it on the counter works well. Keep it in an airtight container to prevent it from drying out.
If the environment is humid or the bread might not be eaten immediately, place the wrapped garlic bread in the refrigerator. This approach can help keep the bread fresh for about 3 to 5 days. However, refrigeration may cause the bread to become stale more quickly, so a quick reheat will help restore its texture before serving.
Long-Term Storage
For long-term storage, freezing garlic bread is the best option. Begin by wrapping each slice or whole loaf tightly in aluminum foil. Next, place the wrapped bread in a freezer-safe airtight container or a heavy-duty freezer bag to prevent freezer burn.
When freezing garlic bread, ensure that the freezer maintains a consistent temperature to preserve the bread's quality. Properly stored garlic bread can last in the freezer for up to three months. When ready to eat, thaw the bread in the refrigerator or at room temperature before reheating to retain its best taste and texture.
Preparation for Reheating
To reheat garlic bread effectively, it's important to properly thaw any frozen bread and preheat the appliance you plan to use.
Thawing Frozen Garlic Bread
Thawing frozen garlic bread correctly ensures even reheating. Start by removing the bread from the freezer and placing it on a plate. Leave it at room temperature for 30-40 minutes.
If you're in a hurry, use the microwave's defrost setting. Place the bread on a microwave-safe plate and set the defrost mode to approximately 1-2 minutes, checking halfway through.
Be careful not to fully cook the bread during this process. Wrapping the bread in aluminum foil can help retain moisture and prevent it from becoming dry.
Preheating the Appliance
Preheating the appliance before placing the garlic bread in is crucial for even heating. Set the oven to 350°F for a moderate reheating temperature.
For air fryers, preheat to 350°F for 3-5 minutes. This ensures an even distribution of heat, which helps the bread crisp up nicely.
When using a microwave, there's no need for preheating, but setting the timer accurately is crucial. Use short intervals of 10-20 seconds to avoid overcooking.
For optimal results, always make sure the appliance has reached the desired temperature before you start reheating the garlic bread. This step helps achieve a consistent texture and flavor throughout the bread.
Reheating Techniques
There are several ways to reheat garlic bread to ensure it remains delicious. Choosing the right method will depend on the equipment you have and whether you prefer a soft or crispy finish.
Oven Method
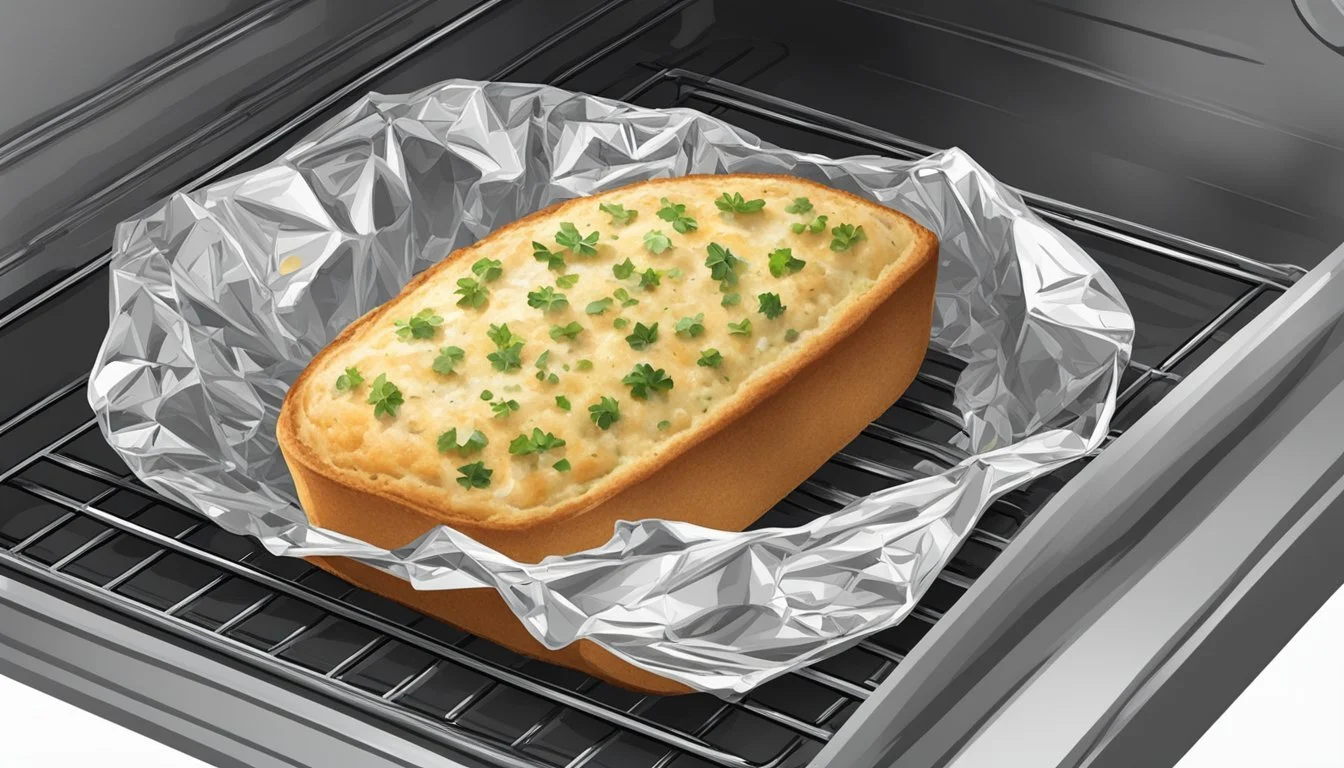
The oven method is excellent for reheating garlic bread to make it warm and crispy without drying it out. Preheat your oven to 350°F (175°C).
Wrap the garlic bread in aluminum foil to retain moisture.
Place the wrapped bread directly on the oven rack.
Heat for 10-15 minutes, depending on the size and thickness of the bread.
For a crispier texture, open the foil during the last 2-3 minutes of heating. If your bread has a cheesy top, you can use the broiler for a minute or two to melt and lightly brown the cheese.
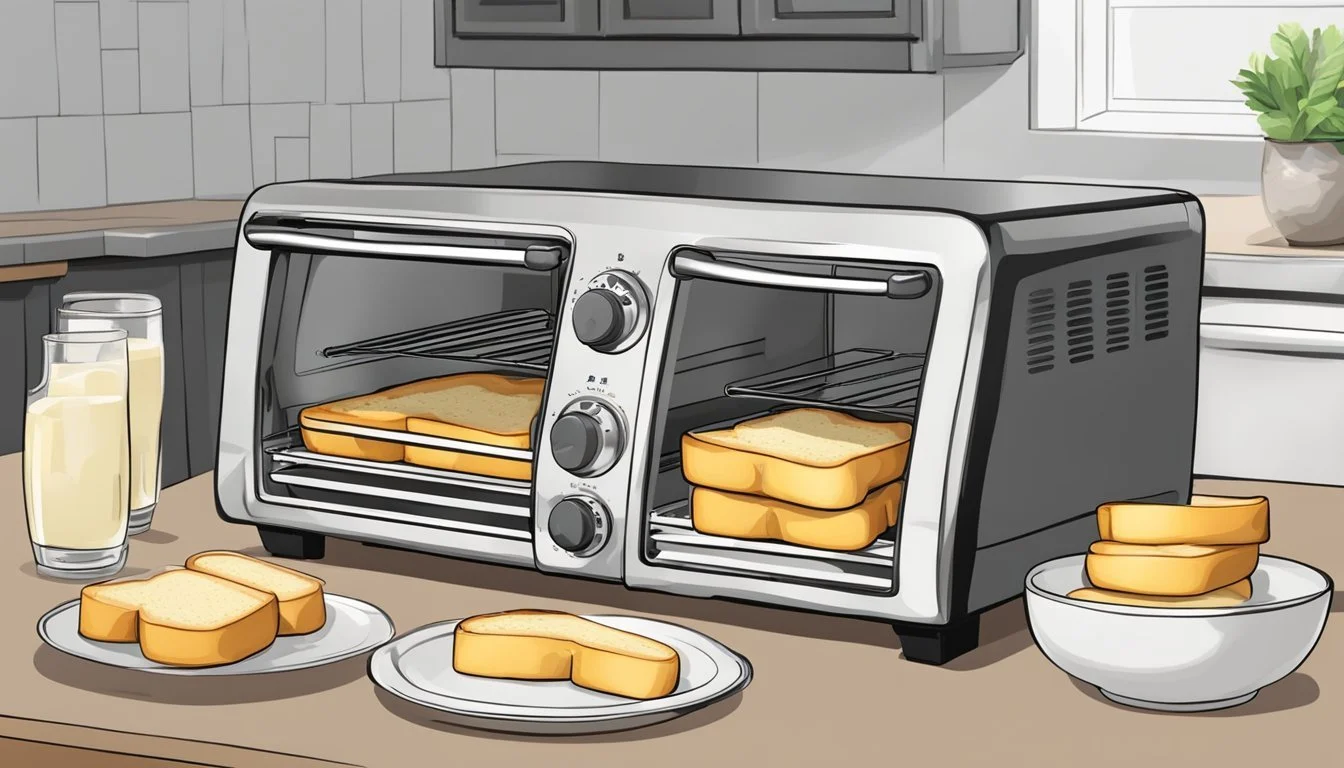
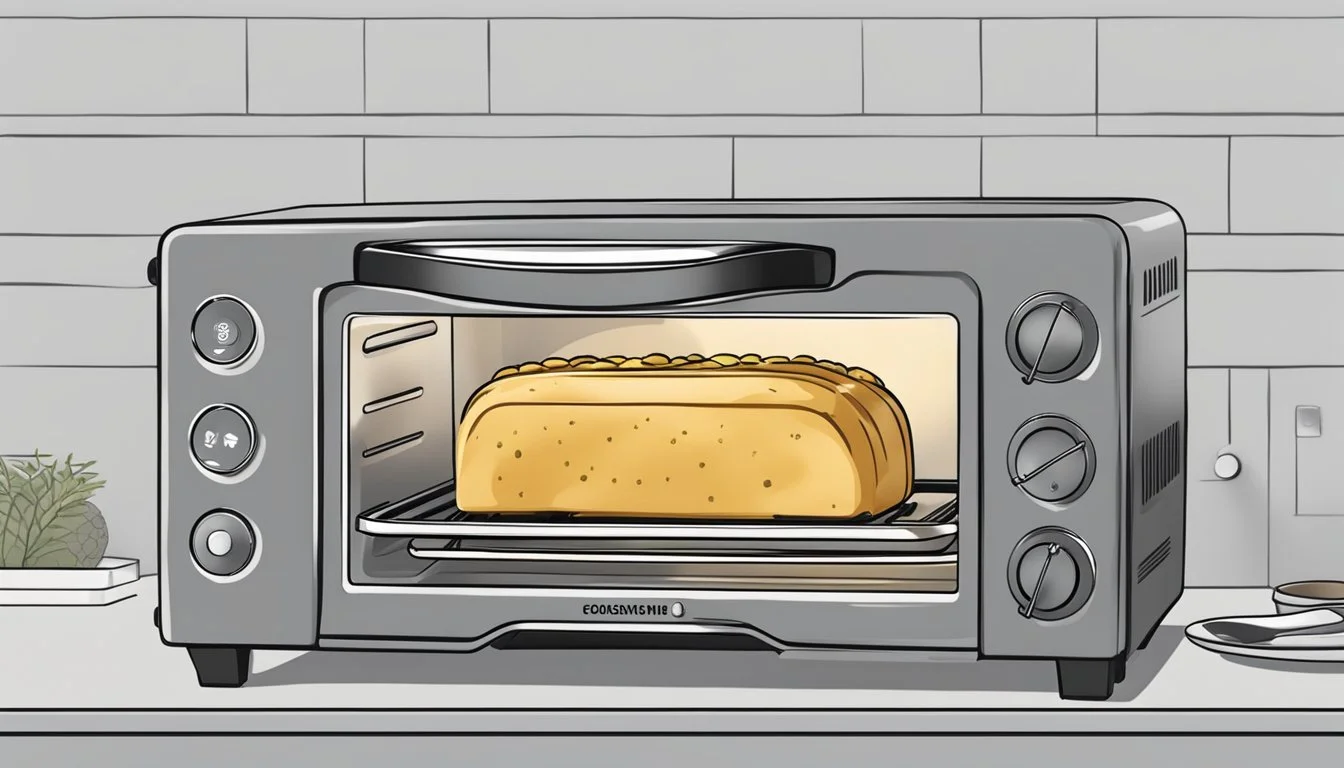
Toaster Oven Method
The toaster oven method is a quicker alternative to the conventional oven. Set the toaster oven to 350°F (175°C).
Wrap the garlic bread in foil similarly to the oven method.
Place it inside the toaster oven, either on a baking tray or directly on the rack.
Reheat for about 10 minutes.
This method works best for smaller portions of garlic bread. For a crisp finish, you can unwrap the bread in the last few minutes of heating.
Stovetop Method
The stovetop method is useful if you don't have an oven or if you want the bread to stay somewhat soft. Use a non-stick skillet on medium heat.
Place the garlic bread slices directly on the skillet.
Cover with a lid to trap steam and moisture.
Heat each side for 2-3 minutes until warmed through.
This method gives the bread a slight crust while keeping the inside soft. Be sure not to leave it for too long to avoid burning.
Microwave Method
The microwave method is the fastest way to reheat garlic bread. However, it can make the bread rubbery if not done correctly.
Cut the garlic bread into slices for even reheating.
Place 2-3 slices on a microwave-safe plate.
Place a cup of water next to the plate to keep the bread from drying out.
Microwave in 10-second intervals, for up to 30 seconds total, until warmed.
Consume immediately as microwaved garlic bread can become hard as it cools.
Air Fryer Method
The air fryer method offers a quick way to get a crispy exterior. Preheat the air fryer to 350°F (175°C).
Place the garlic bread slices in a single layer inside the air fryer basket.
Heat for 3-5 minutes, checking occasionally to prevent burning.
This method provides a quick and effective way to reheat garlic bread with a nice crisp outside and a warm inside. Be mindful of the time as air fryers can vary in strength.
Using these methods, you can reheat garlic bread effectively to suit your preference, whether you favor a crisp crust or a soft interior.
Ensuring Optimal Results
To reheat garlic bread effectively, achieve a crispy texture without making it soggy. Use appropriate tools to ensure even heating for the best results.
Achieving Crispiness
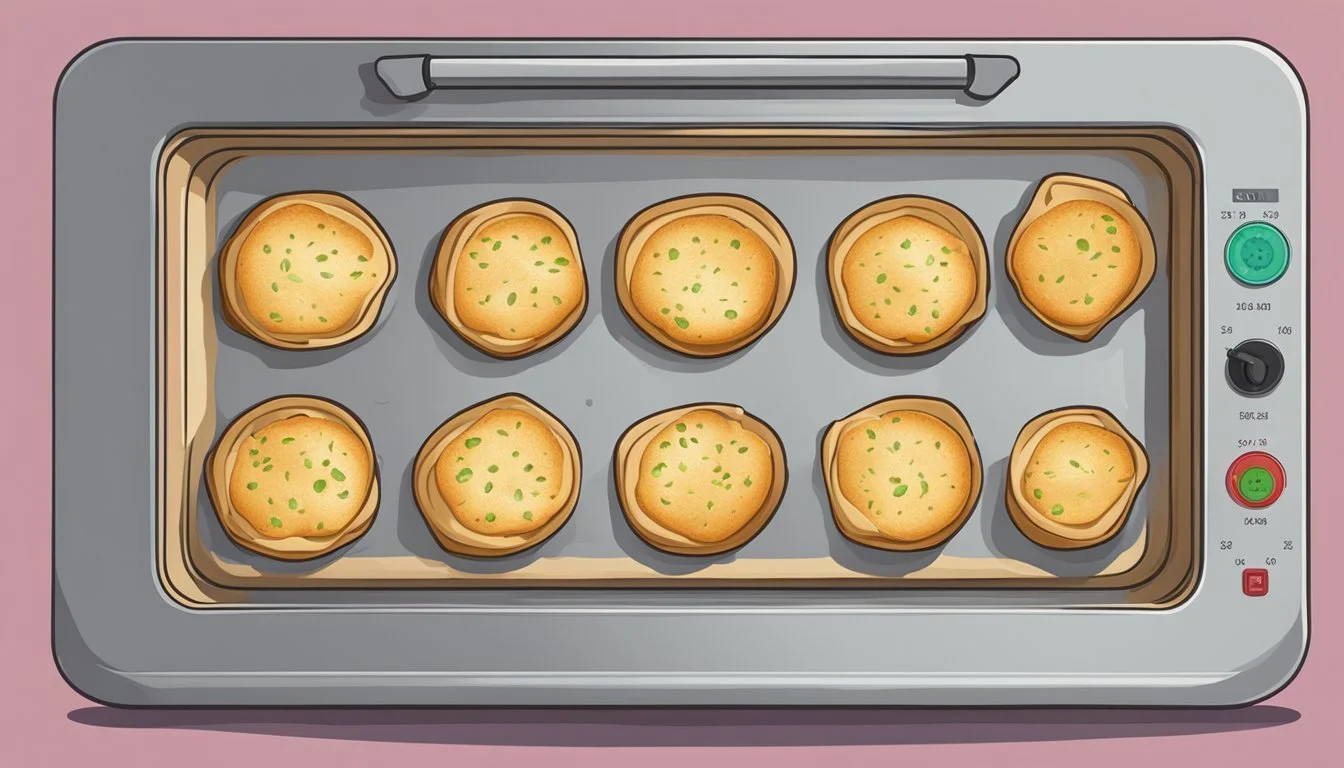
For a crispy texture, use a pan or a skillet on the stovetop. Preheat the pan and place the garlic bread slices in it. Cook each side for 1-2 minutes. Use tongs to flip the bread, ensuring even cooking. If using an oven, preheat to 425°F and place the bread on a baking sheet. Keep the buttered side up and broil for around 5 minutes. For quicker results, a toaster bag can create a similarly crispy effect without the wait.
Avoiding Sogginess
Wrap garlic bread in aluminum foil to avoid sogginess when using the oven. This method ensures the crust remains soft while warming. For microwave reheating, place a cup of water inside to maintain moisture balance. Heat in 10-second intervals, up to 30 seconds, to prevent over-saturation. Refrain from using high heat settings that can cause condensation and make the bread soggy.
Using the Right Tools
Different reheating methods require specific tools for best results. Use a baking sheet for oven reheating to ensure even heat distribution. A toaster bag is ideal for quick reheating in a toaster without any mess. For stovetop reheating, a skillet or pan provides direct heat, giving control over the browning process. Consider a broil setting in the oven to achieve a well-balanced, crispy texture.
By using proper tools and techniques, one can maintain the garlic bread's desired texture and flavor.
Serve and Enjoy
Reheated garlic bread can be just as enjoyable as the freshly baked version when served properly. Consider the best practices for serving and pairing suggestions to enhance your eating experience.
Best Practices for Serving
When serving reheated garlic bread, it's essential to maintain its crispy texture and rich flavor. Serve it hot to ensure the garlic butter melts perfectly, providing a moist and flavorful bite.
If you are reheating cheesy garlic bread, make sure the cheese is melted and bubbly. Cut the bread into slices or pieces before serving to make it easier to handle.
Arrange the garlic bread on a warm plate or platter to retain its heat. This can be particularly helpful for leftovers that need a bit more love to stay warm.
Use a spatula to avoid breaking the soft interior while maintaining the crispy crust. This method works well for both plain and cheesy garlic bread, giving it an appetizing appearance.
Pairing Suggestions
Garlic bread pairs wonderfully with a wide array of dishes. Serve it with pasta dishes such as spaghetti, lasagna, or fettuccine Alfredo for a classic combination. The bread’s richness complements the sauce, enhancing the overall meal.
For a healthier option, pair it with soups or salads. Tomato soup, minestrone, and Caesar salad are excellent choices that balance the garlic flavor.
Garlic bread can also be an excellent side for grilled meats like steak or chicken, adding a flavorful contrast.
Serving garlic bread with a glass of red wine can elevate the dining experience, especially when enjoying a more refined meal. The bold flavors of the wine complement the garlic butter, making for a delightful pairing.
With these tips, your reheated garlic bread will be a hit at any table, ensuring a pleasant and flavorful meal.
