
How to Reheat Gluten-Free Popsicles for Optimal Flavor and Texture
Reheating gluten-free popsicles might sound unusual at first, but it's a handy trick for achieving the ideal texture. Most gluten-free popsicles, designed for those with celiac disease or gluten sensitivity, can be too hard straight out of the freezer. To reheat gluten-free popsicles, briefly dip them in warm water or let them sit at room temperature for a few minutes.
Selecting popsicles free from top allergens is essential. Brands like Froozer and Kisko Kids Freezies offer options that are not only gluten-free but also allergen-free, ensuring they are safe for everyone. This method works particularly well for popsicles made primarily from fruit or juice.
For homemade popsicles, using fresh fruits or yogurt mixtures, reheating can enhance the flavor and make them easier to enjoy. By simply allowing them to soften slightly, you can bring out the best in your gluten-free frozen treats.
Understanding Gluten-Free Popsicles
Gluten-free popsicles are a popular choice for individuals with celiac disease or gluten intolerance. Knowing what makes a popsicle gluten-free, the importance of reading labels, and identifying brands with gluten-free certifications is crucial.
What Makes Popsicles Gluten-Free
A gluten-free popsicle does not contain any gluten, a protein found in wheat, barley, and rye. Ingredients such as fruit juice, purees, and water are typically safe. Avoiding ingredients like wheat-based thickeners or flavorings that may contain gluten is essential. Gluten contamination during manufacturing is also a concern, making facility practices important.
Importance of Reading Labels
Reading labels is key when choosing gluten-free popsicles. Labels provide insight into the presence of gluten and other allergens. Look for ingredient lists and warnings about potential cross-contamination. Brands that indicate their products are free from top allergens can be safer for those with celiac disease. Regularly updated labels reflect current manufacturing practices, making it important to check them each time you purchase.
Gluten-Free Certification and Brands
To ensure a popsicle is gluten-free, look for certification marks from trusted organizations. Certified gluten-free brands adhere to strict guidelines and regular testing. Cosmic Bliss, which offers Dark Chocolate Bars and Strawberry Love Bars, and Froozer, known for its fruit-based pops, are leading examples. Certification provides added assurance for those managing celiac disease.
Some popular gluten-free certified brands include:
Brand Product Cosmic Bliss Dark Chocolate Bars Cosmic Bliss Strawberry Love Bars Froozer Fruit-Based Pops Kisko Freezies Pops
Choosing certified brands helps avoid gluten exposure, providing a safer snacking experience.
Selecting Ingredients for Homemade Popsicles
Creating the perfect gluten-free popsicle involves choosing the right fruits, sweeteners, milk options (dairy and non-dairy), and flavor additives. Ensuring that each ingredient is gluten-free and complements the others will yield delicious, refreshing treats.
Choosing Fruits and Sweeteners
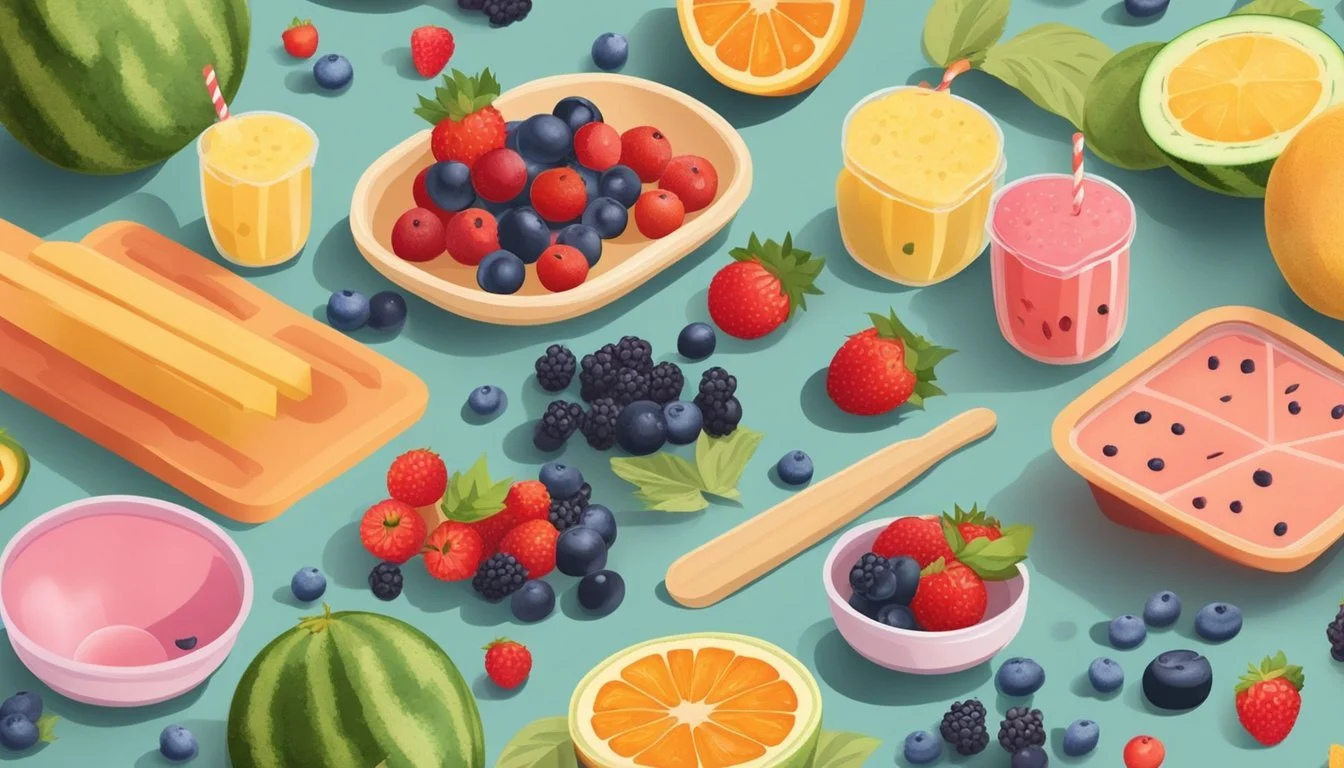
Selecting the right fruits is essential. Fresh or frozen fruits, such as bananas, berries, mangoes, and pineapples, are ideal.
Frozen fruit can provide a creamy texture without additional dairy. For sweetness, consider honey, maple syrup, agave nectar, or dates. Bananas particularly add both sweetness and creaminess.
Here are some combinations:
Mango and coconut milk with honey
Banana and peanut butter with a touch of maple syrup
Frozen strawberries with a splash of vanilla extract
Tip: Adjust sweeteners based on the natural sweetness of the fruit.
Dairy and Non-Dairy Milk Options
For creamy popsicles, choose among dairy and non-dairy milk options.
Dairy milk like whole milk or yogurt works well. For non-dairy choices, coconut milk and almond milk offer rich, creamy textures without lactose.
Coconut yogurt gives an extra zing and creaminess. Oat milk and cashew milk can also be used for a different flavor profile.
Here are some mixes:
Dairy-free coconut milk with mango
Almond milk with blended blueberries and honey
Greek yogurt with strawberries and a hint of vanilla
Ensure each choice blends seamlessly with other ingredients.
Flavor Additives and Variants
Adding flavor can elevate a simple popsicle. Vanilla extract, peanut butter, and nut butter introduce depth. Chocolate chips or crushed cookies add texture and surprise.
Consider:
Vanilla extract with mixed berries
Coconut milk with chocolate shavings
Nut butter with bananas for a smooth, rich flavor
Use these additives to complement and enhance the primary flavors without overpowering them.
Incorporate different flavors mindfully to prevent overwhelming the main taste. For example, a touch of vanilla can enhance fruit popsicles while chocolate chips can add a delightful crunch.
Tools for Making Homemade Popsicles
Creating homemade popsicles is straightforward with the right tools. Essential equipment includes various types of popsicle molds and additional utensils like a high-speed blender. Each tool plays a crucial role in ensuring the best results.
Types of Popsicle Molds
Plastic Molds: These are durable, reusable, and come in many shapes and sizes. Plastic molds typically have built-in handles that make them easy to use and clean.
Silicone Molds: Flexible and non-stick, silicone molds make it easy to release popsicles without running them under warm water. They are also dishwasher safe.
Stainless Steel Molds: Known for their durability and ease of cleaning, stainless steel molds offer a professional finish. They freeze popsicles quickly and can last a long time.
Novelty Molds: These cater to fun and unique themes, perfect for kids and special occasions. They often come in shapes like animals, stars, and characters.
Additional Required Utensils
High-Speed Blender: A high-speed blender is essential for creating smooth mixtures. It can break down fruits, mix ingredients thoroughly, and ensure a consistent texture.
Measuring Cups and Spoons: Used for precise ingredient portions, essential for maintaining the right texture and flavor balance.
Mixing Bowls: Necessary for preparing mixtures before pouring them into molds. Multiple bowls might be needed if making different flavors simultaneously.
Funnels: Useful for transferring liquid mixtures into molds without spilling. They're especially handy when dealing with thinner mixtures.
Popsicle Sticks: Although some molds come with reusable sticks, wooden popsicle sticks are a good alternative and provide a nostalgic feel.
Whisk or Spoon: For mixing ingredients together evenly, ensuring no lumps remain in the mixture.
Armed with these tools, anyone can make delicious homemade popsicles effortlessly.
The Popsicle-Making Process

Creating gluten-free popsicles involves a few key steps: preparing the popsicle mix, filling the molds, and controlling the freezing time and temperature. This ensures the popsicles are delicious and have the perfect texture.
Preparing the Popsicle Mix
To start, gather your ingredients. A variety of recipes may call for fruits, sweeteners, and useful dairy-free alternatives like coconut milk or almond milk.
Using a blender, combine these ingredients until smooth. This helps achieve a creamy consistency. Depending on the recipe, you might use fruits like berries, pineapple, or even gluten-free cookies for added texture and flavor.
Blending thoroughly is essential, but some recipes might suggest leaving bits of fruit or cookie pieces for a textured popsicle.
Filling the Molds
Once your mix is ready, it’s time to fill the popsicle molds. Ensure the molds are clean and dry before use. Pour the mixture carefully to avoid spills. Leave a small gap at the top of each mold because the mix will expand as it freezes.
Some recipes recommend adding layers. For example, pour a third of the red fruit mix, freeze, then add coconut cream for a striped effect. Insert the popsicle sticks before freezing.
Freezing Time and Temperature
Proper freezing is crucial. Place the filled molds in the freezer at a consistent temperature. Freezing usually takes about 4 hours, but it can vary.
For best results, leave the popsicles overnight. Once frozen solid, run the mold under warm water for a few seconds to loosen the popsicles before removing them.
This process ensures the popsicles come out easily and maintain their shape.
By following these steps, you can create delightful gluten-free popsicles that the whole family will enjoy.
Reheating and Serving Gluten-Free Popsicles

Reheating gluten-free popsicles requires careful attention to maintain their texture and flavor. Serving these treats effectively enhances the experience, making them more enjoyable for both kids and adults.
Safe Reheating Methods
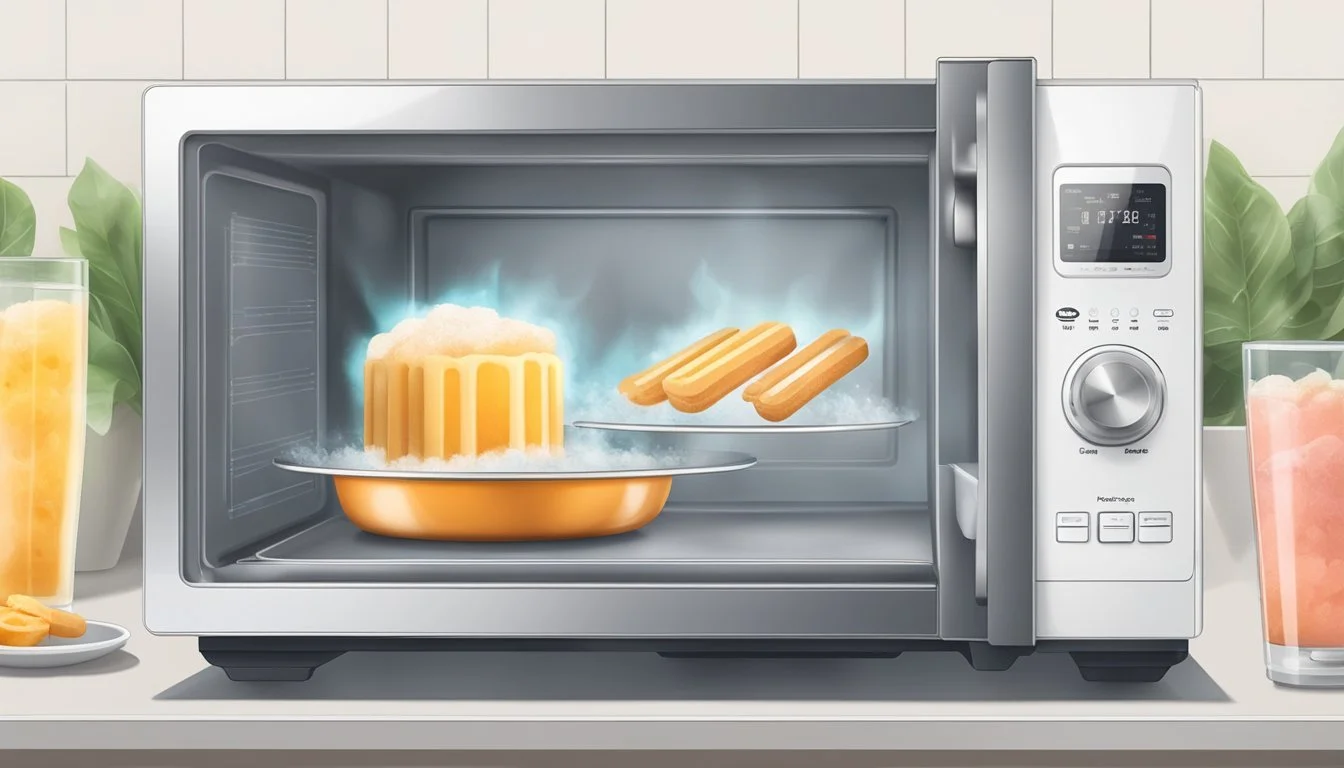
Reheating popsicles might seem unconventional, but sometimes it’s necessary to soften them slightly for better eating, especially for young children. Using the microwave can be efficient:
Microwave: Place the popsicle in a microwave-safe bowl and microwave on low for 5-10 seconds. Monitor closely to avoid melting.
Warm Water: Dip the popsicle molds quickly in warm water for about 10-15 seconds. This method is gentler, reducing the risk of melting.
It is important to proceed with caution to ensure the popsicles do not overheat and lose their desired consistency.
Presentation and Serving Suggestions
Serving gluten-free popsicles can be a fun activity, particularly during summer family gatherings. Enhance the presentation with these tips:
Garnishes: Add fresh fruit slices or gluten-free cookie crumbles on top for extra texture and flavor.
Serving Trays: Arrange the popsicles on a tray with ice to keep them cold longer during outdoor events.
Custom Molds: Use various molds to create different shapes, making them more appealing, especially to kids.
Making these treats visually appealing adds to the overall dessert experience. Whether it’s a simple family dessert night or a summer party, thoughtful presentation can make the moment special.
Storing Leftover Popsicles

To maintain the quality of leftover popsicles, it is essential to adopt optimal storage practices. Proper storage can significantly extend the shelf life of these frozen treats.
Optimal Storage Practices
Using Airtight Containers: Store popsicles in airtight containers to prevent exposure to air and moisture. This minimizes the risk of freezer burn.
Labeling: Ensure each container is labeled with the date and flavor. This makes it easy to keep track of freshness and avoid mix-ups.
Foil Wrapping: Wrap individual popsicles in foil before placing them in the container. This adds an extra layer of protection against freezer burn and helps maintain their texture.
Freezer Organization: Stack popsicles neatly without crushing them. A well-organized freezer ensures they remain in good condition and are easier to find.
Shelf Life Considerations
Popsicle Longevity: Generally, homemade popsicles can last up to 4-6 months when stored correctly in a freezer set at 0°F (-18°C).
Popsicle Brand Awareness: Some commercial popsicle brands might provide specific storage guidelines. Checking these can help ensure optimal shelf life.
Signs of Spoilage: Watch for changes in texture and appearance. Popsicles that become excessively icy, mushy, or discolored should be discarded.
Regular Temperature Checks: Using an appliance thermometer to monitor the freezer’s temperature can help maintain the right conditions for storage. Keeping the freezer consistently at the appropriate temperature is key to preserving the quality of popsicles.
