
How to Reheat Gluten-Free Stuffed Acorn Squash
Simple and Effective Methods
Reheating gluten-free stuffed acorn squash can be straightforward if done correctly. This dish, popular for its savory fillings and seasonal appeal, makes a delightful leftover meal that retains its original flavors and textures when properly reheated.
To reheat gluten-free stuffed acorn squash, simply preheat your oven to 350°F (175°C), place the squash in an oven-safe dish, cover it with aluminum foil, and bake for about 20-25 minutes until thoroughly warmed. This method helps maintain the dish’s moistness and ensures the filling is heated evenly.
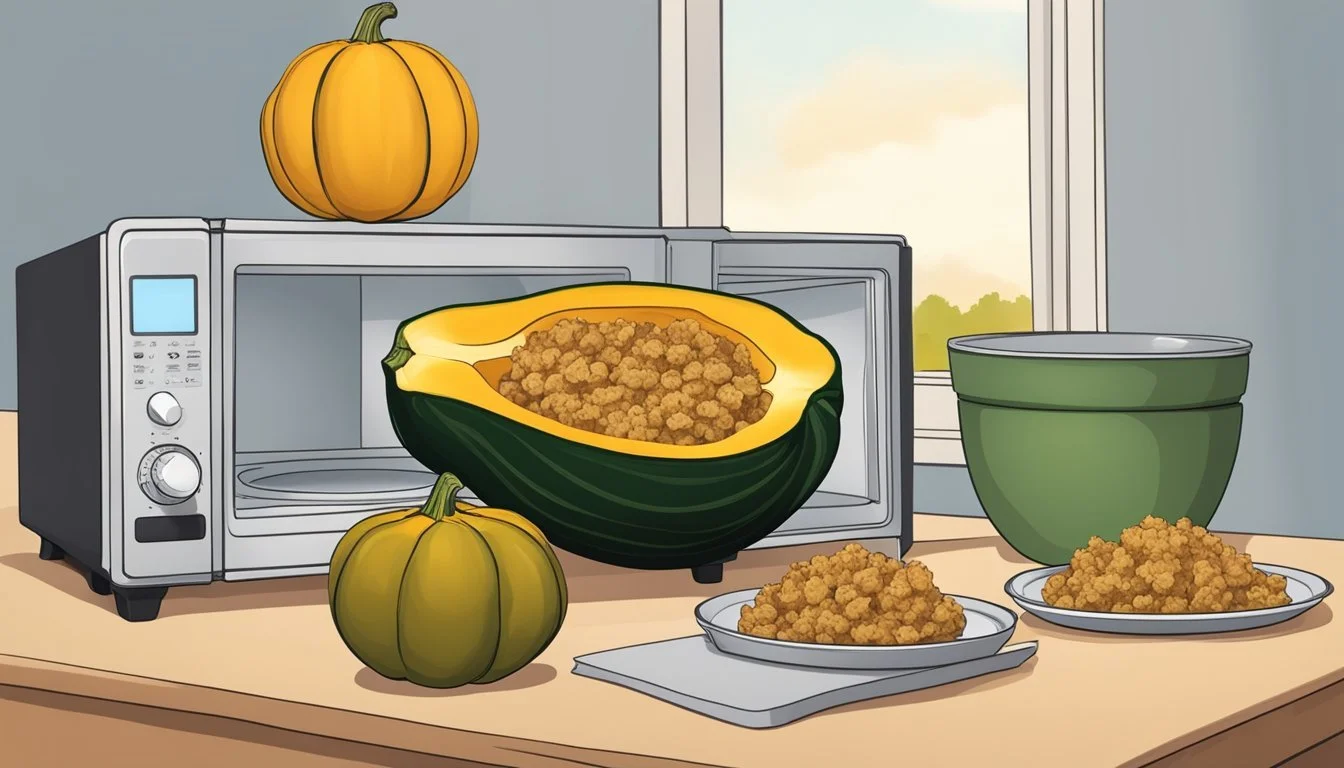
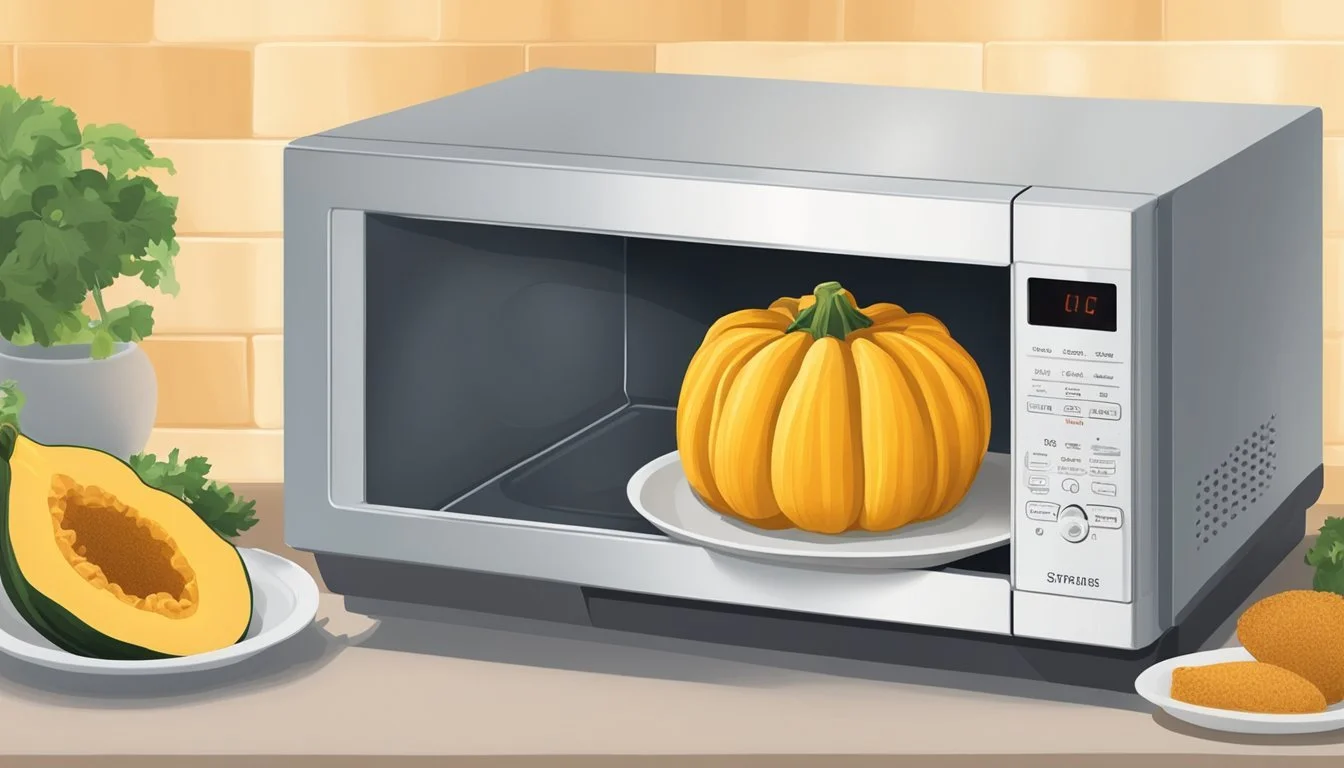
For a quicker option, use a microwave. Place the squash on a microwave-safe plate, cover it with a microwave cover or a damp paper towel, and heat on medium power for about 3-4 minutes, checking and turning halfway through. This quick method is perfect for busy weeknights, offering convenience without compromising on taste.
Understanding Gluten-Free Stuffed Acorn Squash
Acorn squash is a nutrition-rich vegetable that is popular for stuffing due to its unique shape and flavor. When baked, the squash becomes tender and forms a natural bowl perfect for holding delicious fillings.
Gluten-free stuffed acorn squash is a versatile dish that can cater to various dietary preferences, including vegetarian and vegan. The stuffing can contain a variety of ingredients such as quinoa, rice, or gluten-free bread crumbs.
For those focused on maintaining a gluten-free diet, it's essential to ensure that all ingredients used in the stuffing are free from gluten. This ensures the meal is safe for those with gluten intolerance or celiac disease.
The stuffing typically includes a mix of vegetables, proteins like sausage or beans, and seasonings to enhance the flavor. The blend of sweet acorn squash and savory stuffing creates a delightful taste pairing.
Cooking methods may vary, but generally, the acorn squash is first roasted to soften its flesh. This can be achieved by cutting the squash in half, removing seeds, and brushing it with olive oil before baking.
Health benefits include high fiber content, vitamins A and C, and essential minerals. This makes it a nutritious choice for those looking to eat healthily without compromising on taste.
Choosing the right stuffing can also make it a hearty vegan or vegetarian meal. Ingredients such as chickpeas, lentils, or vegetables like bell peppers and spinach can provide both flavor and nutritional benefits.
Essential Ingredients for Flavor and Texture
Creating a delicious gluten-free stuffed acorn squash involves choosing the right squash, high-quality gluten-free fillings, and a well-balanced mix of herbs and spices to enhance the overall taste and texture.
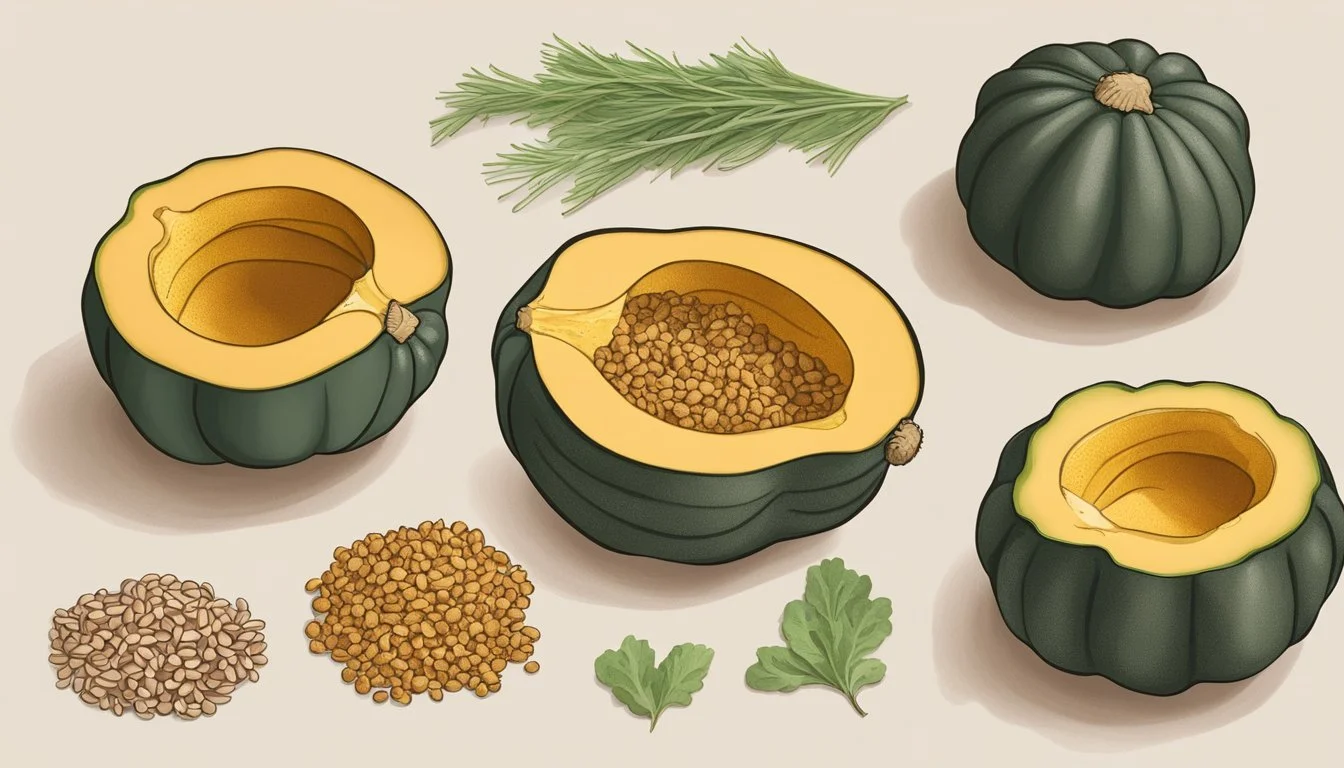
Selecting the Right Acorn Squash
Choosing fresh and ripe acorn squash is essential. Look for squash with a dark green color and even texture. There should be no soft spots or blemishes.
A good acorn squash should feel heavy for its size. This indicates a higher moisture content, which helps ensure the flesh remains tender after cooking. Cutting the squash lengthwise and scooping out seeds, as recommended in recipes, also aids in even roasting and flavor absorption.
Quality of Gluten-Free Fillings
For the filling, the quality and type of ingredients used is crucial. Popular choices include quinoa, wild rice, or vegetables like celery and onion. These add both texture and nutrients without gluten.
Including proteins such as sausage or vegan alternatives enhances the stuffing's satisfaction. Dried cranberries can provide a sweet contrast. Cooking the grains and proteins beforehand ensures they are adequately flavored and contributes to a cohesive dish.
Role of Herbs and Spices
Herbs and spices define the stuffed squash’s flavor profile. Commonly used include sage, garlic, salt, and pepper. These should be fresh or high-quality dried versions.
Using olive oil in the preparation helps coat the squash flesh, allowing the flavors to penetrate better. Sage and garlic are particularly effective in pairing with the savory or sweet fillings. Adding a pinch of salt and a few grinds of black pepper balances the dish, highlighting the natural flavors of the squash and the fillings.
Preparation Techniques
Successfully reheating gluten-free stuffed acorn squash involves a careful combination of preparation steps to maintain flavor and texture. These steps include cleaning and cutting the squash, cooking the filling, and a strategic baking method.
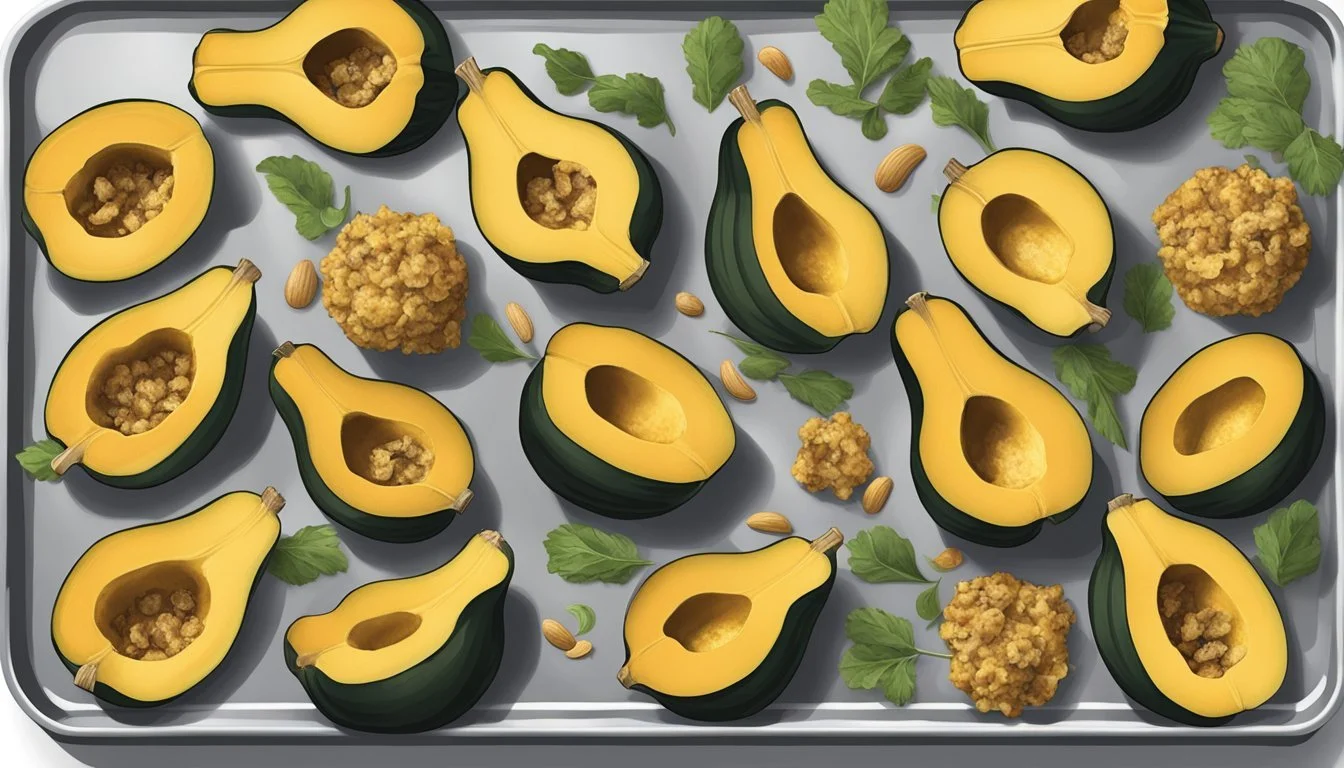
Cleaning and Cutting Acorn Squash
Clean the acorn squash thoroughly under running water to remove any dirt. Once clean, pat dry with a towel. Use a sharp knife to carefully cut the squash in half from stem to bottom. Scoop out the seeds and fibrous strands from the center using a spoon.
Place the cut squash, cut-side down, on a baking sheet. Pierce the skin with a fork multiple times to ensure even cooking. This preparation will help achieve the desired tender texture when baking.
Cooking the Perfect Gluten-Free Filling
To create a delicious gluten-free filling, combine ingredients such as cooked wild rice, cranberries, and pecans. Saute diced onions and garlic in olive oil until fragrant. Incorporate the rice and add seasonings like kosher salt, black pepper, and herbs of choice.
For added flavor, drizzle a bit of maple syrup. Mix well to evenly distribute the ingredients. Ensure the filling is pre-cooked adequately since the reheating process is to warm everything through, rather than cooking it from scratch.
Stuffing and Baking Methodology
Preheat the oven to 350ºF (180ºC). Drizzle the inside of the acorn squash halves with olive oil and season with a pinch of salt. Fill each squash half generously with the pre-cooked filling mixture.
Place the stuffed halves on a baking dish and cover with aluminum foil to avoid drying out. Bake in the preheated oven for approximately 40-50 minutes, until the squash is tender and the filling is heated through.
If freezing, transfer cooled, stuffed squash halves to a freezer-safe bag and freeze for up to 3 months. To reheat from frozen, bake at 350ºF for 40-50 minutes, ensuring the filling temperature is consistent.
