
How to Measure Ingredients Accurately for the Perfect Homemade Energy Bar Recipe

Accurate measurement of ingredients is key to crafting successful homemade energy bars, ensuring not only taste but proper nutritional content. Homemade energy bars provide a personalized alternative to store-bought options, tailored to individual health goals and dietary preferences. Whether the focus is on high protein, low sugar, or inclusion of specific nutrients, the precision in ingredient ratios plays a pivotal role in creating a healthy and satisfying snack.
Energy bars are a convenient food choice for individuals needing a quick source of energy, often consumed during busy days or post-workout. To make homemade energy bars that are both nutritious and delicious, it's essential to understand the function of each component — from oats and nuts to binders like dates or honey. The use of whole ingredients can contribute to a higher fiber content, supporting digestion and providing a steady release of energy.
To maintain consistency and quality in homemade energy bars, it's necessary to employ the right techniques in measuring ingredients, which means utilizing scales for dry ingredients and measuring cups for wet ones. It's helpful to note that small discrepancies in ingredient amounts can affect the texture and flavor balance of the energy bars. Therefore, attention to detail in this initial step is as important as the combination of flavors and ingredients that follow.
Essential Ingredients and Their Benefits

The ability to craft a wholesome, nutrient-packed homemade energy bar hinges on understanding both the essential ingredients and their respective health advantages. This approach ensures a balanced composition of macros and micros benefiting the body's needs.
Profile of Key Ingredients
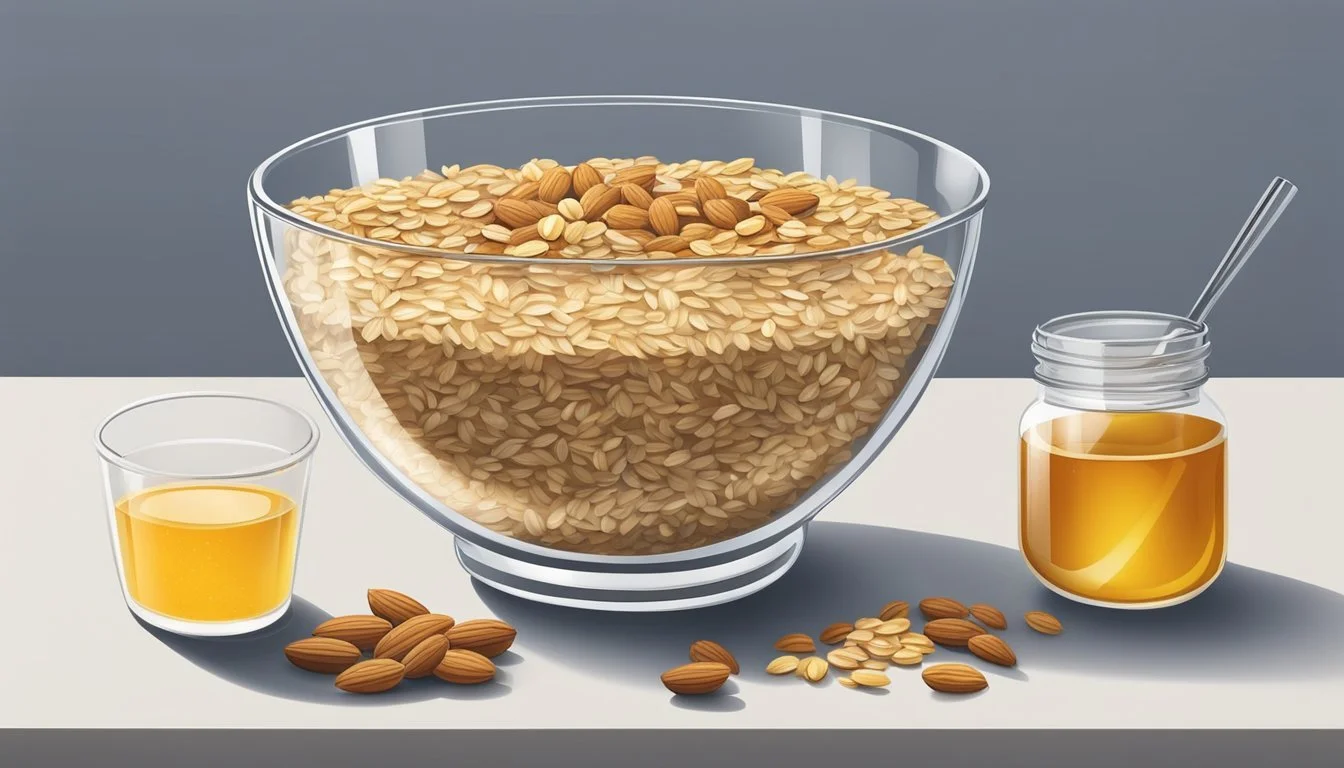
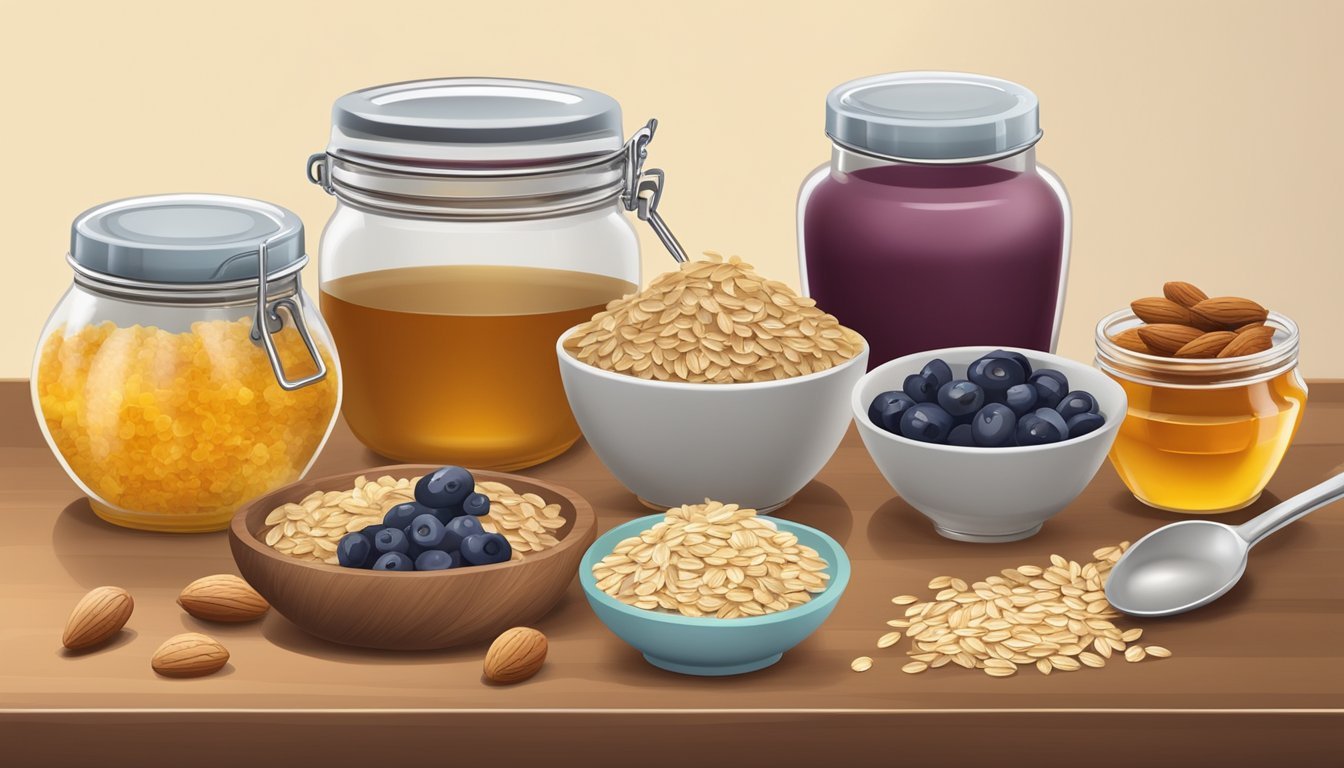
Oats: A fundamental base for energy bars, oats are rich in fiber, which aids in digestion and provides a slow-release of energy.
Nuts: They are a hearty source of protein and unsaturated fats, key for sustained energy and heart health. Common choices include almonds, pecans, and walnuts.
Seeds: Ingredients like chia seeds, sunflower seeds, and pumpkin seeds contribute not only texture but also vital fiber, protein, and antioxidants.
Dried Fruit: Raisins, dates, or apricots add natural sweetness, fiber, and a variety of nutrients.
Understanding Nutritional Components
Fiber: Integral for digestive health and satiety, fiber is abundant in oats, seeds, and dried fruits.
Protein: Essential for muscle repair and growth, protein can be sourced from nuts and seeds.
Unsaturated Fats: Found in nuts and seeds, they support heart health and provide essential fatty acids.
Antioxidants: Present in seeds and dried fruits, antioxidants help neutralize harmful free radicals in the body.
Preparing Your Workspace and Tools
Before embarking on creating homemade energy bars, it's crucial to prepare one's workspace and tools for a smooth and accurate baking process.
Setting Up for Efficient Workflow
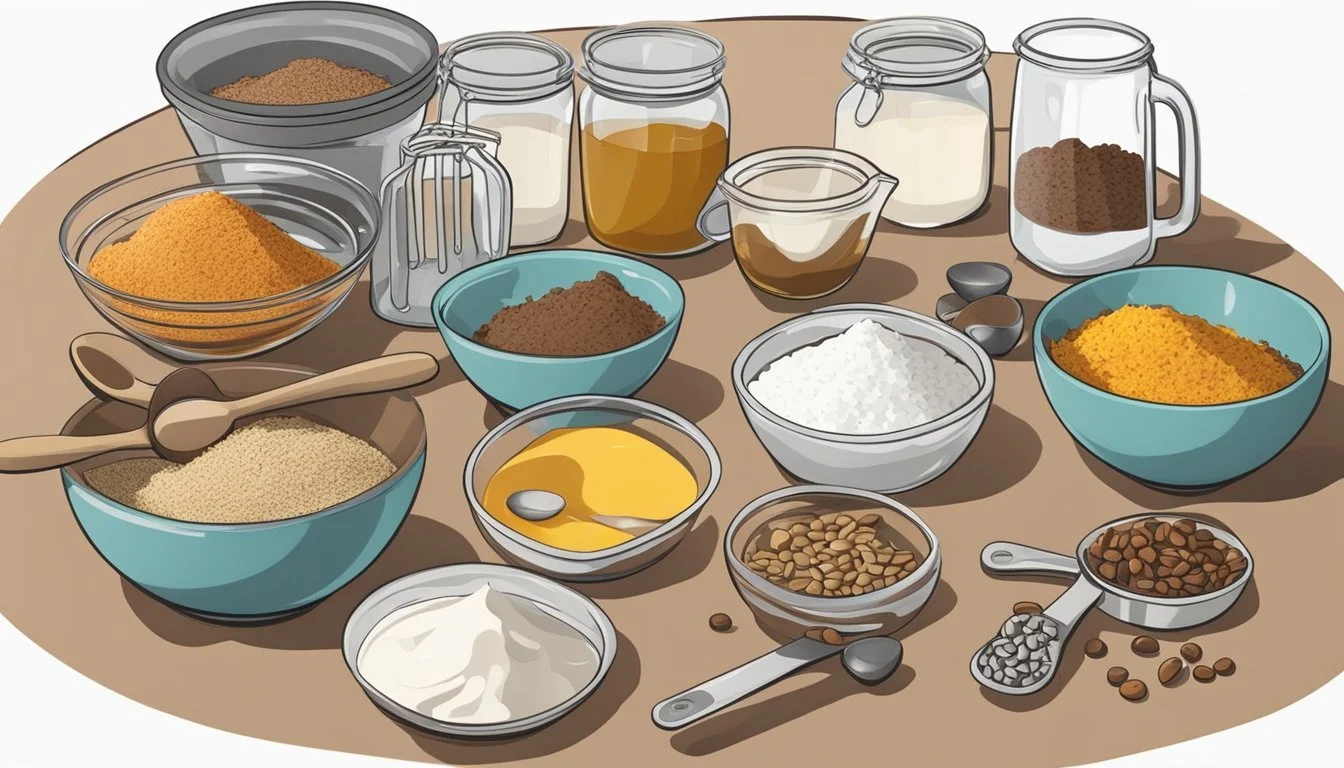
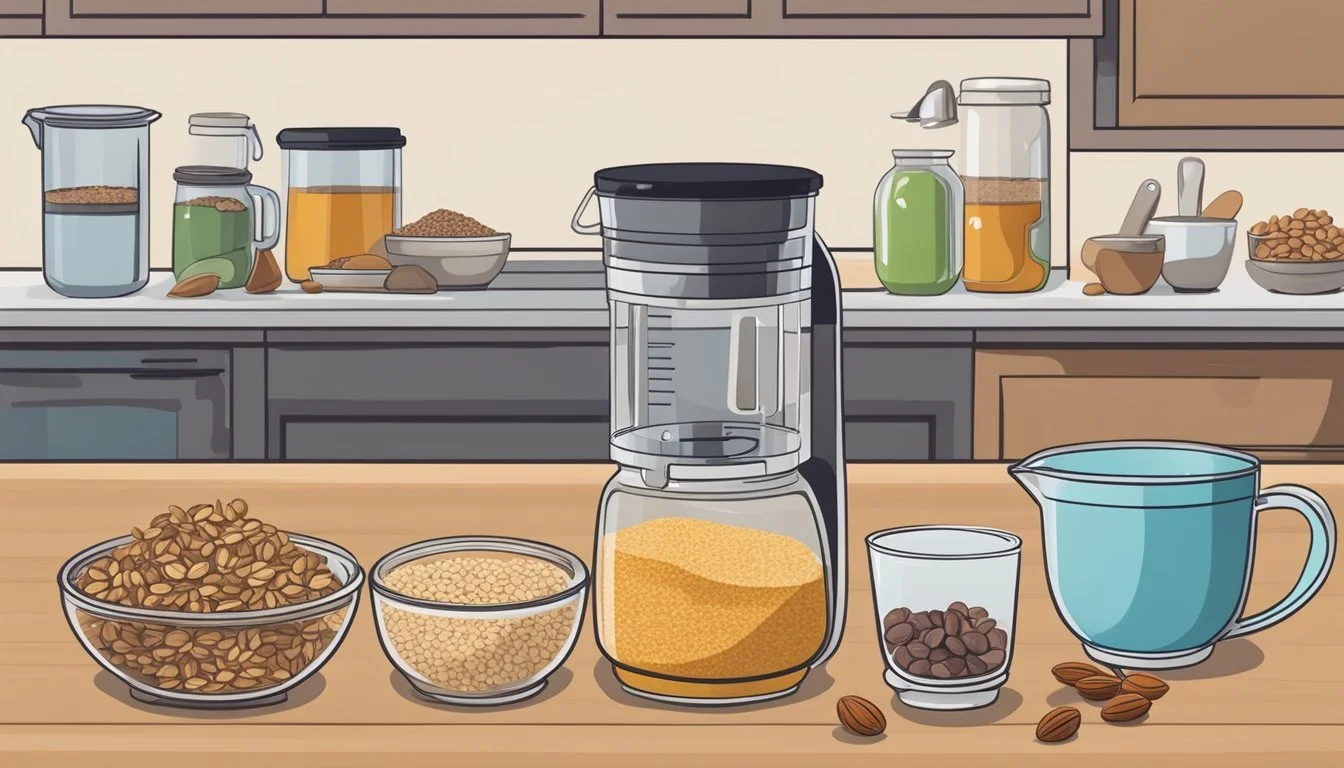
One should always start by identifying a clear workspace, ensuring there is ample room to maneuver ingredients and tools. The use of parchment paper is essential; it aids in easy transfer of the mixture to the baking dish and simplifies cleanup. This paper should be cut to fit the dimensions of an 8x8-inch or similar sized baking dish, which will be used to shape and contain the energy bars. It is advisable to have all necessary equipment within reach. This includes:
Measuring Cups: For dry ingredients like oats, seeds, and dried fruit.
Saucepan: Necessary if one needs to melt ingredients such as honey with peanut butter to bind the mixture.
Kitchen Scale: For precise measurements, especially important for dietary considerations.
Each tool has its place, and positioning them strategically can streamline the workflow.
Measuring Techniques for Accuracy
Precision is paramount for consistent results in homemade energy bars. Two primary tools for measuring ingredients are measuring cups and kitchen scales. Measuring cups work well for volume-based ingredients but can lead to variance due to compaction or air pockets. To counteract this:
Fluff dry ingredients before scooping them into the measuring cup.
Level off the cup using a straight-edged utensil for an accurate measure.
For higher accuracy, especially with smaller quantities or calorie-dense ingredients like nuts and seeds, a kitchen scale is indispensable. The scale provides:
Exact Weight Measurements: Assuring recipe consistency and nutrition accuracy.
Grams or Ounces: Most scales can toggle between units, so one should use the unit most fitting for the recipe they are following.
One should use the tare function to subtract the weight of containers and measure ingredients directly into mixing bowls or the saucepan if they're to be melted or combined on heat.
Combining Ingredients
Careful combination of ingredients is crucial to crafting a successful homemade energy bar. The order in which they are mixed and the method used can drastically alter the bars' consistency and texture, leading to either a perfect snack or a crumbly mess.
Order and Method of Mixing
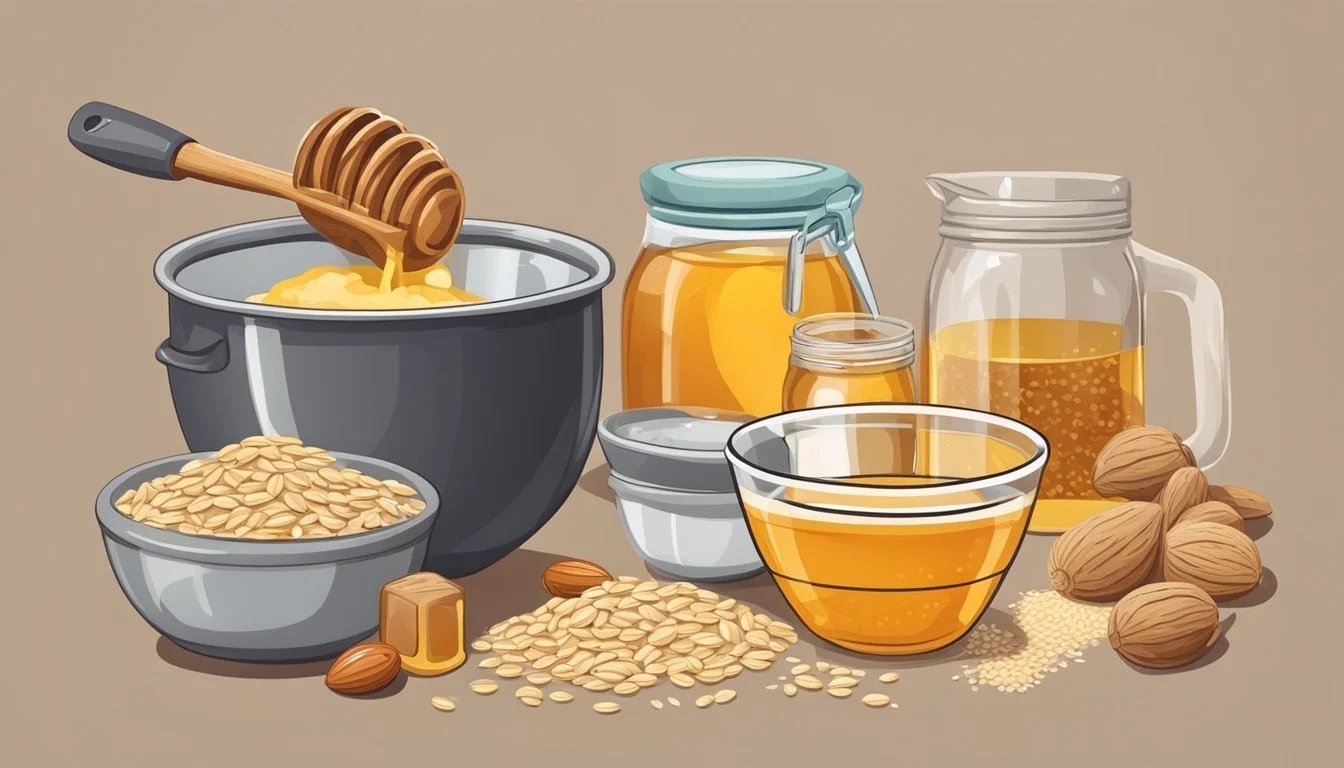
When combining ingredients for energy bars, one should start with the dry components. Oats, chia seeds, and sesame seeds can be mixed in a large bowl as the foundation. To this, one can add the flavors and sweet components; consider stirring in a pinch of salt, cinnamon, or vanilla extract to enhance taste. Next, Incorporate the binding agents like almond butter, peanut butter or honey. These should be evenly distributed to ensure each bite holds together well and possesses uniform taste. For example:
Mix dry ingredients like oats and seeds.
Add flavor enhancers such as salt and vanilla extract.
Stir in binders like honey or nut butters.
Consistency and Texture Considerations
Achieving the right consistency is pivotal; it dictates whether an energy bar is chewy, crunchy, or somewhere in between. Sweeteners like honey or syrup work not only to sweeten the mixture but also to bind the ingredients. If a recipe calls for oils, like coconut oil, they should be melted and mixed in thoroughly to avoid a greasy texture. When using chocolate chips, one could melt them prior to mixing for a more uniform chocolate flavor or add them whole for chocolate bursts. The final mixture should be pressed firmly into a pan to eliminate air pockets and ensure firm bars after cooling or baking.
Shaping and Cooking
When preparing homemade energy bars, precise shaping and cooking methods are essential. One must ensure that the bars or balls are formed to a uniform size for even cooking, and that they are either baked or frozen according to the recipe's requirements for proper texture and firmness.
Forming the Bars or Balls
To begin, one should prepare a baking pan by lining it with parchment paper or plastic wrap to prevent sticking. Using a food processor can help to achieve a homogeneous blend, which makes the shaping process easier. Once the mixture is ready, the cook should:
Use a spatula or their hands to transfer the mix onto the baking pan.
Press the mixture firmly and evenly into the pan to avoid air pockets and to ensure uniform thickness.
A knife or a pizza cutter can be used to slice the mixture into bars or to portion the mixture for rolling into balls.
Baking or Freezing Instructions
Baking energy bars typically requires preheating the oven to a low temperature, around 200 degrees Fahrenheit, to dry the bars slightly and improve their texture. The cook should:
Place the baking pan in the oven, making sure it's leveled.
Bake the bars for the time specified in the recipe, usually around 20-30 minutes.
After baking, cool the bars in the pan on a wire rack to ensure they set properly.
Alternatively, freezing is an option for recipes that require no baking:
Transfer the pressed mixture into the refrigerator or freezer to chill.
For quick setting, freeze the bars for about 10-20 minutes. If time permits, refrigerate for several hours or overnight to allow the bars to firm up gradually.
By following the recipe’s instructions on shaping and either baking or freezing, one can create homemade energy bars that are consistent in size and texture, making them convenient for snacking on the go.
Storing and Preserving Freshness

Proper storage of homemade energy bars is crucial for maintaining flavor, texture, and nutritional value. Use airtight containers to ensure longevity and portability of the bars.
Optimal Storage Solutions
Using airtight containers is the best way to maintain the freshness of homemade energy bars. They should store their bars in a cool, dry place at room temperature if they plan to consume them within a week. If they have included ingredients that can spoil more quickly, such as fresh fruit or dairy, storing the bars in the fridge is advisable. For those who prefer a softer texture or have used meltable add-ins such as chocolate, refrigeration can help maintain the desired consistency.
Room Temperature: Great for short-term storage of dry ingredient bars.
Fridge: Ideal for prolonging freshness, especially for moist ingredient bars.
Shelf Life and Portability
When stored correctly, most homemade energy bars will last up to 1 week at room temperature and up to 1 month in the fridge. To increase portability, individuals should wrap the bars individually in plastic wrap or aluminum foil before placing them in an airtight container. This method makes it easy for them to grab a bar on the go and helps prevent the bars from drying out or getting crushed during transit.
Up to 1 Week: At room temperature in airtight storage.
Up to 1 Month: In the fridge, also in airtight storage.
Nutrition and Dietary Considerations

When preparing homemade energy bars, understanding the nutritional content and accommodating dietary restrictions are crucial for creating a balanced snack that fits individual health goals and needs.
Understanding Caloric Intake and Macronutrients
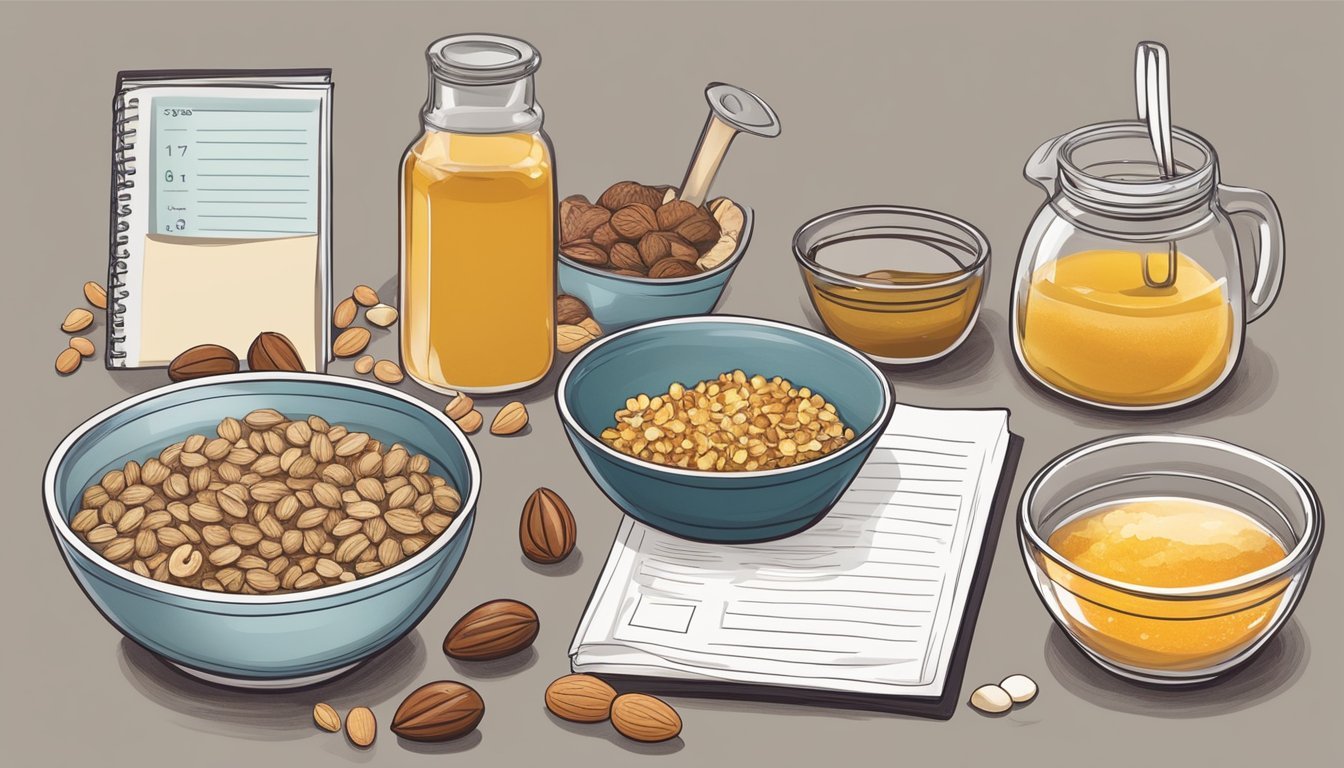
Calories are a measure of energy, and each person's caloric needs vary based on their activity level and metabolic rate. Homemade energy bars often contain carbohydrates for quick energy, healthy fats for sustained energy, and proteins for muscle repair. The precise measurement of ingredients like oats, nuts, and honey contributes to the total caloric value and macronutrient balance of the bars.
Carbohydrates: Provide immediate energy — essential for short-term fuel.
Proteins: Offer long-term energy and help in muscle repair — often sourced from nuts or seeds.
Fats: Contribute to the satiety and texture of the bars — usually from ingredients like peanut butter or almonds.
Table: Example Ingredient Macronutrient Profile:
Ingredient Carbohydrates (g) Protein (g) Fat (g) Oats (1 cup) 27 5 3 Almonds (1/4 cup) 5 6 14 Honey (1 tbsp) 17 0 0
Options for Dietary Restrictions
Individuals with dietary restrictions may require energy bars tailored to their specific needs. A gluten-free recipe can be made by choosing ingredients like certified gluten-free oats. Vegan energy bars can be created by using plant-based alternatives to honey such as maple syrup or agave nectar.
Gluten-Free: Use certified gluten-free oats if gluten is a concern.
Vegan: Substitute honey with maple syrup or other vegan sweeteners.
It's essential for recipe creators to provide accurate nutrition information, which can be calculated based on the ingredients used. This allows consumers to make informed choices suitable for their diet.
Customizing Your Energy Bars
Creating homemade energy bars allows for versatility in flavor and ingredient combinations. One can adjust textures, tastes, and nutritional content to suit personal preferences or dietary requirements.
Flavor Variations and Add-ins
For those who enjoy variety, there are numerous ways to tweak the flavor profile of energy bars. Essential ingredients like oats serve as the base, often referred to as granola bars, and can be enhanced with a range of add-ins. Here are some popular options to consider:
Fruits: Dried fruits like cranberries, raisins, dates, and dried apricots infuse natural sweetness and texture.
Nuts: Chopped almonds, pumpkin seeds, sunflower seeds, and sliced almonds add crunch and protein.
Spices: A hint of cinnamon or vanilla can introduce warmth and complexity to the flavor.
Extras: For a touch of indulgence, a chocolate drizzle or shredded coconut can elevate the bar's taste.
Experiment with these ingredients in different combinations to discover your preferred blend.
Making Your Bars Unique
To ensure your energy bars stand out, consider personalizing them with unique elements that reflect your taste:
Textures: Combine various ingredients like sesame seeds, coconut flakes, and nuts to achieve a balance of soft and crunchy elements.
Shapes: Traditional bars or playful shapes can be formed depending on the occasion.
Presentation: Top with a light sprinkle of ingredients like coconut or seeds before baking for a visually appealing finish.
Remember, the key to unique energy bars is the personal touch one adds through the selection and combination of ingredients.
Serving and Consumption Ideas

When incorporating homemade energy bars into one’s diet, it is important to consider the most enriching pairings and suitable occasions. These bars can be tailored for various dietary preferences and consumption times, offering a practical option that is both filling and nutritious.
Ideal Pairings and Occasions
Breakfast: Pair a homemade energy bar with Greek yogurt or a piece of fruit for a balanced start to the day. This combination provides a quick, nutrient-rich breakfast that is high in protein and fiber.
Pre-Workout: Consume an energy bar 30-60 minutes before exercising to fuel your session. The mix of complex carbohydrates and protein can help sustain energy levels.
Post-Workout: After physical activity, an energy bar can serve as a swift post-workout snack to replenish glycogen stores and aid muscle recovery.
Snacks: Energy bars make ideal snacks between meals. They are portable and convenient for maintaining energy levels during busy days.
Weight Loss: For those focused on weight loss, energy bars can be part of meal prep as a controlled portion snack to help manage caloric intake while providing satiety.
Meal Prep: Bake energy bars in advance and store them as ready-to-eat snacks for the week. Homemade bars can be easily customized to fit macro-nutrient goals.
Integrating Energy Bars into Your Diet
Variety: Introduce homemade energy bars as alternative treats to diversify your diet without resorting to less healthful options.
Balance: They should complement a diet filled with a variety of foods. A homemade energy bar can replace a store-bought option, often reducing the intake of added sugars and preservatives.
Mindful Eating: Be conscious of when and why you are consuming energy bars. They are intended to be part of a balanced diet, not a sole nutrition source.
By thoughtfully integrating homemade energy bars into one's routine, they can effectively support an active lifestyle while aligning with dietary goals.
Health and Safety Tips
When preparing homemade energy bars, it's critical to consider health and safety to ensure the snack is not only nutritious but also safe to consume. This encompasses managing allergens and adhering to safe food preparation practices.
Avoiding Common Allergens
Homemade energy bars commonly contain ingredients like nuts, seeds, and oats, which are potential allergens. It is essential to:
Identify and label allergens: Clearly list ingredients that may provoke allergic reactions to inform those with sensitivities.
Separate utensils and surfaces: Use separate kitchen tools and areas when handling allergens to prevent cross-contamination.
Safe Preparation Practices
Maintaining food safety is crucial. Here's how to do it:
Hand hygiene: Always wash hands thoroughly with soap and water before and after handling ingredients.
Ingredient freshness: Check for freshness and expiration dates of all components to avoid foodborne illness.
Food storage: Store energy bars in airtight containers and keep them refrigerated if necessary to maintain freshness.
Feedback and Improvement
In the dynamic world of homemade energy bar recipes, continuous improvement is fueled by consumer feedback and strategic recipe refinement. Meticulously measuring the success and areas for enhancement ensures that the recipe remains both versatile and palatable for a wide audience.
Gathering Consumer Reviews
Producers should actively solicit consumer reviews to gauge the success of their energy bar. They can collect feedback through various channels including online surveys, focus groups, or product review sections on their website. Key metrics to consider are:
Rating: A numeric score (often out of 5) indicating overall consumer satisfaction.
Review Text: Qualitative feedback highlighting specific aspects liked or disliked.
For example:
Aspect Rating (Out of 5) Review Excerpts Taste 4.5 "The perfect balance of sweetness and nuttiness." Texture 4.3 "Chewy and satisfying, but a bit sticky on the hands." Nutritional Value 4.7 "Keeps me fueled without the guilt."
Continuous Recipe Refinement
Refinement never ceases as each batch of energy bars provides an opportunity for testing and improvement. Producers should consider:
The impact of substituting ingredients for others to enhance nutrition or flavor.
Small-scale testing of new variations to understand how changes affect the overall product.
The application of constructive feedback to make informed adjustments to the recipe.
Refinement Strategies:
Iterative Testing: Small changes over several batches to isolate variables and understand effects.
Ingredient Versatility: Exploring alternative nuts, seeds, or sweeteners for different dietary needs or preferences.
By incorporating structured analysis of reviews and methodical recipe enhancement, producers can optimize their homemade energy bars to resonate well with consumers and stand out in a competitive market.
