How to Measure Ingredients for a Homemade Cake Filling
Precise Methods for Perfect Results
Creating a homemade cake filling is an art that begins with precise measurement of ingredients. This ensures that flavors balance perfectly, textures achieve the desired consistency, and the overall result enhances the cake's appeal. Whether following a cherished family recipe or experimenting with something new, accuracy is paramount. The process of measuring ingredients involves techniques that vary slightly depending on the ingredient's state: liquid or dry.
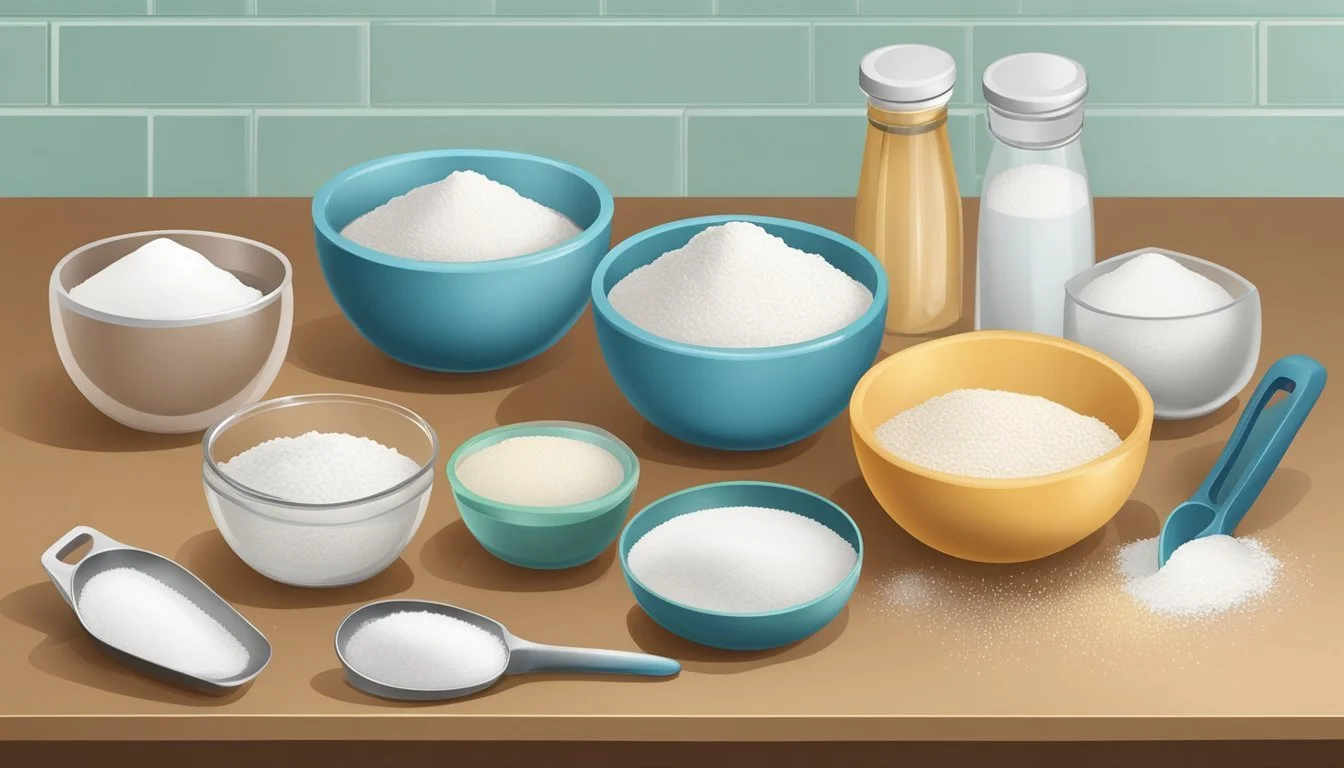
Dry ingredients such as flour and sugar can significantly alter a cake filling's outcome if measured incorrectly. They should be measured using the spoon and level method, where the ingredient is spooned into a measuring cup or spoon and leveled off with a straight edge to ensure an exact measure. For wet ingredients like oils or pureed fruits, standard liquid measuring cups with clear markings provide accurate readings. Filling recipes often call for specific ingredient quantities, making precision critical to the flavor and texture of the filling.
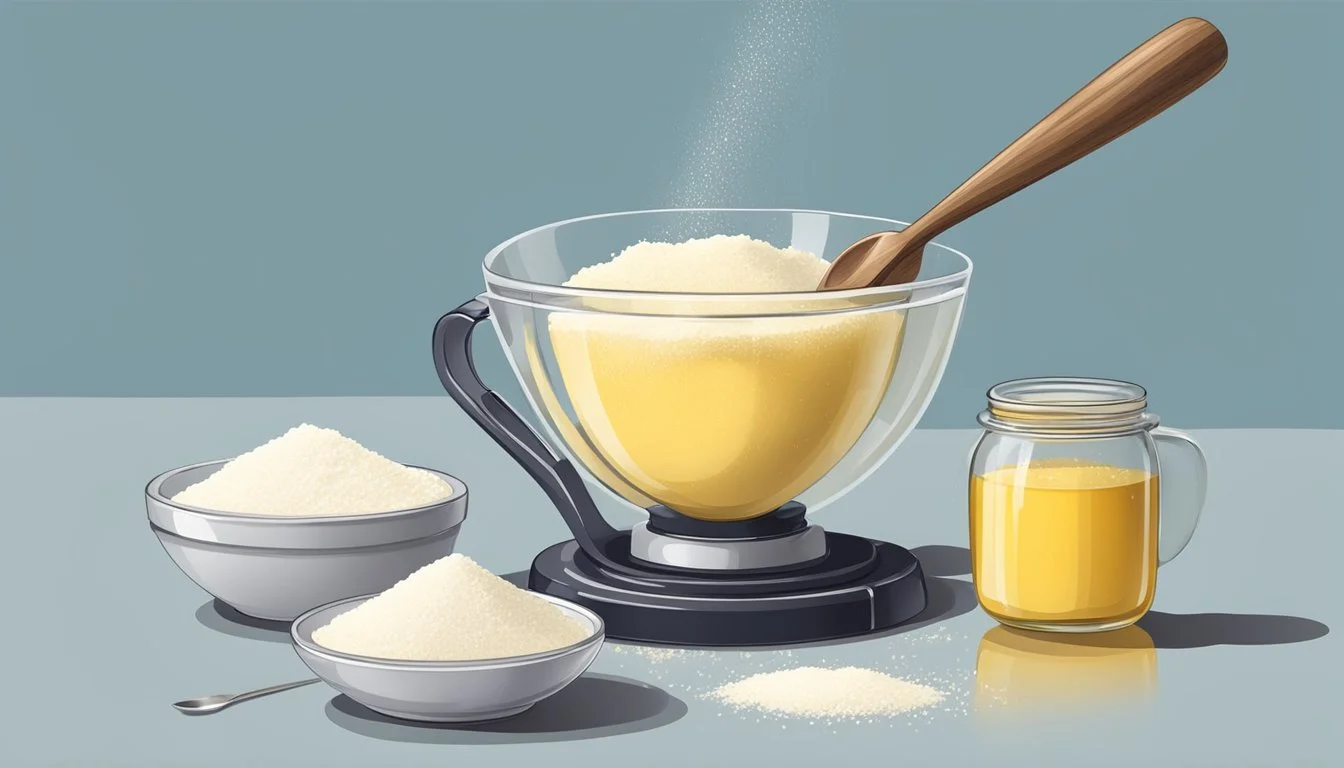
In addition to the right methods, the use of proper tools like kitchen scales can greatly enhance accuracy. Measuring ingredients by weight rather than volume is considered more precise, particularly for dry ingredients that can easily become compacted. A scale allows for a consistent measurement every time. With these techniques, baking enthusiasts can guarantee that their homemade cake fillings will be a success.
Understanding Ingredients
In crafting a homemade cake filling, choosing the right combination of ingredients is crucial. Specific ingredients serve different functions to achieve the desired texture, sweetness, and stability.
The Role of Sugar
Sugar is a key ingredient in cake fillings, offering more than just sweetness. Granulated sugar, when dissolved, contributes to the structure and texture of the filling. It also interacts with other components, such as fats and proteins, enhancing flavor and color as it caramelizes during baking.
Choosing Fats: Butter and Oil
Fats like butter and oil bring richness and influence the consistency of cake fillings. Butter provides a creamy taste and can contribute to a firmer texture upon setting. On the other hand, oil makes for a moister filling but is less likely to firm up in the same way butter does. The choice between butter and oil affects the mouthfeel and density of the final product.
Liquids for Consistency: Water, Milk, and More
Liquids are essential for achieving the desired consistency in cake fillings. Water is a neutral option that hydrates other ingredients without affecting the flavor. Milk offers a richer taste and creamier texture due to its protein and fat content. It's important to balance liquids carefully; too much can lead to a runny filling, while too little may result in a stiffer texture.
Thickening Agents: Cornstarch and Flour
Thickeners like cornstarch and flour are used to adjust the viscosity of cake fillings. Cornstarch is a pure starch, which means it has a stronger thickening power and creates a clear, glossy filling. Flour requires a higher quantity to achieve the same thickening effect and adds an opaque appearance. Both must be cooked to the right temperature to fully activate their thickening properties.
Preparation Techniques
Achieving the perfect consistency and flavor in homemade cake fillings relies on meticulous preparation. Careful measurement and methodical mixing and cooking approaches are pivotal to this process.
Measuring Ingredients Accurately
For precise measurements, chefs prefer using measuring cups for volume and a kitchen scale for weight, ensuring ingredients are measured with utmost accuracy. When measuring dry ingredients like flour:
Spoon & Level Method: They fluff up the flour, spoon it into the measuring cup, and level it off with a straight edge, such as the back of a knife.
When utilizing a kitchen scale, chefs place their bowls on the scale, zero it out using the 'tare' function, and weigh each ingredient. This is especially critical for components where precision impacts the texture of the filling, such as sugar and thickening agents.
Mixing Methods
Several tools and methods can be used for combining ingredients to create a smooth filling:
Whisk: Ideal for incorporating air and ensuring a lump-free mixture.
Spatula: Best for folding ingredients gently to retain air bubbles, crucial for lightness.
To thoroughly combine ingredients for a consistent filling, chefs may sift dry ingredients using a sieve to remove lumps prior to mixing.
Cooking Methods
The method chosen to cook cake fillings influences the final texture and flavor:
Stirring Constantly: A fundamental method to prevent the filling from sticking to the pan or becoming lumpy.
Delicate fillings may require a double boiler to gently heat ingredients without direct contact with the stove, thus avoiding overcooking or curdling. A spatula is often used in this gentle cooking method to scrape the sides and bottom of the bowl, ensuring even heating and smooth consistency.
Creating a Fruit-Based Filling
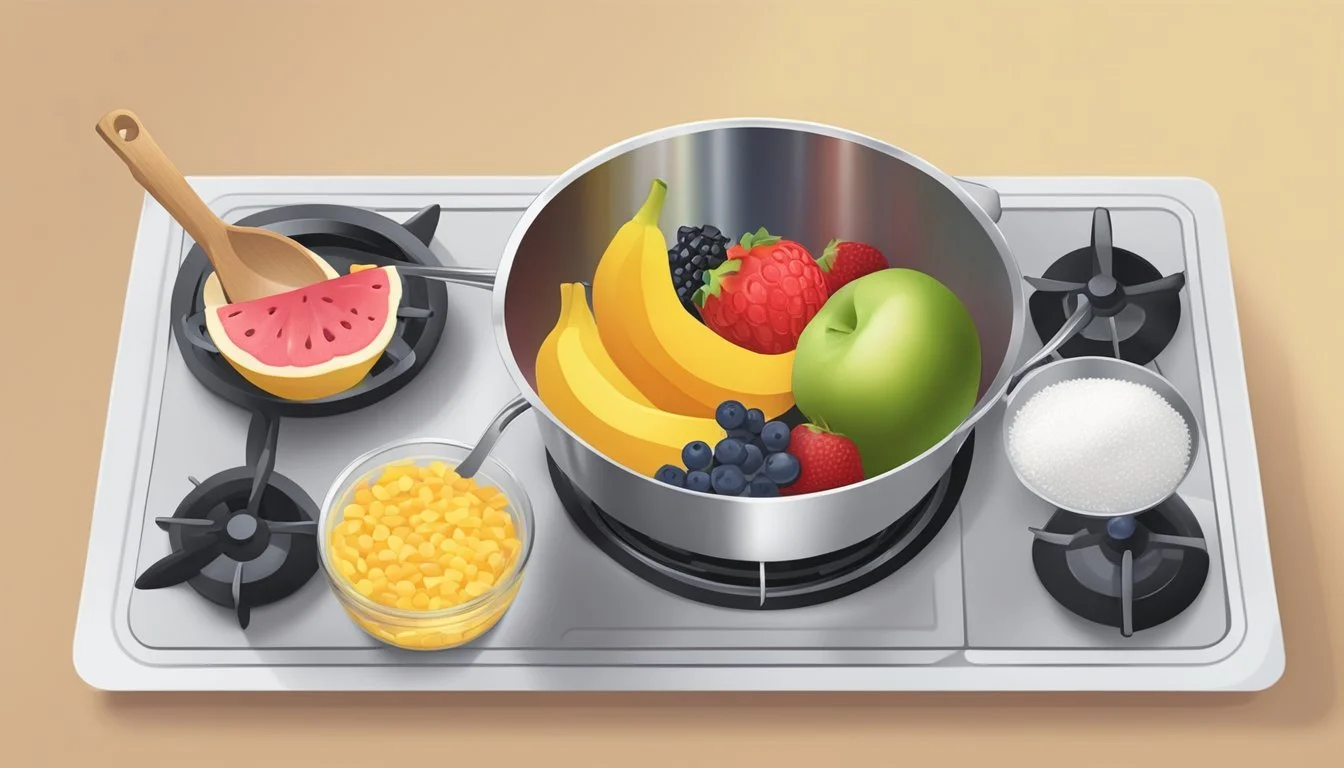
A fruit-based cake filling adds a burst of natural sweetness and vibrancy to any homemade cake. The use of berries, enhanced by the acidity of lemon juice and the subtle richness of vanilla extract, can create a delectable balance in flavor and texture.
Utilizing Fresh and Frozen Berries
When working with fresh berries, such as strawberries, blueberries, and raspberries, one should ensure they are clean and free from any stems or leaves. Fresh berries provide a bright, robust flavor and are typically firmer in texture. For fillings, it's best to chop them into smaller pieces for even distribution throughout the cake.
For frozen berries, which are equally suitable for fillings and often more convenient, it is important to thaw and drain them properly before use to avoid excess moisture in the filling. Frozen berries work well when a cook seeks consistency in flavor outside of the peak season for fresh berries.
Fresh Raspberry Filling:
Wash raspberries gently, pat dry, and use as desired.
For a firmer filling, raspberries may be kept whole or halved.
Frozen Raspberry Filling:
Thaw frozen raspberries completely and drain excess liquid.
Mash slightly if a smoother texture is desired.
Enhancing Flavor with Lemon Juice and Vanilla
Lemon Juice not only contributes a bright, tart zing to berry fillings but also helps to preserve the color and prevent oxidation. A tablespoon of lemon juice per two pounds of berries is a good starting point. It can be adjusted according to taste and the natural acidity of the chosen fruit.
Vanilla Extract provides depth and warmth to a fruit filling, complementing the berries without overpowering them. It should be used sparingly; a teaspoon of pure vanilla extract is typically sufficient for a standard batch of filling.
Flavor Enhancement:
Add 1 tablespoon of lemon juice to intensify and balance the sweetness.
Stir in a teaspoon of vanilla extract for complexity.
Note: To thicken fruit fillings, a starch such as cornstarch can be used, mixing it with water to create a slurry before adding it to the fruit mixture. The consistency should be such that it holds its shape when spread onto the cake but is still soft enough to meld with the texture of the cake layers.
Advanced Filling Variations
Advancing to more sophisticated variations, one can give their cake fillings a gourmet touch. These methods integrate richer ingredients such as chocolate and nuts, as well as crafting luxurious textures and flavors.
Incorporating Chocolate and Nuts
For those looking to enhance cake fillings with a decadent twist, incorporating chocolate chips and nuts is a popular choice. One can fold melted chocolate into a mousse base, or add chocolate chips directly for a rich, chocolatey crunch.
Creating Chocolate Nut Filling:
Melt chocolate and allow it to cool slightly.
Fold in finely chopped nuts such as almonds, hazelnuts, or pecans.
Mix in the cooled, melted chocolate.
Refrigerate before using to achieve desired consistency.
Creating Luxury Fillings
Luxury fillings take a cake from delicious to divine. Adding custard or peanut butter contributes to a creamy, rich texture that elevates the overall taste experience.
Crafting Peanut Butter Luxury Filling:
Combine smooth peanut butter with confectioners' sugar and heavy cream.
Whip until fluffy and light to achieve a mousse-like consistency.
Custard-Based Luxury Filling:
Prepare a rich custard using egg yolks, sugar, and cream.
Once cooled, incorporate it into whipped cream to attain a luxurious texture.
Assembling and Storing the Filling
When preparing a cake or pastry filling, one must carefully layer the filling for even distribution and consider its storage to maintain freshness and flavor integrity.
Layering Fillings in Cakes and Pastries
For a layered cake or tarts, an even and precise application of filling is essential. One should use a frosting dam when layering fillings in a cake to prevent spillage. This involves piping a thick circle of frosting along the edge of the cake layer before adding the filling. When assembling a mille-feuille, attention to the distribution of filling between the pastry layers will ensure a balanced flavor and structure.
Cheesecake, being typically a single-layer dessert, requires a smooth and uniform layer of filling over the crust, allowing for a level top upon which any fruit or glaze can be added.
Refrigeration and Shelf Life
The filling should be promptly refrigerated to preserve freshness, particularly if made with perishable ingredients. It's advised to refrigerate the filling for at least 4 hours before using, which allows it to thicken and set properly.
For storage: transfer the filling to an airtight container or cover it with plastic wrap to prevent a skin from forming and to retain moisture.
Shelf life:
Raspberry or fruit fillings: store in the refrigerator for up to 1 week for optimal taste.
Cheesecake filling: due to the dairy content, should be used within 3-5 days.
Ensuring tarts and other pastries are filled close to the time of serving is ideal to maintain texture and prevent sogginess.
Baking Tips and Troubleshooting
In crafting a homemade cake filling, precision and method are as important as the ingredients. This section will focus on prevention and remedy techniques to ensure a successful cake filling.
Preventing Common Mistakes
Weighing Ingredients: A kitchen scale is crucial for accuracy, especially for ingredients like flour and sugar which can easily be over or under-measured using cups. Weighing ensures consistency across batches.
Mixing Method: Each ingredient should be mixed properly to avoid a lumpy or uneven texture. Ingredients should be at room temperature to incorporate smoothly.
Thickening Technique: For fillings that require thickening, a cornstarch slurry (equal parts cornstarch and water) is often added. Mix the slurry thoroughly before combining it with the hot filling to prevent clumps.
FAQ: Solving Filling Mishaps
Q: What can cause a filling to be too thin?
A: Insufficient thickening agent or undercooking can result in a runny filling. Incrementally add a cornstarch slurry and cook until the right consistency is reached.
Problem Solution Too Thin Add more cornstarch slurry and cook to desired thickness. Lumpy Strain the filling through a sieve or blend until smooth.
Q: How do you fix a lumpy filling?
A: Lumps often form from undissolved cornstarch or uneven mixing. They can be resolved by straining the filling with a sieve or blending until the texture is smooth.
Remember, resolving issues with cake fillings often relies on slight adjustments and patience.


