How to Measure Ingredients with Household Items
A Simplified Guide
When preparing a recipe, measuring ingredients accurately is essential, especially in baking where precision is key to the perfect chemical reaction that leads to delectable results. Not everyone has a full set of measuring tools like cups, spoons, or a kitchen scale at their disposal. However, even without these tools, one can still achieve pretty accurate measurements using common household items.
In many kitchens, everyday objects can serve as stand-ins for standard measuring devices. For example, a typical tablespoon is about the size of a poker chip, while a teaspoon corresponds to the size of a quarter. A cup — an amount commonly required in recipes — can be likened to a baseball in volume. Understanding these approximate comparisons allows for a confident approach to cooking and baking without traditional measuring tools.
Accuracy, though paramount in following a recipe, can sometimes be achieved through these unconventional methods. One must remember that the ability to improvise comes in handy, but when precision is crucial — as in the case with baking ingredients like flour or sugar — it’s beneficial to have a foundational understanding of how standard measurement tools like cups and spoons equate to common objects found in the home. This knowledge provides a base from which one can confidently tackle any recipe, ensuring that each dish has the best chance of success.
Understanding Measurement Units
In the realm of cooking and baking, precision is crucial, and this begins with an understanding of measurement units. Clarity on how volume and weight differ, the distinctions between metric and imperial systems, and the common terms found in recipes will ensure accuracy in the kitchen.
Volume vs. Weight
Volume measures the space an ingredient occupies, favoring liquids and items that conform to the shape of their container. Common volume units include:
teaspoons (tsp)
tablespoons (tbsp)
fluid ounces (fl oz)
cups
pints (pt)
quarts (qt)
gallons (gal)
liters (L)
milliliters (mL)
Weight, on the other hand, gauges the heaviness of an ingredient, regardless of its state, and is often more accurate for dry goods. Typical weight units are:
ounces (oz)
grams (g)
pounds (lb) They utilize scales for measurement, as opposed to measuring spoons or cups used for volume.
Metric vs. Imperial System
The metric system is a decimal-based means of measurement, widely adopted globally and favored in scientific communities due to its uniformity. Important metric units for cooking include:
grams (g) for weight
liters (L) and milliliters (mL) for volume
In contrast, the imperial system is used predominantly in the United States, and it utilizes units such as:
ounces (oz) and pounds (lb) for weight
teaspoons (tsp), tablespoons (tbsp), fluid ounces (fl oz), cups, pints (pt), quarts (qt), and gallons (gal) for volume
Conversion between systems is facilitated by conversion charts, which are essential tools in any cook’s arsenal for ensuring recipe success across systems.
Decoding Recipe Terms
Recipes can sometimes contain terms that imply measurement techniques or specific units. For example:
A "pinch" indicates a small amount one could pinch between two fingers, often less than 1/8 teaspoon.
To "level" means to remove excess from a measuring spoon or cup to ensure precision.
A "heaping" or "rounded" measurement implies slightly more than the exact measure due to the ingredient being piled high above the rim.
Understanding these terms and their associated units ensures that one follows the recipe as intended. It's also vital to discern the difference between volume and weight terms; for instance, fluid ounces measure volume, while ounces can pertain to weight, necessitating careful attention to context.
Choosing the Right Tools
When measuring ingredients for recipes, precision is key. The proper tools can mean the difference between a culinary success and a baking mishap.
Types of Measuring Cups
Dry Measuring Cups are designed for ingredients such as flour, sugar, and grains. They come in a nested set, typically ranging from 1/4 cup to 1 cup. It's important to fill the dry measuring cup to the brim and level it off with a straight edge for an accurate measure.
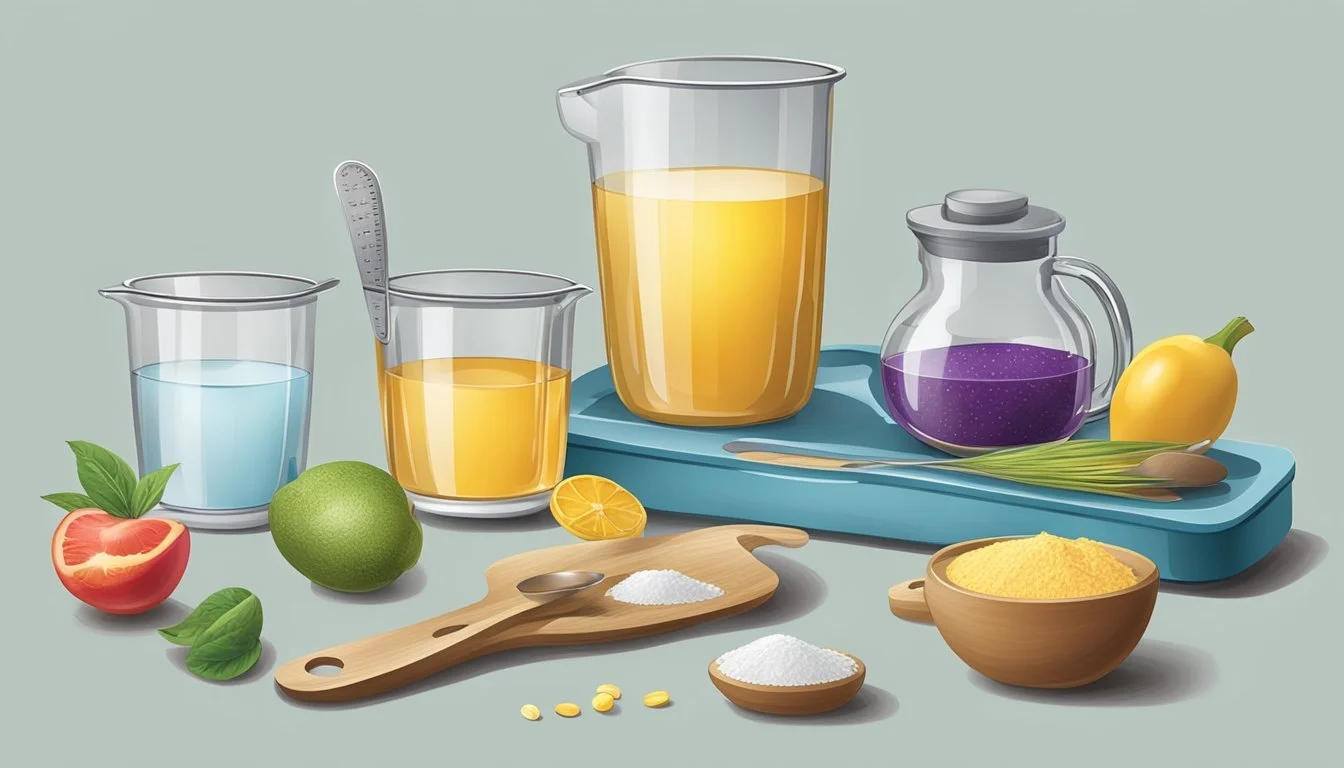
Liquid Measuring Cups have a spout for pouring and space above the top measurement line to prevent spills. These are transparent, marked with lines for various measurements, and should be used for liquids like water, milk, and oil.
When to Use a Kitchen Scale
A Kitchen Scale or Food Scale, especially a Digital Kitchen Scale, is essential for ingredients that need precise weight measurements, which can be more accurate than volume measurements. They are useful for meats, cheeses, and certain baking components where consistency is crucial.
Pros:
Precision: Offers exact measurements.
Consistency: Ensures repeatable results, important for baking.
When:
For baking bread, where flour must be precise.
When a recipe lists ingredients by weight.
Additional Useful Utensils
In addition to measuring cups and scales, certain Utensils can enhance accuracy:
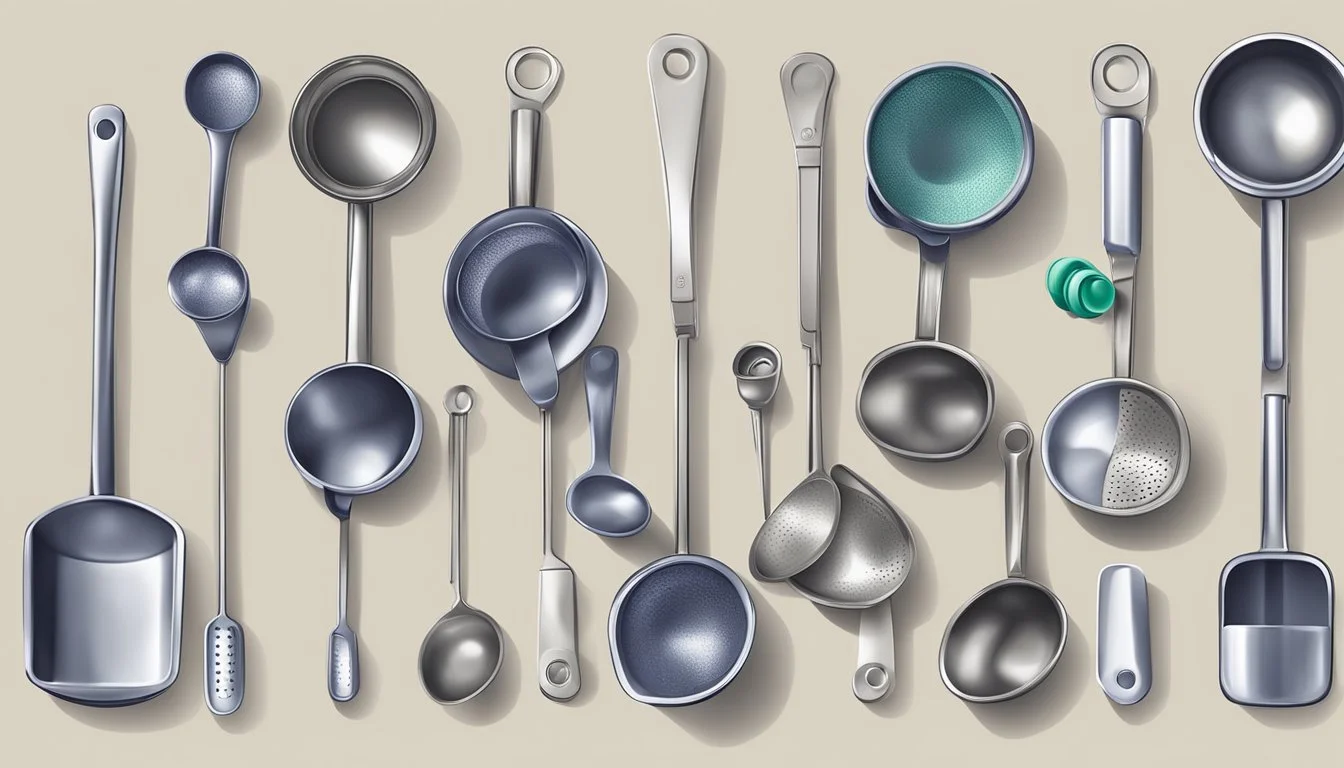
Measuring Spoons: For small amounts of both wet and dry ingredients.
Adjustable Measuring Cups: For sticky substances like honey or peanut butter.
These tools complement the basic measuring cups and scales to ensure accuracy across all types of ingredients.
Measuring Dry Ingredients
When measuring dry ingredients, precision is vital for the accuracy of the recipe. Using the correct techniques ensures consistent results in baking and cooking.
Proper Techniques for Flour and Sugar
One should use the "dip and sweep" method for measuring flour and granulated sugar. This involves scooping the flour or sugar from its container using the measuring cup and then leveling it off with the flat edge of a knife. It's crucial to avoid packing the flour down into the cup, as this can cause an over-measurement.
Flour: Dip the measuring cup, overfill, then level off.
Granulated Sugar: Use the same dip and sweep method, but there's no need to be concerned about packing.
Packing Brown Sugar
When it comes to brown sugar, packing is necessary to measure the correct amount due to its moisture content. They should firmly press the sugar into the measuring cup until it's compact, then level off the excess with a flat edge. When dumped out, the brown sugar should hold the shape of the measuring cup.
Brown Sugar: Pack firmly, level off, should hold the cup's shape.
Handling Small Dry Ingredients
For small quantities of dry ingredients such as salt, powdered sugar, or spices, measuring spoons are the tool of choice. One should fill the spoon and level it off without shaking or tapping, which could result in less than the intended amount.
Salt: Handle with care to avoid over-measuring.
Powdered Sugar: For dusting, no leveling is needed; for precise measurements, one should level off.
Spices: A light tap to remove excess ensures accurate measurement without wasting these potent ingredients.
Ingredient Technique Note Flour Dip and sweep Do not pack; overfill, then level off Granulated Sugar Dip and sweep Scoop and level off Brown Sugar Pack firmly Press in and level off Salt Direct fill Fill and level off Powdered Sugar Direct fill For precise measures, level off Spices Direct fill Light tap for excess
Measuring Liquid Ingredients
When measuring liquid ingredients, precision is key for the best culinary results. One must employ the right techniques and tools to ensure accuracy, taking into account factors like sticking and temperature changes.
Reading Liquid Measurements
For accuracy when reading liquid measurements, the cook should use a clear liquid measuring cup. They must pour the liquid into the cup and set it on a flat surface. They then check the measurement at eye level to observe the meniscus—the gentle curve formed by the liquid. The lowest point of the meniscus should align with the measuring mark to ensure an exact measure. All liquids should be measured this way, regardless of the ingredient's viscosity, ensuring that space and air above the liquid do not affect the accuracy.
Dealing with Sticky Ingredients
Sticky ingredients, such as honey or syrup, require a different approach. Before measuring, the cook should lightly coat the measuring cup with a non-stick spray or a little oil. This preparation allows the sticky liquid to release more easily from the cup, preventing waste and maintaining the recipe's integrity. Measuring spoons should also be treated this way when dealing with semi-liquid or sticky ingredients.
Temperature's Impact on Liquids
Temperature can significantly affect the volume of liquid ingredients. For example, when butter is melted, it occupies a different amount of space compared to its solid form. The cook should be aware of the temperature called for in the recipe and measure liquids at that temperature. Cold ingredients can contract, while warm ingredients can expand, so it is important to measure liquids at recipe-specified temperatures to ensure accuracy.
Mastering Accuracy in Baking
Accurate measurement is vital in baking, where precision affects both texture and taste. Baking is like chemistry in the kitchen, necessitating exact amounts and proper techniques to ensure successful outcomes.
The Importance of Precision
In baking, each ingredient has a specific role that contributes to the final product's chemistry. Precise measurements are crucial because an imbalance can lead to disappointing results. Baking powder, for example, when used in incorrect quantities, can drastically alter the rise and texture of baked goods.
Weight vs. Volume: Professional bakers recommend weighing ingredients for accuracy. A scale ensures that measurements are not affected by variations in ingredient density.
Achieving Consistent Baking Results
For consistent results, baking ingredients should be measured using tools calibrated to standard measurements. A kitchen scale is ideal, but measuring cups and spoons can suffice when used correctly.
Dry ingredients: Use cups and spoons to measure, then level off with a straight edge.
Wet ingredients: Pour into a transparent measuring cup to the desired mark at eye level.
Table: Recommended Measuring Tools
Ingredient Type Tool Note Dry Ingredients Measuring Cups, Spoons Level off with a straight edge. Wet Ingredients Liquid Measuring Cup Read at eye level for precision. Small Quantities Measuring Spoons For better accuracy, opt for digital scales.
Common Mistakes to Avoid
One should take note of common pitfalls in measuring to maintain accuracy. Scooping flour directly with a measuring cup can lead to over-measuring. Instead, they should spoon flour into the cup and level it off without compacting. Ignoring the correct method can impact the baking results, making them denser.
Do not scoop: Use a spoon to transfer to measuring cups and avoid packing down.
Consistent method: Stick to either weight or volume throughout a recipe to prevent inconsistencies.
Advanced Measuring Techniques
Mastering advanced measuring techniques ensures precision, which is crucial in achieving consistent results in both cooking and baking. This section delves into tools and calculations that can elevate one's culinary skills.
Using a Kitchen Scale for Accuracy
A digital kitchen scale is an indispensable tool for anyone serious about cooking or baking. It provides accurate ingredient measurements, crucial for recipes that demand precision. Scales can measure in different units, such as grams, ounces, and pounds, allowing users to follow a variety of recipes without complex conversions. To use, place a bowl on the scale, zero it, then add the ingredient until the desired weight is reached.
Understanding Bakers' Percentages
Bakers' percentages are a helpful method bakers use to quantify ingredient ratios and can be quite beneficial when needing to adjust the size or scale of a recipe. This technique expresses ingredients as a percentage of the flour weight, making it easy to scale recipes up or down. For example, in a bread recipe, if the flour weight is set at 100%, and water is listed at 60%, one knows that for every 100g of flour, 60g of water is needed.
Converting Recipes for Scale
When changing the size of a recipe, one must adjust the quantity of each ingredient proportionally. To scale a recipe up or down:
Calculate the scaling factor by dividing the desired yield by the original yield.
Multiply all ingredients by this scaling factor.
Use a kitchen scale to measure ingredients after conversion to avoid discrepancies that could affect the dish's quality or cook time.
Original Recipe Scaling Factor Scaled Recipe 200g flour x1.5 300g flour 100g sugar x1.5 150g sugar 2 eggs x1.5 3 eggs
This precise approach saves time and prevents waste by ensuring that one only prepares the amount needed.


