
The DIY Double Boiler Method
Efficient Melting and Mixing Without Special Equipment
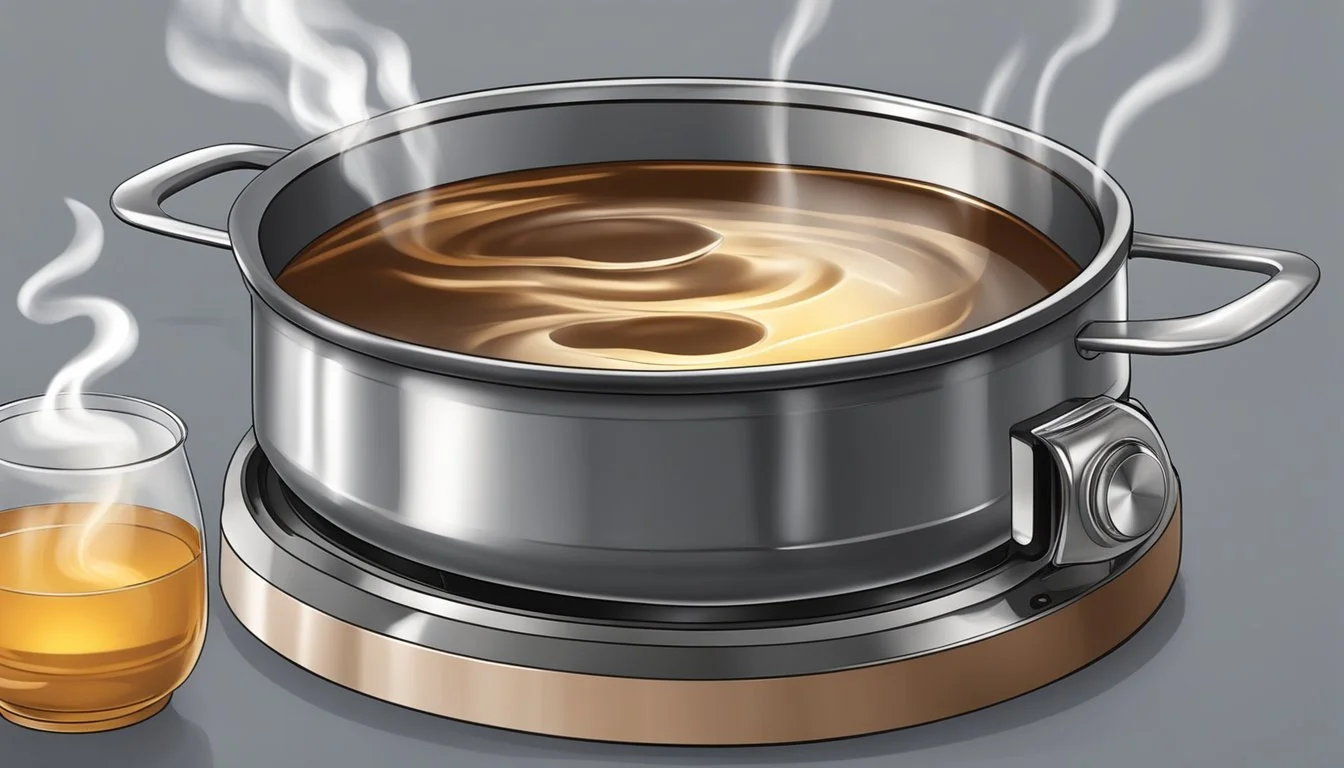
Crafting a double boiler doesn't require special equipment or significant financial investment. A double boiler is a kitchen tool that cooks or heats food gently and gradually to fixed temperatures that are much less than boiling point. It consists of two pots: a larger one that holds boiling water and a smaller, inner pot that holds the ingredients that are being cooked. By introducing a barrier between the heat source and the delicate ingredients, a double boiler allows for indirect heat and helps prevent scorching or splitting common in heat-sensitive recipes such as chocolate, custards, and sauces.
The concept of the double boiler has been adapted into a do-it-yourself version using items commonly found in the kitchen. Home cooks can easily emulate this cooking technique by placing a heatproof bowl over a pot of simmering water, ensuring there's enough space so that the bowl does not touch the water. This setup effectively mimics the gentle heat effect of a traditional double boiler, facilitating the same cooking process without the need to purchase a dedicated piece of kitchenware.
The versatility of the makeshift double boiler is notable because it can accommodate a variety of materials—glass, stainless steel, or ceramic bowls can all serve as the upper component of a double boiler. While some instructions for melting ingredients like wax or chocolate suggest filling the bottom saucepan half full with water, chefs often recommend using just an inch or two of water to maintain that essential gap, ensuring that steam, not boiling water, transfers heat to the bowl above.
Understanding the Double Boiler Method
In the culinary world, melting and mixing ingredients with precision is essential, and the double boiler method is the go-to technique for achieving gentle and even heat distribution.
Fundamentals of Indirect Heat
A double boiler consists of two pots: a larger one that holds boiling or simmering water, and a smaller pot or heatproof bowl placed above but not touching the water. The steam from the boiling water rises and heats the upper vessel, creating a controlled cooking environment. This setup prevents direct contact between the heat source and the food, ensuring that the food receives gentle heat. It's particularly suitable for delicate tasks where scorching or separating ingredients is a risk.
Benefits of Using a Double Boiler
Utilizing a double boiler has several advantages:
Consistent Temperature: It can maintain a stable temperature, which is crucial for ingredients sensitive to heat.
Prevention of Burning: Foods that require a meticulous approach, such as chocolate or custards, are less likely to burn since they are not in direct contact with the heat source.
Flexibility and Convenience: If one doesn't own a specially designed double boiler, they can create a makeshift version with common kitchen equipment—a pot and a bowl.
By mastering the double boiler method, cooks can expertly melt chocolate, concoct delicate sauces, and prepare a variety of culinary creations with care and precision.
Items You Need for a DIY Double Boiler
Creating a double boiler at home is a straightforward process that requires common kitchen items. Proper selection ensures safe and efficient melting or mixing for various cooking tasks.
Choosing the Right Pots and Bowls
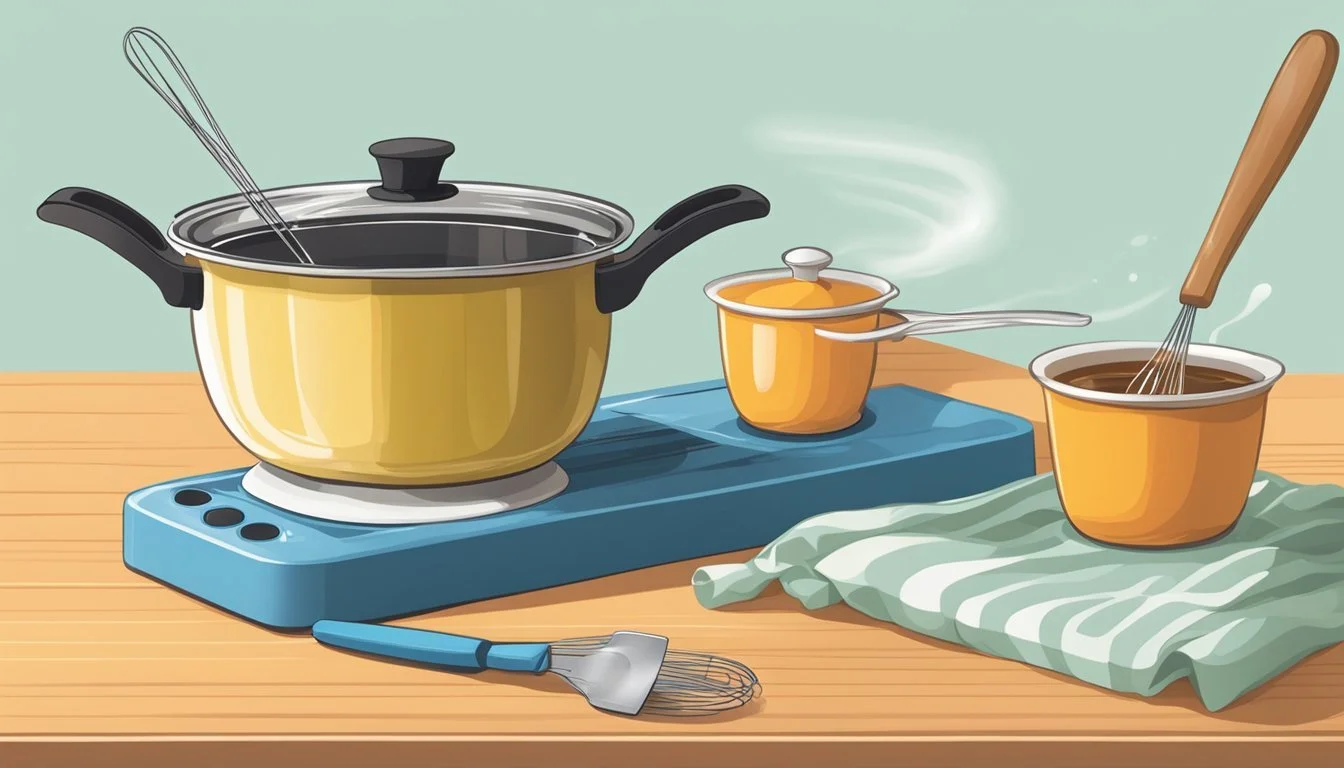
For a DIY double boiler, one will need two primary items: a pot and a bowl. It is crucial to use a saucepan as the base, which will hold water, and a heatproof bowl that fits snugly on top. The bowl, whether it's made of glass or stainless steel, should sit above the water without touching it, allowing steam to circulate. The saucepan should be filled with water approximately an inch or two, enough to provide consistent heat without risk of boiling over.
Saucepan: A medium-sized pan to hold water.
Heatproof bowl: A glass or stainless steel bowl to place ingredients in.
Alternative Options for Specialized Tasks
When it comes to more specialized tasks, alternative options can be considered. For melting ingredients like wax or chocolate, which require gentle and even heating, one might opt for a smaller pot with a glass bowl to ensure better control of the temperature. In contrast, tasks requiring continuous whisking, such as making hollandaise sauce, may benefit from a metal bowl over a saucepan because it offers a sturdy and heat-conductive setup.
Smaller Pot: Preferable for tasks that need precise temperature control.
Glass Bowl: Best for gentle heating and avoiding direct contact with flame.
Metal Bowl: Suitable for active tasks, offering durability and efficient heat transfer.
Step-by-Step Guide to Setting Up Your DIY Double Boiler
Creating a double boiler at home is simple and effective for tasks that call for gentle heating. The procedure ensures ingredients are melted or mixed without the risk of burning or overheating.
Preparation
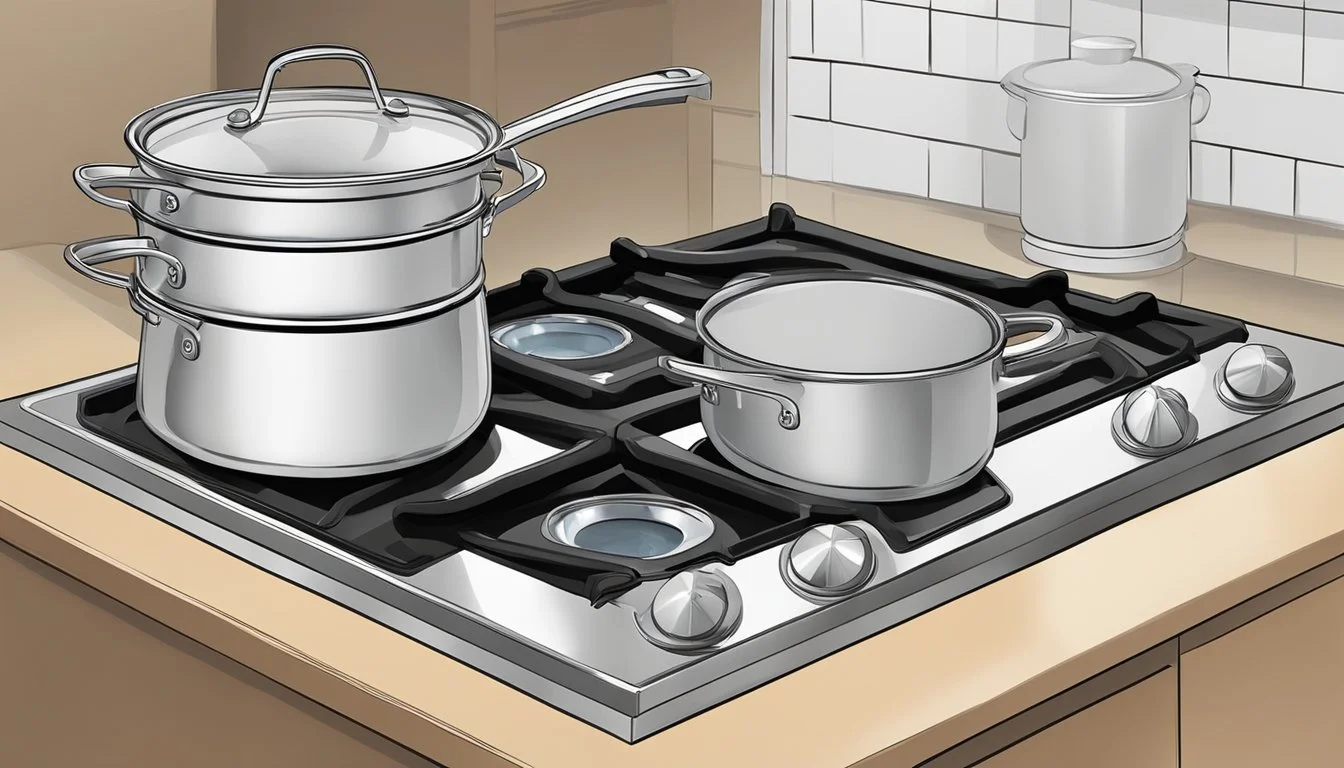
Choosing Containers: She needs to select a large pot and a heatproof bowl that can sit on top of the pot. The goal is to have the bowl large enough to cover the pot's opening without falling in. There should be a gap between the bottom of the bowl and the water to utilize steam effectively.
Water Measurement: They should add water to the pot, approximately 1 to 2 inches deep, ensuring the water does not touch the bottom of the bowl when it is placed on top.
Initial Heating: Before placing the bowl on the pot, she needs to heat the water to a simmer on the stovetop. A gentle simmer is preferable to a rolling boil to avoid water splashing into the ingredients.
Assembly Procedure
Setting the Bowl: Once the water is simmering, they should carefully place the bowl on top of the pot. The bowl forms a seal over the pot to trap steam but should not be airtight.
Regulating Temperature: She needs to adjust the burner to maintain a steady simmer and ensure a constant supply of steam. The heat should be sufficient to keep the water simmering without letting it run dry.
Stirring Contents: As the steam warms the bowl, they can add the ingredients to the bowl and stir gently. They must use a dry, heatproof utensil to avoid introducing moisture into the mixture. She must also handle the bowl with caution, as it becomes hot.
By following these steps carefully, one can create an effective hot water bath on the stovetop that mirrors the controlled heating of a commercial double boiler. This method is instrumental for melting chocolate, warming delicate sauces, or creating custards.
Cooking With Your DIY Double Boiler
A DIY double boiler allows one to gently heat delicate ingredients without the risk of burning or uneven cooking. The steady heat helps ensure smooth melting and proper mixing of ingredients.
Melting Chocolate Perfectly
To melt chocolate, the DIY double boiler provides a balanced heat that avoids the direct contact with a flame. Step 1: Fill a pot with an inch or two of water and bring it to a mild simmer. Next, place a heat-resistant bowl on top, ensuring the bottom does not touch the water. Step 2: Add the chocolate pieces into the bowl and allow them to warm up, stirring occasionally with a dry spatula until the chocolate is uniformly melted and smooth.
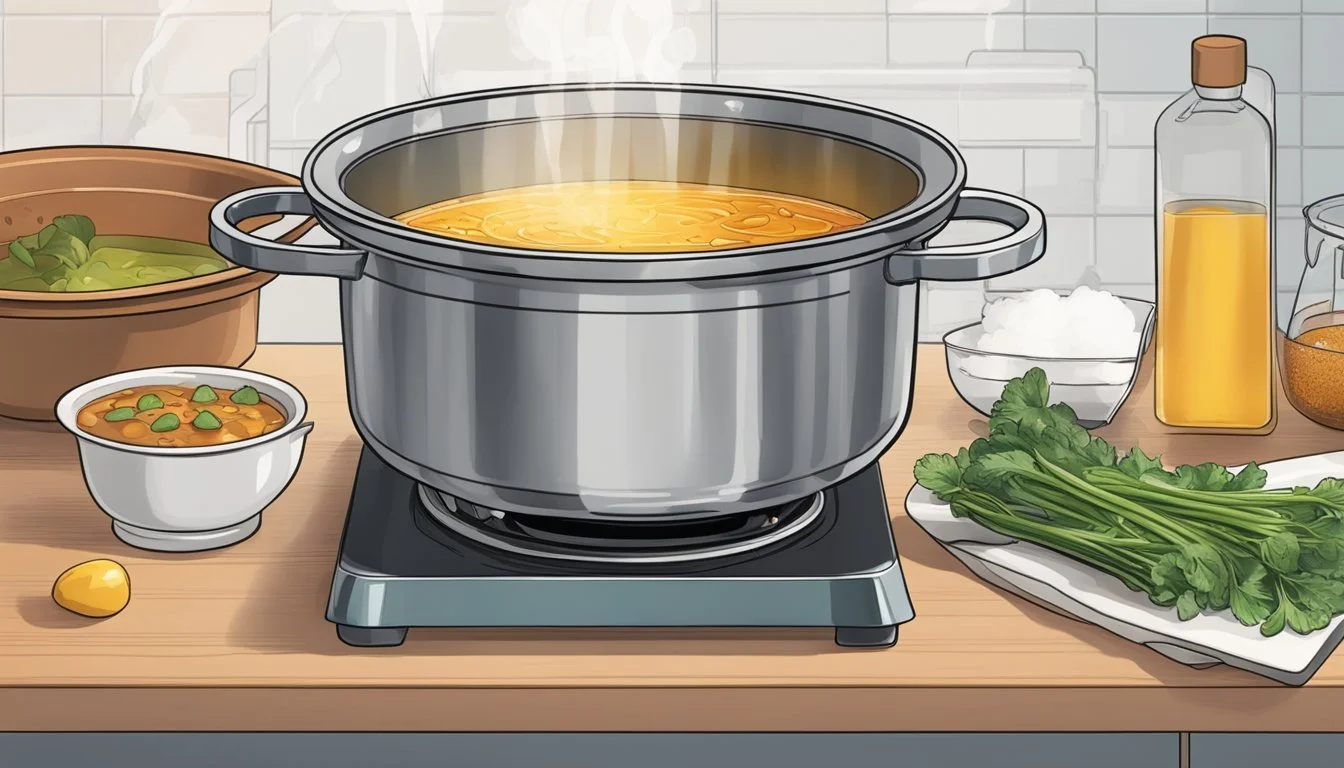
Creating Creamy Sauces and Custards
Creamy sauces and custards require careful temperature control to prevent curdling. For Sauces: Place your ingredients such as eggs and cream for a hollandaise sauce in the bowl over the simmering water. Frequently stir to mix the ingredients smoothly, cooking until the sauce thickens to a velvety texture. For Custards: Similarly, the steady heat helps cook custards evenly, making sure the eggs thicken the mixture without scrambling.
DIY Cosmetics: Melting Ingredients Like Beeswax
When crafting homemade cosmetics, like lip balm, melting consistent ingredients is crucial. Step 1: Add beeswax to a heat-safe jar, resting it in a saucepan of simmering water. Step 2: Stir until the beeswax melts and combines with other elements such as essential oils. Handling the hot ingredients with care is important for a smooth finished product.
Tips and Tricks for Optimal Use
Creating a makeshift double boiler is an effective method to heat sensitive ingredients with control and care. By understanding how to manage temperature and prevent water from compromising your mixture, one can ensure consistent results.
Temperature Control
To achieve precise temperature control, begin by bringing an inch or two of water to a simmer on your stovetop. A rolling boil is unnecessary and can introduce too much heat, risking the integrity of delicate ingredients. Maintaining a gentle simmer in the water bath provides adequate indirect heat, which is ideal for melting substances like chocolate or blending custards without causing them to stick or burn.
Preventing Water Intrusion
To prevent steam from the simmering water from condensing and dripping into the melting mixture, which can ruin delicate processes like chocolate tempering:
Ensure the bowl fits snugly over the pot but does not touch the water.
Wipe down any moisture from the rim of the pot before placing the bowl.
Keep all stirring utensils dry to avoid introducing water into the mix. Regularly checking for steam escape and adjusting the stovetop temperature if needed can also help in maintaining a dry, secure setup.
Safety Considerations for Homemade Double Boilers
When creating a homemade double boiler, it is crucial to maintain safety to prevent injury from scalds, burns, and ensure the stability of the cooking setup.
Preventing Scalds and Burns
One must ensure proper protection when handling a double boiler as the steam and heat can cause severe scalds. Always use oven mitts when touching the bowl or pot of the double boiler, as these surfaces get extremely hot. It's important to be vigilant to prevent scorching or burning of one's hands, and to be cautious of the trapped steam that can release abruptly when lifting the top of the double boiler.
Ensuring a Stable Setup
The stability of a DIY double boiler is essential for safety. The pots used must fit together in a way that the top component does not slip or tip, which could lead to spills of hot material. A user should check for a dependable balance that doesn't wobble to avoid accidents. The water level in the bottom pot should be enough to foster heating without the risk of boiling dry, as an empty pot presents a fire hazard. Additionally, having a proper gap between the water and the bottom of the top bowl or pot prevents direct contact and the possibility of overheating or burning the contents.
Alternatives to Double Boilers
When it comes to melting or mixing ingredients without a double boiler, cooks can utilize the microwave or a water bath in the oven. These methods offer a safe and controlled approach to apply gentle heat, which is crucial for delicate tasks such as melting chocolate or other substances that can easily burn or seize.
Using a Microwave for Melting
Microwaves provide a fast and efficient means of melting ingredients. They work by agitating water molecules within the food, generating heat rapidly.
Breaking Down Ingredients: Cut or break the ingredients into small, uniform pieces for even melting.
Power Setting: Heat on a low power setting (50% maximum) to reduce the risk of overheating.
Stirring Intervals: Stop and stir the ingredients every 30 seconds to promote uniform heat distribution.
Safety Tip: Use a microwave-safe container to avoid any mishaps or melting of the container itself.
Water Bath in the Oven
A water bath in the oven, also known as a bain marie, is an alternative typically used for custards and cheesecakes, but it is also well-suited for melting ingredients.
Preheat the Oven: Set the oven temperature to a low setting, between 250-300 degrees Fahrenheit (121-149 degrees Celsius).
Oven-Safe Containers: Use a larger oven-safe dish filled with water and a smaller, heatproof bowl for ingredients. The bowl should fit comfortably without touching the water.
Steady Heat: Place the water bath with the ingredients in the oven, ensuring even exposure to heat and preventing direct contact with the intense oven heat.
Using these methods, one can confidently bypass the need for a double boiler while maintaining the integrity of heat-sensitive ingredients on the stove, in a microwave, or in an oven.
Understanding Why You Don't Always Need to Buy

While there are kitchen tools designed for specific tasks, some can be improvised using common household items without compromising on quality. This section explores the benefits and practicality of DIY alternatives to specialized kitchen equipment.
Cost-Effectiveness of DIY Methods
A double boiler is a specialized tool often used in cooking and baking to gently heat ingredients without direct contact with the heat source. Purchasing a double boiler can be an unnecessary expense for home cooks who only need it occasionally. By employing a DIY method, individuals can save money while achieving the same results. A typical store-bought double boiler can range from $15 to $100, depending on the brand and quality.
Adapting with Items in Your Home
Home cooks can create an effective double boiler with items they likely already own. The makeshift double boiler involves two simple components: a pot and a heatproof bowl. Here's a quick guide on how to assemble a DIY double boiler:
Select a Large Pot: The pot should be wide enough to accommodate a heatproof bowl on top without the bowl touching the bottom.
Pick a Heatproof Bowl: The bowl must fit snugly into the pot, ensuring steam doesn't escape. Glass or stainless steel bowls are preferred.
Assemble the DIY Double Boiler:
Fill the pot with about an inch or two of water, making sure the water level is below the bottom of the bowl.
Bring the water to a simmer on the stove.
Place the bowl on top of the pot, ensuring it doesn't touch the water.
Using this method, they can melt chocolate, cheese, or prepare delicate sauces like Hollandaise with the gentle, indirect heat that a double boiler provides. This approach also underscores the versatility of home kitchen tools and encourages resourcefulness.
Additional Uses in the Kitchen and Beyond
The versatility of a DIY double boiler extends beyond everyday cooking into the realm of holiday recipes and special moments. It serves as a key tool for both culinary delights and creative home projects.
Holiday Recipes and Special Occasions
Holiday recipes often call for delicately melted ingredients. A double boiler is perfect for tasks such as:
Melting Chocolate: For creating silky-smooth chocolate dips or coatings for holiday cookies and candies.
Cheese Dips: Gently melting cheeses to the right consistency for fondue during family gatherings.
Candy Making: A consistent, gentle heat allows for the control needed when making confections like toffees or fudge.
Sauces and Custards: Embellishing special occasion meals with sauces like hollandaise or preparing a homemade custard without fear of curdling.
Crafting and Home Projects
Beyond culinary uses, DIY double boilers facilitate a variety of crafts and home projects:
Soap Making: Melting soap base evenly without burning it provides a smooth mixture for adding fragrances or colors.
Wax for Candle Making: Achieving the correct temperature for pouring candles is made simpler with this setup.
Homemade Cosmetics: Melting beeswax and combining it with oils for lip balms or lotion bars can be done efficiently using a double boiler.
In each use, whether for food or crafts, a DIY double boiler ensures control and consistency, essential for a successful outcome.
Maintaining and Storing Your DIY Double Boiler
Proper maintenance ensures the longevity of a DIY double boiler, while efficient storage keeps it accessible and ready for use in any kitchen. The following subsections provide targeted advice.
Cleaning Tips
After using a DIY double boiler, one should allow the components to cool down completely before cleaning to prevent any risk of burns or thermal shock to the materials. Bowls and pots used should be washed with warm, soapy water and a soft sponge to avoid scratching. If there are residues that are hard to remove, soaking in hot soapy water for a period will generally loosen them.
Stainless steel bowls: Avoid abrasive cleaners; instead, opt for baking soda for tough spots.
Glass bowls: For streak-free shine, one can use a mixture of vinegar and water.
Care should be taken to ensure that all parts are thoroughly dried before storing to prevent rust or mold formation especially if using metal components.
Storage Solutions
Storing a DIY double boiler efficiently involves maximizing kitchen space without damaging any of the components. Here are some storage solutions:
Nesting: Store the bowl and pot as you would nest other similar kitchen items, saving space.
Separate location: If space permits, keeping these items near the stove allows for easy access.
Hooks or Pegs: Hang the bowl from a kitchen hook or peg if it has a rim; this can prevent cluttering cabinet space.
A well-maintained and properly stored DIY double boiler is indispensable for various cooking tasks, and following these tips will keep it functional and ready for any recipe.
