
The Stovetop Crème Brûlée
Mastering the Perfect Caramelized Topping Using Your Cooktop
Crème brûlée, a dessert often reserved for restaurant dining due to its seemingly complex preparation, especially the signature caramelized top, is actually within reach for home cooks—even without the culinary torch. This classic French dish, known for its rich custard base and contrasting layer of hard caramel on top, can be prepared with an alternative technique that employs a common kitchen stove. Personal preferences for the caramel layer's texture can be successfully catered to using this method, ensuring that the dessert retains its traditional appeal.
The stovetop method for creating the quintessential caramelized top of a crème brûlée involves carefully controlled heat and a watchful eye. The process can deliver a satisfyingly crisp layer similar to that produced by a torch. By using the broiler in the oven or a heated spoon on the sugar-topped custards, cooks have the power to achieve a desirable golden crust. This approach allows for variation in the caramelization, able to please a range of personal preferences, whether one desires a lightly toasted finish or a deeper, more robust flavor.
Understanding Crème Brûlée
This section addresses the fundamental aspects and historical roots of crème brûlée, a quintessential French dessert that combines custard and caramel elements.
The Basics of Crème Brûlée
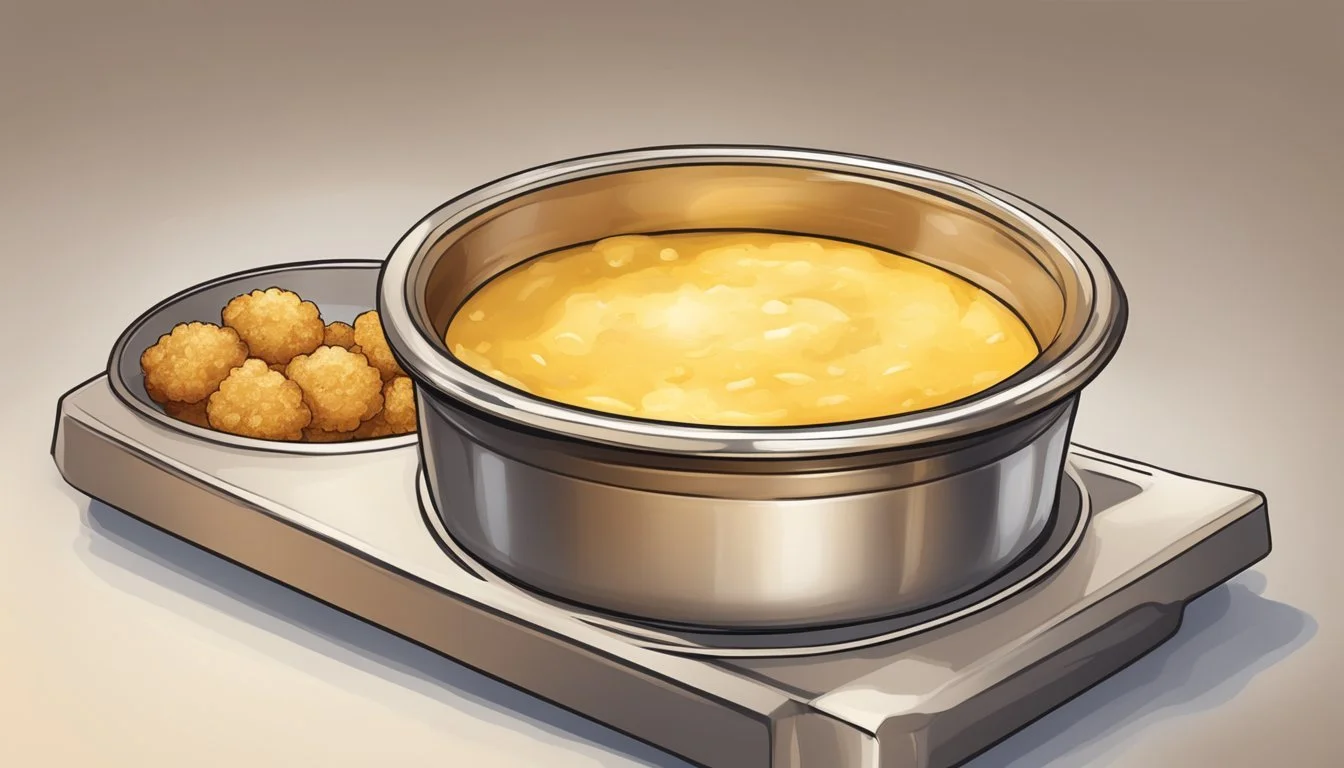
Crème brûlée, directly translating to "burnt cream," is a dessert that consists primarily of a rich custard base flavored with vanilla, topped with a contrasting layer of hard caramel. The custard component is made by gently heating cream and vanilla, then whisking it into a mixture of egg yolks and sugar to create a silky texture. After the custard is baked and cooled, sugar is sprinkled on top and caramelized to create the signature brittle top. Achieving this caramelization without a torch involves alternative heating methods that similarly produce a golden, crisp surface.
Historical Significance of the French Dessert
The origins of crème brûlée can be traced back to France, where it holds great culinary prestige as an iconic French dessert. The term "crème brûlée" itself first appeared in a French cookbook in the 17th century, solidifying its status in French cuisine. Often referred to as "burnt cream", it is synonymous with the art of delicate custards that require precise techniques both in preparation and in achieving the characteristic caramelized top. This dessert has stood the test of time, evolving through various interpretations while maintaining its classic charm.
Ingredients for Stovetop Crème Brûlée
Creating a delicious stovetop Crème Brûlée requires a precise combination of rich dairy and aromatic elements for the base, along with careful selection of sweetness and stability agents. Here's what you'll need to collect before beginning the preparation.
Cream and Vanilla Essentials
For the creamy component, heavy cream or heavy whipping cream serves as the ideal choice due to its high fat content, which provides the rich texture Crème Brûlée is known for. Amounts may vary, but typically one needs about 2 cups. In terms of infusing the cream with a sweet, fragrant flavor, one can either use a vanilla bean—split and scraped to release the seeds—or alternatively vanilla bean paste or vanilla extract. For those opting for extract, a teaspoon should suffice.
Heavy Cream/Heavy Whipping Cream: 2 cups
Vanilla Bean (split and scraped) / Vanilla Bean Paste: 1 teaspoon / Vanilla Extract: 1 teaspoon
Egg Yolks and Sugar Role
In Crème Brûlée, egg yolks serve two important functions: they thicken the cream mixture and also add a lush, velvety texture. A standard recipe usually calls for about 4 to 6 yolks. The right amount of granulated sugar is critical: not only does it add sweetness, but it's essential for achieving the signature caramelized top. For the custard base, one would typically need about half a cup, and then a thin layer is sprinkled on top just before caramelization. Lastly, a pinch of salt enhances all these flavors, balancing the overall taste profile.
Egg Yolks: 4-6
Granulated Sugar: 1/2 cup for custard base, extra for topping
Salt: A pinch
Equipment Needed
Crafting a perfect stovetop crème brûlée requires a few key tools that most home cooks already have in their kitchen. Without a kitchen torch, these alternatives are essential for achieving that iconic caramelized sugar crust.
Alternatives to a Kitchen Torch
To mimic the intense heat of a crème brûlée torch, one can use a broiler in their oven. The broiler needs to preheat for about 10 minutes, and ramekins should be placed at least 4 to 6 inches away from the heat source. Another method involves using a hot metal spoon heated over a stovetop flame; press the back of the spoon firmly onto the sugar until it caramelizes.
List of Alternatives:
Oven's broiler
Hot metal spoon
Ramekins and Baking Aids
Ramekins are the traditional dish for crème brûlée due to their depth and heat resistance. These should be set in a baking pan or roasting pan before adding boiling water to create a water bath or bain-marie, which provides gentle, even heat while baking.
Equipment for Baking Setup:
Ramekins
Baking dish or roasting pan
Kettle (for boiling water)
Paper towels (to dry ramekins post water bath)
Wire rack (to cool ramekins after baking)
It's crucial that the chef spot-check that all equipment is oven-safe before beginning the cooking process to ensure safe and successful results.
Preparing the Custard Base
The foundation of a velvety crème brulee is a perfectly prepared vanilla-scented custard base. This section guides you through the techniques for mixing the custard to achieve the desired consistency and explores the different methods of cooking the custard.
Mixing Technique for Consistency
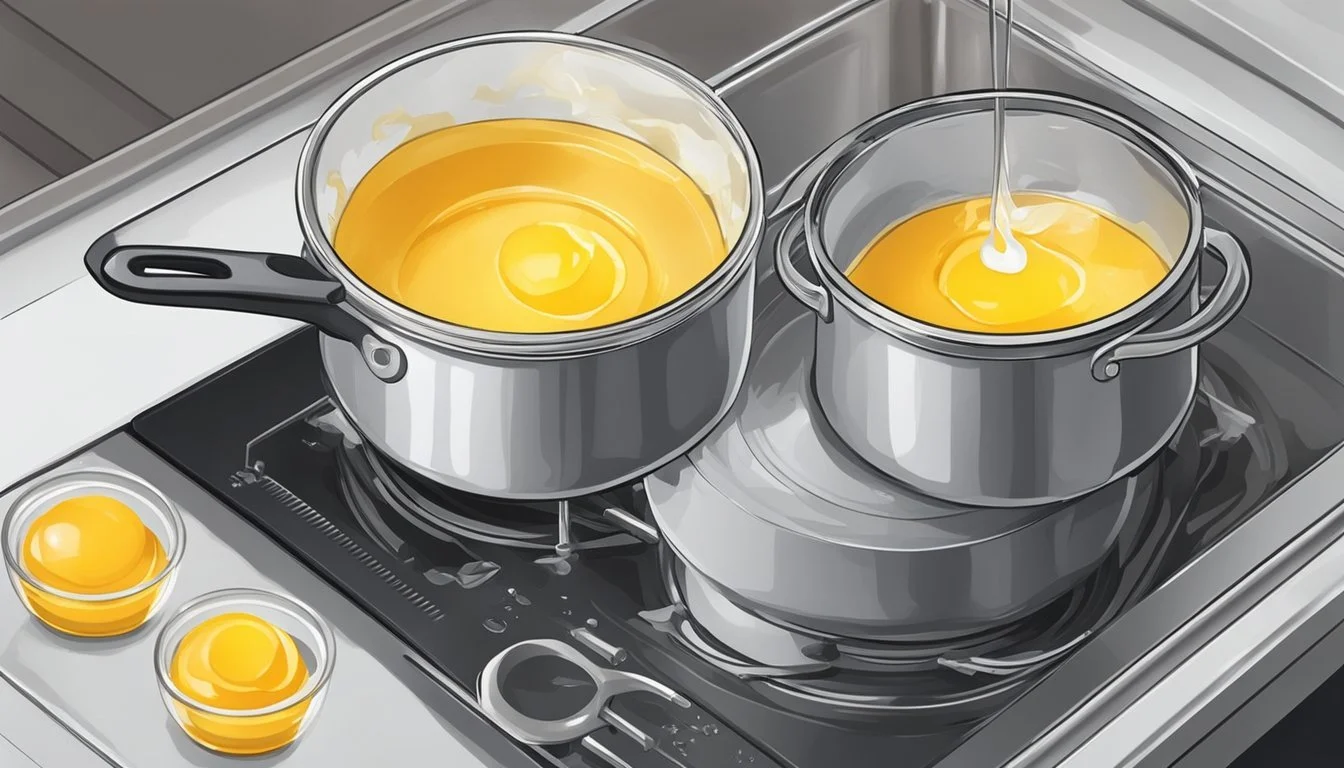
For a smooth vanilla custard, one begins by separating the egg yolks from the whites, as the yolks are key to the custard base. They should combine the yolks with granulated sugar, whisking them until the mixture attains a pale and creamy texture. It is this precise action that influences the uniformity of the final custard.
Ingredients:
Egg yolks
Granulated sugar
Heavy cream
Vanilla bean or vanilla extract
Pinch of salt
Combine: Mix egg yolks with sugar until pale and thick.
Infuse: Stir in warm, vanilla-infused cream gradually.
Strain: To ensure a smooth mixture, strain through a fine-mesh sieve.
This meticulous approach to mixing lays the groundwork for a successful creme brulee.
Custard Cooking Methods
Cooking the custard can be done using several methods, but on a stovetop, a gentle heat is critical to avoid curdling. Cook the mixture in a saucepan at medium-low heat, constantly stirring. The custard should be thick enough to coat the back of a spoon and reach a temperature of about 170º to 175º F. Here's what to consider:
Temperature Control: Medium-low heat prevents boiling.
Constant Stirring: Ensures even cooking and smooth texture.
Don't Boil: A simmer will cook the custard without curdling its delicate structure.
Following the stovetop method for custard ensures a vanilla custard base with a balanced, rich flavor and a texture that sets the stage for the quintessential custard dessert experience of crème brulee.
Achieving the Perfect Broil
To replicate the caramelized sugar top characteristic of crème brûlée without a torch, one can masterfully utilize the broiler in their oven. Precise control of timing and temperature is pivotal to achieving the desired crispy caramelization.
Utilizing the Broiler's Heat
When using the broiler to create a caramelized topping on crème brûlée, the process starts by removing the chilled custard from the refrigerator. One should allow the cold custard to sit at room temperature for about 10 minutes before broiling. This step ensures an even caramelization without overheating the custard beneath. Position the oven rack so that the ramekins will be 4 to 6 inches from the heating element when placed in the oven. Preheat the broiler on high for approximately 10 minutes to reach the necessary heat for caramelization.
Timing and Temperature Controls
The cook time under the broiler is critical and should be monitored closely; it typically takes about 3 to 5 minutes to achieve a perfectly crispy top. However, the exact timing may vary based on the specific oven's temperature and the distance between the ramekins and the broiler. Watch the sugar carefully as it begins to melt and then turn into caramel. It should bubble slightly and change to a rich golden-brown color, indicative of proper caramelization with no torch necessary. Adjust the placement of the ramekins or the oven's temperature setting if the sugar is not caramelizing as anticipated or if it starts to burn.
Final Touches and Presentation

Crafting the perfect stovetop crème brûlée involves precise temperature control and timing to achieve that iconic caramelized sugar topping. A stovetop crème brûlée retains the classic dessert's elegance, and with the right toppings and serving temperature, it can rival any dessert menu offering.
Adding Flavorful Toppings
Crème brûlée is traditionally finished with a layer of sugar that's heated until it forms a caramelized crust. Without a torch, this can be achieved by sprinkling a thin, even layer of sugar on top of the custard and placing the ramekin under a preheated broiler. One should watch carefully as the sugar bubbles and turns a rich golden brown, which typically takes about 2-3 minutes.
Beyond sugar, enhancing this dessert involves thoughtfully selected toppings:
Whipped Cream: A dollop of lightly whipped cream can add a contrasting texture.
Fresh Berries: A mixture of berries such as strawberries, blueberries, or raspberries can lend a refreshing, slightly tart counterpoint to the sweetness.
Citrus Zest: Lemon or orange zest can offer a bright note that cuts through the richness.
Honey or Vanilla: Drizzling honey or adding a hint of vanilla can amplify the custard's flavors.
Serving Temperature and Techniques
A stovetop crème brûlée should be served slightly chilled or at room temperature. This allows the custard to maintain its structure and the caramelized sugar topping to retain its crispness.
Temperature Technique Chilled Refrigerate for 2-4 hours Room Temperature Let sit for 15-20 minutes
Upon serving, it's essential to serve immediately after the sugar has been caramelized. The contrasting temperatures between the cool custard and the warm, brittle topping is a sensory delight. Always ensure that utensils, such as a dessert spoon, are provided so guests can enjoy the satisfying crack of the caramelized layer as they delve into the smooth custard beneath.
Common Issues and Troubleshooting
Creating an impeccable stovetop Crème Brûlée requires addressing the challenges in achieving the ideal custard consistency and caramelization. This section explores solutions to some of the common problems.
Preventing Watery Custard
Cause: Watery custard often results from condensation collecting on the custard surface when cooling.
Solution: To prevent this, one should cover the Crème Brûlée with a paper towel before sealing it with plastic wrap. The towel will absorb excess moisture.
Avoiding Overcooking: Another reason for watery custard is overcooking, which can cause the custard to separate.
Solution: Custards should be removed from heat when they have a slight jiggle in the center; they will continue to cook from residual heat.
Fixing Uneven Caramelization
Issue With Broiler: When using the oven broiler to caramelize the sugar, one may find that it caramelizes unevenly.
Solution: Rotating the ramekins during broiling can help ensure even caramelization across the custard's surface.
Heat Distribution: Uneven heat distribution in the oven or broiler can cause certain spots to remain uncaramelized.
Solution: Placing the rack closer to the broiler and preheating ensures that the sugar starts to caramelize as soon as it goes into the oven. If certain spots still remain undone, briefly return those specific areas nearer to the source of heat.
FAQs and Expert Tips
The following section addresses frequently asked questions and expert tips regarding stovetop crème brûlée, with a focus on ingredient substitution and professional advice. Whether tackling dietary restrictions or seeking the highest culinary standards, the insights provided aim to guide home cooks toward crème brûlée perfection without the need for a torch.
Substituting Ingredients for Dietary Needs
For those with dietary restrictions, crème brûlée can still be a viable dessert option. One can use dairy-free alternatives like coconut cream to replicate the dish's signature creaminess. It's crucial to maintain the correct proportion of fat to achieve the desired texture. When seeking sugar alternatives, raw sugar works well for the topping, as it caramelizes effectively. However, one must ensure its granules are fine enough or use a fine-mesh sieve to sift it for a uniform layer that will caramelize evenly.
Expert Tip: When substituting ingredients, keep in mind that the cooking time may vary. Always use the "coat the spoon" test to check for custard readiness.
Professional Insights from Chefs
Professional chefs suggest that mastering crème brûlée on the stovetop involves a meticulous process. Gordon Ramsay underscores the importance of not rushing the custard heating process to avoid curdling the eggs. Chefs recommend using a pressure cooker as a method to achieve a consistent temperature control for cooking the custard. After preparation, a crucial step is to allow the crème brûlée to set in the refrigerator for at least a few hours, although many chefs prefer overnight to fully develop flavor and texture.
Expert Tip: For special occasions like Valentine's, a perfect brûlée is achieved by rotating the sugar layer while caramelizing to cover all areas evenly. If a torch is unavailable, chefs suggest broiling in the oven as an alternative method, watching carefully to obtain the golden crust without burning.
