
How do I Incubate and Hatch Chicken Eggs
A Step-by-Step Guide

Incubating and hatching chicken eggs is an engaging process that can be rewarding for poultry enthusiasts and aspiring farmers alike. It involves simulating the conditions under which a hen naturally incubates her eggs, providing warmth, humidity, and turning to encourage development and eventual hatching. Generally, the incubation period for chicken eggs is 21 days. During this time, eggs need to be kept at a consistent temperature and humidity level and turned regularly up until a few days before they are due to hatch.
Proper egg selection can significantly affect the success rate of hatching. It is advised to incubate eggs that are no more than 10 days old, with the ideal age being under 7 days since being laid. One must ensure the eggs are stored pointy end down and turned daily if not placed in the incubator immediately. Once in the incubator, maintaining a temperature around 100 degrees Fahrenheit and a relative humidity of 50 percent for the first 18 days is crucial, then typically increasing the humidity while ceasing to turn the eggs for the final days.
As the embryos develop, one must be attentive to subtle changes in temperature and humidity, which can have significant impacts on the development process. The hatching process also requires a gentle approach to avoid disturbing the emerging chicks. After the hatch, it's important to allow the chicks to dry and gain strength before moving them to a brooder, where they will require warmth, food, and water to start their journey to becoming healthy chickens.
Selecting the Right Eggs
When incubating chicken eggs, the selection of the right eggs is a crucial first step. One should only choose eggs that are fertile; these are eggs that have been fertilized by a rooster and have the potential to develop into chicks.
Fertile Eggs: Ensure they are gathered from a coop with a healthy rooster present. These should look normal in size and shape.
Shipped Eggs: While it is possible to incubate eggs that have been shipped, they may have a lower hatch rate due to transport stresses. Handle with care upon arrival.
Cold Eggs: Eggs should not be cold to the touch. If they have been exposed to cold temperatures, their viability may be compromised.
Porous Eggshells: Overly porous shells might indicate a lack of necessary calcium or that the egg is not fresh. A good shell has a uniform texture.
Eggs for incubation should be fresh, ideally not more than 7 days old, and stored at a stable room temperature before setting them in the incubator. Here are some criteria for selecting the ideal eggs for hatching:
Size and Shape: Choose eggs that are typical in size for the breed and have a regular oval shape.
Cleanliness: Eggs should be clean but not washed, as washing can remove the protective coating on the shell.
Shell Integrity: Check for cracks or thin spots. Reject any eggs with visible defects.
By adhering to these guidelines, one improves the odds of a successful hatch. Find additional insights on careful egg selection from The Happy Chicken Coop.
Setting Up Your Incubator
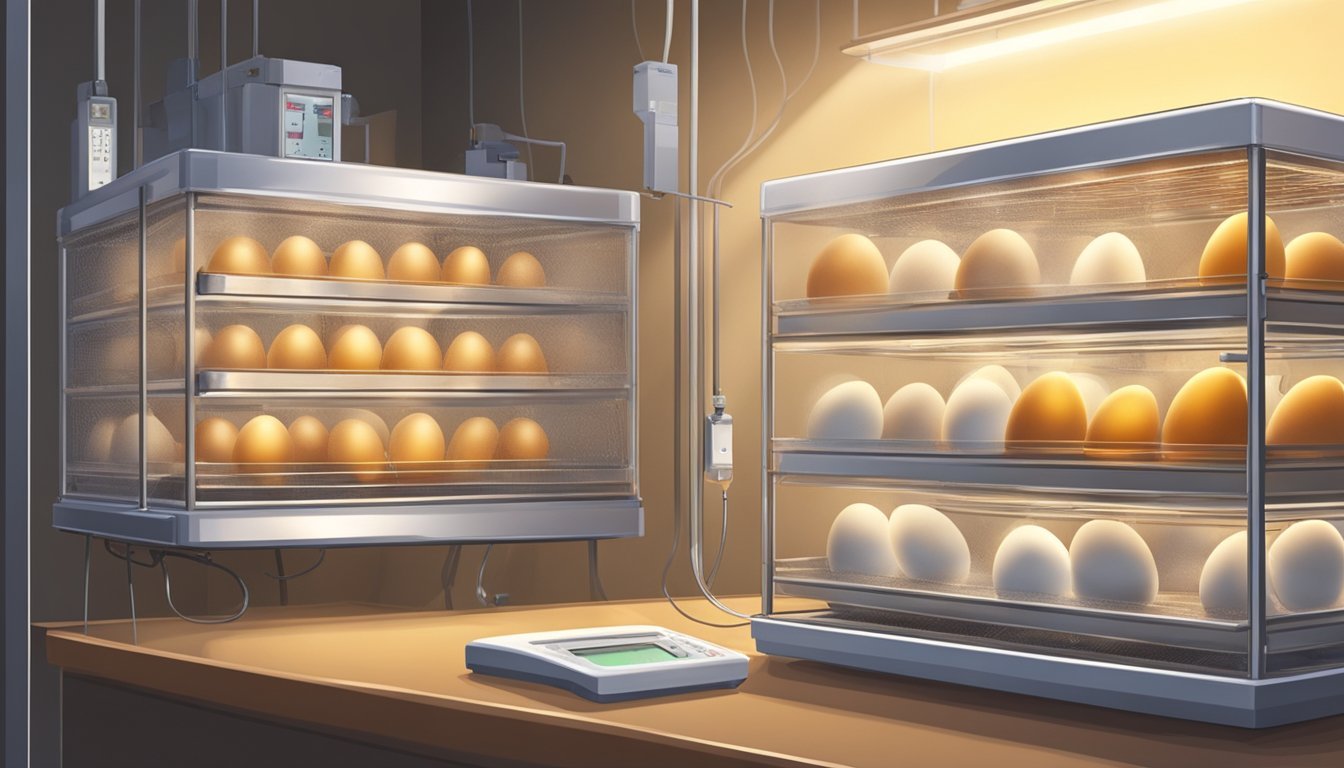
Before embarking on the journey of hatching chicken eggs, it's essential to properly set up your incubator to create an optimal environment. Choosing the right type of incubator, calibrating temperature and humidity, and preparing the space for incubation are critical steps for a successful hatch.
Types of Incubators
There are two main types of incubators: forced-air incubators and still-air incubators. Forced-air models have fans that circulate the air, ensuring a more even distribution of heat and humidity, while still-air models rely on natural air currents. If you're using a still-air incubator, the temperature should be maintained at around 101 to 102 degrees Fahrenheit at the top of the eggs. In forced-air incubators, maintain a slightly lower temperature of 99 to 100 degrees Fahrenheit. Many experienced hatchers prefer using an automatic turner, which saves time and improves hatch rates by turning the eggs automatically.
Calibrating Temperature and Humidity
Accurately calibrating both temperature and humidity is vital. Use a reliable thermometer and hygrometer to monitor these conditions. The recommended humidity for the first 18 days is 40 to 50% relative humidity, which can be achieved by adding water to the water reservoir. During the last few days of incubation, the relative humidity should be increased to 65 to 75% to assist in the hatching process.
Preparing the Incubation Space
The incubation space should be in a quiet spot away from direct sunlight, with a stable room temperature and good fresh air intake. Avoid areas with drafts or significant temperature fluctuations. The room should be warm and humid to complement the incubator's environment. Once you've selected an appropriate location, let your incubator run for at least 12 to 24 hours before placing the eggs inside, to ensure it reaches the required stable temperature and humidity levels.
Incubation Process
Incubating chicken eggs is a practice that requires attention to detail and consistent monitoring. The following guide will cover the core aspects of the incubation process, focusing on placement and care of the chicken eggs, to ensure a successful hatch.
Placing the Eggs
Initially, chicken eggs should be positioned correctly within the incubator. They are often placed upside down or with the larger end propped up in an egg carton or similar supportive structure. This position allows the air cell inside the egg to sit at the top, which is vital for the embryo's development.
Turning the Eggs
Turning chicken eggs at least three times a day until day 18 is pivotal; this prevents the embryo from adhering to the shell and mirrors the natural actions a mother hen performs. This can be accomplished with an automatic egg turner or by hand turning, always being careful to return the eggs to their initial orientation.
Candling and Monitoring Development
Around day 7, candling is used to monitor embryo development. A high-powered light source is held to the egg to reveal blood vessels and the growing embryo, which should resemble a spider on the yolk. This process is repeated at key stages to assess the health and growth of the embryos.
Managing Incubation Conditions
Correct temperature and humidity are crucial for the successful hatching of eggs. Ideally, a thermometer and hygrometer are used to maintain temperatures of approximately 99.5-100.5 degrees Fahrenheit and a relative humidity of around 50-55%, which should be increased to 65-70% just before hatching. Automatic egg turners can help maintain consistent conditions within the incubator, thereby helping ensure a stable environment for the embryos.
Entering Lockdown
Incubating and hatching chicken eggs require attentive care, especially as you approach the critical lockdown phase. This is the period where the conditions inside the incubator must be stable to ensure the highest viability and success rate for the hatching process.
What is Lockdown?
Lockdown refers to the final stage in the incubation of chicken eggs when the eggs need to remain undisturbed to facilitate a successful hatch. It is a critical time when the embryos position themselves for hatching and begin peeping, signaling their progress. The lockdown typically starts on the 18th day for chicken eggs, as the last few days are vital for the development of the air sac and the chick’s ability to orient for hatching.
Adjustments Before Lockdown
Before entering lockdown, it is essential to make specific adjustments to the incubator to create an optimal hatching environment:
Humidity: Increase the humidity to between 65% and 70% to soften the shells, making it easier for chicks to crack through.
Temperature: Verify the temperature is stable at around 99.5°F (37.5°C), as fluctuations can be detrimental.
Carefully stop turning the eggs and remove any automatic turners if used, as movement can harm the developing chicks.
Final Days of Incubation
During the lockdown period, monitoring becomes passive yet critical. The hatching process is energy-intensive, and chicks need to absorb the remaining yolk. Observe the following:
Avoid opening the incubator, as it can cause sudden changes in humidity and temperature.
Listen for peeping sounds, which indicate chicks are starting to break into the air sac.
When you notice the first crack or pip in an eggshell, it means hatching is imminent, and chicks will soon emerge. The lockdown phase is a windows into the miracle of life, where patience and precise conditions culminate in the reward of new chicks.
Hatching Day
The finale of the incubation period, hatching day, is when the culmination of diligent care and monitoring becomes evident. Hatch rates are determined by the precise conditions maintained during the incubation process and the viability of the eggs. Observing the signs of imminent hatching, assisting competently when necessary, and troubleshooting common issues are critical on this day.
Signs of Imminent Hatching
The initial tells that chicks are ready to emerge begin with audible peeping as they communicate from within their shells. Close to hatching, one might notice cracks or a process called pipping, where a small hole is made by the chick. This is followed by zipping, where the chick creates a larger crack in a circular pattern typically along the wider end of the egg.
Assisting With Hatches
Intervention should be minimal, as a broody hen or a well-set incubator provides adequate conditions for chicks to hatch independently. Candling can be employed to assess if late hatchers are still viable. The warm water trick for hatching eggs can test if an overdue egg is ready to hatch, which involves gently placing the egg in warm water and observing for movement.
Troubleshooting Common Issues
Issues on hatching day can range from signs of infertile eggs, which never develop and remain clear when candled, to rotten eggs, which are often identified by a foul odor or discoloration. If the overall hatching process stalls, adjustments may be needed in humidity levels or temperature settings in the incubator. It's crucial to identify and remove any compromised eggs to avoid impacting the hatch rate of the healthy eggs.
Post-Hatching Care
After the eggs hatch, the care provided to the baby chicks is critical to their survival and well-being. This section will guide you through the essential steps of moving chicks to their brooder, setting up the proper temperature and feeding routine, and monitoring their health and growth.
Moving Chicks to the Brooder
Once chicks have hatched, they should be carefully moved to a brooder—a warm, safe environment that simulates the heat and protection a mother hen would provide. A brooder box should be prepped with clean bedding, such as pine shavings, and be spacious enough to accommodate the chicks as they grow. A critical component of the brooder is the heat lamp, which must be securely positioned to maintain a consistent and appropriate temperature for the chicks.
Brooder Temperature and Feeding
The brooder temperature is imperative for the survival of the chicks and should be kept at 95 degrees Fahrenheit for the first week, decreasing by 5 degrees each week until they are acclimated to cooler temperatures. Adequate relative humidity, approximately 50-60%, is also essential. In terms of nutrition, chicks should have unlimited access to fresh water and a high-quality chick starter feed designed for their specific breed, such as Silkies or other backyard flock varieties.
Week 1: Temperature 95°F
Week 2: Temperature 90°F
Week 3: Temperature 85°F
Week 4: Temperature 80°F
Week 5: Temperature 75°F
Health Monitoring and Growth
Regular health monitoring is vital to ensure the chicks are growing and not showing signs of distress or illness. Observing their behavior, growth rates, and physical appearance daily can catch issues early. The development of the embryo into a hatchling is just the beginning; they need a vigilant caretaker to safeguard against common chick ailments and ensure they thrive in their new habitat.
Maintenance and Sanitation
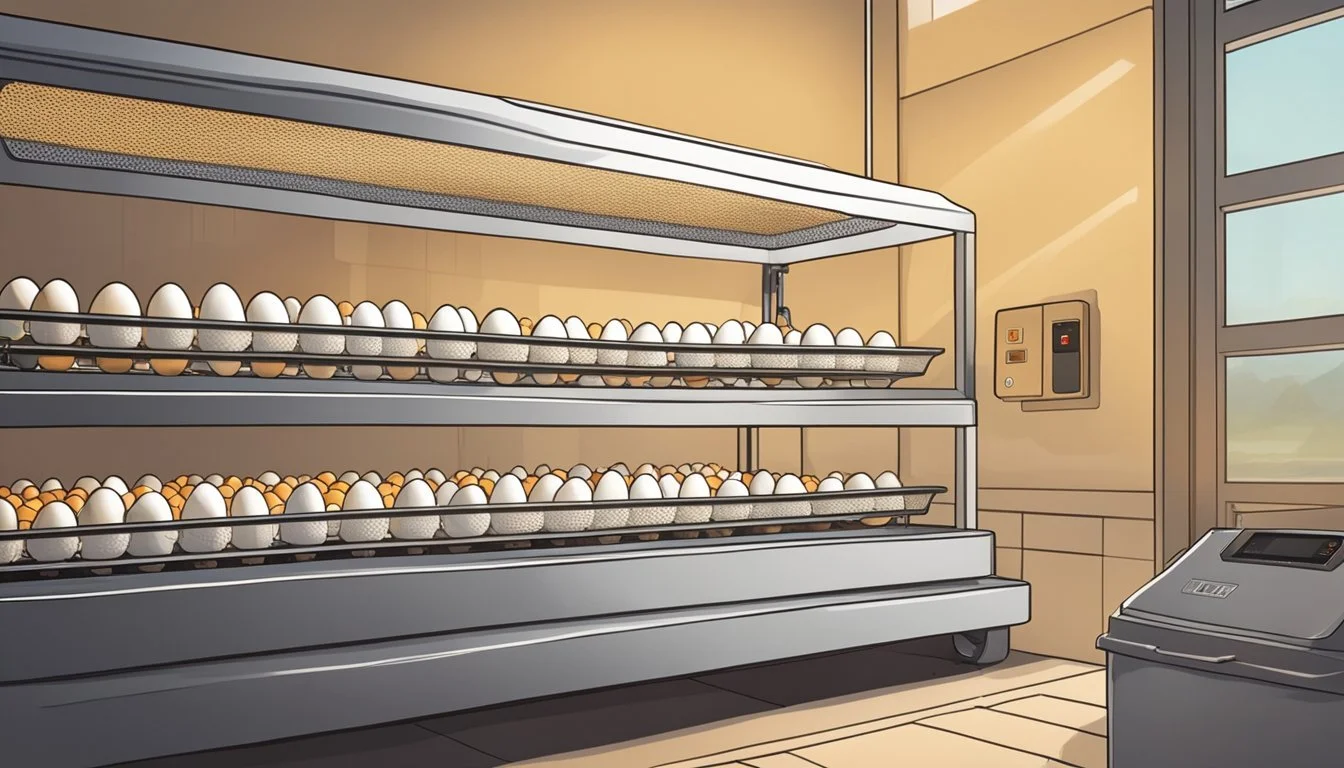
Proper maintenance and sanitation are crucial in the incubation and hatching process. They ensure a controlled environment that minimizes risks of bacterial contamination. One must rigorously disinfect the incubator before and after each use and follow strict storage protocols to maintain its efficacy.
Cleaning the Incubator
Prior to introducing eggs, the incubator must be thoroughly sanitized. This involves:
Removing all debris: Any leftover dirt or eggshell fragments from previous batches.
Disinfection: Apply a disinfectant to all surfaces, particularly the egg trays and turning mechanisms. It is recommended to use a bleach solution (1 part bleach to 10 parts water) or a commercially available incubator disinfectant, allowing it to air dry.
Sanitizing the incubator helps in effectively removing disease-causing bacteria that could harm the developing embryos.
Incubator Storage
When the incubator is not in use:
Clean: Ensure it is cleaned and disinfected.
Dry: Allow it to completely dry to prevent mold and bacterial buildup.
Store: Place the incubator in a dry, cool environment away from direct sunlight to avoid warping or damage to the thermostats and plastic components.
Following these storage steps is vital to maintain the functionality of the incubator and prepare it for successful future hatches.
Appendix: Expert Resources
When incubating and hatching chicken eggs, having access to comprehensive reference materials can significantly enhance success rates. These expert resources provide in-depth knowledge and are invaluable for both novice and seasoned poultry enthusiasts.
Reference Books
Hatching & Brooding Your Own Chicks by Gail Damerow: This book acts as a complete guide, from selecting a breed to managing a hatch, she covers the necessities with precision.
Storey's Guide to Raising Chickens by Gail Damerow: Readers will find clear, detailed information about chicken care, including the intricacies of egg incubation and hatching.
Both resources provide readers with essential protocols and troubleshooting tips for effectively hatching chicken eggs.
