
How do I Make Goat Milk Soap
Step-by-Step Guide for Homemade Skincare

Goat milk soap boasts a reputation for its gentle, moisturizing properties, making it a sought-after natural alternative for individuals with sensitive skin, eczema, or dryness. By incorporating the benefits of goat milk, such as its hydrating qualities, this type of soap helps to reduce skin inflammation and provides a soothing effect. Handmade goat milk soap, with its rich blend of essential fats and nutrients, can help to nourish the skin more profoundly than many commercially produced soaps.
The process of making goat milk soap at home allows for the creation of a customizable skincare product. By selecting natural ingredients, one can tailor the soap to specific skin needs. The crafting of homemade goat milk soap is not just an activity for self-care enthusiasts but also caters to those looking to steer clear of chemical additives found in some mainstream beauty products. The DIY approach to making goat milk soap ensures a purity of composition that is often absent in store-bought options.
Creating goat milk soap involves a delicate balance of science and art, merging the traditional soap-making technique of saponification with the beneficial characteristics of goat milk. This synergy results in a natural, moisturizing soap well-suited for those with delicate skin conditions. As an added advantage, DIY goat milk soap can be infused with various essential oils and botanicals, enhancing its effectiveness and imparting pleasing aromas, thus elevating the daily bathing ritual.
Understanding Soapmaking Basics
Before diving into the art of making goat milk soap, it's essential to grasp the core principles underlying the soapmaking process. These include different methods of soap creation, the chemical reaction known as saponification, the integral role of lye, and the safety measures that should be adhered to during this craft.
Soapmaking Methods
There are several methods of making soap, each with its own set of techniques and outcomes. The most common approaches include the cold process, hot process, and melt and pour. In the cold process, soap is made from scratch using oils, lye, and water. This method requires precise measurements and curing time but allows for full customization. The hot process is similar but involves cooking the soap, which speeds up the saponification process.
The melt and pour method uses a pre-made soap base that is melted, customized with additives, and then poured into molds. Unlike the other methods, there is no need to handle lye directly, making it a good starting point for beginners.
Saponification Process
Saponification is the chemical reaction that transforms fats or oils and lye into soap and glycerin. This process occurs when a lye solution, typically sodium hydroxide for bar soaps, reacts with triglycerides. It's a precise science: the ratio of lye to fats must be exact to ensure complete saponification without leaving any excess lye in the finished product.
Role of Lye in Soapmaking
Lye, or sodium hydroxide, is a vital soap ingredient necessary for the saponification process. When making goat milk soap, one must carefully prepare the lye solution, often using distilled water to avoid impurities that could affect the reaction. The quality of the lye and its concentration can significantly influence the texture and properties of the final soap.
Safety Precautions
Working with lye requires strict safety precautions to prevent injuries. Soapmakers must always wear protective gear, including gloves and goggles, and work in a well-ventilated area to avoid inhaling fumes. All safety equipment should be used when handling lye or the lye solution, and materials should be handled with care and respect to ensure a safe soapmaking experience.
Ingredients Overview
Creating goat milk soap involves a careful selection of ingredients that contribute to the soap's final properties, such as moisturizing and cleansing abilities. It's important to balance the types of oils and fats used, choose quality goat milk, and consider the addition of beneficial additives that enhance the soap's skin-nourishing characteristics.
Types of Oils and Fats
The foundation of goat milk soap consists of various oils and fats that determine the bar's hardness, lather quality, and moisturizing properties.
Coconut oil is praised for its cleansing abilities and fluffy lather.
Olive oil is rich in vitamin E and fatty acids, offering a gentle and conditioning effect on the skin.
Palm oil contributes to soap hardness and stable lather, while being an excellent source of vitamin A.
Almond oil is known for its soothing properties due to the presence of proteins and vitamin E.
For those seeking animal-based fats, tallow and lard are options that provide a creamy lather and contribute to bar hardness.
Shea butter is often added for its moisturizing qualities and content of vitamins and fatty acids.
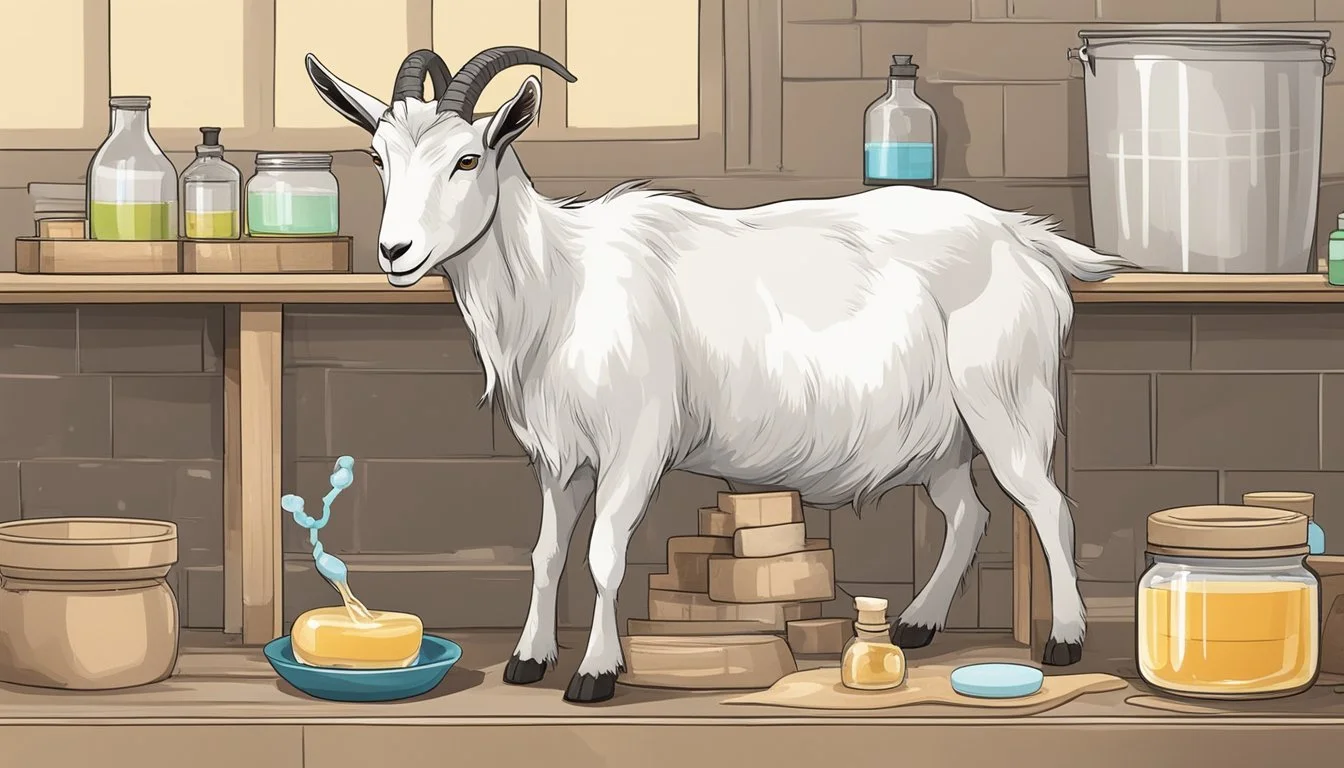
Choosing Goat Milk
Selecting high-quality goat milk is essential for a superior soap product as it's the key ingredient that sets this type of soap apart.
Goat milk offers numerous skin benefits due to its rich composition of lactic acid, vitamins, and proteins.
It can be used in liquid form or as a powder. Liquid goat milk may vary in color, depending on the diet and breed of the goats.
Freezing the milk prior to use can help prevent scorching and discoloration when mixed with lye.
Beneficial Additives
In addition to oils, fats, and milk, a variety of additives can be included to further enhance the soap.
Essential oils and fragrances lend a pleasing aroma and can provide aromatherapy benefits.
Raw honey is a popular choice for its natural humectant properties, which help retain moisture in the skin.
Oats can be added for gentle exfoliation and to soothe irritated skin.
Some makers incorporate essential oils specifically for their therapeutic properties, like lavender for relaxation or tea tree for its antimicrobial action.
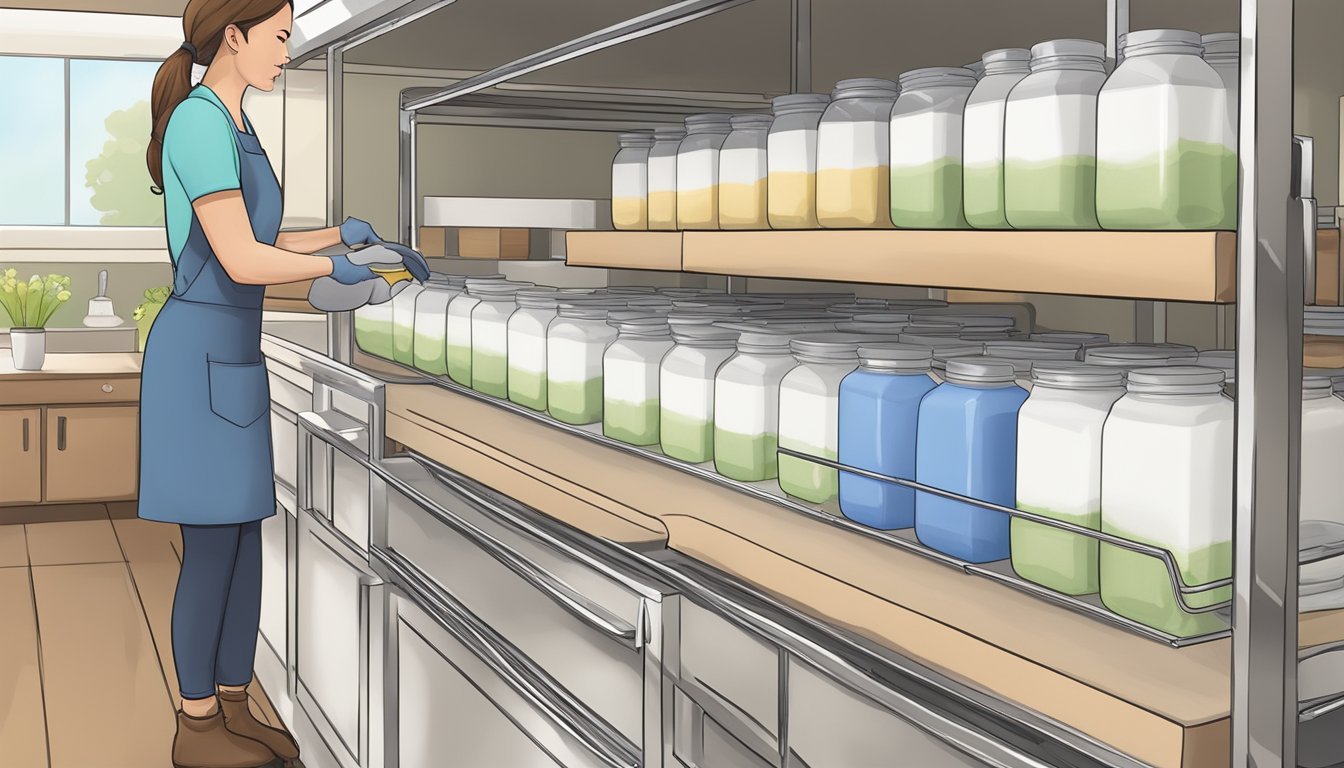
Equipment and Preparation
Before embarking on the process of making goat milk soap, one must ensure that all the required equipment is at hand and the workspace is adequately prepared. This preparation is critical for a smooth and safe soap-making process.
Required Equipment
To successfully make goat milk soap, an individual needs the following items:
Immersion blender: Essential for thoroughly combining the oils and liquids.
Soap mold: A mold is necessary to shape the soap as it sets.
Mixing bowl: A large bowl, preferably stainless steel to withstand the caustic nature of lye, is used for mixing the ingredients.
Stick blender: Alternatively, a stick blender can be used if an immersion blender is not available.
Safety gear: Protective goggles, gloves, and long-sleeved clothing to safeguard against lye splashes.
Preparing the Workspace
One should prepare their workspace by following these steps:
Clear the area, ensuring ample space for all equipment and ingredients.
Clean the surface and the equipment with soap and water to remove any contaminants.
Layout all equipment and ingredients in an organized fashion to ensure easy access during the soap-making process.
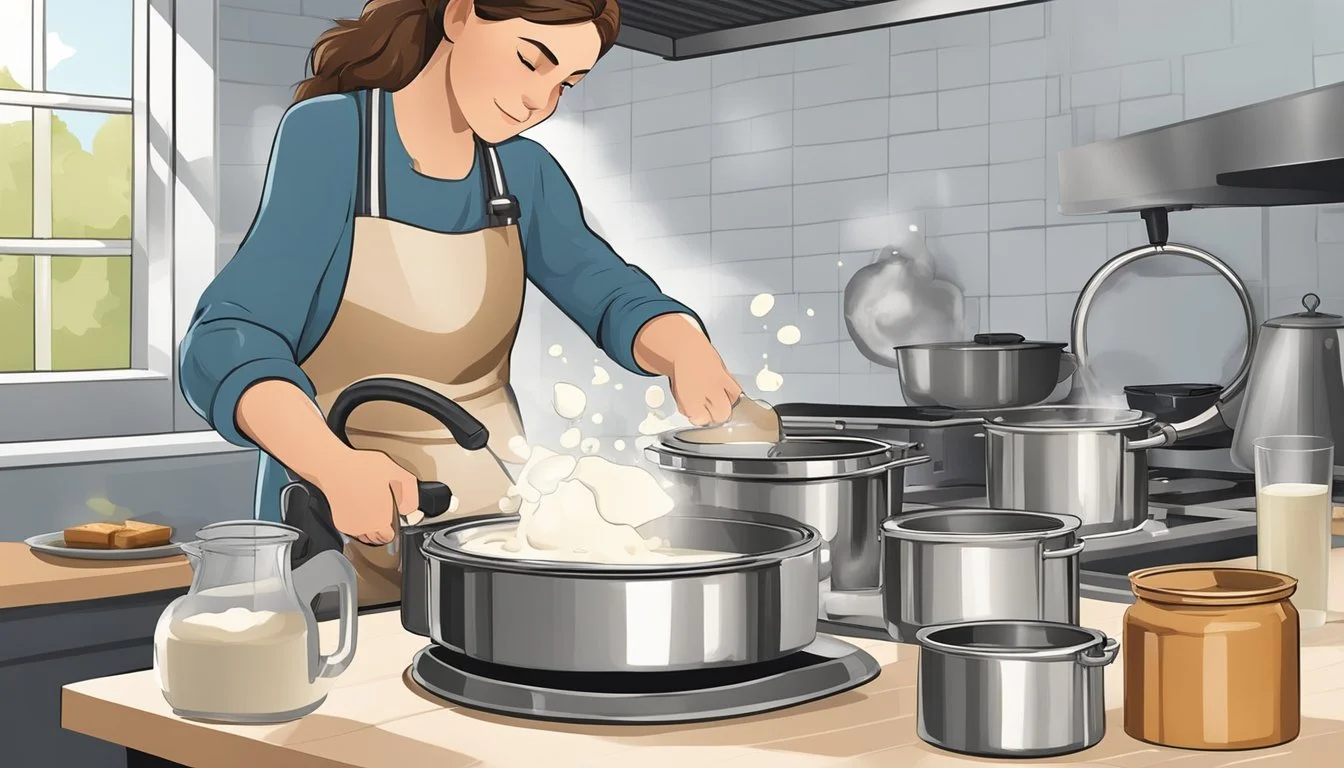
Making Goat Milk Soap
Making goat milk soap involves careful preparation of the lye-milk mixture, blending of oils with the lye, monitoring to reach trace, and properly pouring and shaping the soap. Here's a closer look at each step of the process.
Creating the Lye-Milk Mixture
To start the cold process of making goat milk soap, you need to prepare the lye-milk mix. Carefully weigh out the lye and the goat milk, ensuring exact measurements. It's imperative to add the lye gradually to the milk to prevent scorching due to the heat generated by the reaction. Stirring constantly and gently is key to achieve a smooth mixture without lumps. Keeping the milk chilled can help mitigate overheating, which is crucial as excessive heat can lead to a less desirable outcome for your soap.
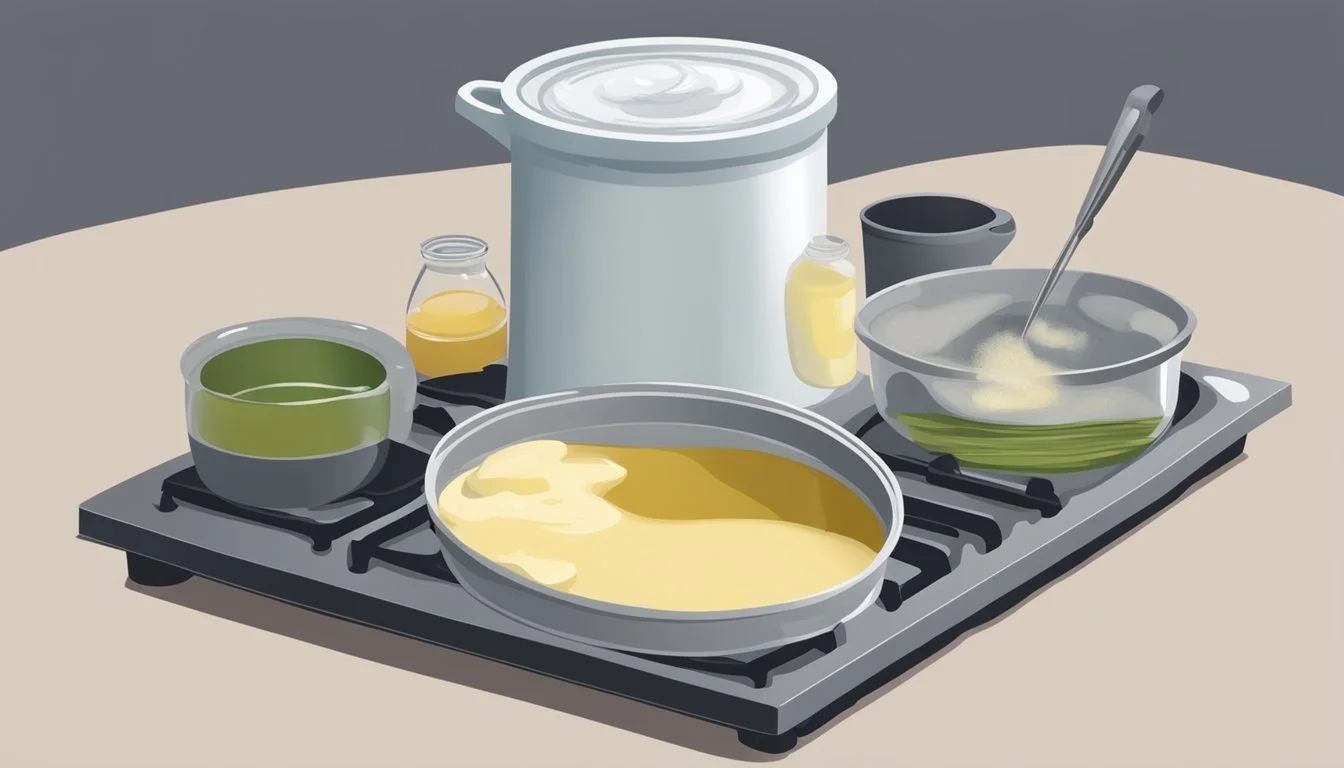
Blending Oils and Lye
Once the lye-milk mixture is ready and cooled, you must blend it with your oil mix. Use natural ingredients like olive oil, coconut oil, or shea butter, which contribute to the soap’s moisturizing properties. To achieve a superfat content—oils not saponified in the soap-making process that can add extra moisturizing qualities—you should calculate and incorporate an appropriate percentage of these oils into your mix. The oils should be heated to the right temperature before combining with the lye-milk mixture to ensure a uniform blend.
Achieving Trace
Achieving trace is crucial in the soap-making process; it refers to the point where the soap mixture is thick enough to leave a lasting imprint when drizzled on itself. At trace, any additives like essential oils or herbs should be added. The stirring should continue until the mixture reaches a thick, pudding-like consistency, indicating that it is ready to pour into the mold.
Pouring and Shaping
After reaching trace, pour the soap batter into the soap mold, taking care to push it into the corners to avoid air pockets. Smoothing the top can help create a professional finish. The poured soap should then be covered and insulated to control the cooling process. After 24-48 hours, the soap can be removed from the mold and cut into bars. The bars should then cure for several weeks to harden and achieve the necessary pH balance before use.
Finishing Touches
When making goat milk soap, the final steps are crucial for ensuring the quality and longevity of the product. After the soap mixture has been poured and set, one must focus on the curing process and proper methods for cutting and storing the final product.
Curing the Soap
The process of curing is essential for soap to become mild and long-lasting. One should allow the goat milk soap to cure for 4-6 weeks. During this time, water evaporates out of the soap, ensuring a firmer and longer-lasting bar. To cure soap properly, it should be placed on a wire rack in a well-ventilated area away from direct sunlight and humidity.
Cutting and Storing
Once the soap has hardened but is still slightly soft, it is time to cut it into bars. Using a soap cutter or knife, one can cut the soap base into the desired sizes. After cutting, storing the soap in a cool, dry place is key to preserving its shelf life. Soap bars should be stored in a way that air can circulate around each bar, preventing them from touching each other to maintain their shape and texture.
Troubleshooting Common Issues
In the soap-making process, especially when working with goat milk, creators may encounter issues with reaching the right trace or managing undesirable visual effects in their final product. Understanding how to address these challenges is crucial for achieving a quality batch of soap.
Addressing Trace Challenges
Trace refers to the point in the soap-making process when the mixture is adequately emulsified. If soap reaches trace too quickly, it can become difficult to work with. Slowing down trace can be achieved by lowering the temperature of both your oils and lye solution. Conversely, to speed up trace, one might opt for a higher concentration of lye or increasing the mixing temperature.
For those incorporating goat milk into their recipe, the milk’s fat content and any sugars present can accelerate trace. To mitigate this, some soap makers freeze their goat milk prior to use, slowing down the saponification process and giving them more time to work.
Handling Discoloration and Air Bubbles
Discoloration in goat milk soap can occur for a few reasons, including the Maillard reaction, which happens when sugar in the milk reacts with proteins during saponification. This can cause a brown hue, which might be more pronounced depending on the season—goat milk's composition varies throughout the year. To help prevent severe browning, one can keep the soap cool, limiting the overheating that leads to scorching.
As for air bubbles, these can mar the soap's appearance and texture. Ensuring that the soap mixture is poured slowly and steadily into molds can help. If bubbles do appear, gently tapping the mold on a hard surface allows them to rise to the top and escape before the soap sets. For more complex issues with air bubbles, some turn to techniques outlined in more detail, like using a mix of honey and sugar to boost bubbles without darkening the soap.
Advanced Tips and Techniques
When crafting goat milk soap, mastering the nuances of scent and texture, as well as the overall properties of the soap, can elevate the final product. These advanced techniques can help create a unique bar of soap that meets specific skincare needs.
Enhancing Scent and Texture
Introducing essential oils and fragrance oils can significantly enhance the aroma of goat milk soap. While essential oils are derived naturally and can offer aromatherapeutic benefits, fragrance oils are synthetic and provide a broader range of scents. For a consistent scent throughout the soap, one should add these oils at the trace stage of soap making.
To improve texture and add a gentle exfoliator, consider incorporating natural additives. Common exfoliants like oatmeal, coffee grounds, or fine pumice can effectively remove dead skin cells without being overly abrasive. It is crucial to balance exfoliation with the soap's smoothness to maintain its gentle properties.
Customizing Soap Properties
Customizing the properties of goat milk soap involves manipulating ingredients to produce desired outcomes, such as increasing glycerin content for added moisture or adjusting the superfat level. Glycerin is a natural by-product of the soap-making process and is respected for its humectant properties. By adjusting the amount of glycerin, the soap can retain more moisture, which benefits dry skin conditions.
Castor oil is renowned for its ability to produce a rich lather. Incorporating a small percentage into the recipe can enhance the lathering properties of the soap. As for achieving desired antibacterial qualities, one can use specific essential oils known for their natural antibacterial properties, which can help cleanse the skin more effectively.
These advanced tips and techniques allow for a personalized soap-making process that caters to various preferences and skin types, leading to a high-quality, custom, goat milk soap bar.
Safety and Storage
Making goat milk soap is a craft that requires attention to detail, especially when it comes to handling ingredients and storing the final product. Ensuring safety and prolonging the soap’s quality are paramount throughout this process.
Proper Handling and Safety
When making goat milk soap, the soap maker should wear safety gear, including gloves, goggles, and long-sleeve clothing, to prevent skin and eye irritation from sodium hydroxide (lye). It is important to work in a well-ventilated area to avoid inhalation of fumes during the saponification process. Additionally, one should have a vinegar solution ready to neutralize any accidental spills of lye. All tools and surfaces should be non-reactive — stainless steel, plastic, or glass — and reserved exclusively for soap making.
Protective Gear: Gloves, Goggles, Long Sleeves
Ventilation: Necessary during mixing and curing
Neutralization: Vinegar for spills
Storing Soap Safely
After making goat milk soap, it requires a curing period, usually lasting about 4-6 weeks, to allow water evaporation and ensure a harder, longer-lasting bar. The soap should be stored in a cool, dry place away from direct sunlight and humidity which can affect quality. Using breathable storage options like wax paper or cardboard boxes can prevent moisture buildup and protect the soap. Once cured, the soap should be wrapped or placed in airtight containers to retain its scent and properties.
Curing Period: 4-6 Weeks
Storage Conditions: Cool, Dry, Away from Sunlight
Packaging: Breathable or Airtight Containers
Additional Uses for Goat Milk Soap
Goat milk soap offers a multifaceted approach to personal care, providing skincare and haircare benefits due to its rich, gentle composition. It is a staple for many seeking a natural alternative in their hygiene routine.
Skincare Benefits
Goat milk soap is a champion for skincare, nourishing the skin with essential fatty acids and hydrating properties. A key advantage is that it helps maintain the skin's natural barrier, supporting moisture retention for a supple and smooth appearance. The lactic acid in goat milk gently exfoliates the skin, which can help remove dead skin cells and promote a clearer complexion.
Moisturizing: High in fatty acids and cholesterol, which are essential for dry skin.
Gentle Cleansing: Effective yet mild for sensitive skin.
Exfoliating: Contains natural alpha-hydroxy acids.
Haircare with Goat Milk Soap
For those who prefer a natural shampoo alternative, goat milk soap can be a healthy haircare choice. It respects the scalp's natural oils while offering a gentle clean, potentially reducing the occurrence of dandruff. Its rich composition replenishes hair, leaving it soft and manageable. Soapmakers often infuse goat milk soap with additional oils like coconut or olive oil, enhancing its conditioning properties.
Natural Scalp Care: Balances scalp oils without stripping.
Enhanced Manageability: Hair feels softer and easier to detangle.
Conditioning Qualities: Rich in emollients for moisturized strands.
Exploring the Market
Before making goat milk soap, one should consider the differences between purchasing soap off the shelf and creating a homemade batch. Additionally, the distinctions between conventional and organic or artisan soap options can significantly influence consumer choices.
Purchasing Versus Homemade
When comparing purchased soap to homemade goat milk soap, the main factors that often come into play are cost, ingredients, and personalization. Commercially produced soaps may be more readily available and cost-effective, but they could contain a mix of synthetic ingredients. Homemade soap, on the other hand, allows for complete control over the components, including the choice to use organic materials, creating a product that can be tailored to specific skin types or allergen considerations.
For instance, incorporating goat milk instead of conventional coconut milk can offer a creamier texture and may provide different moisturizing properties due to the unique fat content in goat milk. This level of customization is a prominent advantage of crafting soap at home, as it offers an intimate understanding of what goes onto the skin.
Understanding Organic and Artisan Options
The terms organic and artisan reflect quality and process. Organic goat milk soap implies the utilization of ingredients produced without synthetic fertilizers or pesticides. This can be important for consumers seeking products with environmentally friendly cultivation practices. Certifications can add to the authenticity of organic claims, hence consumers often look for proper labeling.
Artisan soaps are typically handcrafted and emphasize craftsmanship and tradition. They are known for their aesthetic appeal and creative blends of natural ingredients that may comprise unique scents or textures. Artisan soap makers might integrate goat milk for its emollient benefits, making the soap gentle and nourishing for the skin. These options resonate with those who value careful attention to detail and small-scale production.
By understanding these market aspects, one can make informed decisions whether to indulge in the art of soap making or to select the best off-the-shelf product.
