How to Break Down a Chicken
Discover > Texas Home Cooking > How to Break Down a Chicken
People have been paying more for pre-cut chicken (how long does chicken last?)since the mid-20th century and all it really does is add extra sales value for the producer for an incredibly simple task that’ll take you less than 10 minutes to do. Knowing how to break down a chicken can save you money, time, and assist you in making delicious, restaurant-style dishes at home. If you want to learn more about all the individual parts, go over this guide on all the cuts of a whole chicken.
Why Buy Whole Chickens
It's Cheaper
Taking apart the chickens creates an extra step for the suppliers which they can widely overcharge for and turn a huge profit. Chicken is much cheaper for you if you break it down yourself. Paying less also gives you the opportunity to buy much better meat.
It's Economical
It being cheaper in turn gives you the opportunity to source better chicken which is not just better for you, it’s much better for your community and environment. Buying whole chickens from local farmers keeps money in your community, and provides you with significantly healthier and better-tasting chicken.
It Stretches your Options
The biggest perk of having every single cut at your disposal is that you have more options than you would buy them separately. If you’re a fan of the whole roasting but find a whole chicken is too much, you can keep the crown whole roast that. You can butterfly and roulade the legs, and of course, use the carcass for a delicious stock.
How to Break Down a Chicken
Step 1: Remove the Wings
The wings are made up of 3 different parts, two of which are edible. The wingtip (also known as the flapper) is edible and can be chopped off after removing the wing. The wingette is the middle section of the wing (or the flap), and the drumette is the meatiest part where the wing is attached to the body.
To remove the wing, grab the tip and pull it away from the body. Use a sharp knife to cut around the meat and skin as close to the body as you can. Once you’ve made an incision all around the joint simply grab the body of the chicken with one hand and the wing in the other, then simply snap it clean off. If there are any tendons still attached just cut through the rest of it with a knife.
Divide the wing into three pieces starting with the tip. You can use a sharp knife to easily cut the tip off the wing. To separate the flap from the drumette, make a similar incision around the joint, then snap it in half using your hands.
Repeat these steps for the second wing then set the two edible parts to one side, and the wingtips to another for stock.
Step 2: Remove the Legs
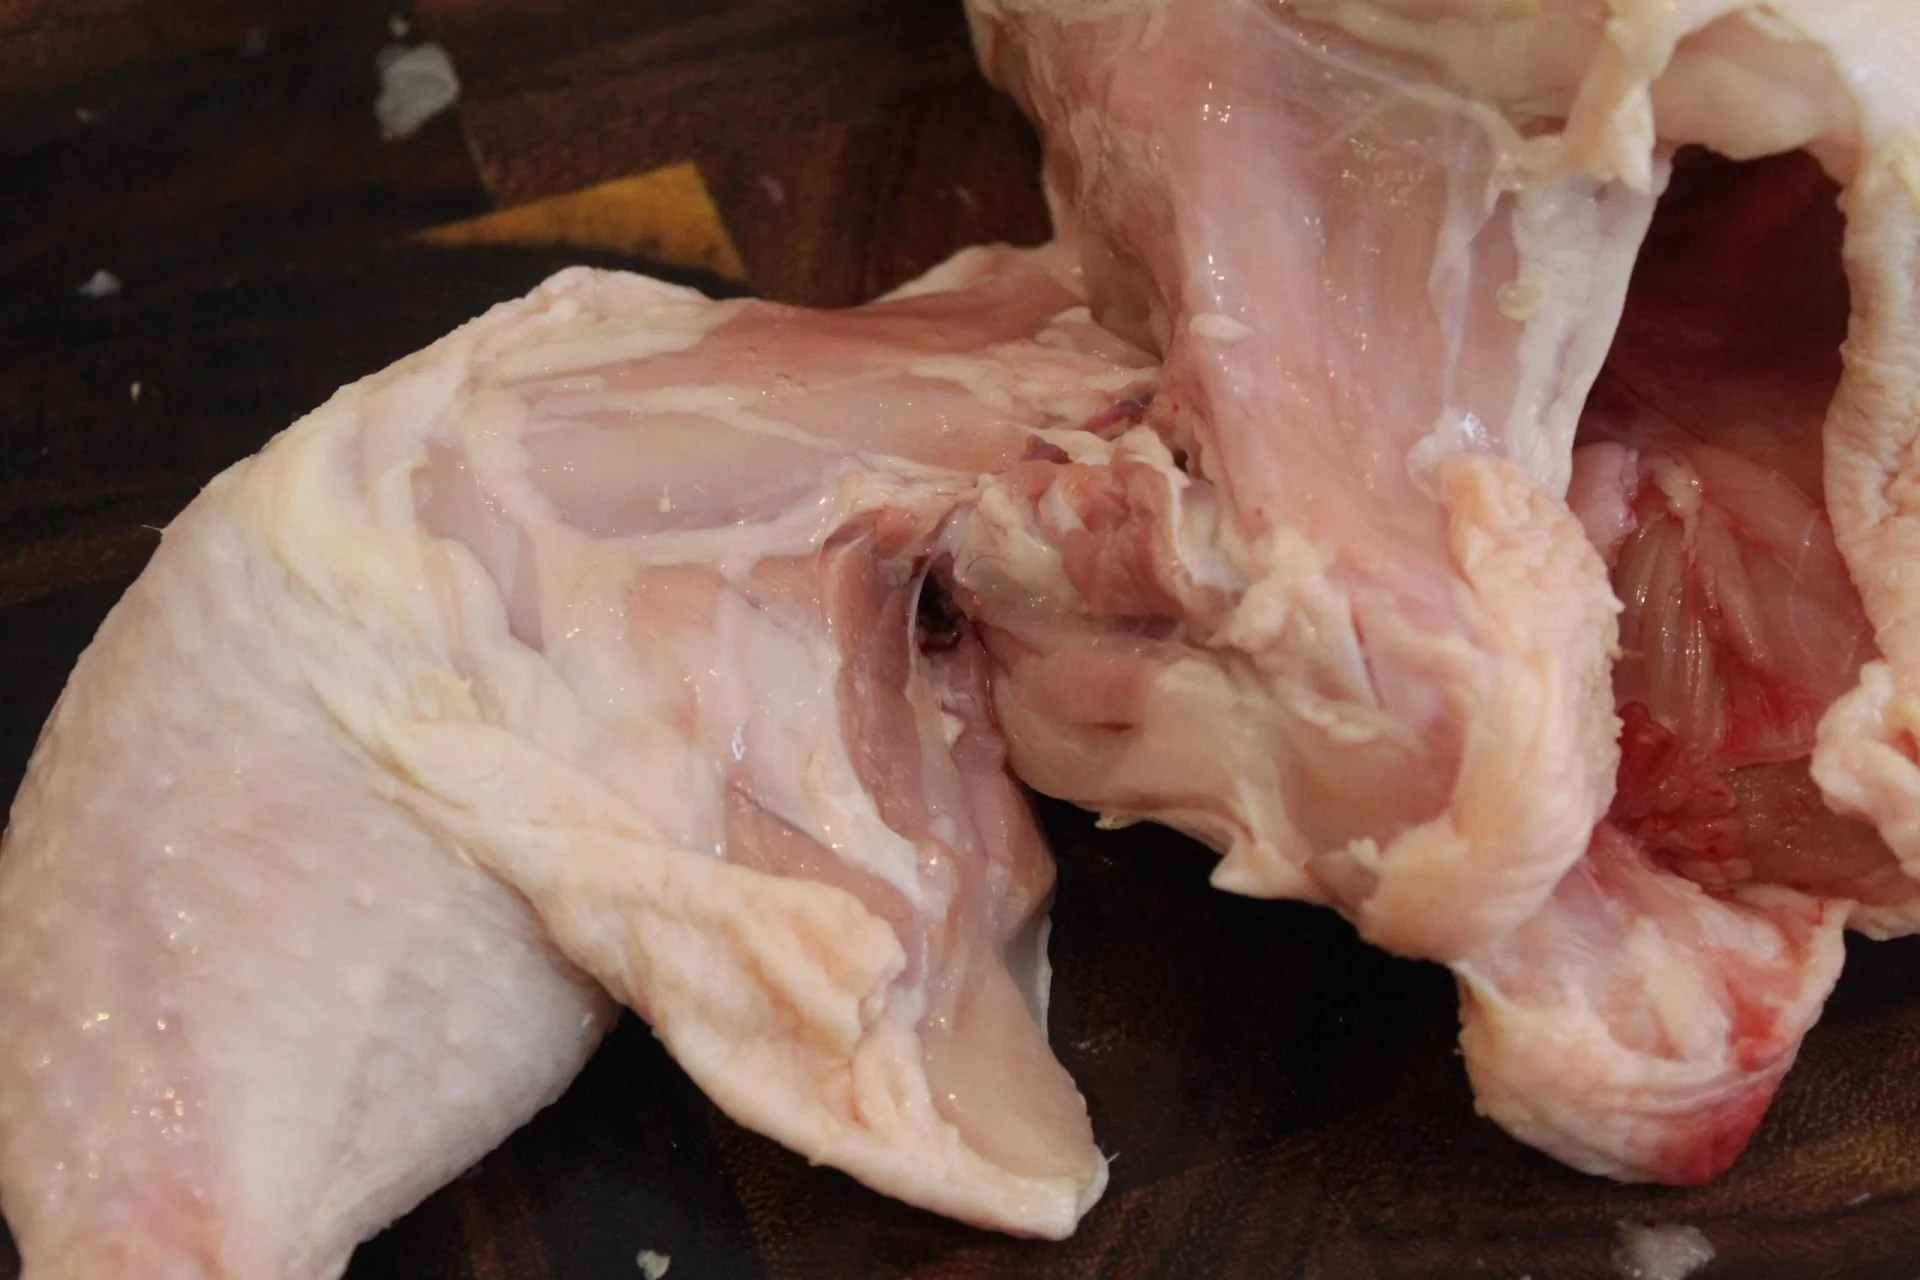
There’s a lot more to the legs that most experienced cooks miss when they break down a chicken. The oysters (What wine goes well with oysters?) are two round, super meaty, round pieces of meat located on either side of the backbone a couple of inches below the center. It’s not difficult to remove the ouster with the leg as long as you consciously cut all the meat from the carcass with the leg.
To remove the leg, lay the chicken onto its back and cut the skin between the thigh and carcass of the bird. Make sure you leave as much skin for the breast as you can.
Before cutting the back of the leg loose, pop the leg bone out of its joint, then start to cut around coming up from the bottom of the leg.
The oyster is about an inch long, you can feel it with your fingers so find it before you cut through the leg. When you’ve located it cut around it as you remove the leg from the chicken. The oysters are delicate and delicious so you can remove them and make super fry them up on their own especially if you have more than one chicken.
Step 2.1: Separate the Leg from Thigh
Separating the leg is very straightforward. Cut the skin and meat around the joint, bend to snap it, then cut it in half.
Step 3: Half the Carcass
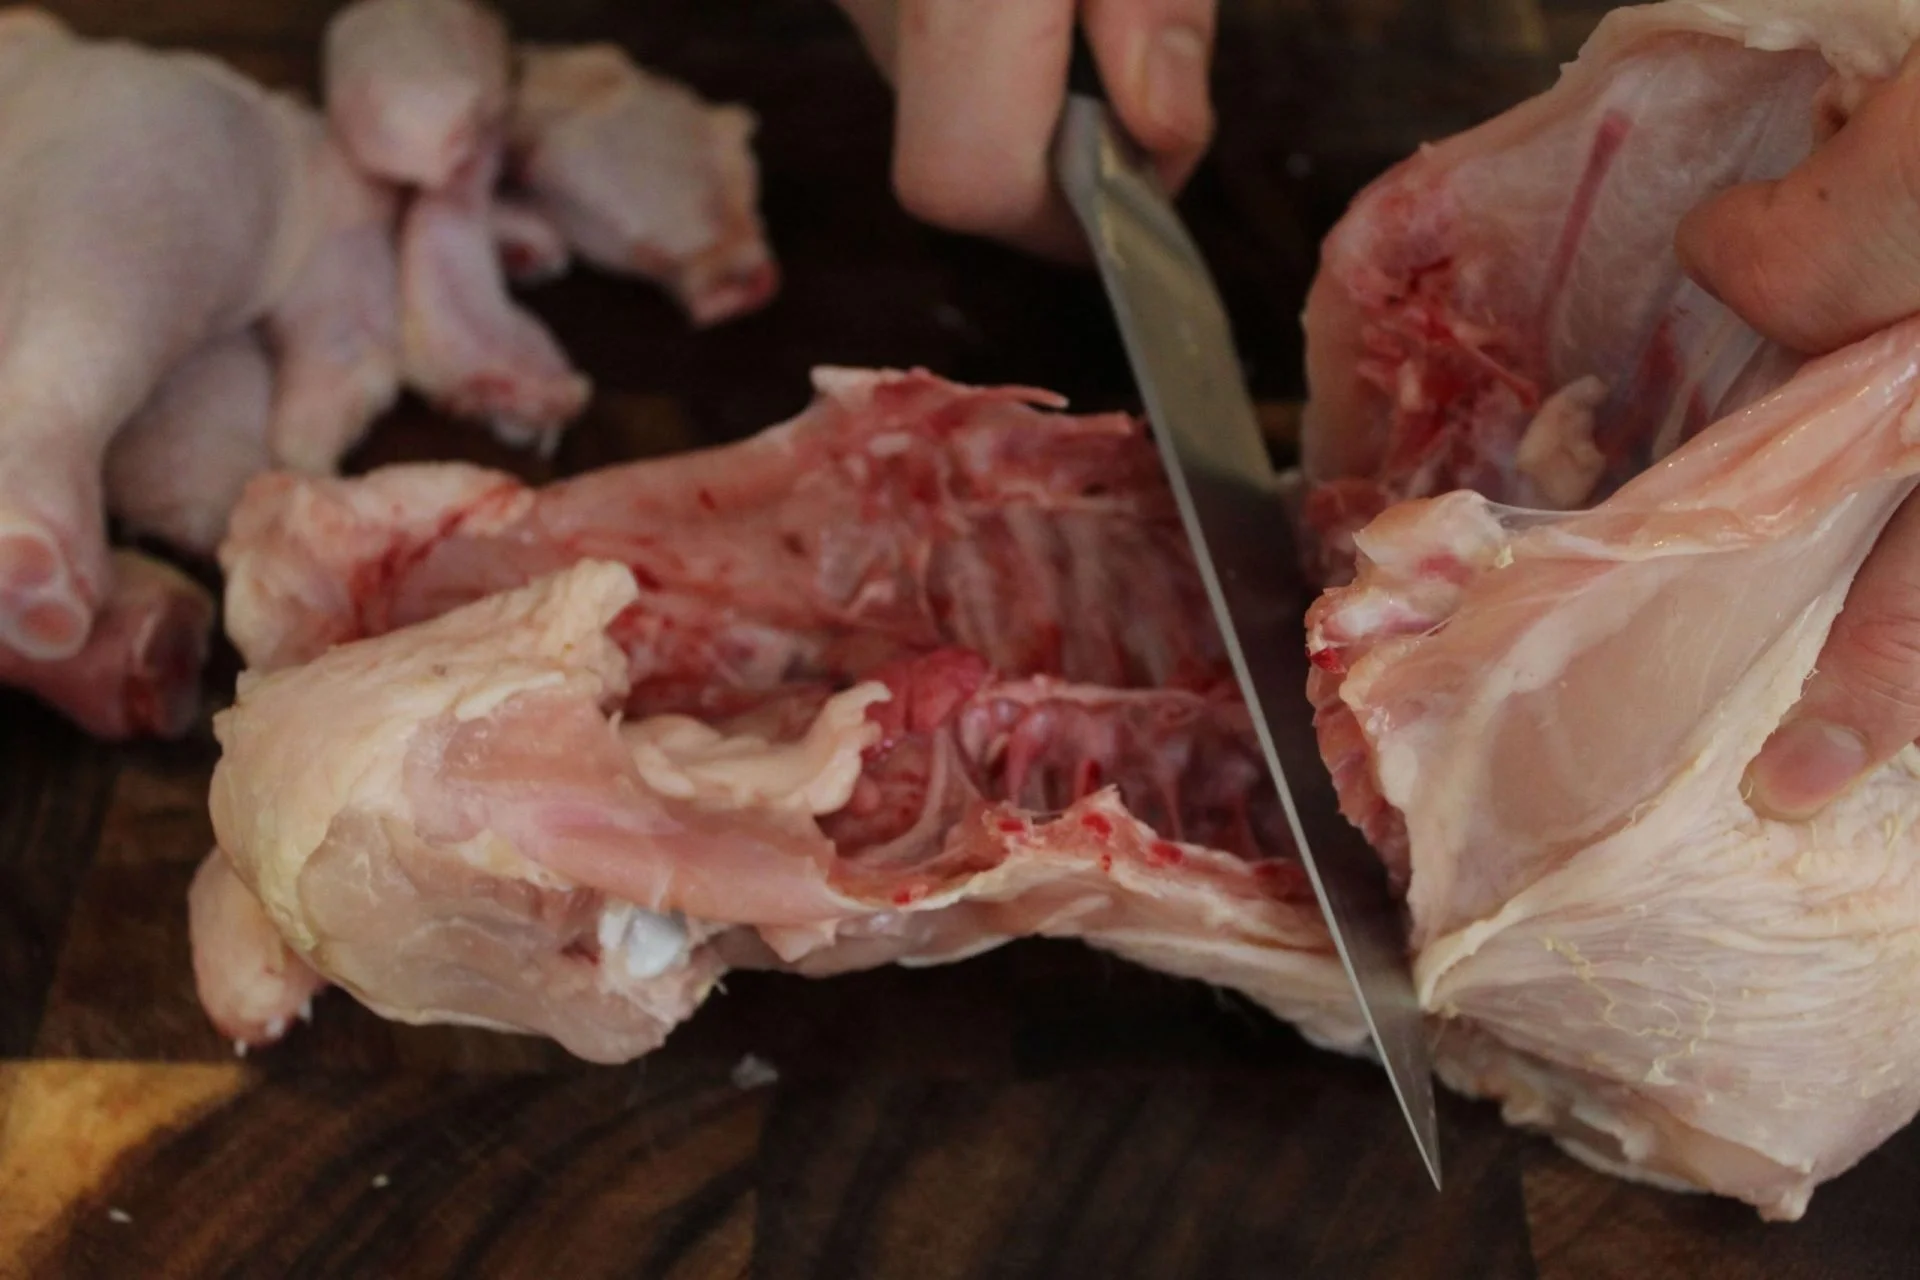
This step isn't necessary but definitely recommended if you’re new to breaking down birds. Taking the bottom off the carcass lets you lay the crown onto a cutting board without any rocking. It makes for much cleaner and safer cuts.
Use a pair of kitchen scissors to cut through the ribs all the way down both sides of the bird. At this point, you can either keep the crown and roast it whole, very commonly done with turkey, or you can remove the breasts and keep the bones for stock.
Step 4: Remove the Breasts
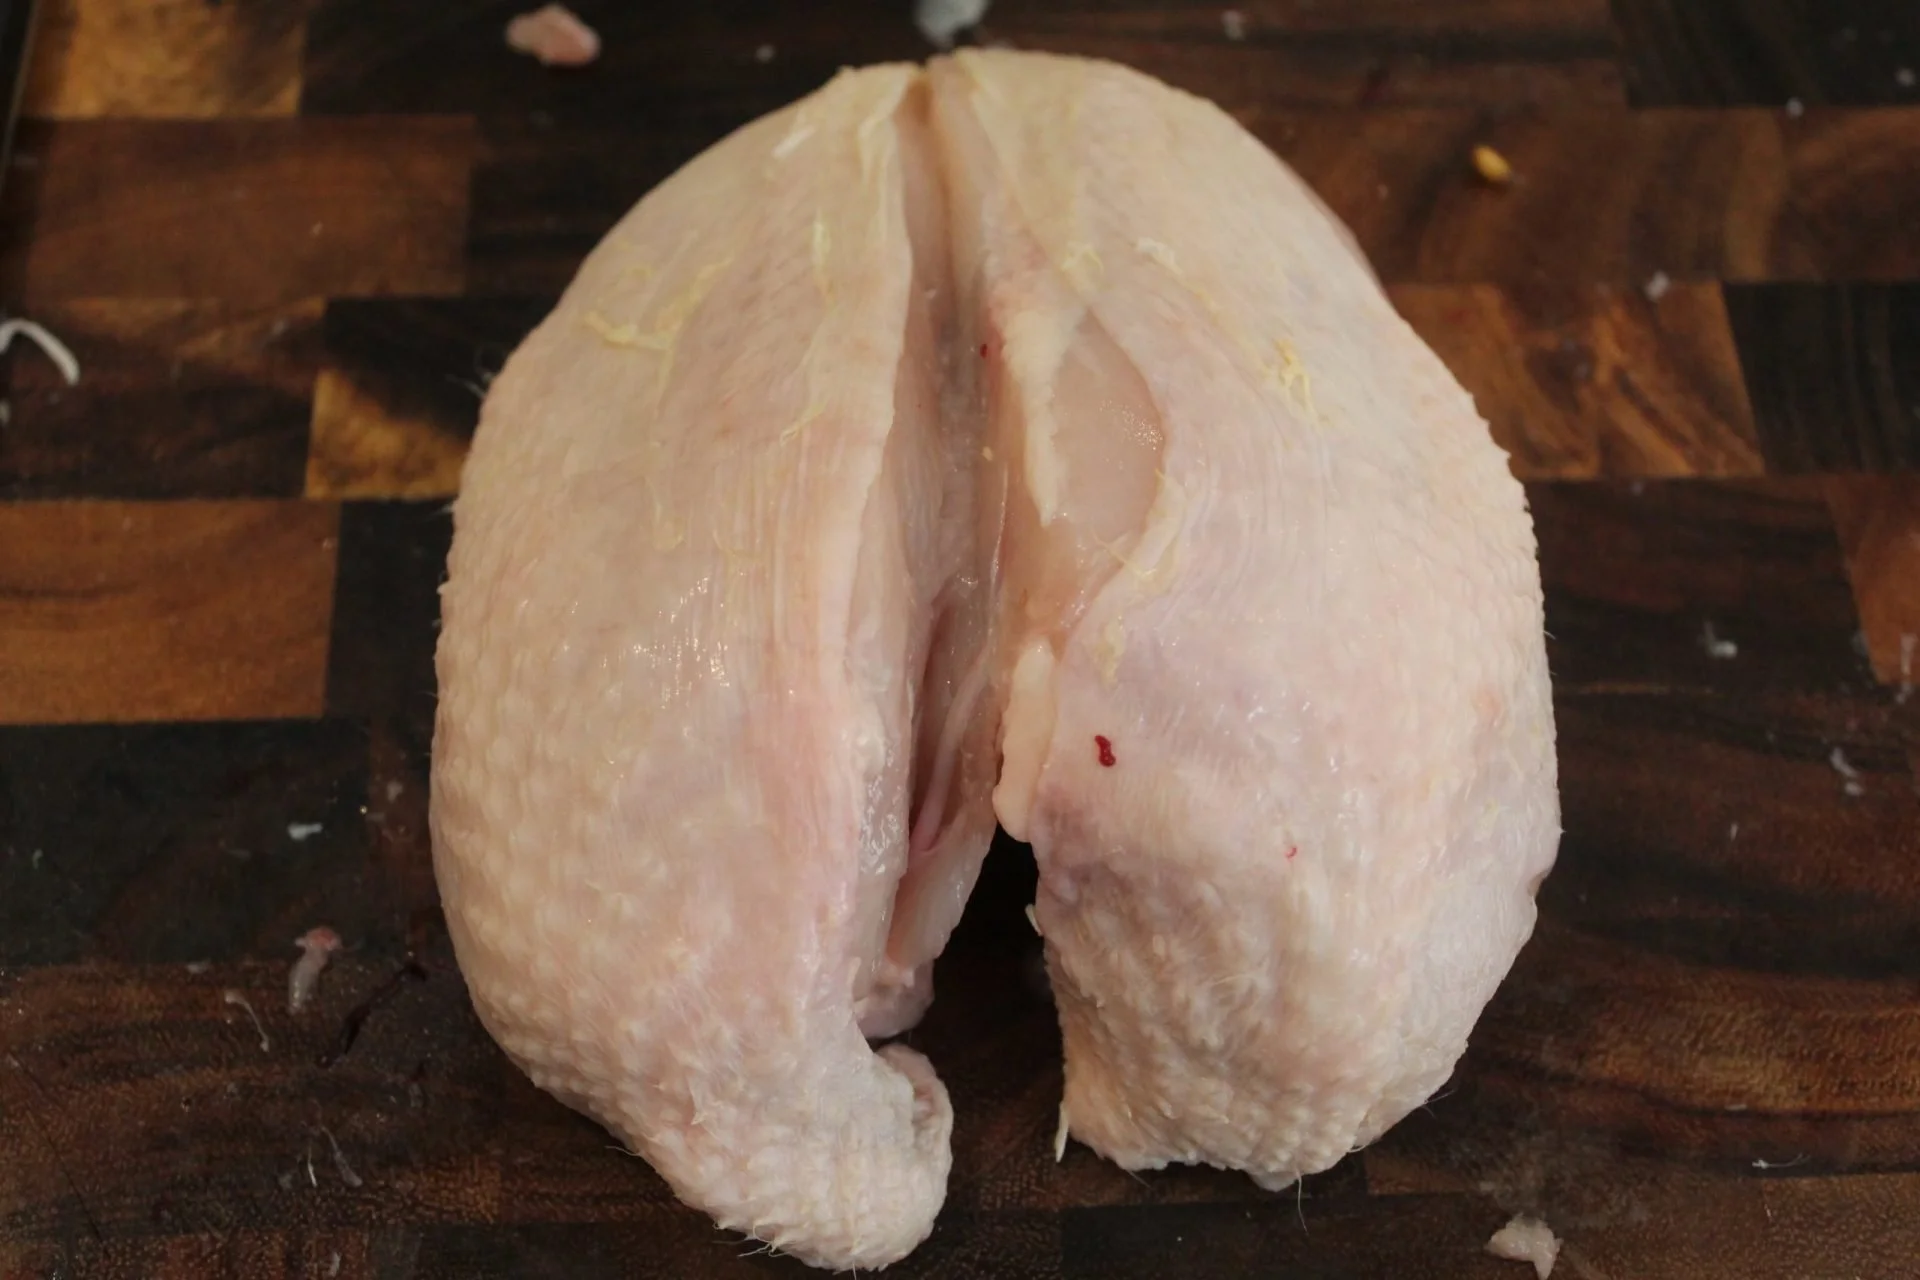
Lay the crown breast side up onto the chopping board facing whichever side is most comfortable for you. Use your fingers to find the backbone, then use a sharp knife to cut a very shallow incision down either side.
Start to make the initial incision deeper staying as close to the bone backbone as possible until you’ve cut all the way through. Don’t worry if you take any cartilage off with the bone until the breast is completely removed. The cut is far easier to clean up once it’s fully detached.
Step 5: Store for Later
Store the Carcass
If you don’t buy enough whole chickens at once to make chicken stock, you can place them into zip lock bags and freeze them as is. Freezer burn is not an important factor because you’d just be simmering them then discarding them anyway.
Store the Meat
Freezer burn impacts the texture and flavor of edible meat and it happens when meat is exposed to cold air and dries out. You can avoid this by wrapping the meat in freezer bags, freezer wrap, or cling film. I recommend against using most forms of container because there's no way of expelling the air that could cause freezer burn.


