
How to Deep Fry: A Comprehensive Guide for Perfect Crispy Results
Discover > Texas Home Cooking > How to Deep Fry: A Comprehensive Guide for Perfect Crispy Results

Deep frying is a popular cooking technique that gives food a crispy texture and irresistible flavor. Many people enjoy deep-fried dishes at restaurants and state fairs but might feel intimidated to try it at home. With the proper tools and our guidance, you'll be able to confidently indulge in eating deep fried foods (What wine goes well with fried foods?) in the comfort of your own kitchen.
The process of deep frying food involves submerging food in hot oil, allowing it to cook quickly and evenly. Despite its simplicity, there are specific techniques and precautions to ensure safety and the best results. In this article, we will share our expertise on deep frying, from choosing the ideal equipment to prepping and cooking with precision.
Essential Tools for Deep Frying
Choosing the Right Pan
The first thing you need to consider when deep frying is selecting an appropriate pan. For successful deep frying, we recommend using a Dutch oven because its high walls help contain splatter and provide ample capacity to avoid overcrowding or oil overflow. Moreover, the heavy-bottomed construction of a Dutch oven provides even heat distribution, essential for consistent frying.
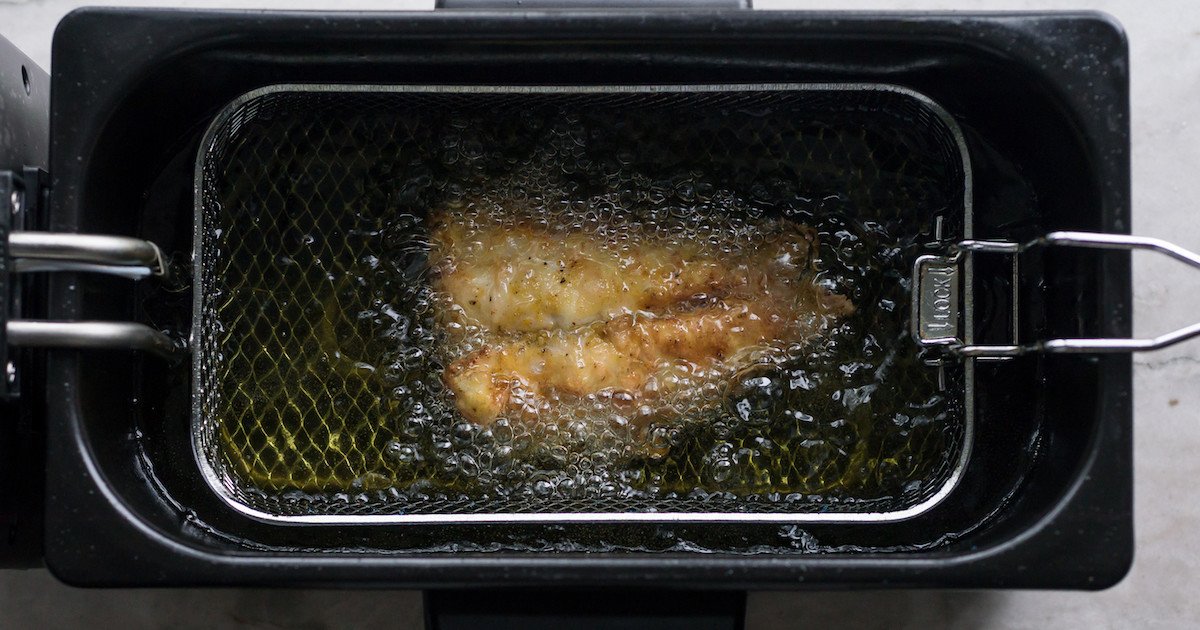
Using a Deep Fryer
If you prefer a dedicated appliance, a deep fryer is a practical option. When selecting a deep fryer, choose one with a thermostat for precise temperature control. Many deep fryers also come with a built-in basket, making it easy to lower and raise food in and out of the hot cooking oil. When using a deep fryer, it's also crucial to follow the manufacturer's guidelines for oil capacity and proper usage.
Importance of a Thermometer
Monitoring the oil temperature is critical for successful deep frying. Use a thermometer that can accurately register from 350 to 400 F. A deep-fry thermometer often clips to the side of the pan for easy reading, but a probe thermometer can also work. Keeping track of the oil temperature ensures consistent cooking results and avoids overcooking or undercooking the food.
In addition to the right pan and thermometer, there are a few more essential tools for deep frying:
Tongs or a spider: Tongs are helpful for turning and gripping food, while a spider or skimmer is a versatile utensil with a mesh basket for lifting and draining food.
A lid: A lid helps contain oil splatters, keeping your kitchen clean and safe. Always keep a lid nearby in case of emergencies, such as unplanned oil flare-ups.
Following these guidelines and using the correct tools will make your deep frying experience much easier and more enjoyable. Just remember to always be cautious when working with hot oil, and never leave your cooking area unattended.
Choosing the Right Oil
Understanding Smoke Point
The smoke point is the temperature at which an oil begins to break down and produce smoke. When selecting an oil for deep-frying, it is essential to choose one with a high smoke point, as it prevents the oil from breaking down and emitting a burnt taste in the food. Additionally, a higher smoke point ensures the oil remains stable at high temperatures, thereby preserving the nutrients and antioxidants present in the oil.
Types of Oils
There are various oils to consider for deep-frying, each with their pros and cons. Let's explore some of them below:
Peanut oil: This oil has a high smoke point of around 450°F and is widely used for deep-frying due to its neutral flavor. However, it might not be suitable for those with peanut allergies.
Sunflower oil: With a high smoke point and a light taste, sunflower oil is suitable for deep-frying. It also contains a high amount of polyunsaturated fats, which are known to be healthy for the heart.
Safflower oil: (how long does safflower oil last?) Similar to sunflower oil, saffl
ower oil has a high smoke point and a neutral flavor. It is also a good source of monounsaturated fats, which can help decrease bad cholesterol levels.
Vegetable oil: Often a blend of various oils like soybean, canola, and corn, vegetable oil (how long does vegetable oil last?) is economical and has a high smoke point. However, it may lack nutritional value, as mentioned in this Food Network article.
Canola oil: Canola oil, also known as rapeseed oil, has a high smoke point and a mild flavor. It is a popular choice for deep-frying and is a rich source of monounsaturated fats.
Olive oil: While not commonly used for deep-frying, some people do use it due to its richness in antioxidants and polyphenols. However, its relatively low smoke point of 375°F may not be ideal for deep-frying.
It is crucial to consider factors like smoke point, flavor, and nutritional content while choosing the right oil for deep-frying. Experimenting with different oils can help you find the perfect one for your specific needs and preferences.
Preparation Process
Making the Batter
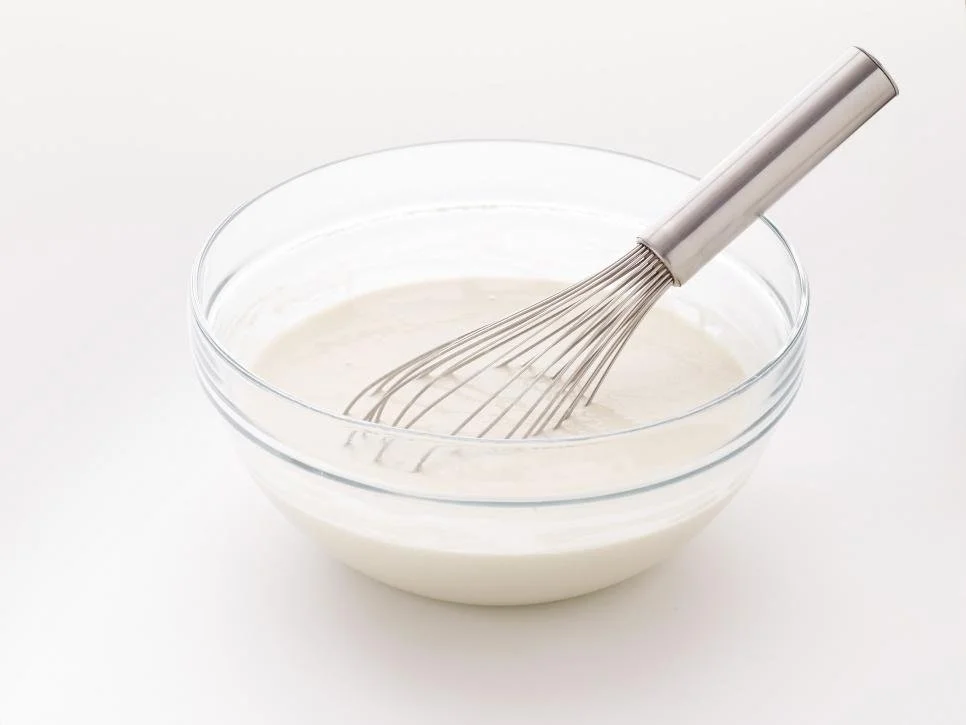
To make a simple yet effective batter, start by whisking together 1 cup of flour (how long does flour last?), 1 teaspoon of baking powder (how long does baking powder last?), and 1/2 teaspoon of salt. Gradually add 1 cup of cold club soda to the mixture, stirring until smooth (* Food Network *). The consistency should be thick enough to coat your ingredients without dripping off too easily. This recipe yields approximately 2 cups of batter, which is sufficient for about 1 pound of food. Remember to keep the batter cold before using it, as this ensures a crispier result when frying.
Breading for a Crispy Exterior
For an extra-crispy texture, consider using breading instead of a wet batter. To begin, you'll need about 2 cups of dry bread crumbs (how long do bread crumbs last?) for 1 pound of food. First, prep your ingredients by patting them dry with a paper towel to remove excess moisture. This helps the breading stick better.
Next, set up a breading station with three shallow dishes:
In the first dish, place about 1 cup of flour mixed with a pinch of salt.
In the second dish, prepare a beaten egg wash with 2-3 eggs.
In the third dish, place the bread crumbs.
Coat the ingredients first with flour, then dip them into the egg wash, and finally, coat them generously with bread crumbs. As you work, use one hand for dry ingredients and the other for wet ingredients to avoid clumping.
Now that you have your batter or breading ready, you're well on your way to deep-frying your favorite foods. Just be sure to carefully follow the frying instructions, as well as safety precautions, for the best results.
Deep Frying Technique
Deep frying is an art that can easily enhance the taste and texture of our favorite foods when done correctly. In this section, we will discuss some key techniques to help ensure the best possible results when deep frying.

Temperature Management
One of the most crucial aspects of deep frying is managing the oil temperature. We recommend using a high smoking point oil such as canola or peanut oil. Ideally, we want to maintain a temperature of around 350°F to 375°F for most foods. If our oil is too hot, the food may burn before it's cooked through. On the other hand, if it's too cold, the food will absorb too much oil and become greasy. It's important to monitor the temperature throughout the frying process, as it tends to drop when we add food. Using a deep-frying thermometer will help us keep an eye on the temperature.
Frying in Batches
To ensure even cooking and crispiness, fry in small batches. This helps maintain the oil temperature and provides enough space for each piece of food to cook evenly. Keep in mind that overcrowding the pot may result in uneven cooking and lowers the temperature of the oil, leading to greasy food.
When adding food to the fryer, do so carefully and slowly to avoid splashing hot oil. Before adding a new batch, it's essential to let the oil return to its desired temperature, commonly referred to as the recovery time. This usually takes a few minutes and contributes to achieving consistently well-cooked results.
Safety Measures
Deep frying can be dangerous if not done carefully, so we must take some safety measures. Make sure to use a pot with high sides and leave at least 4 inches between the top of the oil and the lip of the pot to avoid spillovers and reduce splatters, which can cause burns. A dedicated deep fryer or a wok with long sloping sides is ideal for deep frying.
Always keep an appropriate lid close by in case of fire. In the event of a grease fire, cover the pot with the lid to smother the flames - never use water, as it can cause the oil to splatter and worsen the situation.
Following these essential techniques, we'll improve our overall deep frying experience and achieve golden, delicious results every time.
Deep Frying Different Food
In this section, we will discuss how to deep fry various types of food, including chicken, starchy foods, and making fried snacks. By following the steps and techniques provided, you'll be able to achieve a delightful crispy and golden brown exterior on all your deep fried foods.
Frying Chicken
When it comes to frying chicken, the key is to create a crispy fried chicken with a crunchy exterior and juicy interior. To achieve this, we recommend following these steps:
Choose the right oil: Using oil with a high smoke point allows you to deep fry at high temperatures, usually between 350 and 375 °F.
Prepare your chicken: Marinate or brine your chicken for tenderness and flavor. Coat your chicken in a seasoned flour or bread crumbs mixture to create a delicious, crispy crust.
Fry the chicken: Submerge the pieces in hot oil, being careful not to overcrowd the pan as this can lower the oil's temperature and impact the final result. Fry until the chicken reaches a golden brown color and the internal temperature is 165 °F.
Deep Frying Starchy Foods
Starchy foods like french fries, potato chips (how long do potato chips last?), and onion rings require a different approach to achieve a crispy exterior and a fully cooked interior. Follow these tips to master deep frying starchy foods:
Prepare the starchy food: Cut potatoes, for example, into equal-sized pieces to ensure even cooking. Soak them in cold water for at least 30 minutes to remove excess starch and pat them dry before frying.
Fry in batches: Fry the starchy food in smaller batches to ensure even cooking and prevent overcrowding. This will also help maintain a consistent oil temperature.
Consider double frying: For extra crispy results, consider double frying your starchy foods. First, fry at a lower temperature (around 325 °F) to cook the interior, then increase the temperature to achieve a crispy, golden brown exterior.
Making Fried Snacks
Deep-fried appetizers and snacks, such as beignets, doughnuts, hush puppies, churros, funnel cakes, and falafel, are popular crowd-pleasers. Here are some guidelines to obtain the best results:
Prepare the batter or dough: Follow the specific recipe instructions for creating the batter or dough for your snack. Generally, a light and airy batter, such as one made with flour, baking soda (how long does baking soda last?), salt, and cold club soda, works well for many deep-fried snacks.
Monitor the oil temperature: Maintaining the correct oil temperature is crucial when making fried snacks. Too low, and your snack might get soggy; too high, and the exterior may burn before the inside is fully cooked.
Fry until golden brown: Fry each snack until it reaches the desired color and texture. Use a wire basket, slotted metal spoon, or kitchen spider to lift and lower the food in and out of the oil.
By carefully following these techniques and guidelines, we can make sure that our deep-fried recipes have a perfect, crunchy, and delicious outcome every time.
Post Frying Tips
Draining the Oil
After deep frying foods, it's essential to drain the excess oil from the fried food. We recommend using paper towels to help with this process. Place the freshly fried items on a layer of paper towels, which will absorb the excess grease. You may want to gently pat the food with additional paper towels to remove any remaining oil. This will help prevent your food from becoming overly greasy and maintain its crispy texture.
Storing Leftover Oil
When you're done frying, you might find yourself with leftover oil. Instead of throwing it away, consider saving and reusing it, as long as it's still in good condition. First, let the oil cool down to a safe, warm temperature. Next, strain the oil through a fine mesh sieve or cheesecloth to catch any food particles. This will help keep the oil clean and ready for future use.
Store the strained oil in an airtight container, preferably made of glass or stainless steel, and keep it in a cool, dry place away from direct sunlight. Make sure to label the container with the type of oil and the date of storage. Keep in mind that reused oil may have a shorter shelf-life, so it's always a good idea to check its quality before using it in future frying sessions.
By following these tips, you can ensure that your deep-fried food stays delicious and free of excess grease, and also make the most out of your leftover oil.
Perfecting Deep Frying
Deep frying opens the door to a world of culinary delights that combine irresistible flavor with a satisfying crunch. Armed with the right techniques and insights, you're well on your way to crafting deep-fried masterpieces from the comfort of your kitchen.
Remember, temperature control is key, ensuring your oil is at the sweet spot between 350°F and 375°F for that perfect golden result. Employing the right tools, like a Dutch oven or a dedicated deep fryer, and adopting safe practices can make the experience enjoyable and hazard-free. And as you embark on your deep-frying journey, don't shy away from experimenting with different oils and batters to create textures and tastes that suit your palate.
Whether it's achieving the ideal crispy fried chicken or mastering the art of frying starchy foods, each dish you tackle builds your skill and culinary confidence. So, why not dive in and explore the world of deep frying? Your taste buds and your kitchen will thank you. Happy frying!
